When and How to Harvest Onions
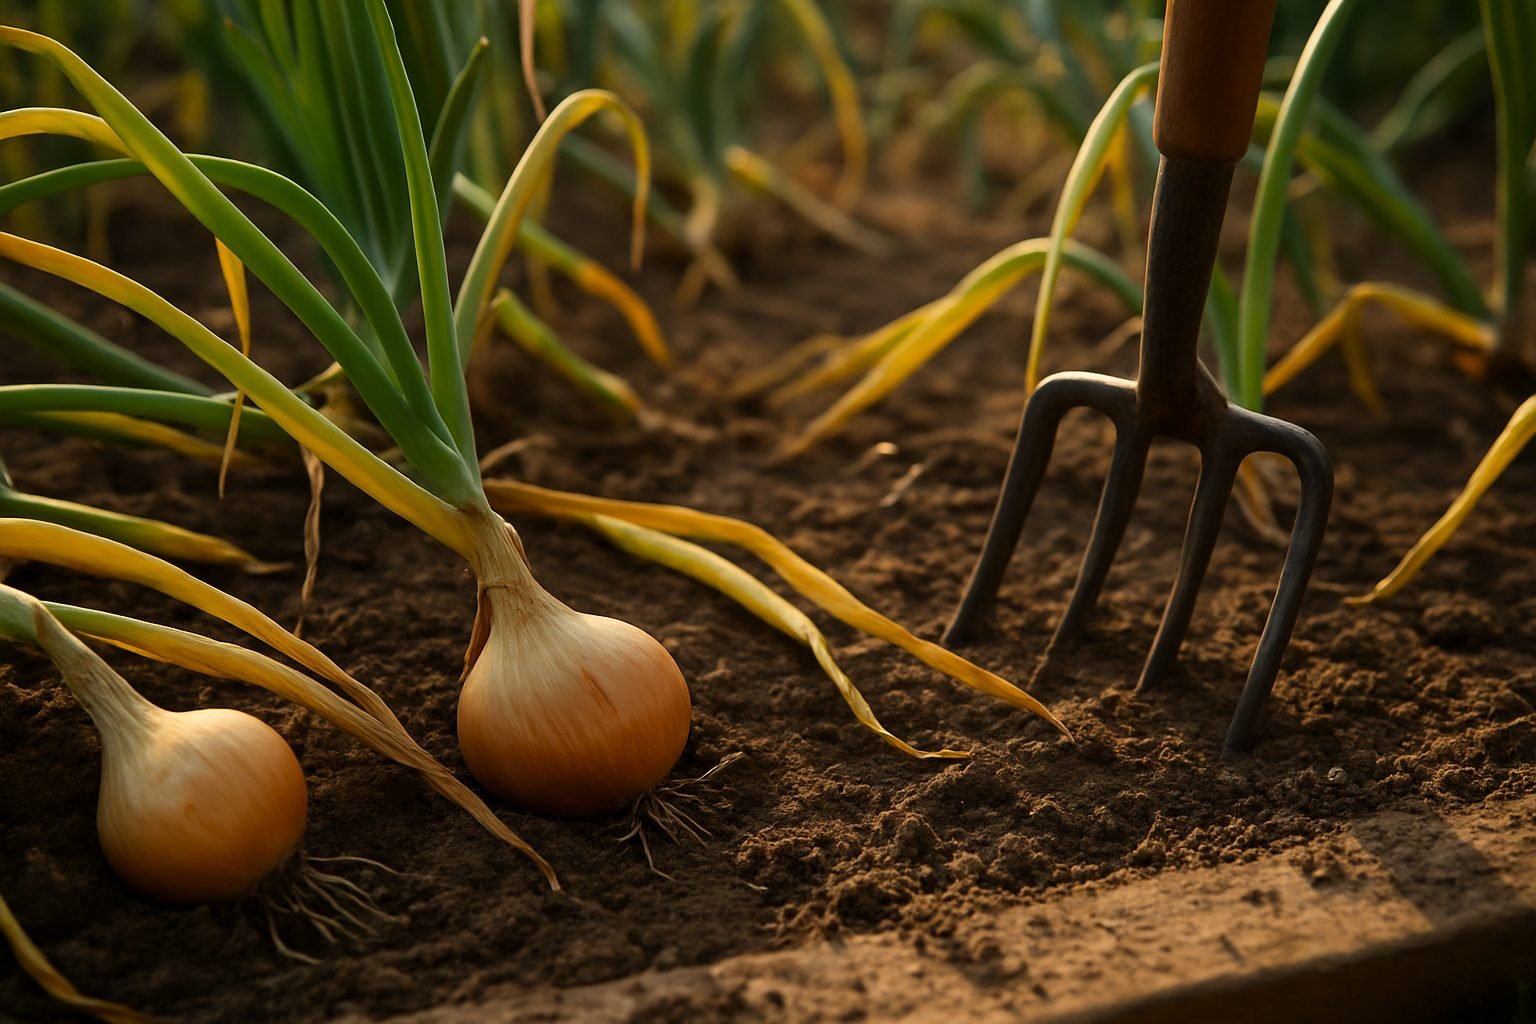
Storing onions starts with picking them at just the right time, so recognizing when your onions are mature is key. Look for classic signs—tops of the plants will begin yellowing and flop over naturally, signaling they’re done growing and ready for harvest. Don’t rush this process; wait for about 80-90% of your onion tops to fall over on their own, as this ensures the bulbs have finished developing.
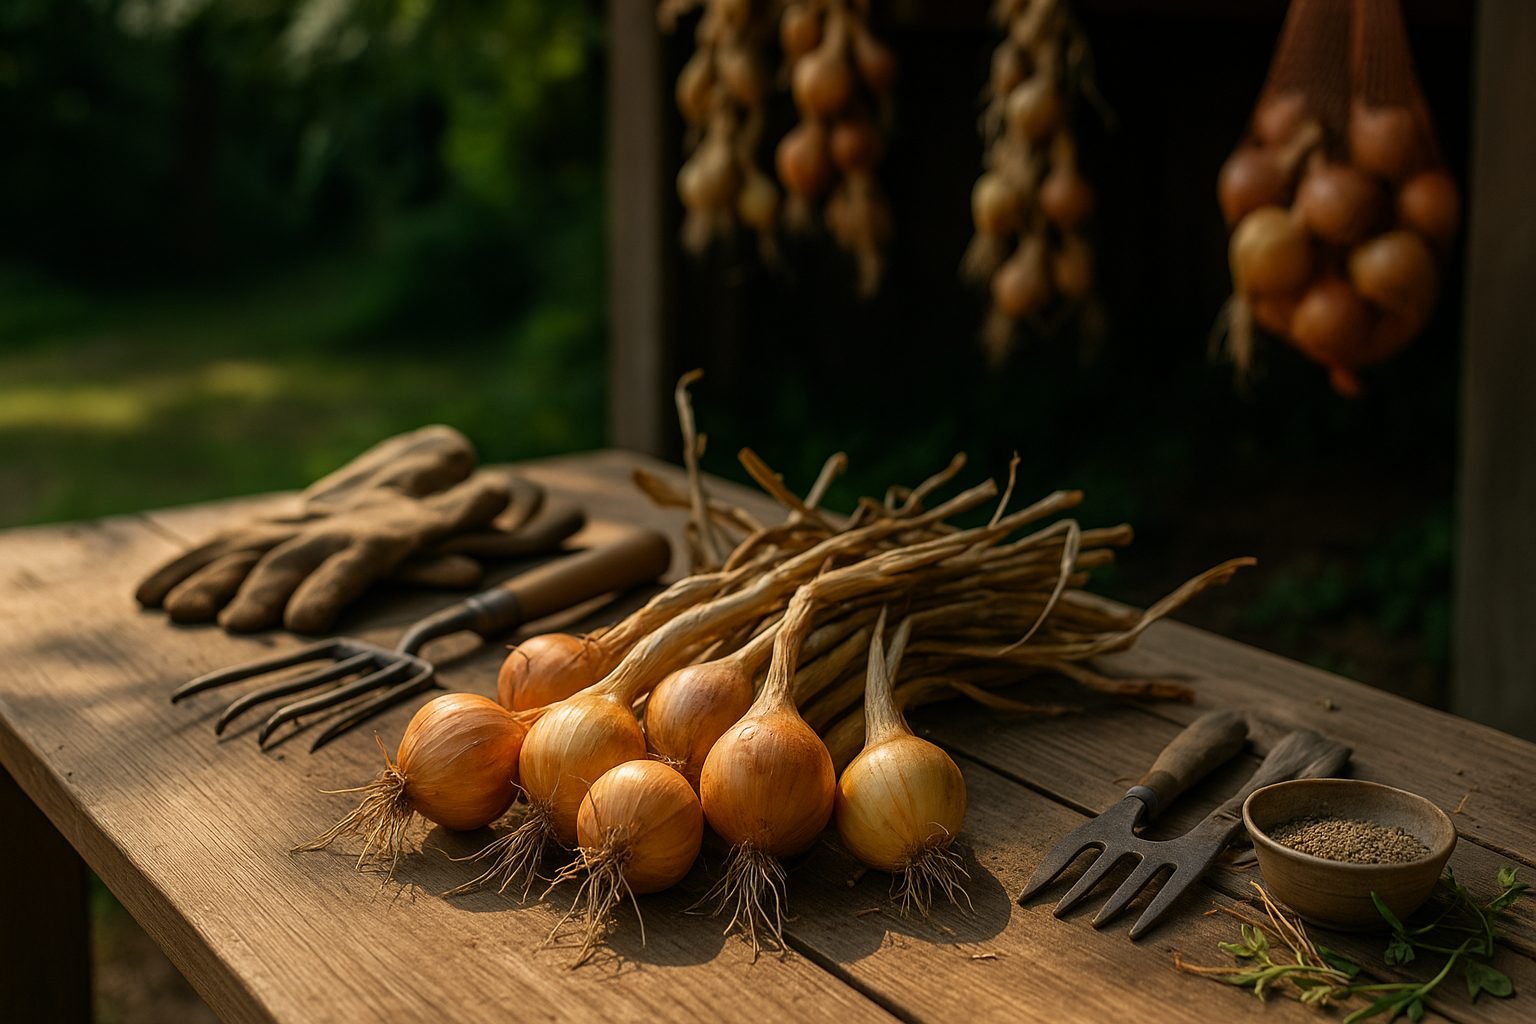
When it’s time to pull your onions, choose a dry, sunny day if possible. Gently loosen the soil with a fork or your hands, grasp the onion at the base, and lift without tugging harshly to prevent nicks or bruises—any damage can shorten storage life. Timing is everything: always aim to harvest onions before any heavy rain or frost, since these can cause rot or compromise their storage potential.
After lifting, let your onions cure in a well-ventilated, shaded spot for a couple of weeks; this step is crucial for toughening their skins and preparing them for long-term storage.
Real-life tip: if uncertain about the weather, err on the side of harvesting early—onions with thick necks or too much green left are harder to store, but better slightly immature than ruined by a cold snap.
By following these steps, you’ll set yourself up for success when storing onions, keeping your harvest flavorful and firm through the winter months.
Curing Freshly Harvested Onions
Curing freshly harvested onions is a vital step to ensure they store well and develop their best flavor. Right after harvesting, onions still contain moisture that can lead to rot and mold if not allowed to dry out properly. The curing process allows the outer skins to toughen and the necks to dry fully, sealing out moisture and bacteria.
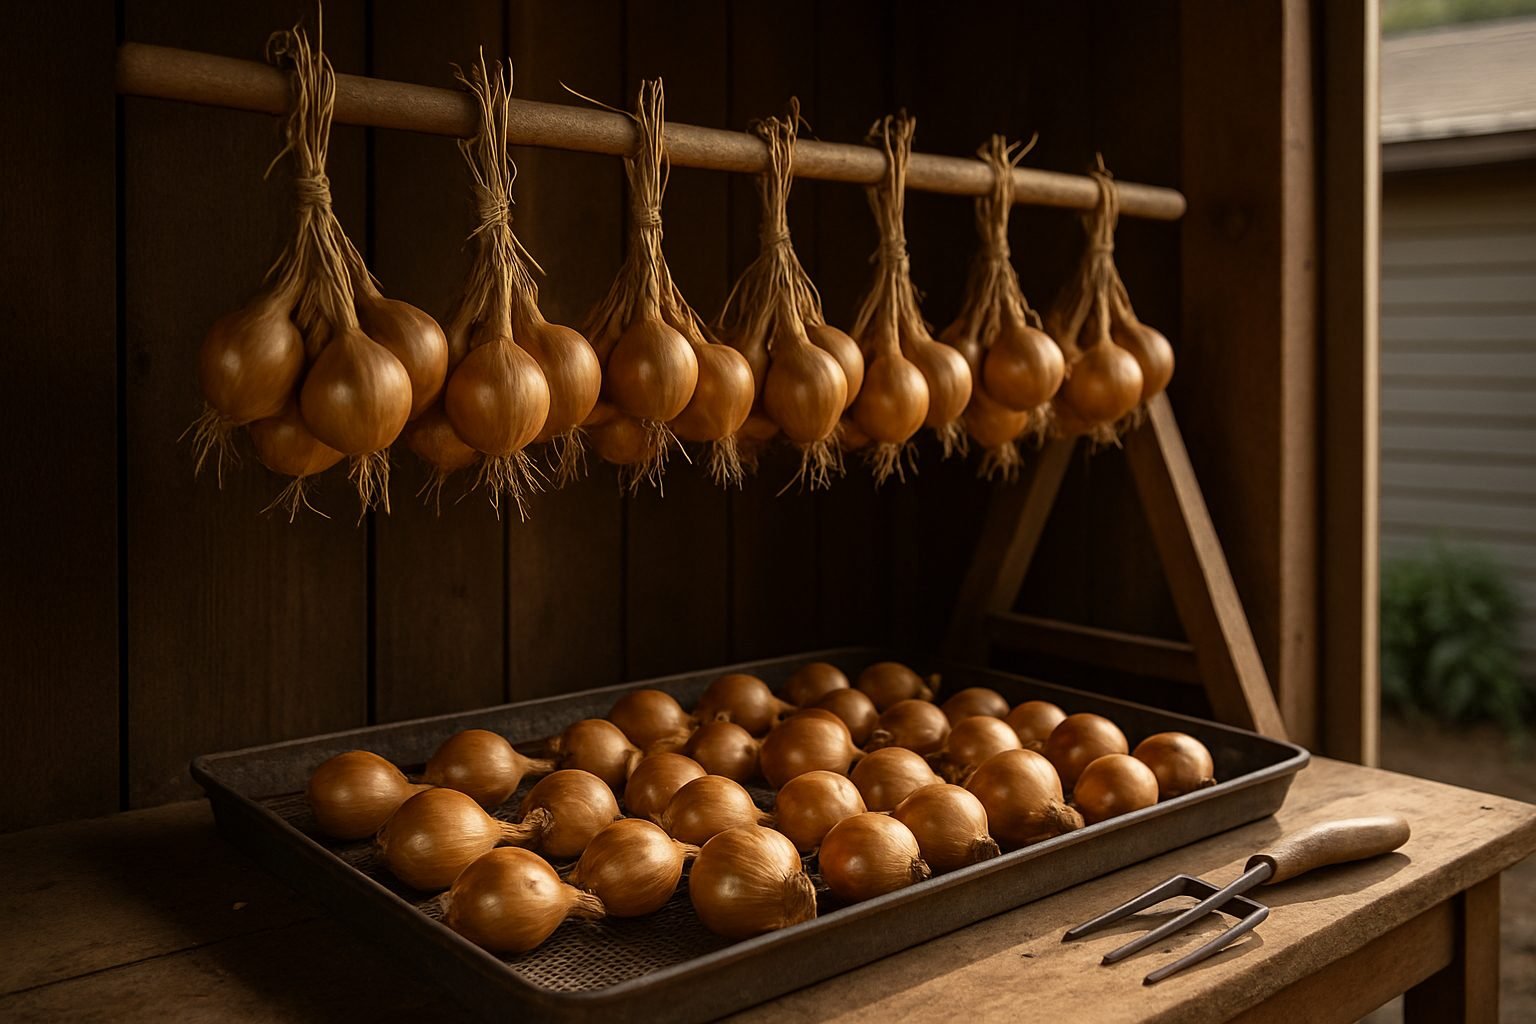
Start by choosing a warm, dry, and well-ventilated area such as a shaded porch, garage, or even under a covered patio—direct sunlight can cause sunscald, so avoid leaving onions exposed for long periods. Lay your onions out in a single layer, spacing them apart for good airflow, or hang them in small bundles (about 6–8 onions tied by their stalks) from a beam or drying rack. Make sure to leave all stalks and roots on during this stage, as trimming too early can invite disease.
Most onions take 2 to 4 weeks to cure, depending on humidity and air circulation. You’ll know they’re ready when the outer skins feel papery and the necks have shriveled and tightened.
Throughout the curing process, check regularly for signs of mold or mushy spots—these are often caused by poor airflow or excessive moisture. Remove any compromised onions immediately to prevent rot from spreading. If the onions aren’t drying well, consider increasing ventilation with a fan or moving them to a location with lower humidity.
Once the onions are fully cured, trim off the roots and necks, leaving about an inch of stalk. Store them in mesh bags or crates in a cool, dry place for months of delicious, home-grown flavor.
How to Store Onions for Maximum Freshness
To keep onions as fresh as possible, focus on a cool, dry, and dark environment with good airflow. The ideal temperature is between 45–55°F (7–13°C)—think basements, cellars, or garages, as long as they’re dry and well-ventilated. High humidity can lead to mold, while excess dryness may cause onions to shrivel.
Avoid the fridge, as cold, moist air can make onions soft and sprout prematurely. Instead, keep onions away from direct sunlight to prevent bitterness and early sprouting.
Onion Types and Their Storage Lifespan
- Yellow onions: The hardiest, lasting several months, making them ideal for long-term storage.
- Red and white onions: Typically last a few weeks to a couple of months.
- Sweet varieties (like Vidalias): Have higher water content and spoil quickest, so use these first.
Storage Methods
Use mesh bags or wire baskets to store onions, as they allow air to circulate freely around each bulb. Never store onions in plastic, which traps moisture and promotes spoilage.
An old-school trick is to store onions in pantyhose: drop an onion in, tie a knot above it, add another, and hang it up—this maximizes airflow and minimizes bruising. If you have braided onions straight from the garden, hang the braids in a cool, dark place for a rustic, effective solution. Even paper bags with a few holes punched in can work if other options aren’t available.
No matter the method, check stored onions regularly and remove any that show signs of softness, mold, or sprouting to keep the rest fresh longer. Using these practical tips, you can avoid waste and always have flavorful onions ready for your next meal.
Storing Specialty Onions and Alliums
Proper storage of specialty onions and alliums like shallots, leeks, and spring onions can make a big difference in their flavor and longevity.
Shallots keep best in a cool, dry, and dark place with good air circulation—think a mesh bag in your pantry or a paper bag in a cupboard, away from humidity. They don’t need refrigeration if they’re unpeeled and whole; just check regularly for soft spots or sprouting.
Leeks, on the other hand, do require refrigeration. Trim the dark green tops and store unwashed leeks in a loose plastic bag in your fridge’s crisper drawer, where they’ll stay fresh for about two weeks. If they get limp, briefly soaking them in cool water can revive some crispness.
Spring onions (also called green onions) should also be refrigerated; store them in a jar with a bit of water (roots down, upright), loosely covered with a plastic bag, to keep them perky for up to a week. Alternatively, wrap them in a damp paper towel and seal in a container.
For any cut or partially used onions or alliums, always tightly wrap leftovers in plastic wrap or place them in a sealed container in the fridge to prevent them from absorbing odors or drying out. Labeling with a date helps you track freshness—generally, use cut onions within three to five days for the best flavor and safety.
By following these storage tips, you’ll waste less and enjoy fresher flavors in your recipes.
Preserving Onions for Long-Term Use
When you have a surplus of onions, preserving them ensures you can enjoy their flavor all year long. Four popular methods are freezing, dehydrating, pickling, and canning—each with its own benefits.
Freezing
Simply peel and chop onions, spread them on a baking sheet to avoid clumping, then transfer to airtight freezer bags. Frozen onions last up to 8 months and work well in cooked dishes.
Dehydrating
Slice onions thin, spread them on dehydrator trays, and dry until crispy. Store these in airtight containers for up to a year, and rehydrate as needed in soups or stews.
Pickling
Slice onions and pour over a hot brine made of vinegar, water, salt, and spices, then refrigerate. Pickled onions are tangy toppers for sandwiches and salads and keep for around 2 months in the fridge.
Canning
This method requires pickling or pressure-canning onions—always follow tested recipes to ensure safety. Properly canned onions can last up to a year in a cool, dark pantry.
Whichever method you choose, start with fresh, firm onions and make sure all utensils and containers are clean to prevent spoilage. These time-tested approaches let you enjoy the taste and convenience of onions, even months after harvest.
Monitoring Your Stored Onions and Preventing Spoilage
Keeping your stored onions in top condition requires regular inspection and quick action at the first signs of trouble. Every week or two, take a few minutes to check your storage area; gently squeeze and look over each onion for soft spots, mold, or any sign of sprouting.
Sprouting usually starts as green shoots peeking out of the neck of the bulb—if you catch this early, use those onions soon, as they’ll spoil faster. Immediately remove any onion that feels mushy or smells off to prevent rot from spreading.
When discarding spoiled bulbs, clean the surrounding area and inspect neighboring onions closely, since rot and pests like to cluster together. To reduce common problems, make sure your onions are stored in a cool, dry, well-ventilated spot—avoid plastic bags which trap moisture and promote decay.
Mesh bags, baskets, or even pantyhose work well to keep air circulating. If you notice too much moisture or condensation, add a fan or move the onions to a drier place, as excess humidity is a leading cause of rot and mold.
Watch out for signs of tiny insects or nibbling, which could signal a pest problem; at the first hint of bugs, clean out the area, dispose of affected onions, and consider separating the rest into smaller containers.
Keeping your storage spot clean, dry, and well-ventilated is the simplest, most effective way to keep your onion supply fresh and ready for the kitchen.
Choosing Onion Varieties for Easy Storage
When it comes to stocking your pantry with homegrown onions that will last through winter, your choice of variety matters. Storage onions—like ‘Copra,’ ‘Stuttgarter,’ and ‘Redwing’—are bred specifically for longevity, featuring thick, papery skins and a pungent flavor that mellows with time.
These hardy bulbs tend to be medium to large and are firmer than fresh-eating types, such as ‘Walla Walla’ or ‘Vidalia,’ which are sweeter and juicier but prone to spoilage within a few weeks of harvest. If your goal is long-term storage, plan to grow long-day or day-neutral varieties depending on your region; these are ideal for northern climates and mature during peak summer sun.
When planting, dedicate a separate bed or area to your storage onions so you can cure and store them in bulk without confusing them with fresh-use types. Harvest only when their tops have fully fallen over and allow them to dry in a well-ventilated area for two to four weeks before trimming and storing.
By choosing varieties known for their shelf-life and following a careful harvesting routine, you’ll have flavorful, homegrown onions ready to use for months.