Introduction
If you want your garden to thrive while cutting down on synthetic products, making your own homemade kale fertilizer is a smart and eco-friendly choice. More gardeners are moving away from store-bought fertilizers in favor of natural alternatives that are better for both the earth and their crops. Kale stands out as a powerhouse ingredient in fertilizers because of its rich nitrogen content, minerals, and essential nutrients that can give your plants a real boost.
In this guide, you’ll learn why kale is so effective, simple recipes to make your own fertilizer at home, and practical tips on how to use it for the best results. Whether you’re a seasoned green thumb or just starting out, you’ll find easy-to-follow steps that help your plants flourish while reducing your environmental footprint. Get ready for a straightforward, hands-on approach to creating and using homemade kale fertilizer for a healthier, more sustainable garden.
Why Kale is Great for Homemade Kale Fertilizer
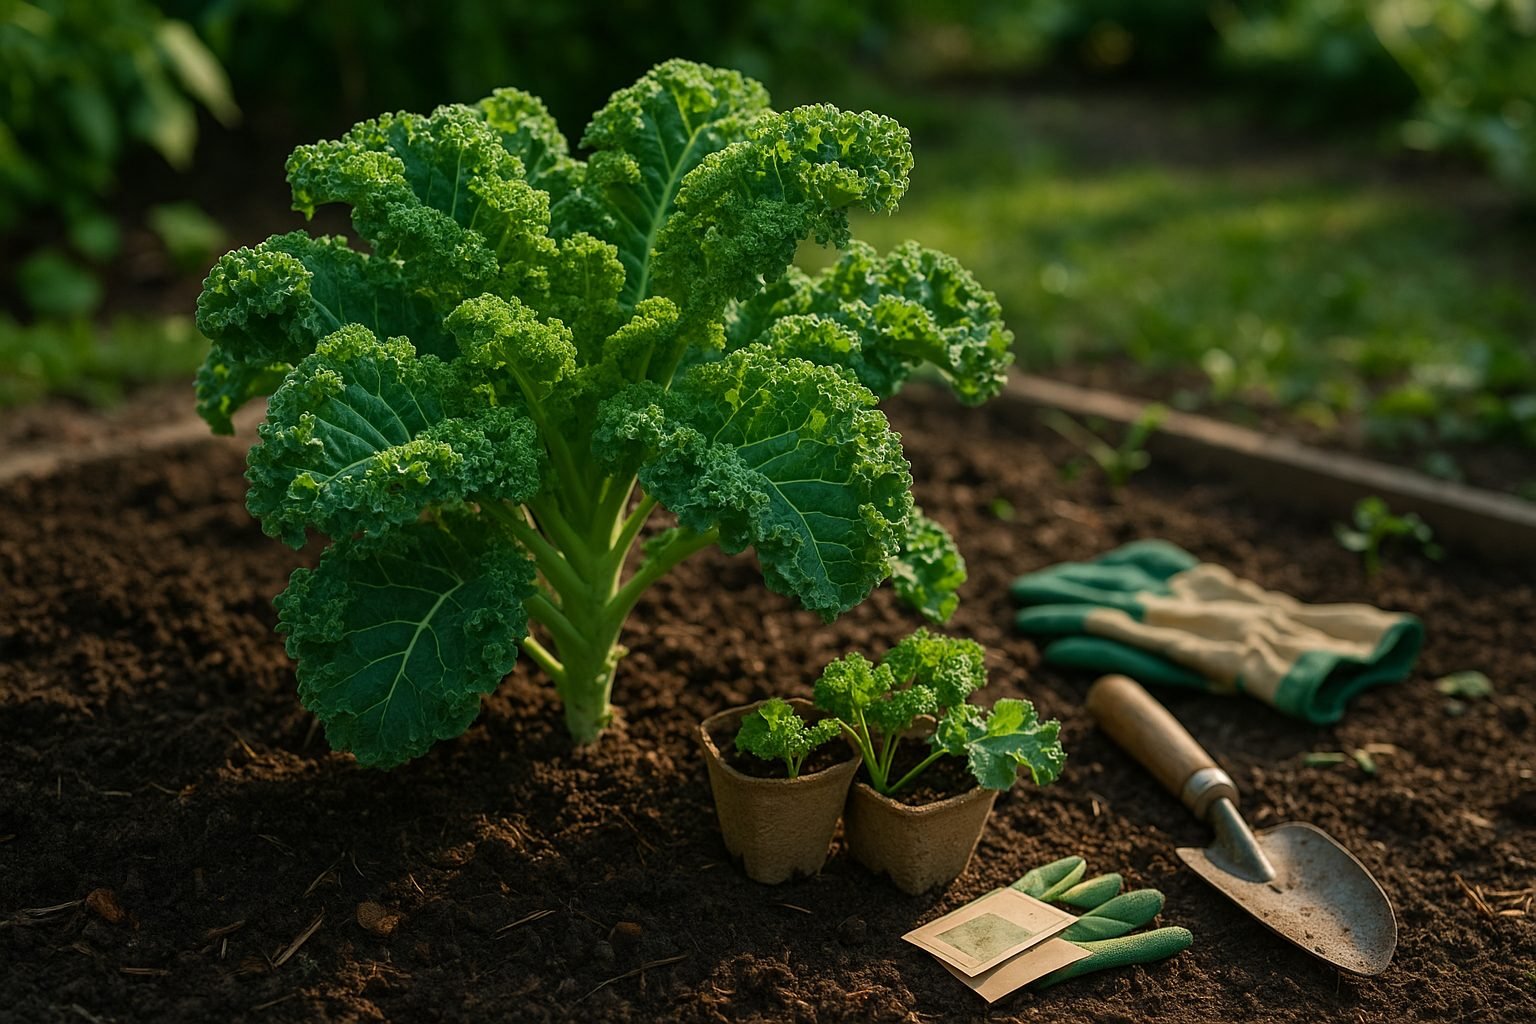
Kale is a powerhouse leafy green, not only for our diets but also for enriching soil as a homemade kale fertilizer. Packed with essential minerals like calcium, magnesium, and potassium, kale stands out for its high nitrogen content—a key nutrient that fuels healthy leaf growth in most plants.
When used as fertilizer, these nutrients are released back into the soil as the kale breaks down, improving soil structure and boosting microbial activity. This makes your garden beds more fertile, helping vegetables, flowers, and lawn grasses thrive. Nitrogen from kale is especially beneficial for leafy crops like lettuce or spinach, promoting lush, deep green foliage.
Plus, turning kale scraps into fertilizer is a simple way to reduce kitchen waste, closing the loop between what you eat and what you grow. By composting or brewing a liquid fertilizer from leftover kale stems and leaves, you keep organic matter out of the landfill and return valuable nutrients directly to your garden.
Compared to other kitchen scraps used for homemade fertilizers—like banana peels, which are higher in potassium, or eggshells, rich mainly in calcium—kale offers a more balanced mix of macro- and micronutrients, making it a versatile option for various plants.
Whether you’re managing a veggie plot or caring for houseplants, utilizing kale scraps helps build healthier soil, supports plant growth, and benefits the environment all at once.
Types of Homemade Kale Fertilizer
When it comes to making homemade kale fertilizer, there are three main methods you can use: composting, making a liquid fertilizer (often called “kale tea”), and directly applying kale scraps. Composting is the most versatile method, allowing you to turn leftover kale leaves, stems, and kitchen trimmings into nutrient-rich compost. This process breaks down kale along with other organic matter, creating a balanced fertilizer that works well for both indoor and outdoor plants. The key benefit of composting is that it slowly releases nutrients over time, improving soil texture and providing consistent nourishment.
For gardeners seeking a quicker boost, making a liquid kale fertilizer—or “kale tea”—is ideal. Simply steep chopped kale in water for several days, strain the liquid, and dilute it before watering your plants. Kale tea delivers nutrients rapidly and is especially effective for container plants or indoor gardens where immediate uptake is beneficial. It’s easy to apply and perfect for plants that need a quick green-up.
The simplest method is direct application: chopping or blending kale scraps and mixing them into the soil around your plants. This technique works best outdoors, where soil microbes and earthworms can quickly break down the kale, releasing nutrients directly to the root zone. However, it may create odors and attract pests if used indoors, so it’s less suitable for houseplants.
Each method has its place—compost for long-term enrichment, liquid for a fast fix, and direct application for efficient outdoor use—allowing you to choose the right approach for your gardening needs.
Step-by-Step: Composting Kale for Homemade Kale Fertilizer
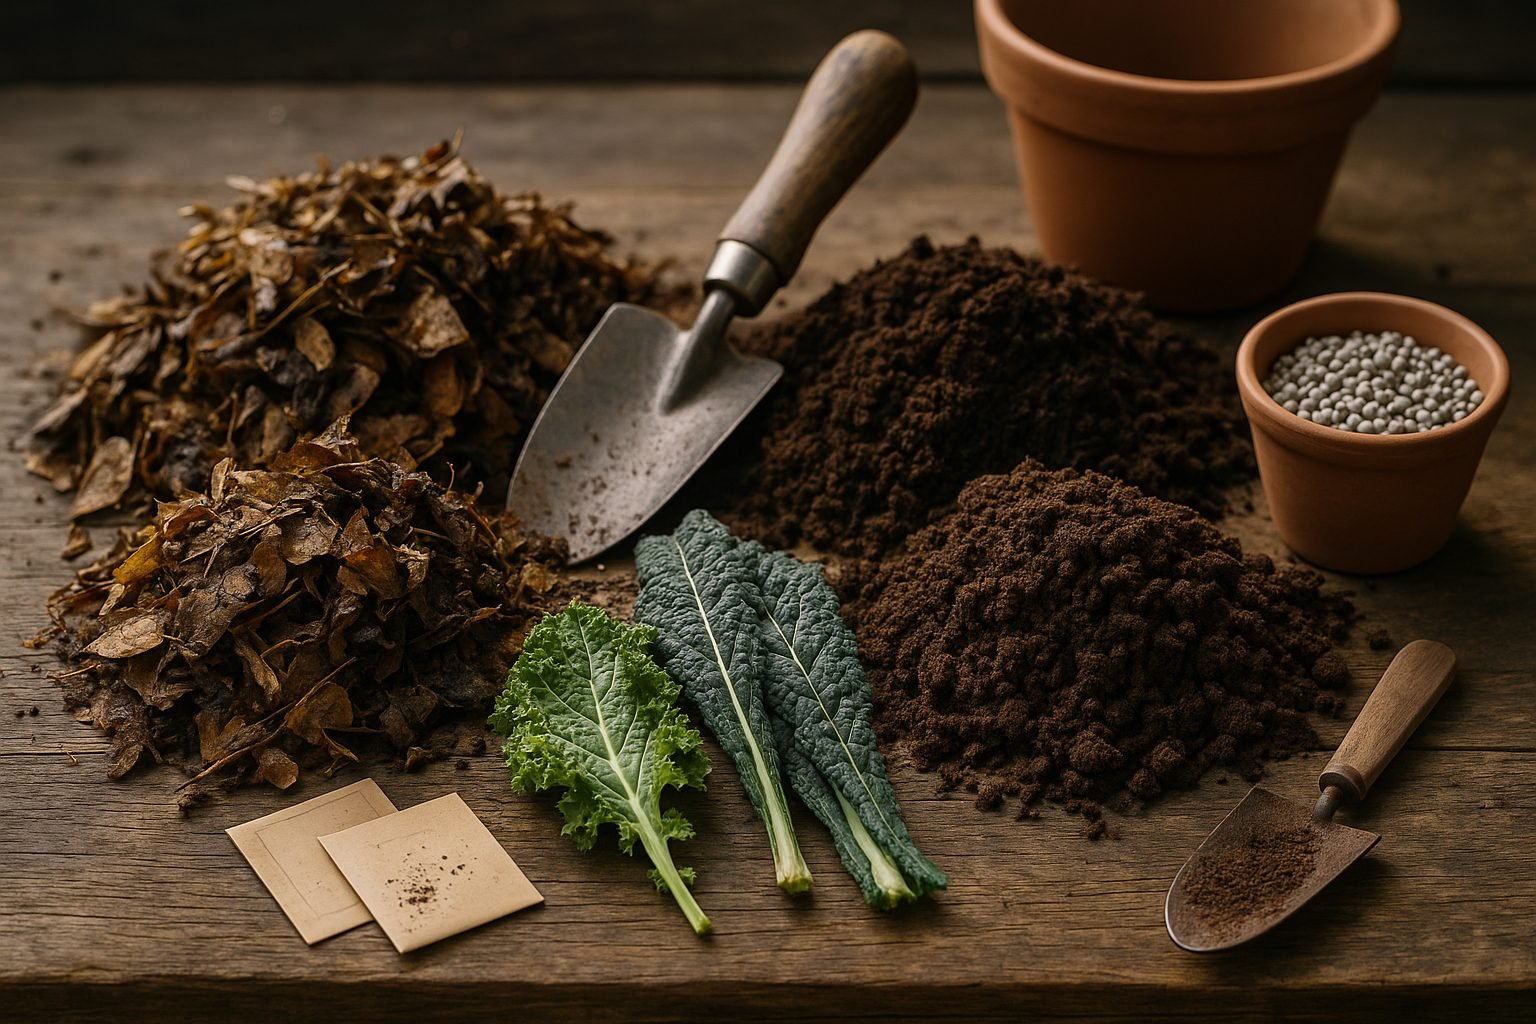
Composting kale to create homemade kale fertilizer is simple and can greatly enhance the nutrient content of your compost. Start by gathering kale scraps—stems, leaves, raw kitchen leftovers, or expired greens from the fridge. Chop larger pieces to speed up decomposition, then add these green materials to your compost bin or pile.
Keep in mind that kale is considered a “green” in composting terms, rich in nitrogen. To maintain a healthy compost balance, always pair your green kale additions with about two parts “brown” materials, such as dried leaves, cardboard, shredded paper, or straw. This ratio helps prevent excess moisture and odors while promoting even breakdown.
Each time you add kale, toss in some brown material and gently mix the pile. For best results, turn your compost every week or two using a pitchfork or shovel. This aeration speeds decomposition and keeps smells at bay. Maintain moisture levels so the compost feels like a wrung-out sponge—add water if it’s too dry, or extra browns and airflow if it’s too wet.
Depending on the weather and how often you turn the pile, compost with kale can take between two to six months to fully mature. You’ll know your homemade kale fertilizer is ready when it’s dark, crumbly, and earthy-smelling, with no visible bits of kale or other kitchen scraps. At this point, mix it into your garden soil or potting mix to give your plants a nutrient-rich boost straight from your kitchen scraps.
How to Make Homemade Kale Fertilizer Tea
Creating your own homemade kale fertilizer tea is an easy and eco-friendly way to nourish your plants using kitchen scraps and garden greens. To start, gather a generous handful of fresh kale leaves—stems included, as they add extra nutrients. Chop the kale into small pieces and place them in a large bucket or container. Add about a gallon of water (rainwater is best if you have it) to fully cover the kale.
Stir the mixture well, then loosely cover the container to keep out insects while allowing gases to escape. Let it steep in a warm, shady spot for 5–7 days, stirring daily. You’ll notice the water turning a deep green and may smell a strong, earthy scent—this means the nutrients are breaking down and infusing the water.
After a week, strain out the kale solids using a fine mesh strainer or an old shirt, then compost the solids. The dark liquid you have left is your concentrated kale fertilizer tea. Before applying it, dilute the concentrate by mixing one part fertilizer tea with nine parts water, since the undiluted version can be too strong for most plants.
How to Use Homemade Kale Fertilizer
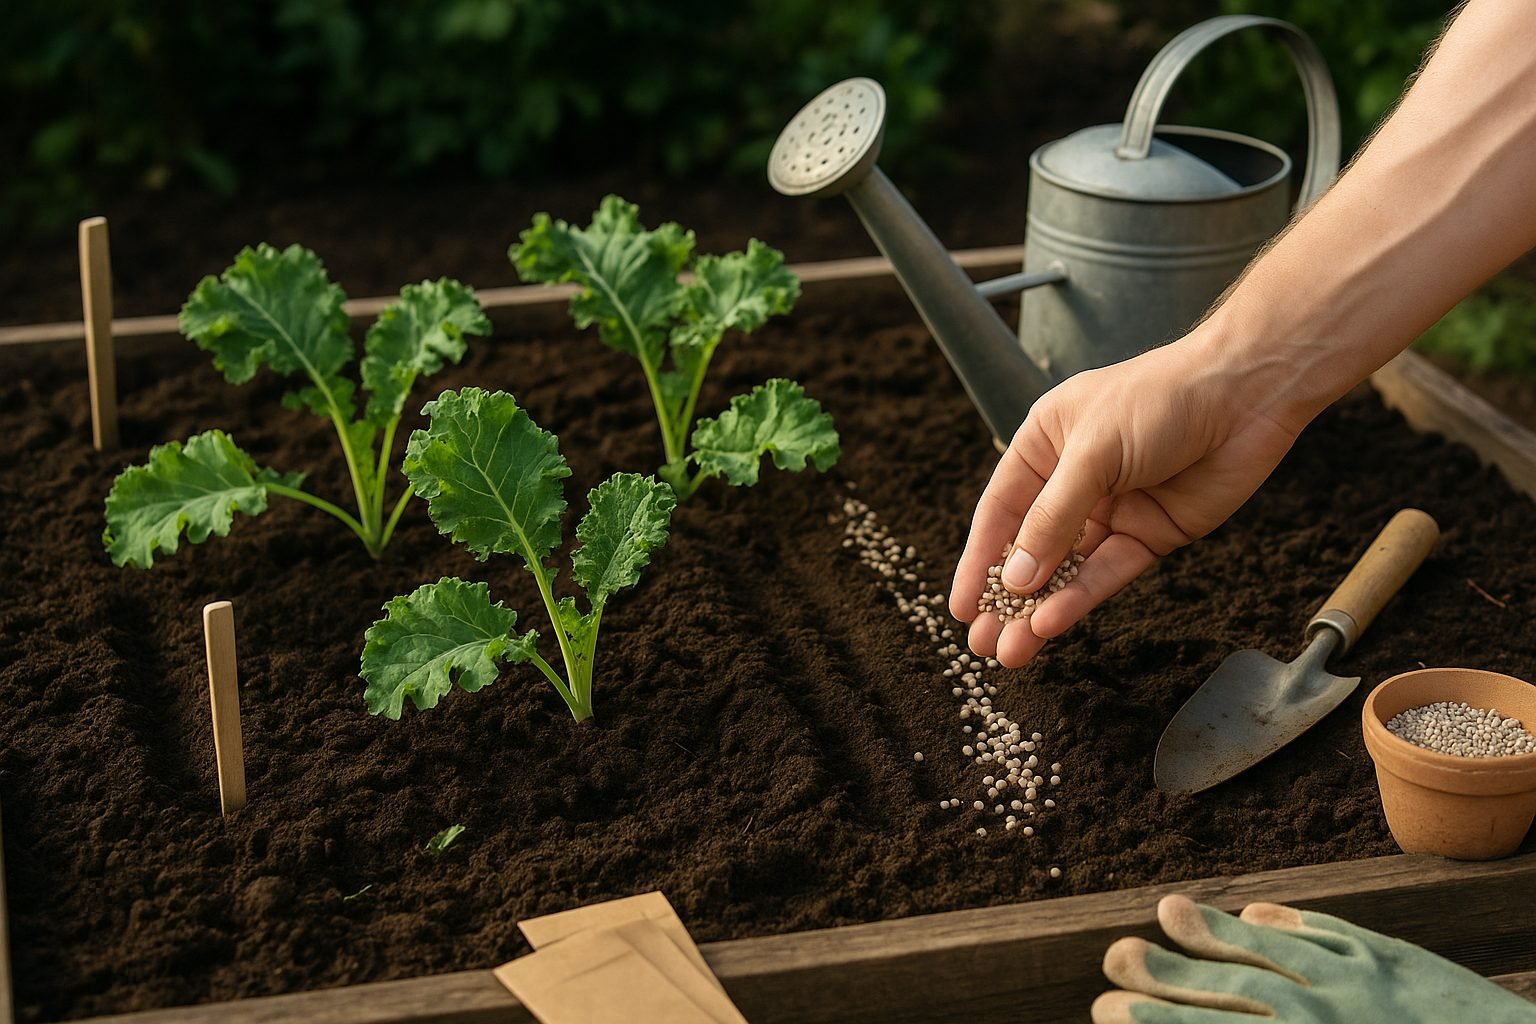
Apply the fertilizer by watering the soil around your plants, rather than spraying the leaves. This prevents burning and ensures the roots absorb the nutrients effectively. Focus on heavy feeders like tomatoes, peppers, squash, and leafy greens—they particularly benefit from the nitrogen and trace minerals in kale tea.
Use the fertilizer every two to three weeks during active growth, but avoid feeding if your plants look stressed or during very hot weather. Over-fertilizing can cause nutrient imbalances, yellowing leaves, or stunted growth, so always start with a conservative dosage and frequency.
Tips for Managing Odor and Quality
- Keep your container loosely covered to reduce odor and rinse it thoroughly after each batch.
- If you notice a rotten or sulfur smell, reduce the steeping time or add a handful of finished compost to balance the microbes.
With proper dilution and care, your homemade kale fertilizer will enhance your garden’s health while recycling organic waste in a sustainable way.
Direct Application: Using Kale Scraps in Your Garden
One of the easiest ways to create homemade kale fertilizer is by using your kitchen scraps directly in the garden. Start by collecting fresh or wilted kale leaves and stems, then chop them into small pieces—about one-inch sections. Smaller pieces decompose faster and blend more easily into the soil.
To apply, dig a shallow trench a few inches deep around your plants or along garden rows, then sprinkle the chopped kale evenly in the trench. Cover with soil to discourage pests and reduce odors. For every square foot of garden bed, one to two handfuls of kale scraps are sufficient; using moderation helps maintain soil balance and prevents attracting unwanted animals.
Early spring or late fall are ideal times for this, as cooler temperatures slow pests but moisture encourages decomposition. To speed up the process, mix the kale scraps with dried leaves or shredded newspaper, which helps balance moisture and nitrogen. After applying, water the area to jumpstart microbial activity.
If local critters like raccoons or rodents are a concern, consider adding a layer of mulch on top or burying the scraps deeper—about six inches down. Monitor the spot weekly; within a month or so, your soil will become richer, and your plants will thrive thanks to this natural, slow-release homemade kale fertilizer.
Troubleshooting & Tips for Best Results
When making homemade kale fertilizer, avoid the common mistake of using diseased or pest-infested kale leaves in your mix. Doing so can introduce pathogens to your garden and cause more problems than nourishment. Always use healthy, vibrant clippings for the best outcome.
Another common issue is incorrect compost ratios. Compost rich in fresh, green matter like kale needs to be balanced with plenty of browns—such as dry leaves or cardboard—to prevent unpleasant odors and ensure proper decomposition. If your compost becomes overly wet or starts to smell bad, it’s a sign to add more dry materials.
If you’re growing plants other than kale, consider adjusting your homemade fertilizer recipe accordingly. Leafy greens generally prefer nitrogen-rich blends, while fruiting vegetables like tomatoes may benefit from added phosphorus or potassium. You can provide these nutrients with ingredients like banana peels or wood ash, but use them sparingly.
Make small batches of your fertilizer and observe how your garden responds. Healthy, deep green foliage is a good indicator, while yellowing or stunted growth suggests you might need to tweak your mix. Keep notes on what works each season, and don’t hesitate to experiment—the careful observation will help you create the perfect blend for your garden.
Conclusion
Homemade kale fertilizer provides many benefits, from enhancing your kale’s growth with natural nutrients to saving money and cutting down on store-bought products. By creating your own fertilizer, you adopt a more sustainable gardening routine and make smart use of kitchen scraps or yard waste that might otherwise be tossed in the landfill. Try these homemade methods and watch your kale flourish with vibrant, healthy leaves. Got your own recipe or tip? Share your results and ideas in the comments—let’s help each other grow greener gardens!