Introduction to Growing Marjoram
If you’re wondering whether you can grow marjoram from seed, the answer is a resounding yes—and it’s easier than you might think. Marjoram, a fragrant herb cherished in Mediterranean cuisine, brings both flavor and charm to gardens and kitchens alike. With varieties such as sweet marjoram, wild marjoram (better known as oregano), and pot marjoram, there’s plenty to explore, whether you’re seeking gentle citrusy notes for salads or a natural remedy for stress and digestion.
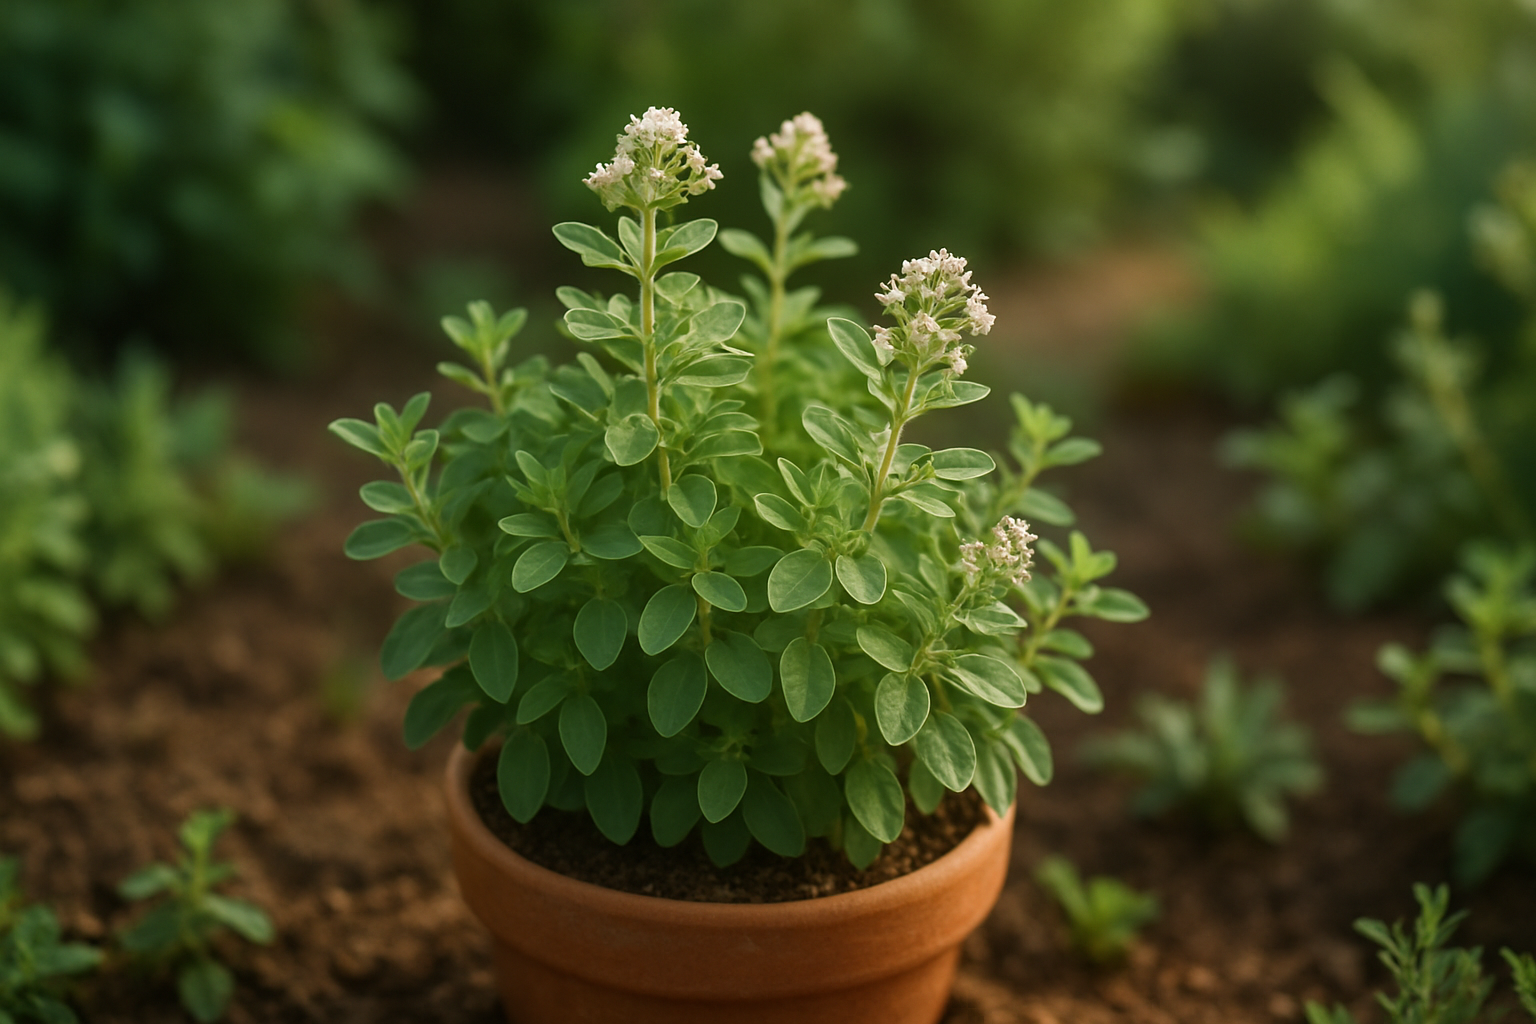
Beyond its culinary uses, marjoram boasts medicinal qualities and delicate blooms that attract pollinators, making it a favorite for both practical and ornamental purposes.
Home gardeners will find marjoram an ideal candidate for container gardens, window boxes, and sunny beds. Its low-maintenance needs, drought tolerance, and compact growth habit make it suitable for smaller spaces and busy schedules. Whether you’re looking to improve your spice rack with fresh, homegrown leaves or add a pop of green to your patio, marjoram offers rewarding results.
In this article, we’ll walk you through exactly how to grow marjoram from seed, using clear, simple steps—perfect for both inexperienced growers and seasoned green thumbs who want to add another versatile herb to their garden toolkit.
Choosing the Right Marjoram Variety and Site
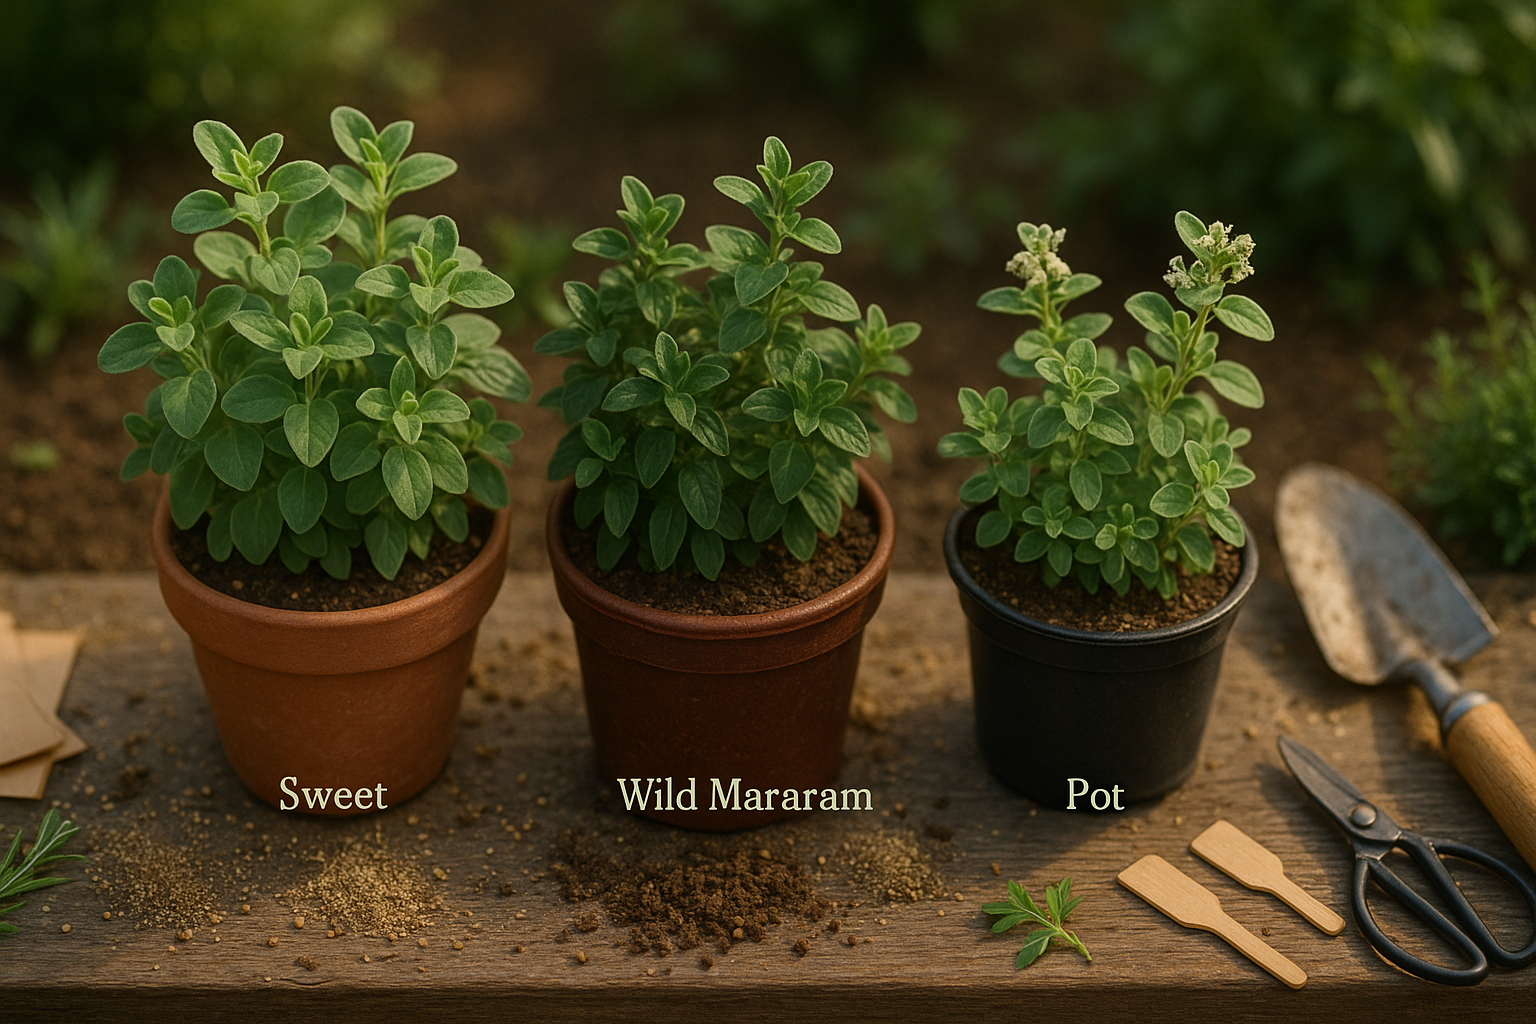
When deciding which marjoram to grow, it helps to know the main types and their unique qualities. Sweet marjoram (Origanum majorana) is the most popular kitchen herb, loved for its mild, floral flavor—perfect for salads, soups, and poultry dishes. Wild marjoram, more commonly known as oregano (Origanum vulgare), is spicier and earthier, often used in Mediterranean cooking. Pot marjoram (Origanum onites) strikes a balance between the two, with a slightly sharper taste and bushier growth—great for both garnishing and ornamental borders.
When picking seeds or starter plants, look for fresh, undamaged leaves and stems; avoid any signs of wilting, yellowing, or insect damage, as healthy starts are key for strong herbs.
Marjoram thrives in full sunlight, so choose a spot that gets at least 6 hours of direct sun a day. It prefers warm temperatures, ideally between 65°F and 75°F (18°C to 24°C), and doesn’t handle frost well. In cooler climates, consider starting seeds indoors or using containers you can move inside.
Well-draining soil is critical; sandy or loamy soils are best. You can amend clay soils with compost or sand to improve drainage. To maximize flavor, avoid over-fertilizing, which can make the leaves less aromatic. Plant marjoram where air circulates freely—tight spaces or humid conditions can lead to mildew.
With the right variety and conditions, marjoram is both forgiving and rewarding, even for beginners.
Planting Marjoram—Seeds or Cuttings?
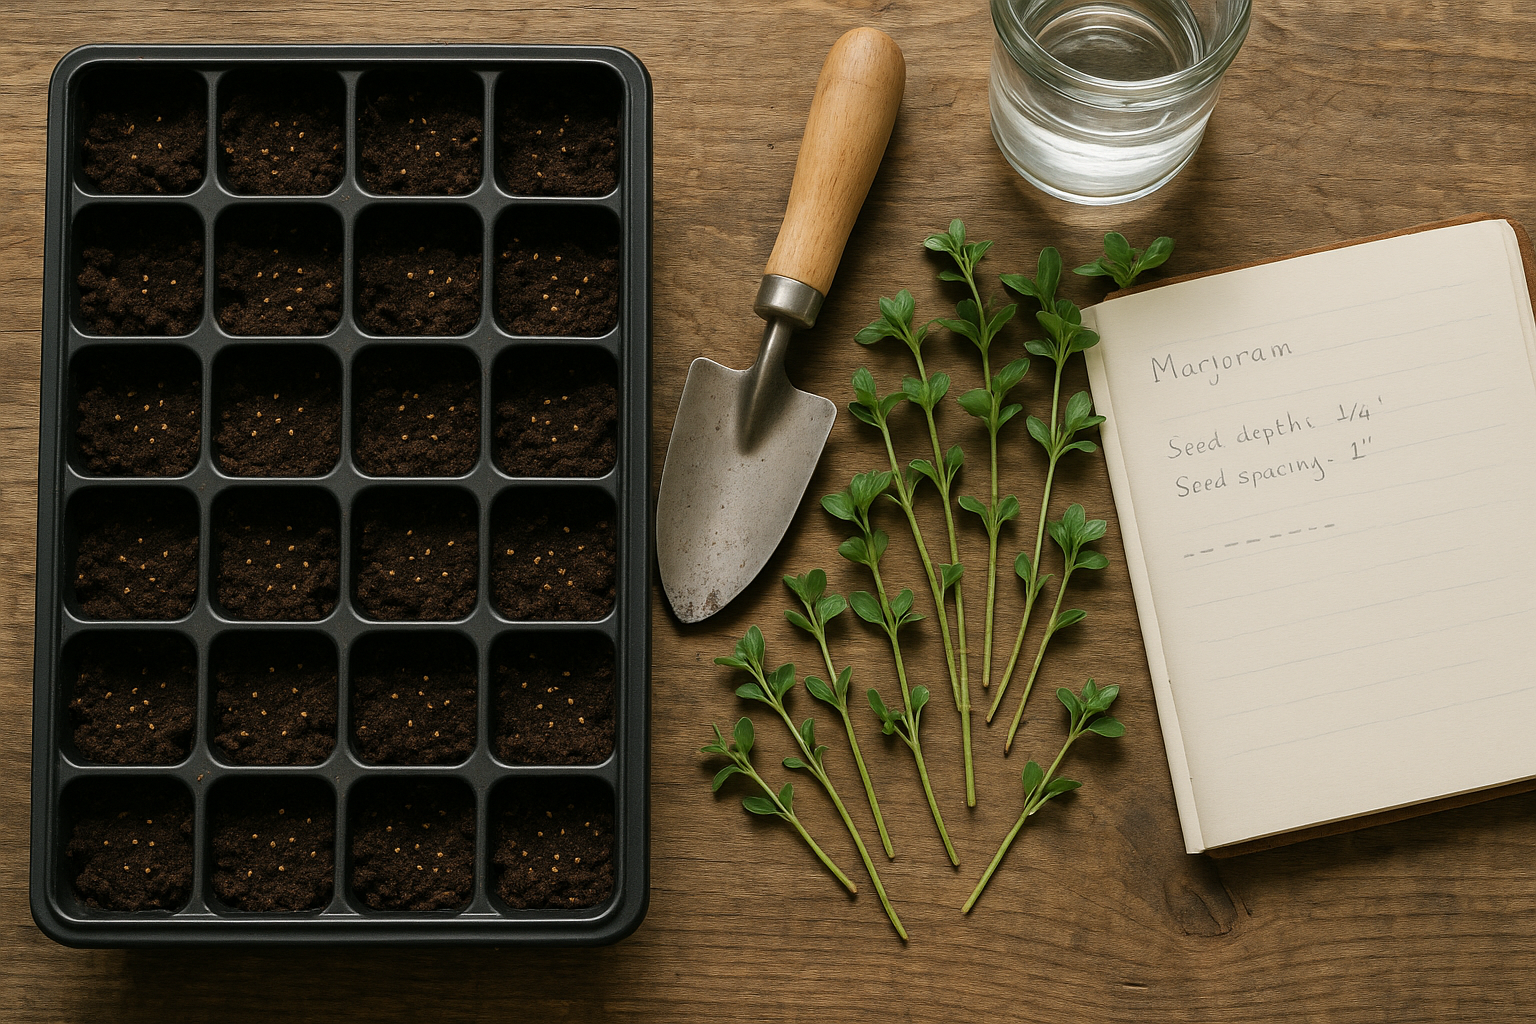
Starting marjoram from seed is an easy option, especially if you want to grow several plants at once. Sow the tiny seeds just 1/8 inch deep—barely covering them with soil—and space them about 8 inches apart to allow plenty of airflow. The best time to do this is in early spring, either outdoors after the last frost or indoors 6–8 weeks before. Be patient; marjoram seeds can take up to two weeks to sprout, and the seedlings are delicate at first.
If you’re short on time or want a guaranteed clone of a favorite plant, propagating marjoram from cuttings is a smart shortcut. Simply snip 3–4 inch healthy, non-flowering stems in late spring or early summer, remove the lower leaves, and plant the cut end in moist potting mix—covering loosely with plastic can help maintain humidity. Cuttings typically root within 2–3 weeks, and this method jumpstarts growth, giving you a mature plant faster than starting from seed.
Whether you grow marjoram in the ground or in a container, give it lots of sunlight and well-drained soil. Containers are great for kitchen gardens—just make sure they’re at least 8 inches wide and have drainage holes. Outdoor plants benefit from a layer of mulch to retain moisture and suppress weeds, while potted marjoram may need more regular watering.
Whichever method you choose, remember that marjoram loves warmth, so wait until the danger of frost has passed before moving young plants outside.
Caring for Marjoram Plants
Marjoram plants thrive with consistent care, making them a great choice for herb gardeners of all levels. Water regularly, aiming for soil that’s consistently moist but never waterlogged—usually once or twice a week, depending on your climate and soil type.
Place marjoram in a spot that gets full sun for at least six hours daily, as it loves warmth and light. Feed lightly with a balanced, organic fertilizer every six weeks during the growing season to encourage lush leaves.
Applying a thin layer of mulch helps retain soil moisture and keeps weeds at bay, but be careful not to pile it against the stems. To promote bushier growth, pinch back the tips when plants are about four inches tall, and continue to trim lightly throughout the season—this also delays flowering and encourages more tender leaves.
Keep an eye out for aphids and spider mites. If they appear, wash them off with a strong jet of water or use insecticidal soap. Fungal issues like powdery mildew can be minimized with good air circulation and by avoiding overhead watering.
Marjoram grows best in USDA zones 9-11 but can be treated as an annual in cooler zones. If frost threatens, bring potted plants indoors to a sunny windowsill or cover garden plants with cloches.
With a few simple steps, your marjoram will stay healthy, productive, and aromatic season after season.
Harvesting and Storing Marjoram
The best time to harvest marjoram is just before the plant flowers, when the leaves are at their most flavorful and aromatic—usually in late spring or early summer. Use clean scissors or pruners to snip stems in the morning after the dew has dried but before the midday heat. Cut just above a pair of healthy leaves to encourage bushy regrowth.
For drying, tie small bundles of stems together and hang them upside down in a warm, well-ventilated space, away from direct sunlight. Once the leaves are crispy, gently strip them from the stems and store them in airtight containers.
If you prefer freezing, chop fresh marjoram and place it in ice cube trays with a little water or olive oil. Once frozen, transfer the cubes to freezer bags for easy use later.
Store dried marjoram in a cool, dark cupboard and use within a year for the best flavor. To keep your plants producing, avoid cutting more than one-third of the plant at a time—regular, light harvesting actually stimulates new leaf growth. So, snip often and enjoy a steady supply throughout the season.
Culinary and Household Uses for Marjoram
Marjoram is a versatile herb that brings a gentle, sweet flavor to a wide range of dishes. In the kitchen, fresh marjoram works beautifully in salads, tossed on roasted vegetables, or sprinkled over pizza just before serving for a fragrant finish.
Use chopped fresh leaves to brighten up homemade salad dressings or creamy pasta sauces. Dried marjoram pairs well with meats; add it to your favorite marinade for chicken or pork, or blend it into ground beef for meatballs and burgers.
For a quick herb blend, mix marjoram with thyme, oregano, and rosemary to create an all-purpose seasoning for grilled vegetables or potatoes. Marjoram also shines in homemade tomato sauce and bean soups, enhancing flavors without overpowering them.
Beyond cooking, dried marjoram can be tied in small sachets to freshen closets and repel moths, or steeped in hot water for a calming herbal tea that soothes digestion.
When using marjoram, remember it is milder than oregano, so you may need to use a bit more to achieve the desired flavor. Always add fresh marjoram toward the end of cooking to preserve its delicate aroma, and store dried marjoram in a cool, dark place to maintain its potency.
Troubleshooting and Common Problems
Growing marjoram can be rewarding, but like any herb, it comes with its challenges. One common problem is poor growth, often caused by overwatering or soggy soil. To promote healthy plants, make sure your marjoram gets at least six hours of sunlight daily and is planted in well-draining soil.
Yellowing leaves or wilting can signal root rot, so allow the top inch of soil to dry out between waterings. Pests such as aphids and spider mites may appear, noticeable by tiny webs or clusters of small bugs on the leaves. A gentle spray of soapy water usually keeps them under control.
For fungal diseases like powdery mildew, ensure good air circulation around your plants and avoid overhead watering. If you notice white, powdery spots on the leaves, remove the affected parts and treat the rest with a natural fungicide like neem oil.
Regularly inspect your plants to catch issues early, and rotate your marjoram to prevent soil-borne diseases from building up year to year. Remember, every garden is unique—if you’ve encountered a marjoram problem or have a helpful tip, please share your experience or questions in the comments below so fellow gardeners can benefit from your insights!