Introduction
Sunlight for garlic is a crucial factor that can make or break your harvest, which is why many home gardeners pay special attention when growing this versatile crop. Garlic has earned its spot as a backyard favorite thanks to its bold flavor, endless uses in the kitchen, and immune-boosting health benefits.
Whether you’re sprinkling fresh cloves into pasta sauce or tossing roasted bulbs onto a salad, there’s no substitute for the taste of homegrown garlic. But if you’re new to gardening, you might wonder: do garlic plants need full sun to produce those fat, flavorful bulbs we all love?
In this post, we’ll dig into just how important sunlight for garlic really is, walk through the easiest steps to start your own patch, and flag common pitfalls that trip up beginners—like planting in too much shade or neglecting soil drainage. Plus, you’ll get hands-on care tips to ensure your garlic grows healthy and potent.
Ready to transform a small patch of your garden into a garlic-lover’s paradise? Let’s shine a light on the secrets of garlic growing success.
Choosing the Right Garlic Variety
When deciding which garlic variety to plant, it’s essential to understand the key differences between hardneck and softneck types and how these relate to your local climate. Hardneck garlic, known for its stiff central stalk and complex, spicy flavors, performs best in regions with cold winters because it needs a period of cold (vernalization) to form its characteristic large cloves. In contrast, softneck garlic is more adaptable, thriving in warmer or milder climates and often producing more cloves per bulb, making it a top choice for southern gardeners.
To select the best variety, first check your USDA hardiness zone—northern and colder regions usually benefit from hardneck types like ‘German Red’ or ‘Rocambole,’ whereas southern gardens do well with softneck varieties like ‘California Early’ or ‘Inchelium Red.’ Once you’ve narrowed your options, prioritize buying certified disease-free seed garlic from reputable local nurseries or seed suppliers, as grocery store garlic is often treated with chemicals or is ill-suited to your region.
Look for bulbs that are firm, plump, and free of mold or soft spots. Avoid small, shriveled, or damaged cloves, as these are more likely to yield weak plants and poor harvests. One common mistake is purchasing seed garlic too early; storage can reduce vitality before planting season arrives, so buy fresh and plant promptly. Another pitfall is underestimating how adapted local strains can outperform generic varieties—whenever possible, choose locally grown seed, as these tend to be best adapted to your specific conditions.
With a little research and attention to detail, you’ll set your garlic crop up for a robust start and a flavorful harvest.
Planting Garlic: When and How
The best time to plant garlic largely depends on your climate, but for most regions, fall planting offers the biggest yields and heartier bulbs. Garlic thrives when given a cold period to establish roots before winter, so aim to put cloves in the ground about 4-6 weeks before the first hard frost.
In colder northern areas, this is usually mid-September through early November; in mild climates, you can often plant as late as December or even early spring for smaller bulbs.
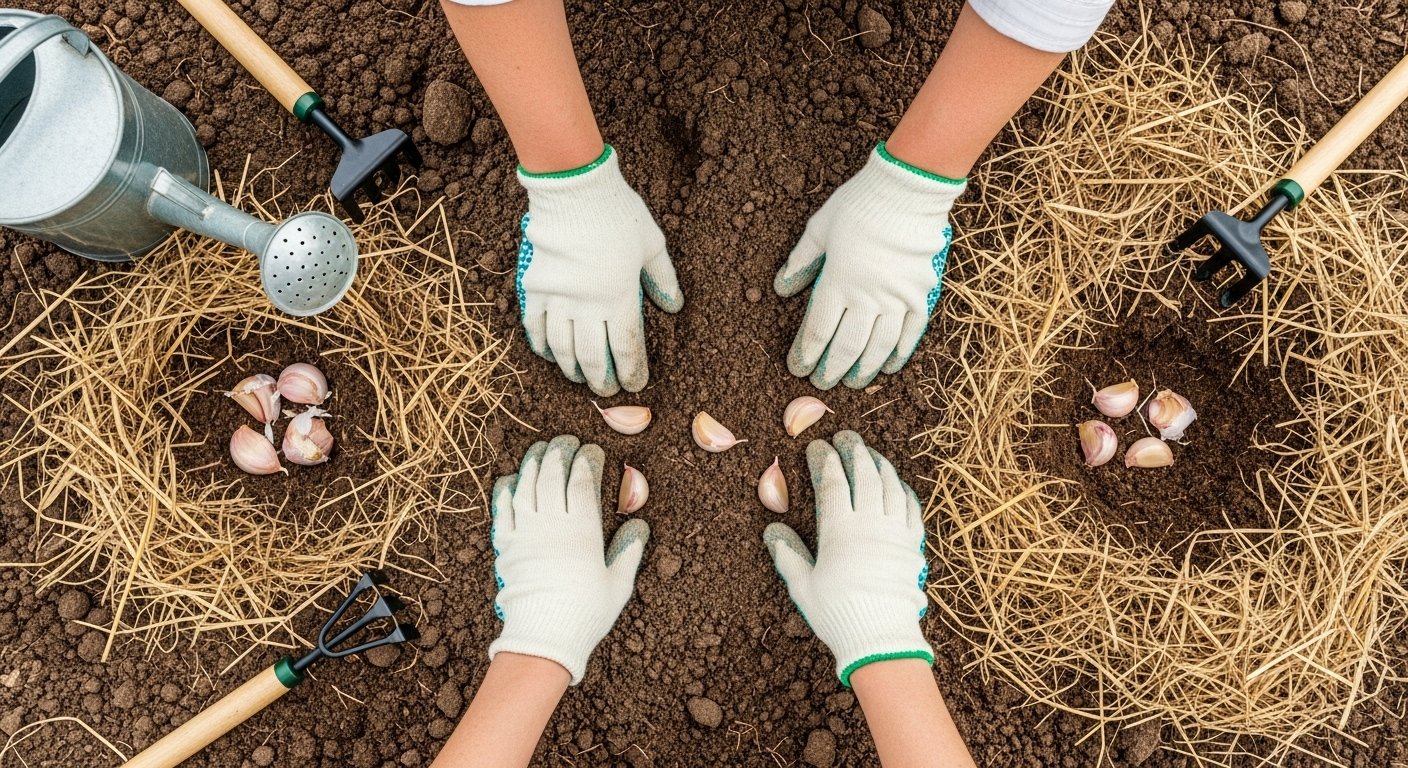
Begin by choosing a sunny spot with loose, well-drained, fertile soil—too much moisture can rot your garlic, while poor soils limit bulb size. Work in plenty of compost or aged manure a few weeks ahead, breaking up clumps and removing weeds.
Just before planting, separate the bulb into individual cloves, keeping the papery skins intact; only use plump, healthy cloves, and avoid any that look shrunken or moldy.
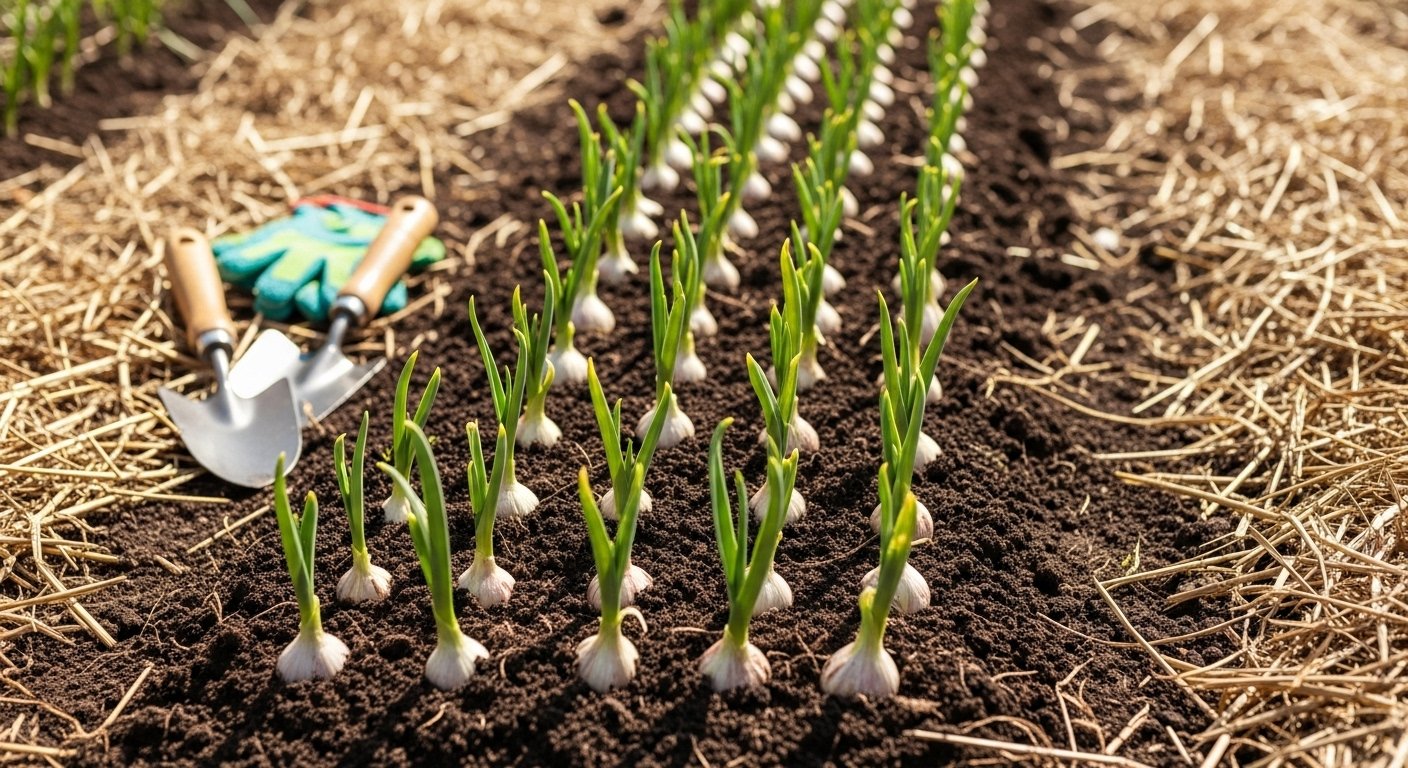
Plant each clove upright (pointy end up, root plate down), 2 inches deep and about 6 inches apart in rows that are at least 10-12 inches apart. Crowding them leads to smaller bulbs and weak plants, so give each clove enough space.
Cover with soil, gently firm it down, and mulch with straw or leaves to insulate against temperature swings.
Common Mistakes to Avoid
- Planting cloves upside down (they’ll struggle to emerge)
- Planting too shallow (risking frost damage)
- Planting too deep (they may rot or never break the surface)
With proper care, your garlic will settle in over winter, ready to leap into growth as soon as spring arrives.
Garlic Care: Growing Tips for Healthy Plants
Watering garlic correctly is essential for healthy, robust bulbs. In the early stages, keep the soil consistently moist but not soggy—aim for about an inch of water each week, depending on rainfall. Overwatering, especially as harvest approaches, is a common mistake.
As the garlic matures and the leaves begin to yellow (about three weeks before harvest), reduce watering to allow the bulbs to cure in drier soil. Stopping irrigation at this stage prevents rot and helps the outer skins form, which is important for storage.
In addition to watering, keeping your garlic beds weed-free is crucial—garlic has shallow roots and doesn’t compete well with weeds for nutrients and moisture. Regularly hand-pull weeds or use a hoe, being careful not to damage the garlic’s sensitive roots.
Mulching with straw or shredded leaves right after planting helps suppress weeds, stabilize soil moisture, and regulate temperature.
As spring growth takes off, side-dress your garlic with a balanced fertilizer or compost to encourage larger, healthier bulbs. Be sure not to overfertilize, as excessive nitrogen can lead to more leaf growth rather than bulb development.
Watch for other common care missteps, like overwatering near the harvest window or waiting too long to remove scapes from hardneck varieties—both can limit final bulb size.
Always monitor soil moisture with your finger or a moisture meter, and pay attention to local weather trends.
With thoughtful care throughout the growing season—timely watering, vigilant weeding, smart feeding, and careful harvesting—you’ll have a garlic harvest to be proud of.
Managing Garlic Pests and Diseases
Garlic, while robust, isn’t immune to common garden pests and diseases. Onion thrips and nematodes often threaten homegrown garlic, causing yellowed or deformed leaves. Keep an eye out for tiny, silvery streaks or curling foliage—early warning signs of thrips.
Fungal diseases like white rot or downy mildew appear as moldy patches or fuzzy growth at the plant’s base. To limit their spread, always rotate your garlic crops and avoid planting in the same spot year after year. Remove infected plants promptly and dispose of them to keep your garden healthy.
Water at the base of the plant, not overhead, to minimize moisture that encourages fungal growth. Mulching with straw can also deter thrips and conserve soil moisture.
Natural Pest Management
Companion planting is both effective and easy:
- Grow garlic near carrots, lettuce, or tomatoes to help repel pests.
- Avoid planting garlic close to beans and peas, which can stunt its growth.
- Marigolds are another good neighbor, as they attract beneficial insects that prey on common garlic pests.
By combining these preventative strategies—crop rotation, vigilant observation, and clever companion planting—you’ll boost your garlic’s resistance to pests and disease without resorting to harsh chemicals.
When and How to Harvest Garlic
Knowing when to harvest garlic is key to getting flavorful, long-lasting bulbs. Keep an eye on the lower leaves: when about half to two-thirds have turned yellow or brown, your garlic is ready to harvest—usually in mid to late summer. Don’t wait until all the leaves are dry, as that can cause the bulbs to split or deteriorate.
To harvest, use a garden fork or shovel to gently loosen the soil about 6 inches from the plants, taking care not to slice into the bulbs. Grip the stems gently near the base and lift the bulbs out, brushing off excess dirt without washing them—wet bulbs are prone to rot.
Next, cure garlic by hanging the whole plants or laying them on racks in a well-ventilated, shaded spot for two to three weeks. Proper curing dries the outer skins and helps your garlic store well through winter.
Once cured, trim the roots and cut the stems to about an inch above the bulb, then store the bulbs in a cool, dry area. Mesh bags or open baskets work well for airflow.
Common Harvesting Mistakes
- Waiting too long, which can result in over-mature, split bulbs
- Pulling on stems and damaging the bulbs
- Washing bulbs before they’re fully cured
With some patience and these careful steps, you’ll have a stash of homegrown garlic that stays flavorful and firm for months.
Garlic Storage and Use
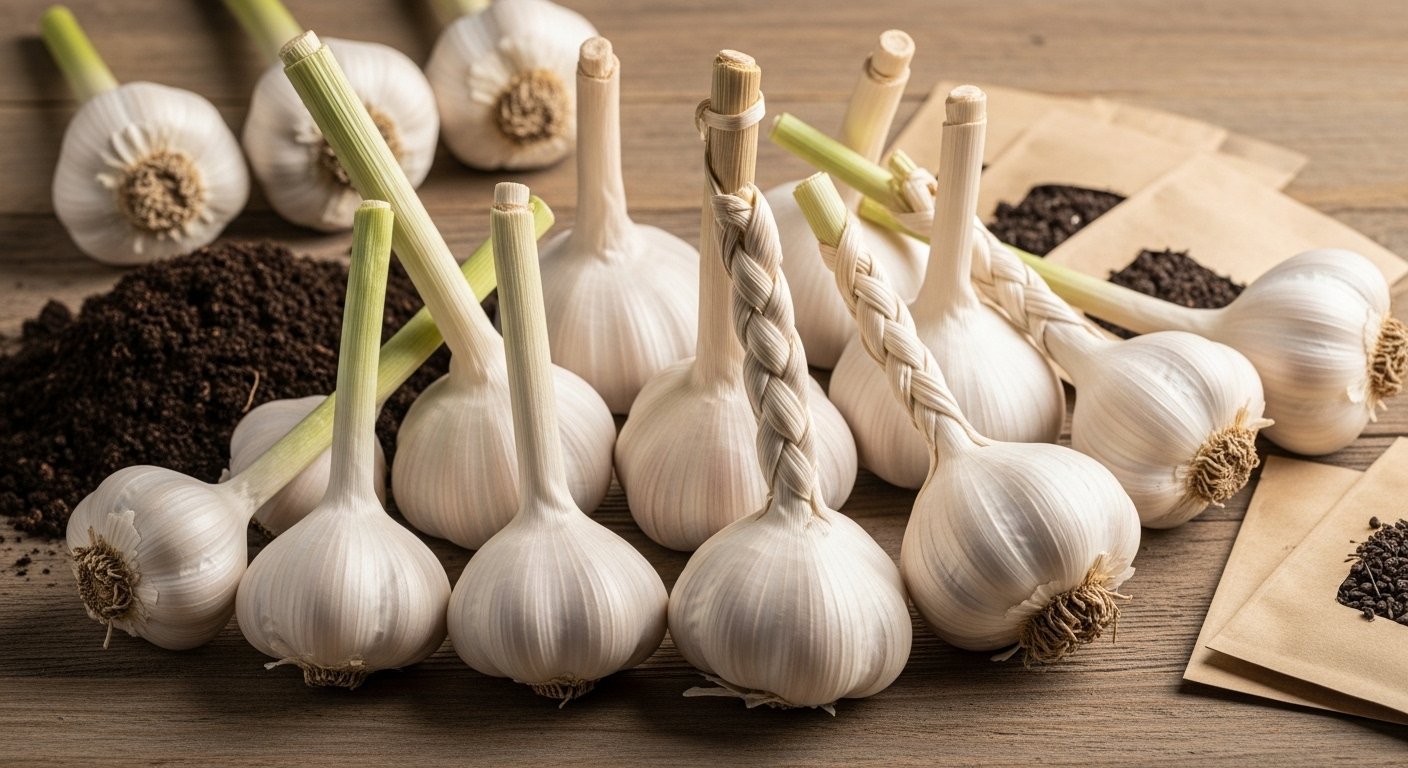
Storing fresh garlic properly is key to keeping it flavorful and ready for your favorite dishes. For the longest shelf life, keep garlic bulbs in a cool, dry place with good air circulation—avoid the fridge, as moisture can cause mold and sprouting.
A popular and attractive method for softneck garlic is braiding: simply weave the stems together and hang the braid in a well-ventilated kitchen or pantry, turning your garlic stash into functional decor. If you’re dealing with hardneck or loose bulbs, mesh bags, paper bags, or open baskets work well—just don’t seal garlic in plastic, which traps moisture.
When it comes to cooking, garlic is incredibly versatile. For a bold kick, mince or crush cloves and add them near the end of cooking. If you want subtle sweetness, roast whole heads to mellow the flavor: just slice off the top, drizzle with olive oil, wrap in foil, and bake at 400°F for 30–40 minutes.
To preserve garlic’s flavor outside its main season, consider freezing peeled cloves or submerging chopped garlic in oil and keeping it in the freezer for easy scooping—just never store garlic in oil at room temperature, as this can foster dangerous bacteria.
With these tips, you can enjoy peak garlic taste in everything from pasta and stir-fries to salad dressings and marinades, all year round.
Quick Garlic Growing FAQs
New to growing garlic? Here are some quick answers to get you started.
Yes, you can plant garlic from grocery store cloves, but for the best results, buy seed garlic from a garden center—it’s less likely to carry diseases and is bred for strong growth.
If you’re short on space, softneck garlic varieties like ‘Inchelium Red’ or ‘California Early’ work well in pots and containers. Just make sure the pot is at least eight inches deep and has drainage holes.
Garlic prefers full sun and loose, well-drained soil, so add compost to your pot or garden bed before planting.
Most garlic is planted in fall and takes about eight to nine months to mature, but you’ll see green shoots in early spring. You can even snip a few for flavorful garnishes without hurting the bulb.
Water consistently, but don’t let the soil get soggy. When the lower leaves turn brown in early summer, it’s harvest time!
Remember, garlic is hardy and forgiving—a great crop for beginners. Even if you make a few mistakes, you’re likely to end up with a tasty harvest to flavor your meals. Give it a try and enjoy the process!