Introduction
If you’ve ever tasted a crisp, homegrown head of raised bed cabbage, you know the difference is more than just fresh—it’s transformative. Growing cabbage at home allows you to pick it at its peak, offering unbeatable flavor and texture compared to most store-bought options, which are typically harvested early to ensure shelf stability, sacrificing taste along the way. There’s also a powerful satisfaction in knowing exactly how your vegetables are grown: no mystery pesticides or nutrient deficiencies, just pure, nutrient-rich cabbage straight from your own garden.
Beyond taste, the cost savings of growing raised bed cabbage can be a pleasant surprise. While a single cabbage head at the grocery store might seem inexpensive, the cumulative cost adds up fast, particularly if you enjoy cabbage in your weekly meals. A raised bed lets you grow several plants in a modest space with minimal ongoing expense, giving you a steady supply throughout the season, and even into winter with proper storage.
Nutritionally, homegrown cabbage is a powerhouse—packed with vitamin C, vitamin K, fiber, and antioxidants. Harvesting your own means you get to enjoy these nutrients at their maximum potency, since vitamins can degrade quickly after picking. This can be especially helpful if you’re seeking to boost immunity, improve digestion, or sneak more vegetables into family meals.
And don’t underestimate just how versatile cabbage is in the kitchen. From classic coleslaws and fermented kimchi to stir-fries, soups, and crunchy taco toppings, it fits a variety of cuisines and cooking styles. Its ability to thrive in raised beds, resist pests, and store well for months makes cabbage a staple for home gardeners seeking value, variety, and health—all from a simple patch of soil in the backyard. If you want fresher meals, a fuller wallet, and a thriving garden, starting your own raised bed cabbage patch is a smart, rewarding move.
Choosing the Right Cabbage Variety and When to Plant

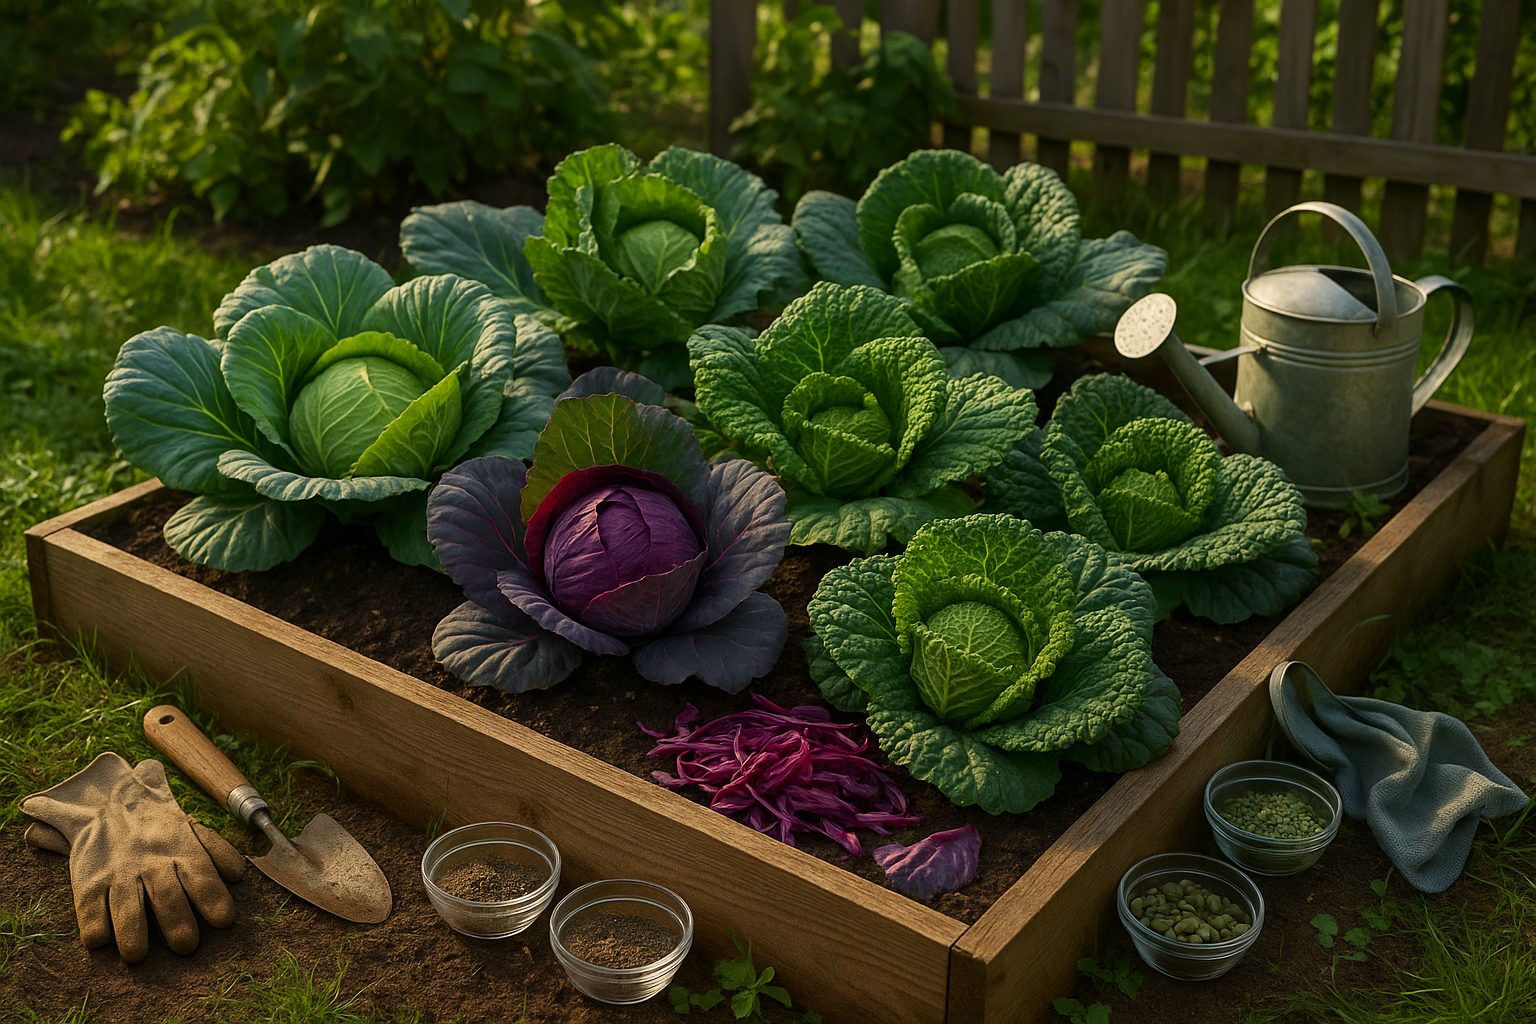
When it comes to growing cabbage successfully, choosing the right variety is key. Green cabbage is the most common type, easy to spot at the grocery store with its smooth, tightly packed leaves—perfect for salads, slaws, and fermenting into sauerkraut. Red cabbage is similar in shape but has bold purple-red leaves loaded with antioxidants and holds its color well when cooked or pickled. Savoy cabbage, with its crinkled, tender leaves, offers a milder flavor and is excellent for wraps or stuffed cabbage dishes. Napa cabbage, also called Chinese cabbage, grows in oblong heads with crisper, lighter leaves, making it ideal for stir-fries and kimchi.
When selecting a variety, consider your climate and garden space. Green and red cabbages do well in most temperate zones, while Savoy handles slightly cooler temperatures and adapts to short growing seasons, making it a smart pick for northern gardens. Napa grows fast and tolerates some summer heat, which suits warmer or more unpredictable climates.
If you’re tight on space or using containers, look for compact or mini varieties like ‘Golden Acre’ (a quick-maturing green) or ‘Red Express’ (an early red).
For planting, cabbage thrives as a cool-season crop. Gardeners in colder regions should start seeds indoors 6-8 weeks before the last expected frost, then transplant seedlings outside a couple of weeks before that date. In mild climates, you can also sow seeds directly in the ground as soon as the soil can be worked. Don’t forget to give cabbages plenty of sun and keep the soil consistently moist.
For beginners, reliable options include ‘Stonehead’ or ‘Tiara’ for green cabbage, both known for disease resistance and compact growth, ‘Ruby Ball’ for a colorful red, or try ‘Savoy Ace’ if you want tender leaves without fuss. Starting with these easy-care varieties can help ensure a rewarding cabbage harvest, even for first-time gardeners.
Preparing Soil and Planting Your Cabbage
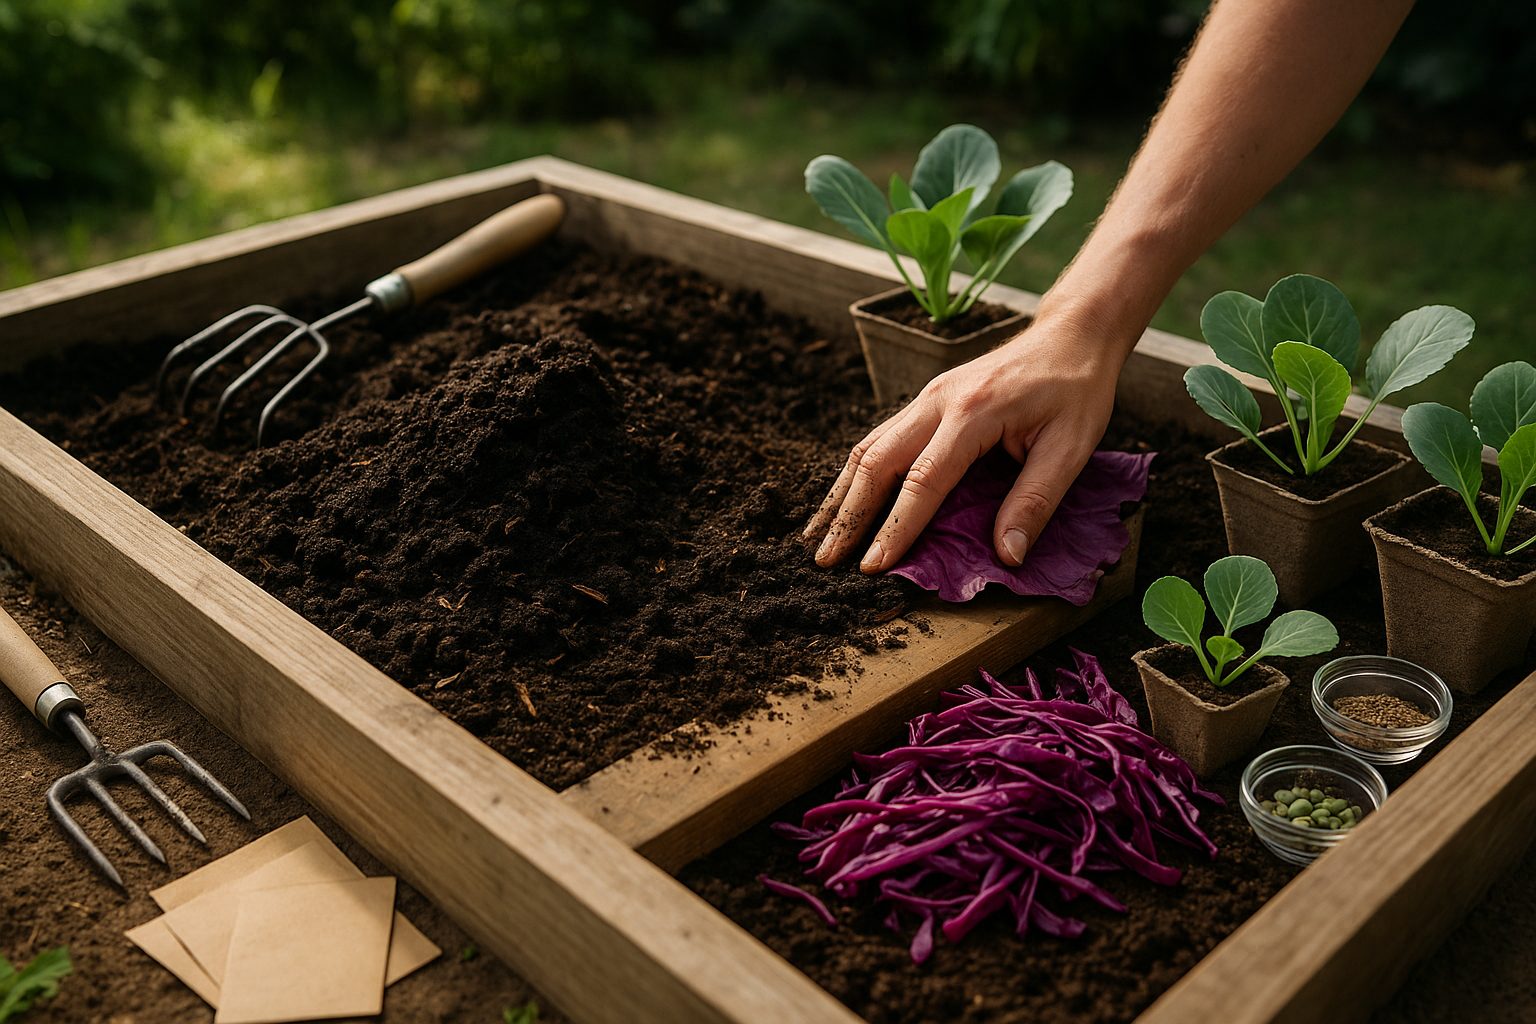
Cabbage thrives in fertile, well-draining soil with a neutral to slightly acidic pH—ideally between 6.5 and 7.0. To set your plants up for success, start by loosening the soil to a depth of at least 12 inches, removing rocks and debris as you go. Work in plenty of organic matter, like compost or well-rotted manure, to boost fertility and improve soil structure. You can also mix in a balanced granular fertilizer before planting for extra nutrients.
If your garden soil drains poorly, amend it with coarse sand or plant on raised beds to prevent waterlogged roots, which can quickly cause problems for cabbage.
Once your soil is ready, you can either directly sow seeds or transplant seedlings.
- Direct sowing: Plant seeds about a quarter to half an inch deep, spacing rows 18 to 24 inches apart. Thin seedlings to 12 to 18 inches apart once they have two true leaves.
- Transplanting: Set young plants at the same depth as in their nursery pots and maintain the same spacing guidelines. Proper airflow helps prevent disease and allows the heads to develop fully.
For gardeners with limited space or poor native soil, cabbage grows well in containers and raised beds—choose pots at least 12 inches deep and wide. Use high-quality potting mix and ensure the container drains well. Crowding can stunt growth, so don’t skimp on space: one healthy cabbage per container is usually best. Alternatively, place them along the edges of a raised bed with room in between.
With these careful preparations, you’ll give your cabbage plants the ideal footing to grow strong, crisp, and flavorful.
Caring for Cabbage: Watering, Feeding, and Maintenance
Keeping your cabbage healthy starts with consistent watering; these vegetables need about 1 to 1.5 inches of water per week, preferably delivered at the soil level to avoid wetting the leaves, which can attract disease. Adding mulch—like straw or shredded leaves—around your cabbage helps retain moisture, keeps soil temperatures cool, reduces the need for frequent watering, and suppresses weeds. Drip irrigation systems are a great investment for gardeners aiming for even moisture while keeping the foliage dry.
Alongside watering, cabbage is a heavy feeder. Choose a balanced fertilizer, such as a 10-10-10 NPK blend, and apply it at planting and again when heads begin to form, following package instructions to avoid overfeeding. Watch for common nutrient deficiencies: yellowing lower leaves can signal a nitrogen shortage, while purple-tinged leaves may mean the plant needs more phosphorus. Correct these with targeted organic amendments like blood meal for nitrogen or bone meal for phosphorus.
Pruning isn’t always necessary, but removing any yellowed or damaged outer leaves can boost air circulation and keep pests at bay. If seedlings are crowded, thin them out so each plant has at least 18 to 24 inches of space to grow robust heads. Consider using lightweight row covers early in the season—not only do they shield young plants from pests like cabbage worms and aphids, but they also provide a gentle microclimate to jump-start growth.
Smart companion planting also plays a role:
- Thyme and dill can repel cabbage moths.
- Planting cabbage near beans or onions can enhance growth.
- Keep cabbage away from other brassicas (like broccoli or cauliflower), which attract the same pests and compete for nutrients.
- Avoid proximity to strawberries and tomatoes to prevent potential growth issues.
By blending attentive watering, suitable fertilizing, strategic maintenance, and thoughtful garden planning, you’ll set your cabbage up for its healthiest, most productive season yet.
Protecting Cabbage from Pests and Diseases
Cabbage is a rewarding but often vulnerable crop, making pest and disease prevention a key part of successful gardening. Some of the most common cabbage pests include aphids, which cluster on leaves and sap away nutrients, and caterpillars or cabbage worms that chew visible holes through heads and leaves.
Keep an eye out for small green worms or clusters of tiny eggs on the undersides of leaves—hand-picking these pests early can save your crop from major damage. For larger infestations, you can spray with insecticidal soap or introduce natural predators like ladybugs to help keep aphids at bay.
Cabbage is also prone to diseases like black rot, downy mildew, and clubroot, all of which thrive in wet or poorly drained soil. To prevent these, practice crop rotation by avoiding planting cabbage or its relatives in the same spot each year, and clear away plant debris after harvest to eliminate disease sources.
Using floating row covers or fine netting creates a simple but highly effective barrier against flying insects such as moths and butterflies, stopping them from laying eggs on your plants. If you want to go organic, neem oil and Bacillus thuringiensis (Bt) sprays are safe, targeted solutions for controlling pests without harming beneficial insects.
For the best results, regularly inspect your plants, especially the undersides of leaves, at least twice a week. Catching issues early—before pests multiply or disease spreads—lets you intervene promptly, often with just manual removal or spot treatment, instead of having to salvage a damaged crop later.
By combining vigilance, good sanitation, and natural defenses, home gardeners can protect their cabbage while avoiding harsh chemicals and keeping their garden ecosystem healthy.
Harvesting and Storing Cabbage
Knowing when to harvest cabbage is key to getting the best flavor and storage potential. Cabbage heads are ready when they feel firm and solid to the touch—usually once they reach a size appropriate for their variety, typically between softball and basketball size. Avoid waiting too long, as overmature heads can split, especially after rain.
To harvest, use a sharp knife to cut the head at the base, leaving a few outer leaves attached for protection. Handle the heads gently to avoid bruising, which can shorten their storage life.
For short-term storage, keep cabbage in the refrigerator crisper drawer or a cool, humid spot. Wrapping it loosely in plastic or a damp towel helps retain moisture and keeps the heads fresh for several weeks. For longer-term storage, aim for temperatures just above freezing (32–40°F) with high humidity, such as a root cellar or unheated basement.
Don’t wash cabbage before storing, as excess moisture encourages rot. Hanging heads upside down by their roots or storing them in a perforated bag can also help prevent spoilage.
In regions with mild winters, cabbage can be left in the ground and harvested as needed. Pile mulch or straw around the base for insulation and cover with row fabric if cold snaps are expected. This method can extend your harvest well into late winter.
Whether you’re tucking away a few heads or stocking up for winter, careful harvesting and thoughtful storage will help you enjoy crisp, homegrown cabbage for months to come.
Enjoying and Using Homegrown Cabbage
Homegrown cabbage is a versatile kitchen hero, offering crunch and flavor in raw salads, tenderness when cooked, and a tangy punch when fermented. Enjoy it shredded as the star ingredient in classic coleslaw—just mix with julienned carrots, a hint of red onion, and a simple dressing of mayo, lemon juice, and a pinch of sugar.
For a warming comfort food, try sautéing chopped cabbage in olive oil with garlic until just tender, then toss with cooked noodles and a sprinkle of black pepper. Fermenting cabbage into sauerkraut is surprisingly simple: thinly slice the leaves, massage with salt, and pack tightly in a jar; within weeks, you’ll have a flavorful probiotic boost perfect for topping sandwiches or grilled sausages.
Nutritionally, cabbage is a powerhouse—rich in vitamins C and K, high in fiber, and loaded with antioxidants, all supporting immune function, heart health, and digestion. To enjoy its freshness, layer crisp cabbage leaves in wraps instead of tortillas, or toss raw shreds into stir-fries at the last minute for extra crunch.
These easy ideas not only highlight the sweet, earthy taste of homegrown cabbage but also make it effortless to include this nutritious veggie in everyday meals.