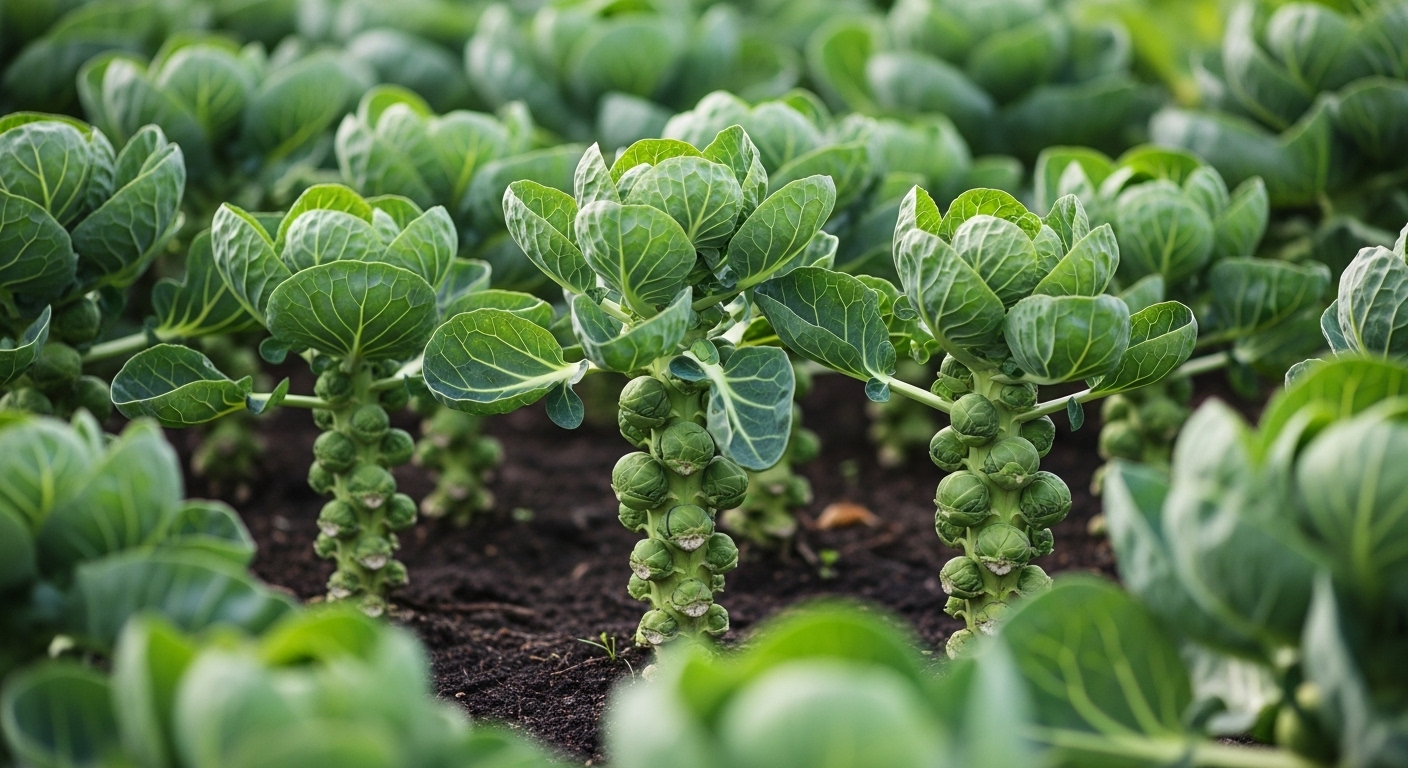
Choosing the Best Brussels Sprout Varieties
Leggy Brussels sprout seedlings can be a frustrating sight for any gardener, often signaling a mismatch between the variety you’ve chosen and your garden’s unique conditions. Selecting the best Brussels sprout varieties is the first step to avoiding spindly, weak plants and ensuring a bountiful harvest.
Start by considering your local climate: some brussels sprouts thrive in cooler, northern regions—like ‘Long Island Improved’ and ‘Jade Cross’—while others, such as ‘Royal Marvel’, offer better heat tolerance for southern gardens. Flavor also matters; ‘Diablo’ is known for its nutty-sweet taste, while ‘Red Bull’ adds a pop of color with its reddish sprouts and mild flavor profile.
If you’re a beginner, look for reliable performers like ‘Catskill’ or ‘Bubbles’—these varieties are popular for their disease resistance and consistent yields.
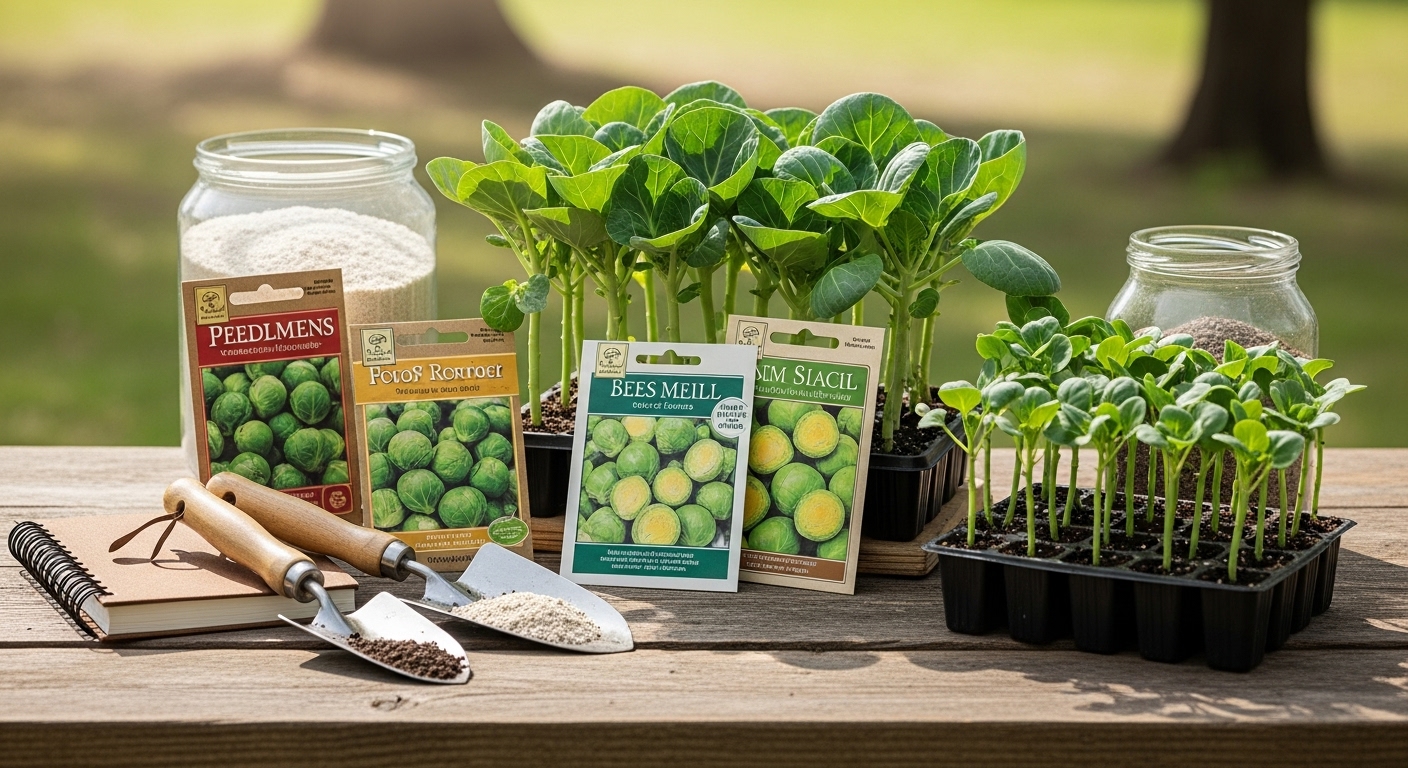
When purchasing seeds or seedlings, always check for freshness and buy from reputable sources. The seed packet should display a current “packed for” date, and seedlings should have thick stems with deep green leaves. Avoid any that look stretched or pale, as these leggy Brussels sprout seedlings may struggle to thrive.
Organic seed options can sometimes result in healthier, more robust plants, so consider certified organic selections if possible. Also, check reviews or ask local gardeners about their experiences with particular varieties; often, the best recommendations come from those growing brassicas in your area.
Investing a bit of time in variety selection and seed quality won’t just help prevent leggy starts—it’s your ticket to strong, productive Brussels sprouts you’ll be proud to serve at the table.
Starting Brussels Sprouts from Seed
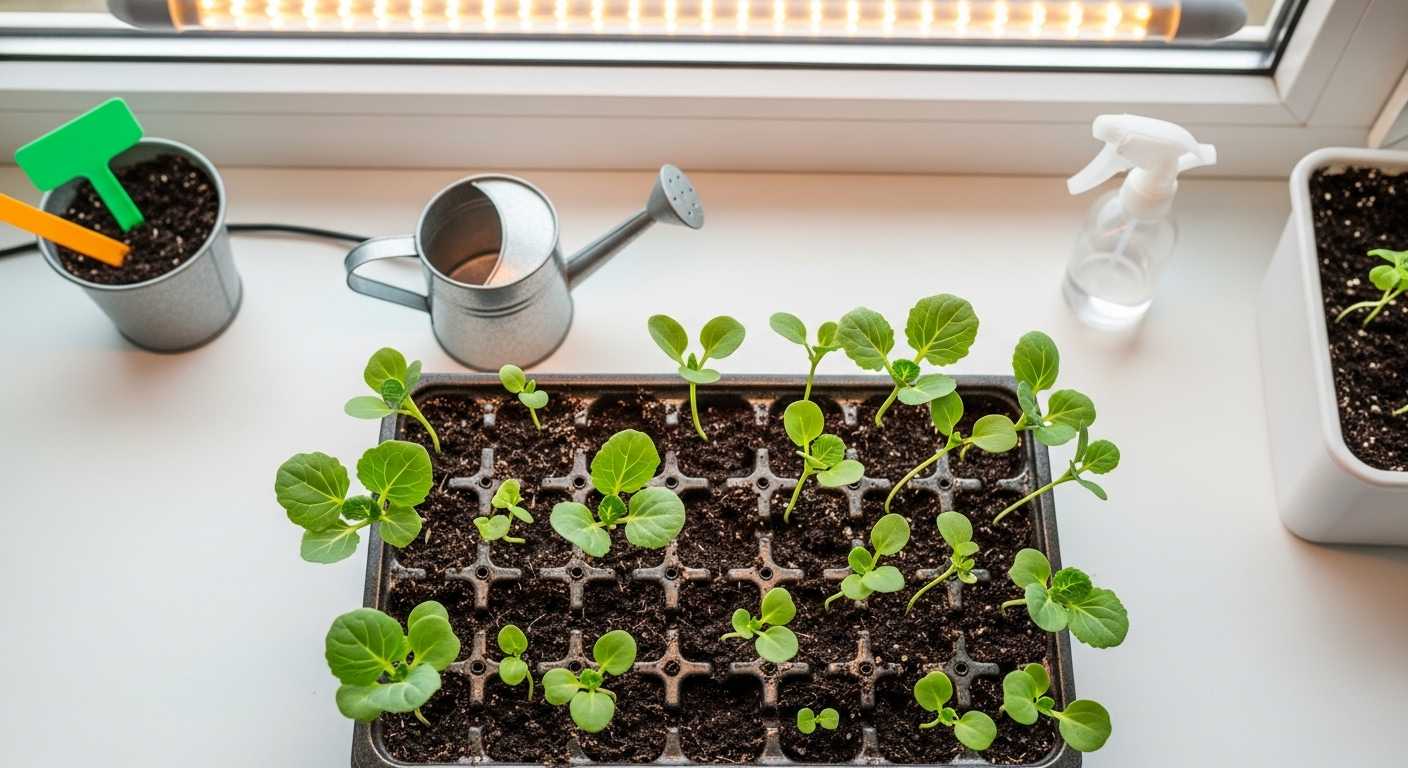
Starting Brussels sprouts from seed can be rewarding with the right approach. For indoor sowing, fill seedling trays or small pots with a high-quality seed-starting mix that’s loose and drains well. Sow seeds about ¼ inch deep, spacing them an inch apart for healthy root development.
Place trays in a spot with consistent temperatures between 60-70°F, as Brussels sprouts prefer cooler conditions for germination. Use a bright windowsill or, even better, a grow light placed just a few inches above the seedlings to prevent them from growing leggy and weak. Rotate trays if the light comes from one side.
Keep the soil evenly moist but not soggy.
If starting seeds outdoors, wait until soil temperatures are at least 45°F. Sow seeds directly into the garden, ¼ inch deep, spacing them 2 inches apart in rows 18-24 inches apart. Thin the seedlings later to leave 18-24 inches between plants.
Choose a sunny spot with rich, well-draining soil; adding compost before planting can help support strong growth.
Once indoor seedlings have two to four true leaves and nighttime temperatures consistently stay above 50°F, begin hardening them off by gradually exposing trays to outdoor conditions over about a week.
Transplant seedlings into the garden, spacing them 18-24 inches apart so each plant has room to grow tall and produce its signature stalks. Mulch after planting to help retain soil moisture, and keep Brussels sprouts well-watered, especially during hot, dry spells.
By planning your sowing and transplanting carefully, you’ll set your Brussels sprouts up for a successful season and a bountiful harvest!
Planting and Site Preparation
For the healthiest plants and a successful harvest, timing and site selection are key when transplanting outdoors. Wait until after the risk of frost has passed and nighttime temperatures consistently stay above 50°F (10°C). This ensures young plants won’t be stressed by cold snaps.
Choose a spot that gets at least six hours of direct sunlight daily—most vegetables and flowers thrive with plenty of sun. The soil should be well-drained and crumbly; avoid low areas that collect water or compacted soil where roots may struggle.
Test your soil’s pH, as many crops prefer a slightly acidic to neutral range (pH 6.0–7.0), and amend as needed. Mixing in a few inches of compost before planting helps boost nutrients, improve soil structure, and introduce helpful microbes.
For heavy feeders, a balanced granular fertilizer can further support strong growth. Always follow label directions to avoid overfeeding.
When planting, give each seedling enough space to grow—consult seed packets or plant tags for exact recommendations. Good spacing allows air to circulate, reducing the risk of fungal diseases.
Finally, practice crop rotation by moving plant families to different beds each year. For example, avoid planting tomatoes or peppers in the same spot two seasons in a row to help keep soil-borne pests and diseases in check.
Putting in this prep work gives your garden the best possible start.
Caring for Brussels Sprouts: Watering, Feeding, and Maintenance
When it comes to caring for Brussels sprouts in your garden, consistency is key. These leafy veggies thrive when watered deeply once or twice a week, especially during dry spells. Aim to keep the soil moist but never soggy, as overwatering can cause root rot.
Applying a layer of mulch, such as straw or shredded leaves, helps retain moisture, regulate soil temperature, and keep pesky weeds at bay.
Brussels sprouts are heavy feeders, so give them a boost every 3-4 weeks with an all-purpose vegetable fertilizer or compost tea, following the instructions on the product label.
As the plants grow taller, especially in windy areas, use stakes or garden twine to support them and prevent their thick stems from toppling over.
To improve airflow and reduce the risk of disease, carefully remove the lower leaves once the plants reach knee height—just snap them off at the stalk, but avoid removing too many at once.
Keeping the area weed-free is another important maintenance step since weeds compete for nutrients and water. Regularly check your garden and pull weeds by hand or use a hoe, being careful not to disturb the shallow roots of your sprouts.
With this routine, your Brussels sprouts plants will stay healthy and productive, giving you a delicious harvest later in the season.
Common Pests and Diseases
When growing vegetables, it’s important to watch out for common pests like aphids and cabbage worms, which can quickly damage or destroy your plants. Aphids are tiny, soft-bodied insects that cluster on stems and leaves, sucking sap and causing leaves to curl or turn yellow. Cabbage worms, the green larvae of cabbage moths or butterflies, chew large holes in the leaves of cabbage, broccoli, and related crops. Other frequent culprits include slugs, flea beetles, and spider mites.
In addition to pests, keep an eye out for disease symptoms such as wilting leaves, powdery mildew (a white or gray fuzz on leaves), or black spots — all signs your plants could be suffering from fungal or bacterial infections.
Prevention is always better than cure: regularly inspect plants, remove debris, and practice crop rotation to minimize overwintering pests and recurring diseases. Water plants early in the day to reduce moisture sitting on leaves overnight, which can invite fungal infections.
Organic Pest Control
For organic pest control, handpick caterpillars, use neem oil or insecticidal soap sprays, and encourage beneficial insects like ladybugs and lacewings. If pests persist, targeted chemical products are available, but always follow label instructions and consider their impact on pollinators.
Companion Planting
Companion planting is another safe and effective strategy:
- Marigolds deter aphids and nematodes
- Nasturtiums repel cabbage worms and aphids
- Planting basil near tomatoes may reduce thrips and whiteflies
By combining attentive monitoring, good garden hygiene, and nature-friendly prevention techniques, you’ll give your plants the best chance to thrive free from pests and disease.
Harvesting and Storing Brussels Sprouts
Knowing when to harvest Brussels sprouts is key to enjoying their peak flavor and texture. Look for firm, bright green sprouts about one to two inches in diameter; they should feel solid and easily snap off the stalk when twisted gently.
Lower sprouts mature first, so start harvesting at the bottom and work upward as they size up. To pick, use pruning shears or twist each sprout until it detaches—avoid yanking, which can damage the plant.
After harvesting, trim any yellow or ragged outer leaves and snip off the stem end. Unwashed sprouts keep best, so only rinse them right before use.
For fridge storage, place dry sprouts in a perforated plastic bag in your crisper drawer—they’ll stay fresh for up to two weeks. If you want to keep them longer, blanch the sprouts in boiling water for 3-5 minutes, quickly cool in ice water, then pat dry and freeze in airtight containers or freezer bags for up to a year.
Brussels sprouts add hearty crunch and flavor to roasted sheet pan dinners, stir-fries, or even shredded raw in salads, making them a versatile and long-lasting addition to your kitchen.
Brussels Sprout Productivity and Nutrition
Brussels sprouts are a surprisingly productive crop, often yielding 2 to 3 pounds per plant under good growing conditions. To boost your harvest, plant them in full sun during early spring or late summer, and ensure rich, well-drained soil—adding compost can work wonders.
Regular watering and mulching help keep plants thriving, while staking taller stalks prevents breakage as the sprouts get heavy. Harvest sprouts starting from the base up when they’re firm and about an inch in diameter for the best flavor and yield.
Nutritional Benefits
Nutritionally, Brussels sprouts pack a punch: they’re loaded with vitamin C, vitamin K, fiber, and antioxidants, all helping support immune health, strong bones, and digestive wellness. Their combination of folate and phytonutrients makes them particularly heart-healthy and anti-inflammatory.
Tasty Preparation Tips
If you’re not a fan of the bitter taste, try roasting Brussels sprouts with a touch of olive oil and garlic, or shredding them raw into salads for a crunchy kick. They’re also delicious sautéed with bacon or tossed into stir-fries, making it easy to enjoy their health benefits in a variety of quick, family-friendly dishes.