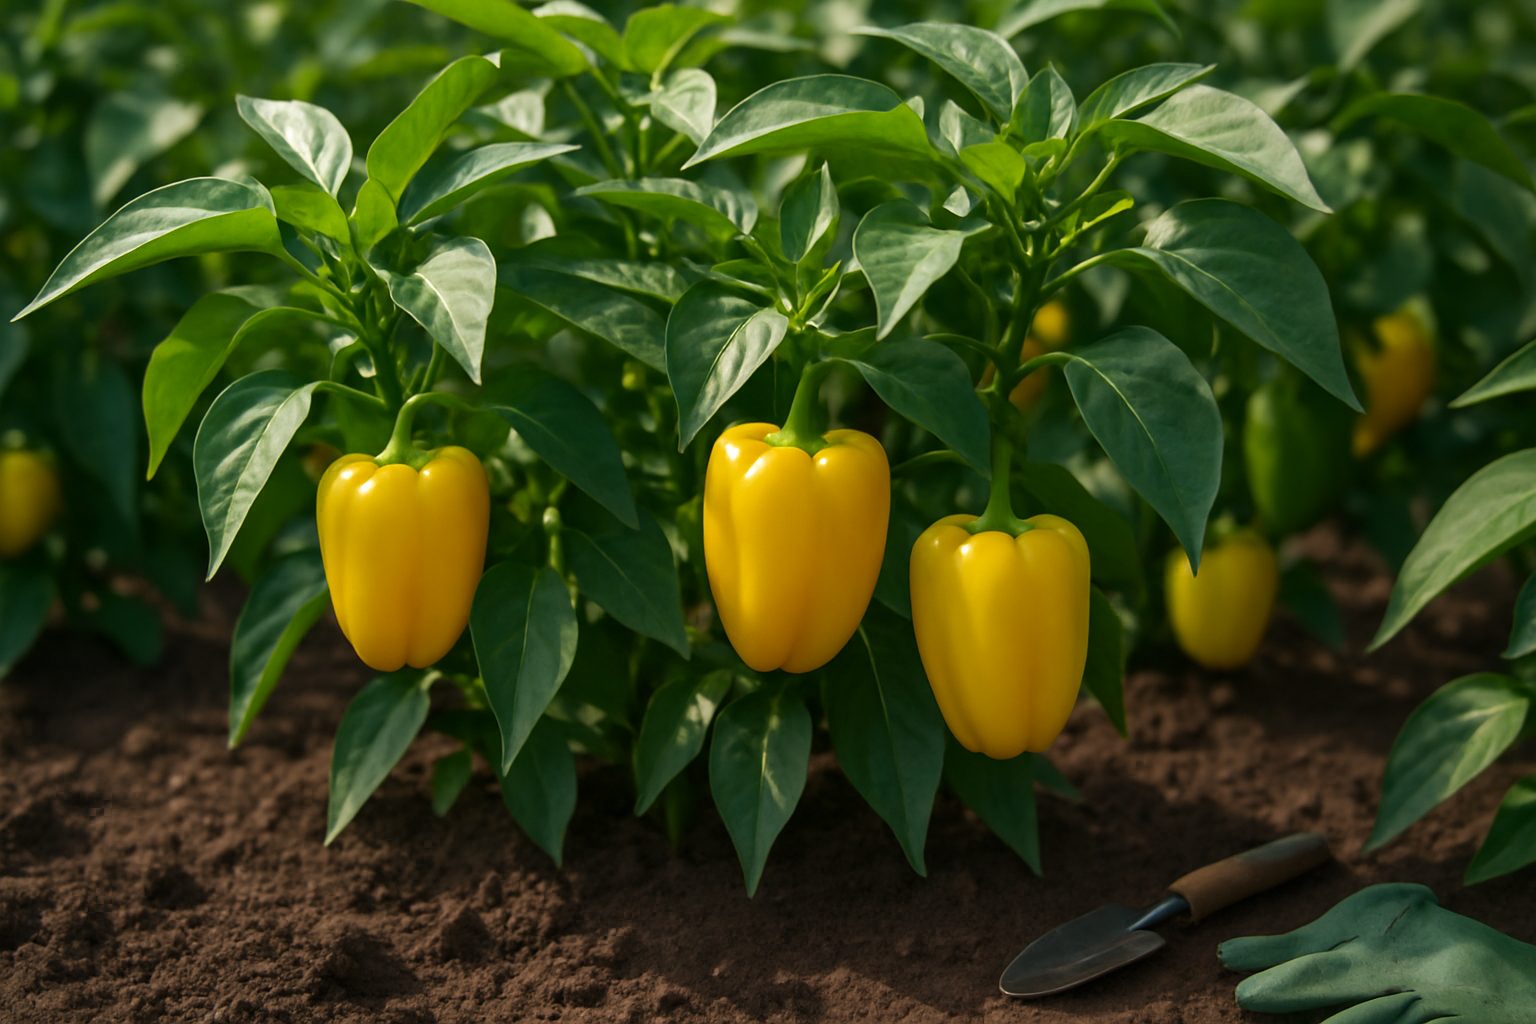
Common Causes of Yellowing Pepper Leaves
Yellow bell pepper leaves turning yellow can be a troubling sight for any gardener, but understanding what’s behind this change is the first step toward healthy plants. Sometimes, yellowing bell pepper leaves are easy to fix with a simple care adjustment, but other times, they signal issues that need your immediate attention.
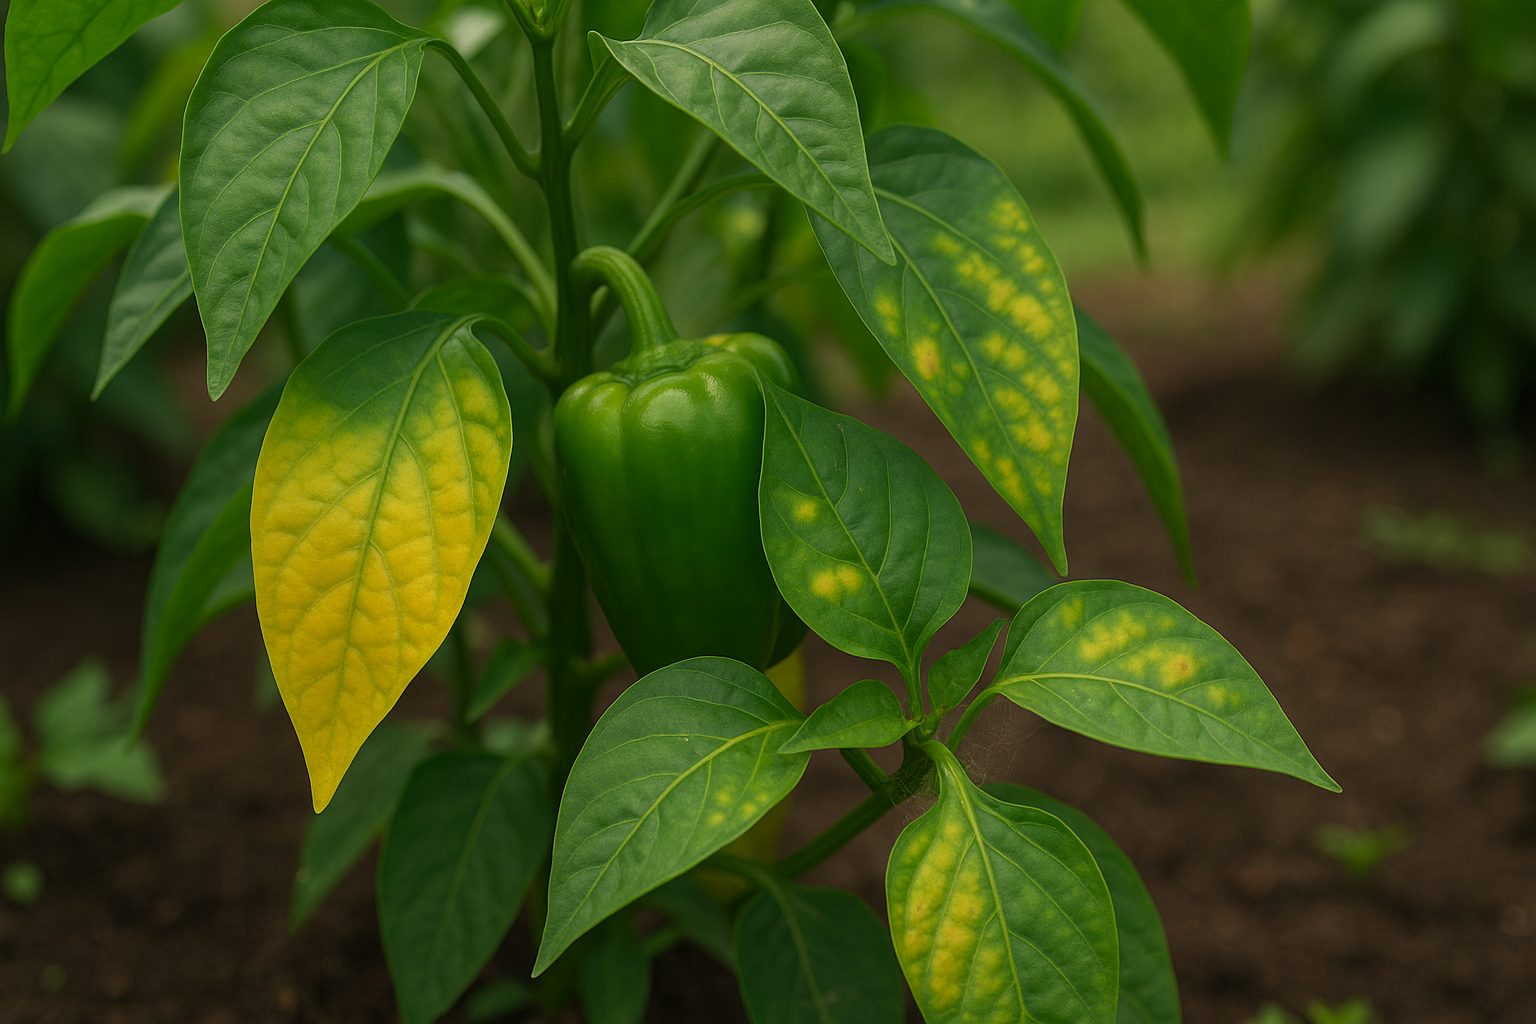
One of the most common culprits is nutrient deficiency—peppers are particularly sensitive to low nitrogen, magnesium, or iron, often resulting in gradual yellowing that starts from the lower leaves and climbs upward. If your watering routine is off—either too much or too little—roots can suffer; overwatering often shows as uniform, pale yellow leaves, while underwatering may create brittle, curling foliage alongside discoloration.
Pests like aphids, spider mites, or whiteflies also love pepper plants, sucking sap from leaves and leaving behind yellow patches or specks, usually accompanied by sticky residue or webbing. Closely inspect the undersides of leaves for tiny, moving critters — it’s often the first spot affected. Another sneaky suspect? Temperature stress. Bell peppers thrive in warmth but detest abrupt swings; chilly nights or scorching hot afternoons can trigger sudden, uneven yellow spots on leaves as the plant struggles to adapt.
It’s also important to know when yellowing is just part of your bell pepper plant’s natural cycle. As plants age, it’s normal for the oldest, lowest leaves to turn yellow and fall off. This usually happens gradually, and affected leaves are easily plucked with no impact on new growth. Problematic yellowing, by contrast, is more widespread, affects newer growth, or happens rapidly, so keep an eye on which leaves are yellowing and how quickly it’s happening.
In summary, check your bell peppers for patterns:
- Slow yellowing from the bottom up often means nutrients are lacking.
- Sudden patches can hint at pests or weather issues.
- Uniform pale leaves might indicate watering problems.
By diagnosing these symptoms early, you’ll help your yellow bell pepper leaves stay green, vibrant, and ready to support a bumper harvest.
Diagnosing the Issue: How to Identify the Root Cause
When trying to diagnose what’s troubling your plant, start by closely observing its leaves—color changes often reveal the first clues. For example, yellowing at the tips and edges might hint at nutrient deficiencies, while uniform yellowing or wilting could point to overwatering.
Look for patterns: Are the lower or older leaves affected first (common with deficiencies), or are the new ones showing symptoms (often pests or diseases)? Note any spots, holes, or sticky residue, which typically signal a pest or fungal problem.
Next, check the soil—poke a finger in to gauge moisture, or use a simple moisture meter for a more accurate reading. Waterlogged soil paired with a root rot odor confirms overwatering, while dry soil and crispy leaves usually mean underwatering.
For nutrient issues, examine whether symptoms improve after fertilizing—if not, consider the possibility of root-bound conditions or pH imbalances. Taking clear photos of your plant at different times can help spot changes over days and make it easier to ask for online advice.
Remember, careful observation beats guesswork every time: by methodically checking leaf color, patterns, soil conditions, and using basic tools, you can pinpoint whether your plant needs nutrients, less water, or is battling a pest or disease—leading you to the right solution faster.
The Role of Watering: Overwatering & Underwatering
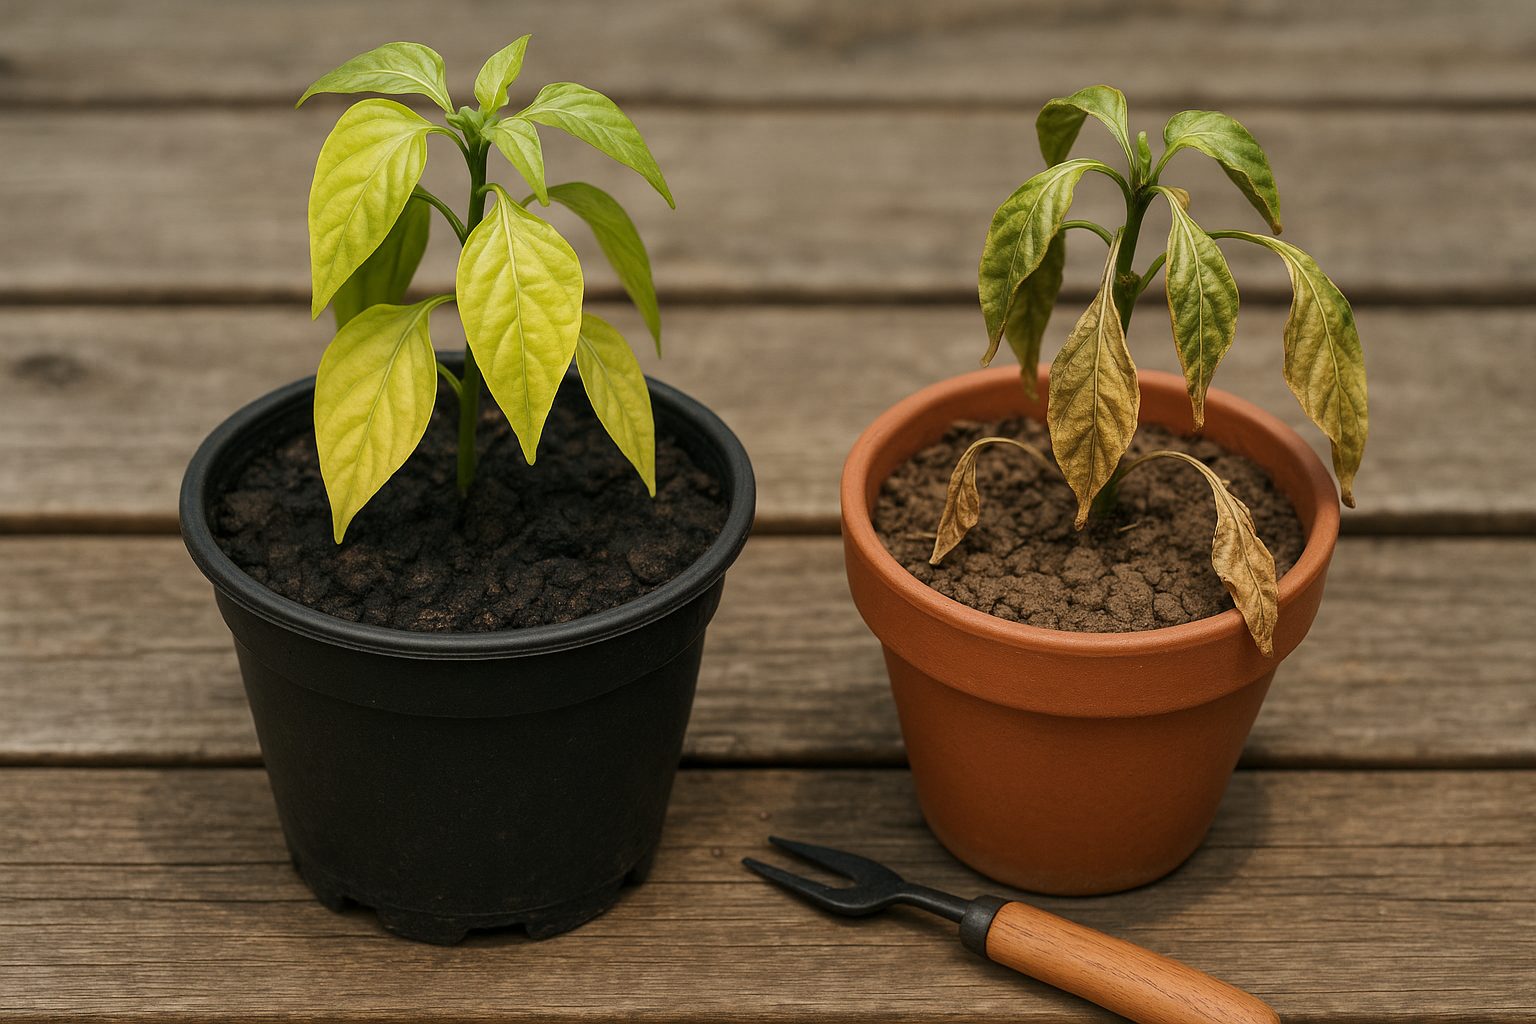
Watering your plants properly is crucial for their health, as both overwatering and underwatering can cause significant problems for leaves and roots. Too much water saturates the soil, suffocating roots and leading to root rot, yellowing leaves, and a mushy texture—think of how a potted basil plant might develop dark, wilting foliage if left in standing water.
Underwatering, on the other hand, deprives roots of moisture, making leaves dry, crispy, and prone to curling or browning around the edges, like a peace lily whose soil is left bone dry for days.
The best approach is to water deeply but less frequently, ensuring excess water drains freely from the pot or garden bed to prevent stagnant moisture. Always check the soil before watering; stick your finger an inch into the soil—if it feels dry, it’s time to water.
Frequency changes with the seasons and weather—plants often require more in hot, dry conditions and less during cool, damp spells. During active growth in spring and summer, most plants drink more, while in winter, when growth slows, they need less.
Watch your specific plant for signs:
- Drooping, yellowing leaves may mean overwatering.
- Dull, shrinking leaves suggest it’s too dry.
Improve drainage by using well-aerated soil and pots with holes. In humid weather, check for fungus or mold and reduce watering. After repotting or pruning, hold off on watering briefly to let roots heal.
If you’re not sure, err on the side of underwatering—plants usually recover more easily from thirst than from soggy roots. A simple schedule—like watering every 7-10 days for most houseplants, and adjusting as needed—can be a starting point, but always listen to your plant’s individual needs.
Being aware and flexible with your watering routine makes all the difference between stressed plants and a thriving indoor or outdoor garden.
Nutrient Deficiencies & Fertilization Tips
Yellowing leaves are a classic sign that your plants might be struggling with nutrient deficiencies, with nitrogen, magnesium, and iron being some of the usual suspects. Nitrogen deficiency often starts with older leaves turning pale yellow, especially at the tips and between the veins, while newer growth may remain green. Magnesium issues show up as yellowing between the leaf veins, mostly on older leaves, leaving a distinct green web pattern. Iron deficiency typically affects new growth first, turning young leaves yellow but leaving the veins dark green.
Determining which nutrient is lacking isn’t just guesswork—soil testing is your best tool here. Affordable test kits are available at garden centers and can reveal which nutrients are deficient, allowing you to target your fertilization efforts instead of relying on guesswork.
When it’s time to choose a fertilizer, you’ll find options labeled as synthetic (like common NPK blends) or natural (like compost, fish emulsion, or bone meal). Organic options are generally gentler and improve soil health over time, but they may release nutrients more slowly. Synthetic fertilizers act fast but must be measured and applied with care; always follow label instructions, and never apply more than recommended, as this can burn roots or harm the environment.
A good rule for both types is to water your plants before and after applying fertilizer to help distribute nutrients and avoid root burn. Another safe application tip: for liquid feeds, dilute them to half strength for young or sensitive plants.
For a more sustainable approach, incorporate compost into your soil each season or spread slow-release organic amendments like well-rotted manure or worm castings, which provide steady nourishment with minimal risk of overfeeding. By understanding the signs of deficiency, testing your soil, and choosing fertilizers wisely, you’ll keep your garden thriving and those leaves a healthy green.
Pest and Disease Problems
Yellowing leaves are often a warning sign of pest or disease trouble in your garden. Common insect pests like aphids and spider mites feed on plant juices, causing discoloration along with curled or deformed leaves. You might also notice tiny holes, a mottled appearance, or sticky residue (called honeydew), especially on the underside of leaves or around plant stems—these are telltale signs of sap-sucking insects.
Spider mites, in particular, leave behind fine webs, so look closely if your plant appears dusty or covered in silk. Other culprits include whiteflies, mealybugs, and scale insects, all of which can weaken plants if left unchecked.
On the disease front, fungal problems such as powdery mildew or root rot can create yellow patches or cause leaf drop, sometimes accompanied by fuzzy or slimy growths on the foliage. Bacterial diseases may also cause leaf spots or general wilting, progressing to more severe yellowing, stunted growth, or even plant death if conditions are damp and warm.
When you spot these issues, early intervention is key. For organic solutions, try spraying plants with insecticidal soap, neem oil, or a homemade mix of water and mild dish soap to dislodge pests. Removing affected leaves and increasing air circulation helps prevent fungal outbreaks.
If infestations are severe, targeted chemical insecticides or fungicides from your local garden center may be needed. Use them as a last resort and always follow label instructions to avoid harming pollinators.
As preventive steps:
- Always inspect new plants before adding them to your garden.
- Avoid overhead watering.
- Space plants adequately to limit the spread of pests and diseases.
- Rotate crops in your vegetable beds.
- Keep garden tools clean.
These practices can drastically reduce recurring problems. Early detection, prompt action, and a mix of organic or chemical controls, when appropriate, will help keep your plants healthy, lush, and green.
Environmental Factors: Light & Temperature Stress
Improper light and temperature conditions are two of the most common reasons leaves turn yellow, whether you’re growing houseplants or tending a backyard garden. When plants don’t get enough light, their chlorophyll production drops, causing leaves to fade and yellow. Too much direct sunlight, on the other hand, can scorch leaves and lead to yellow or brown patches.
Temperature is equally crucial—exposing plants to extremes like cold drafts, heat waves, or sudden shifts can shock them, disrupting nutrient uptake and causing that telltale yellowing.
Tips for Indoor Plants
To keep your indoor plants healthy, place them near windows that mimic their natural habitat: bright, indirect light suits most tropical varieties, while succulents thrive in sunny spots. Avoid positioning plants next to heaters, air conditioners, or drafty doors, as fluctuations can stress them.
Tips for Outdoor Gardens
For outdoor gardens, observe sunlight throughout the day so you can group shade-loving plants under trees or on the north side of your house, while sun-lovers get prime, south-facing spots. Mulching beds helps moderate soil temperature, and row covers can protect sensitive plants during a sudden cold snap or heatwave.
Remember, moving a plant abruptly from shade to full sun—or from indoors to outdoors—can cause “transplant shock,” leading to yellow leaves, so transition them gradually over several days.
Always check plant tags or research specific needs before choosing a location. If a cold night is approaching, bring container plants inside and cover delicate outdoor plants with frost cloth.
By staying aware of your environment and adjusting where and how you grow your plants, you’ll minimize yellowing and keep foliage vibrant all season long.
Prevention and Long-term Care for Healthy Pepper Plants
Keeping your pepper plants healthy over the long term doesn’t have to be complicated—consistency is key. Start with a weekly inspection: look for spots, chewed leaves, or signs of pests and disease so you can catch issues early.
When it comes to feeding, peppers love balanced nutrition. Apply a slow-release fertilizer at planting, then side-dress with compost or an organic blend every few weeks during the growing season to support steady growth and fruiting.
Pruning is another important step—remove any yellowing or crowded leaves to improve airflow, which helps prevent fungal diseases like powdery mildew.
For environmental consistency, peppers thrive with 6–8 hours of sunlight daily and even soil moisture. Avoid letting the soil dry out or become waterlogged; a layer of organic mulch like straw or shredded leaves can help keep soil damp and suppress weeds.
Companion planting offers natural pest control and boosts plant health; basil, marigold, or onions make great neighbors by repelling pests like aphids and beetles. Rotate your pepper crop yearly to prevent soil-borne diseases from building up.
Quick Ongoing Care Checklist
- Inspect leaves and stems every week.
- Check soil moisture by pressing your finger an inch deep.
- Feed with compost monthly.
- Prune growth to improve airflow.
- Monitor for pests like aphids or spider mites.
If you spot curling leaves or stunted growth, check for overwatering, underwatering, or nutrient deficiencies and adjust accordingly.
By following these simple routines and strategies, you can enjoy strong, productive pepper plants all season long.