Introduction to Arugula
Arugula spacing is one of the first things to consider when starting your own patch of this flavorful green. Arugula—sometimes known as rocket—has gained a loyal following among home gardeners for its crisp, peppery taste that can add a zesty kick to salads, sandwiches, or even pizza.
Its leaves have a distinctive, tangy flavor that sets it apart from milder lettuces, making it a favorite for those looking to jazz up everyday dishes. One of the main attractions of growing arugula in your garden is how quickly it matures; you can often harvest baby leaves in as little as three weeks.
Plus, arugula is easy to grow, thriving in containers or garden beds, and requires little fuss—just sunshine, water, and the right spacing. In this guide, you’ll discover exactly how far apart to space arugula plants for healthy growth, why spacing matters for preventing overcrowding and disease, and some practical tips for maximizing your harvest whether you have a sprawling backyard or just a balcony.
Let’s dig in and set your arugula patch up for success!
When and Where to Plant Arugula
Arugula thrives when planted during the cooler parts of the year, making early spring and fall the perfect seasons to sow your seeds. Hot weather can cause arugula to bolt quickly—that is, to send up flower stalks that turn the leaves bitter—so aim to plant once soil temperatures are consistently above 40°F but before the full heat of summer arrives.
If you live in a warm climate, consider planting arugula in late summer for a fall harvest, or even through mild winters if frost isn’t severe.
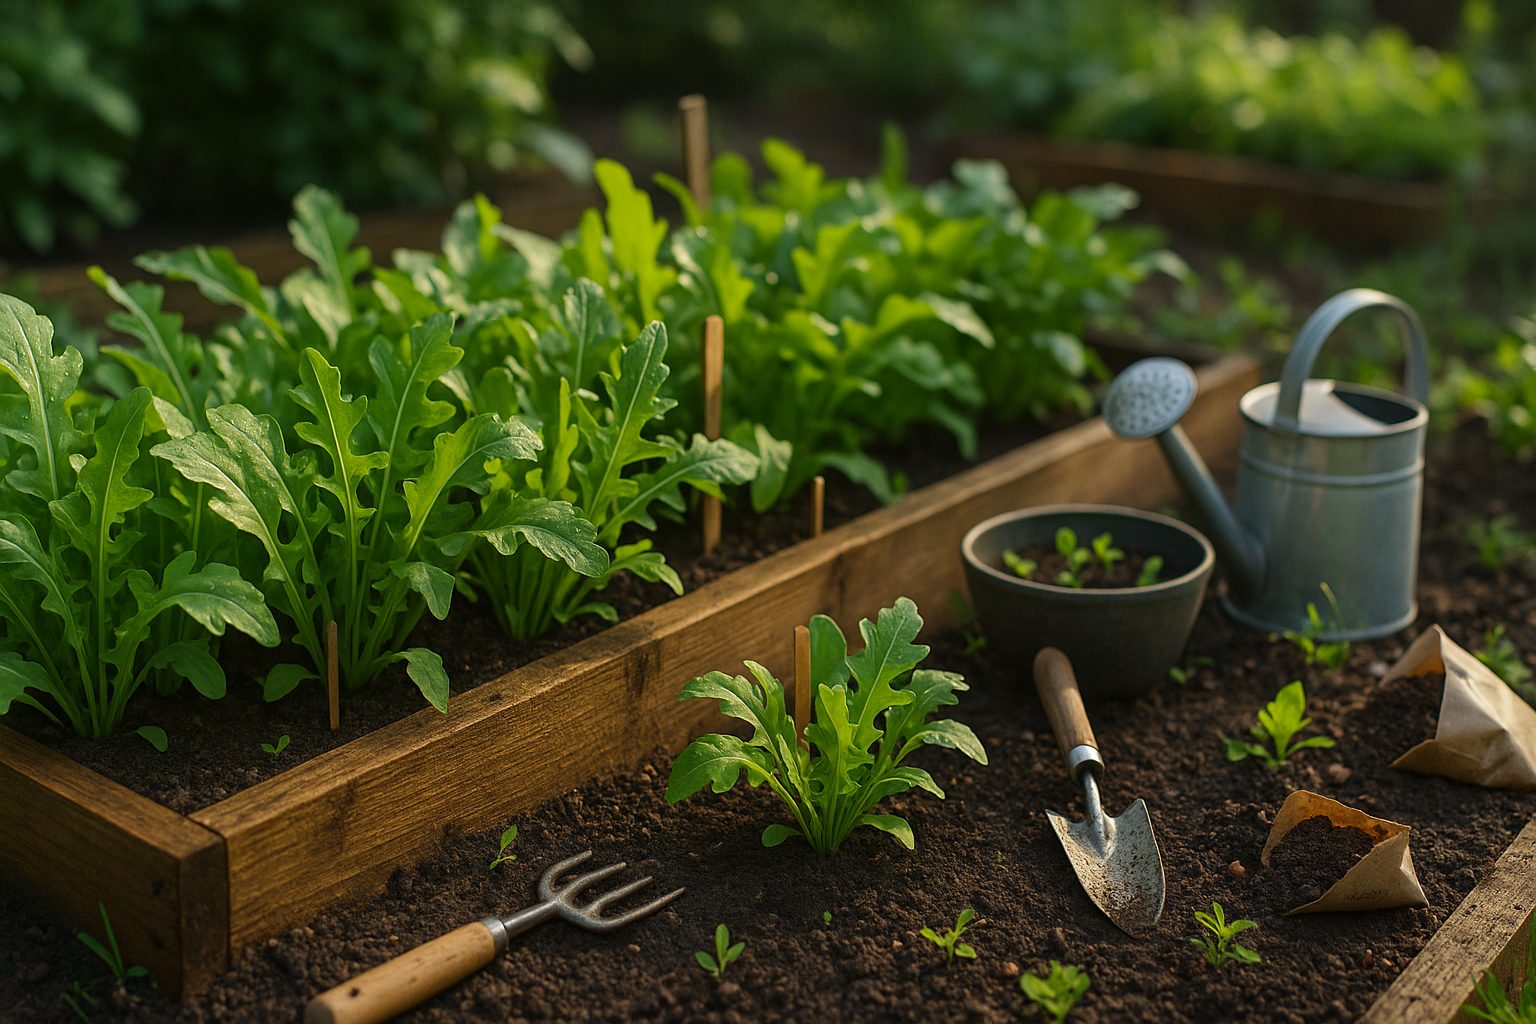
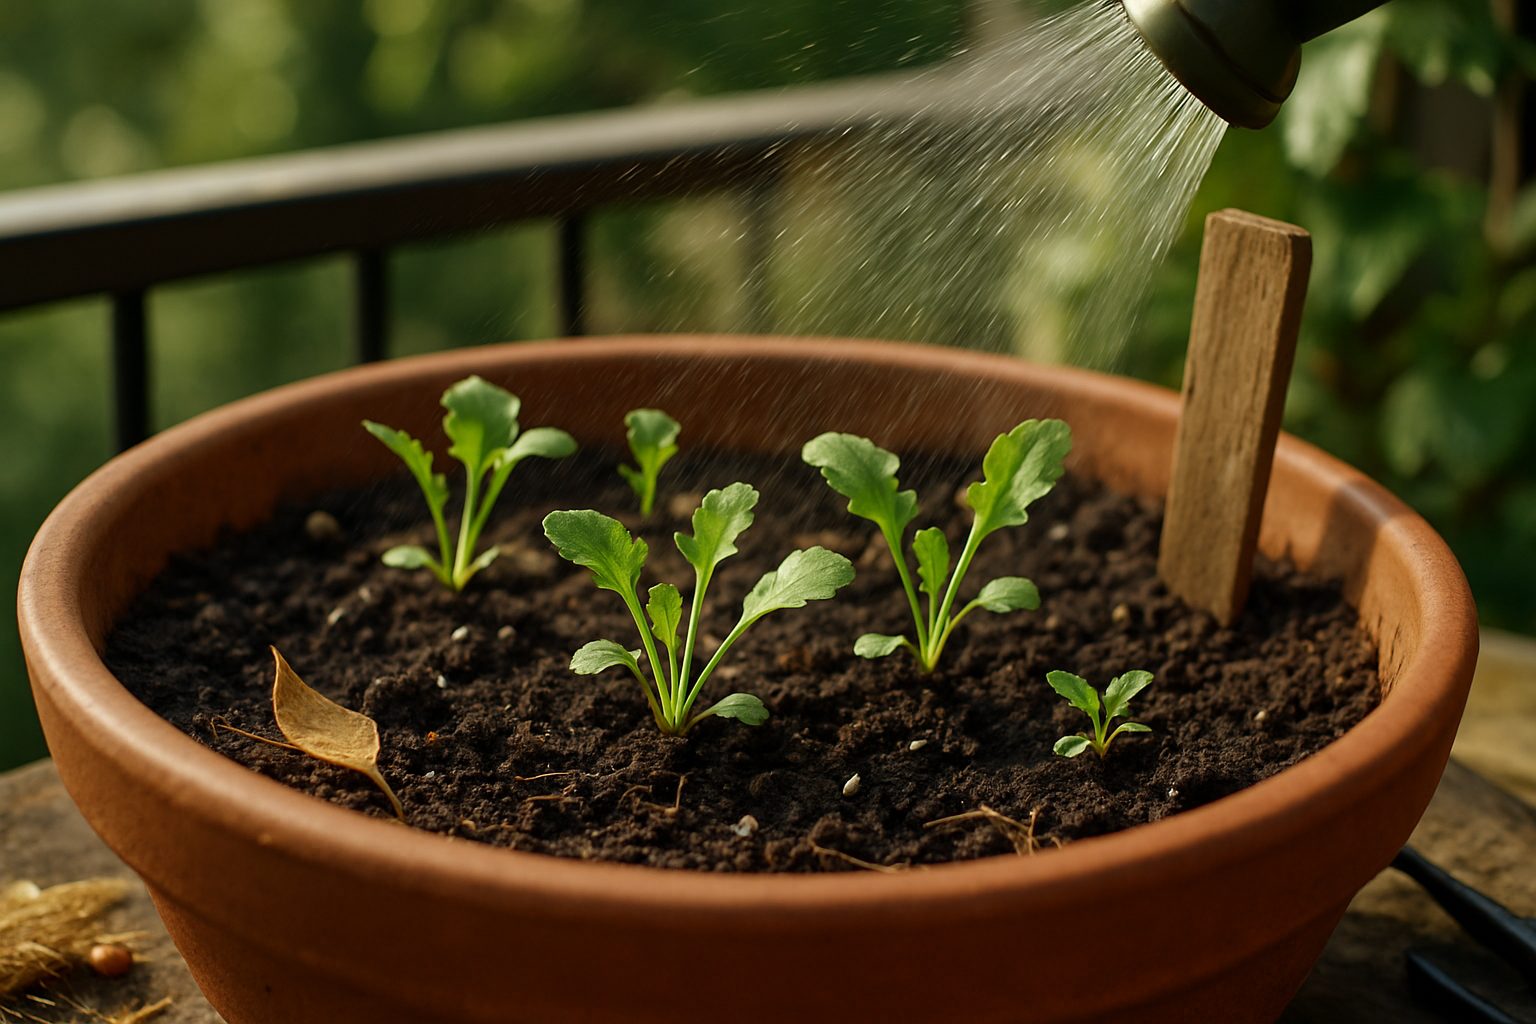
Location-wise, arugula is wonderfully flexible. It grows well in traditional garden beds, raised beds, large containers, and even window boxes, making it ideal for urban gardeners or those short on space. Just ensure your chosen spot gets about four to six hours of sunlight daily; however, if you live somewhere with intense midday sun, try positioning your plants where they’ll get some afternoon shade.
This partial shade helps keep the soil cooler and can prevent the plant from bolting prematurely. For the healthiest leaves, use well-drained and fertile soil with lots of organic matter mixed in—think compost or aged manure.
Arugula isn’t particularly picky about pH but does best in soil that’s close to neutral, around 6.0 to 7.0. Keep the soil consistently moist but not soggy, and you’ll have lush, peppery greens ready for harvest in as little as four weeks.
With these simple guidelines, you can enjoy fresh arugula regardless of how much garden space you have.
How to Plant Arugula & Spacing Guidelines
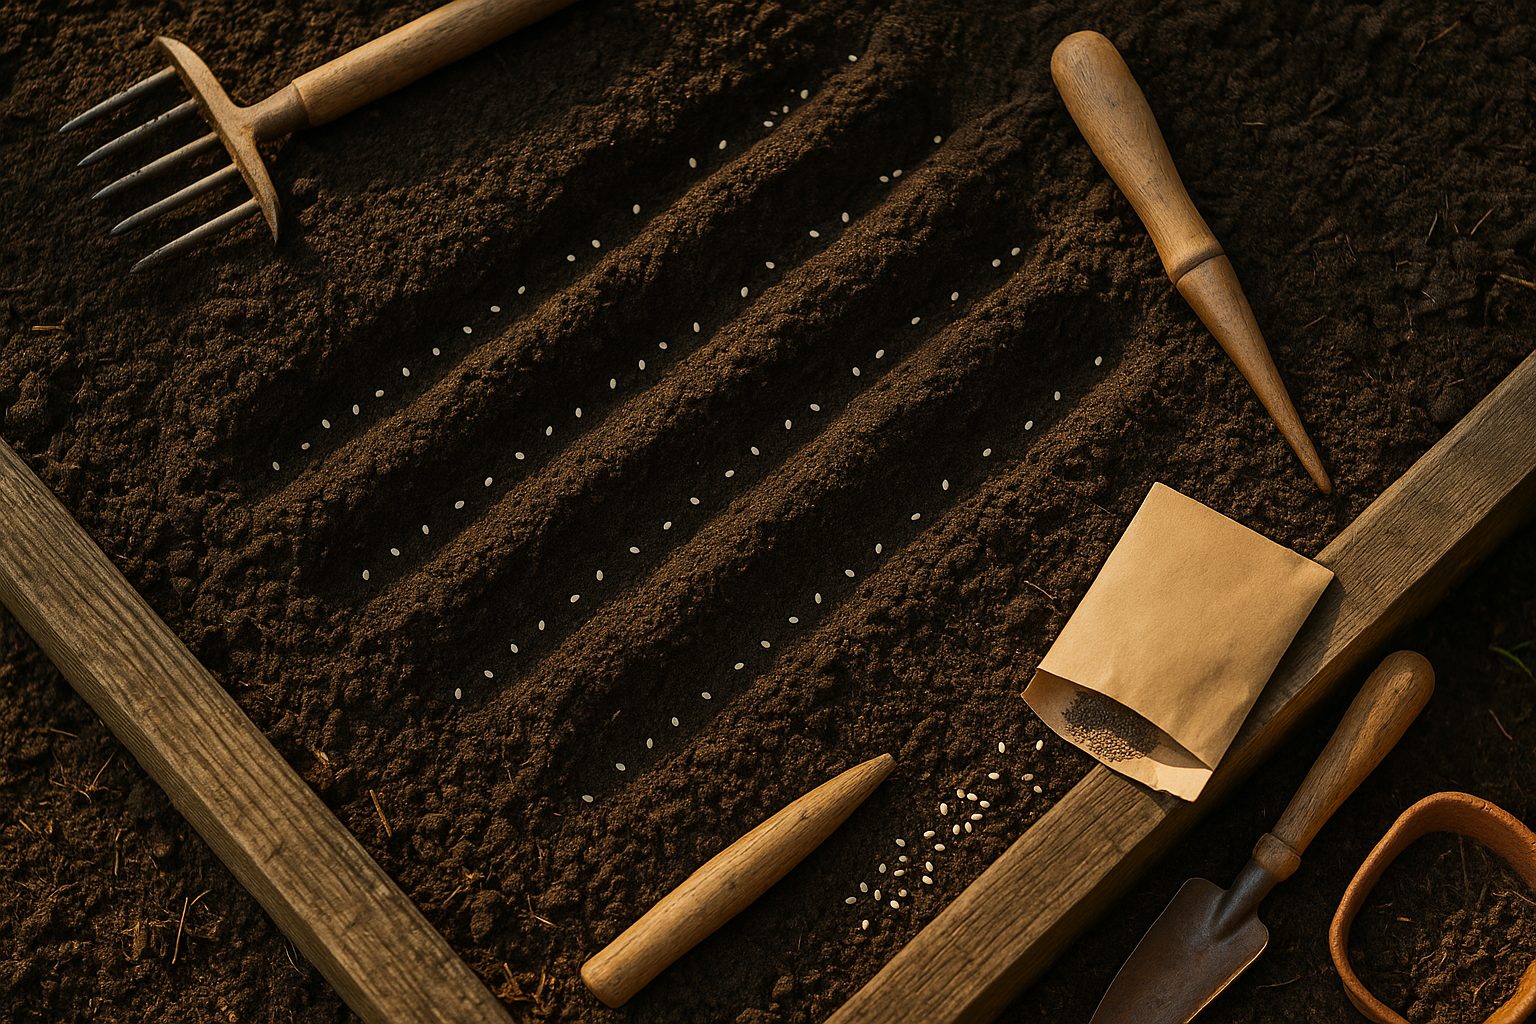
Planting arugula can be done either by direct seeding or transplanting, and both methods are beginner-friendly. For direct seeding, choose a sunny or partially shaded garden bed with well-drained soil. Rake the area smooth, then sow arugula seeds about ¼ inch deep. Space seeds around 1 inch apart in rows spaced 10 to 12 inches apart—this gives your plants room to grow while allowing for good airflow.
As seedlings sprout and reach about 2 inches tall, thin them to 3 to 4 inches apart; this prevents overcrowding and produces healthier leaves.
If you prefer transplanting, start seeds indoors 3 to 4 weeks before the last frost. Sow seeds in trays, and once seedlings have two true leaves and outdoor temperatures are stable, transplant them into the garden at 3 to 4 inches apart, still keeping rows 10 to 12 inches apart.
Always read your seed packet for specific spacing and depth, as some varieties may need a little more space or have special instructions. If your packet doesn’t specify, use the mature spread listed for arugula, which is usually about 4 inches.
To keep your salad bowl full all season, use succession planting: sow a small row of seeds every 2 to 3 weeks from early spring through late summer. This simple technique ensures you have a constant supply of tender, flavorful leaves rather than a flood of arugula all at once.
Remember to water consistently and harvest leaves when they’re young and bright green for the best taste.
Caring for Your Arugula Plants
Keeping your arugula plants happy doesn’t have to be complicated, but a few smart habits can make all the difference.
Watering
Arugula likes consistent moisture, but soggy soil leads to rot and unhappy roots. A good rule is to water deeply once or twice a week, letting the top inch of soil dry out between waterings. Early mornings are ideal to avoid evaporation and fungal diseases.
Feeding and Mulching
To promote steady growth, feed your plants with a balanced, organic fertilizer once every three to four weeks. Avoid anything too high in nitrogen, which can make leaves taste bitter. Adding a layer of mulch, like straw or chopped leaves, around your arugula helps retain moisture and keeps the soil cool—especially useful during hot spells.
Pest Control
Arugula’s tender leaves can attract pests like flea beetles, which leave tiny holes, and aphids, which cluster on stems and leaves.
- Flea Beetles: Cover young plants with lightweight row covers and sprinkle food-grade diatomaceous earth on the soil.
- Aphids: Blast them off with a gentle spray of water or use organic insecticidal soap.
Preventing Bolting
To prevent your arugula from bolting—a sudden burst of flowering that makes leaves taste bitter—harvest leaves often, keep the soil evenly moist, and try growing in partial shade during hot weather. If you notice flower stalks forming, pinch them back to encourage more leafy growth.
By following these simple steps, you’ll keep your arugula lush, flavorful, and ready to harvest for salads or garnishes all season long.
Harvesting and Storing Arugula
Harvesting arugula at the right time ensures tender, flavorful leaves. Typically, arugula is ready for its first harvest about 20–30 days after sowing, when the leaves reach 2 to 3 inches long. Look for bright green, healthy leaves that haven’t turned tough or bitter; younger leaves tend to be milder and sweeter.
For a continuous supply, try the cut-and-come-again method: use clean scissors to snip outer leaves about an inch above the soil, leaving the center intact so the plant can regrow. If you prefer a larger harvest or the plant is bolting (sending up a flower stalk), cut the whole plant just above the base.
Once harvested, immerse the leaves in cold water to remove any dirt or bugs, then gently pat them dry with a clean towel or use a salad spinner to prevent sogginess.
To keep arugula fresh:
- Layer the washed and dried leaves in a paper towel inside a loose plastic bag or an airtight container.
- Store them in the crisper drawer of your fridge.
This method helps arugula stay fresh for up to a week.
For longer preservation, consider:
- Making arugula pesto.
- Blanching the leaves briefly in boiling water before freezing them for use in cooked recipes later on.
These simple steps help you enjoy garden-fresh arugula long after harvest.
Common Problems and Solutions
Gardeners often face a few recurring problems when growing leafy greens: bolting, insect pests, and diseases like downy mildew.
Bolting happens when plants suddenly send up flowers and go to seed, usually during hot weather or when stressed. To prevent this, choose bolt-resistant varieties and plant early in spring or fall when temperatures are cooler. If you notice signs of bolting, harvest the leaves immediately to salvage the crop.
Insect pests such as aphids and cabbage worms can quickly damage your greens, leaving holes in leaves and stunting growth. Regularly inspect plants and handpick larger pests off, or spray leaves with a diluted soap-and-water solution to deter smaller bugs. Encouraging beneficial insects like ladybugs or using row covers also helps control pest populations naturally.
Downy mildew, a common fungal disease, can be spotted by yellow spots on upper leaf surfaces and fluffy gray undersides. To avoid this, water at the base of plants in the morning to keep foliage dry, space plants for good air circulation, and remove any affected leaves as soon as they appear. Neem oil or a homemade baking soda spray can also help manage early infections without harmful chemicals.
By staying attentive and taking simple preventive steps, you can keep your leafy greens healthy and productive throughout the season.
Enjoying Arugula in the Kitchen
Arugula brings a fresh, peppery flavor to countless everyday dishes, making it a favorite for quick, vibrant meals. Toss a few handfuls of homegrown arugula into salads—combine it with sweet cherry tomatoes, creamy goat cheese, and toasted walnuts for a simple but delicious bowl.
For a bright twist on sandwiches or wraps, layer arugula leaves with turkey, hummus, or roasted veggies to add crunch and a peppery edge. If you enjoy homemade sauces, blend arugula with olive oil, garlic, parmesan, and nuts to create a zesty pesto that’s perfect for pasta, pizza, or dipping bread.
Don’t be afraid to sauté arugula into warm dishes, either; stir it into scrambled eggs or add it to sautéed mushrooms right before serving. Arugula wilts quickly, so it works well for topping flatbreads or tossing into soups at the last minute.
The beauty of growing arugula at home is having it always on hand—just pick, rinse, and liven up your meals with homegrown flavor any day of the week. Experiment with pairings like lemon, balsamic vinegar, or shaved parmesan to discover your family’s favorites.