Why Grow Arugula at Home
Harvesting arugula at the right time is key to keeping your plant healthy and productive. But before we dive into those details, let’s explore why growing arugula at home is a game-changer for gardeners of all skill levels.
For starters, arugula is famously fast-growing—you can sow seeds and enjoy your first harvest in as little as three weeks. This quick turnaround makes it exceptionally rewarding, especially if you’re the impatient type! Its peppery, slightly tangy flavor stands out in salads, sandwiches, and even as a topping on pizzas, giving a fresh kick to countless dishes.
Nutritional Benefits and Ease of Growth
Nutritionally, arugula packs a punch. It’s rich in vitamins A, C, and K, as well as folate, calcium, and antioxidants that support everything from bone health to your immune system. Compared to other leafy greens like spinach or kale, arugula is less prone to pests and generally thrives with less fuss—making it ideal for busy gardeners or those just starting out.
Regular watering and modest sunlight are all you need to grow a lush crop. With a bit of staggered planting, you can keep a steady supply going all season long.
Freshness You Can’t Beat
Homegrown arugula offers something you won’t find at any grocery store: unbeatable freshness. Commercial greens can lose flavor and nutrients as they travel from farm to shelf, but picking your own leaves ensures maximum taste and crunch every time.
Whether tossed into a salad or scattered over homemade pasta, you’ll notice a vibrant, just-picked quality that simply can’t be matched by store-bought greens. Growing arugula at home isn’t just practical—it’s a deliciously simple upgrade to your kitchen and your health.
Best Time and Place to Plant Arugula
The best time to plant arugula is during the cooler parts of the year—early spring or late summer into fall—when temperatures range between 45°F and 65°F (7°C to 18°C). Arugula thrives in these conditions, as heat can cause it to bolt and turn bitter.
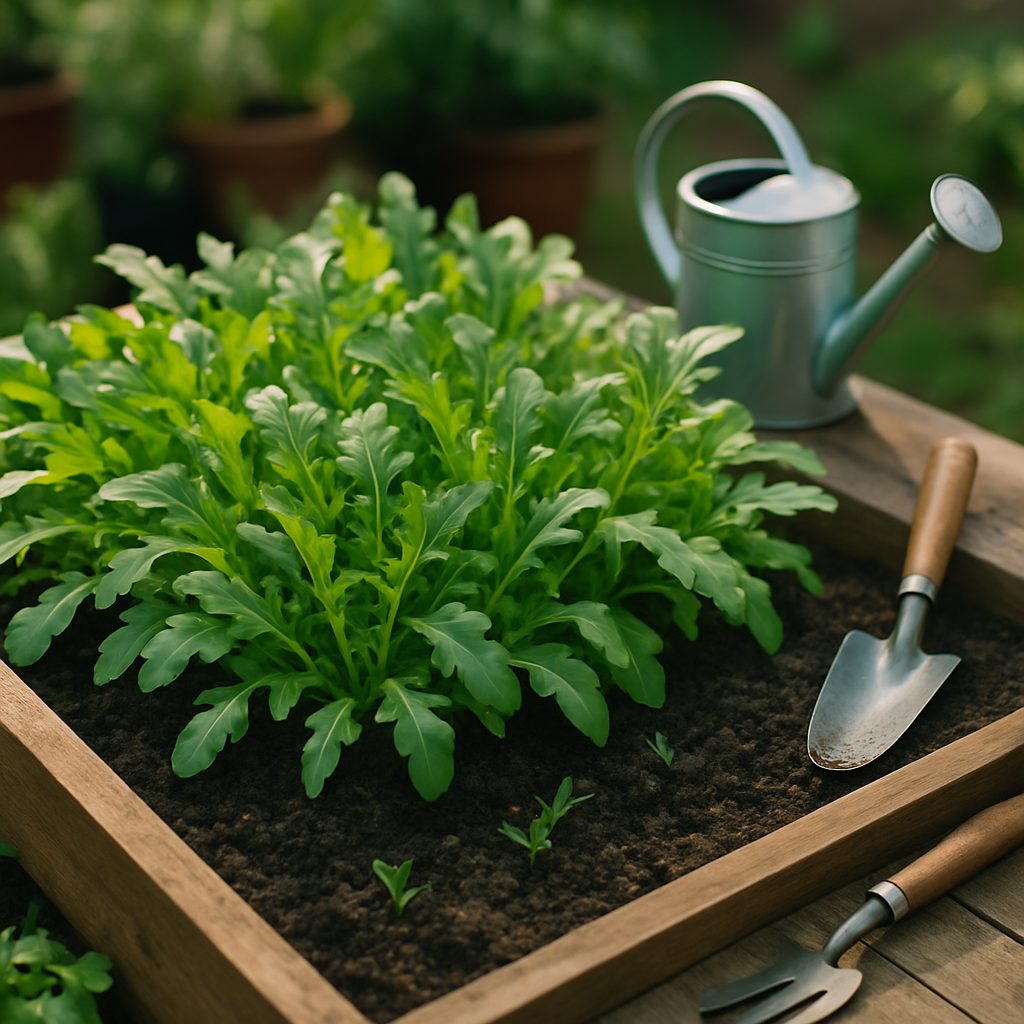
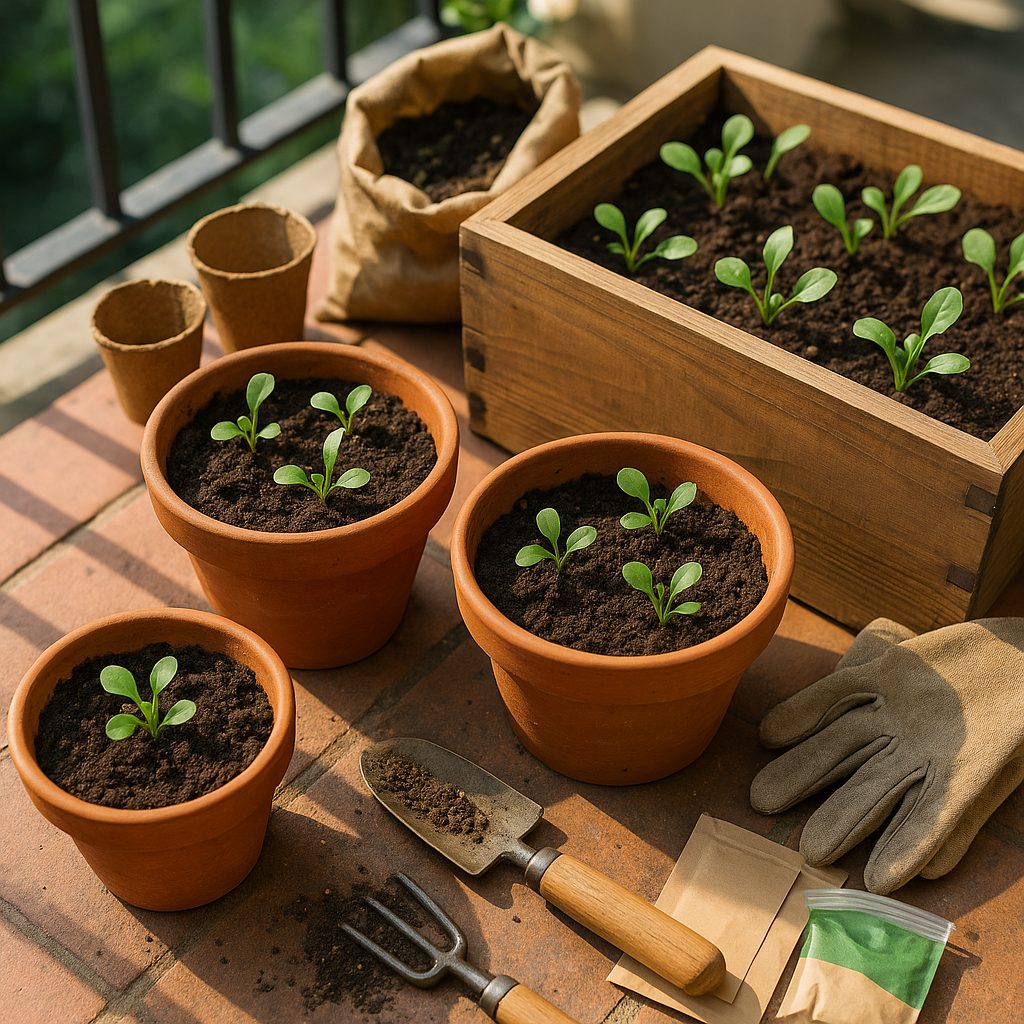
For outdoor planting, aim for a spot that receives at least 4–6 hours of sunlight daily and has well-draining, fertile soil enriched with compost. If space is limited or city living is your reality, try growing arugula in containers or raised beds. Both options help control soil quality and drainage, and you can move containers to maximize sunlight or protect plants from unexpected cold snaps.
Indoors, arugula can be grown on a sunny windowsill or under grow lights; just be sure the plants get ample light to prevent leggy growth.
Whichever method you choose, keep the soil moist but not waterlogged and start harvesting young leaves as soon as they reach a few inches high for the best flavor. Many urban gardeners find that using window boxes or small balcony planters lets them enjoy fresh arugula all season without sacrificing space or taste.
How to Plant Arugula Successfully
Planting arugula successfully starts with well-prepared soil and careful planning. Begin by loosening the top 4-6 inches of soil and mixing in compost or well-rotted manure to boost fertility—a pH between 6.0 and 7.0 is ideal for germination.
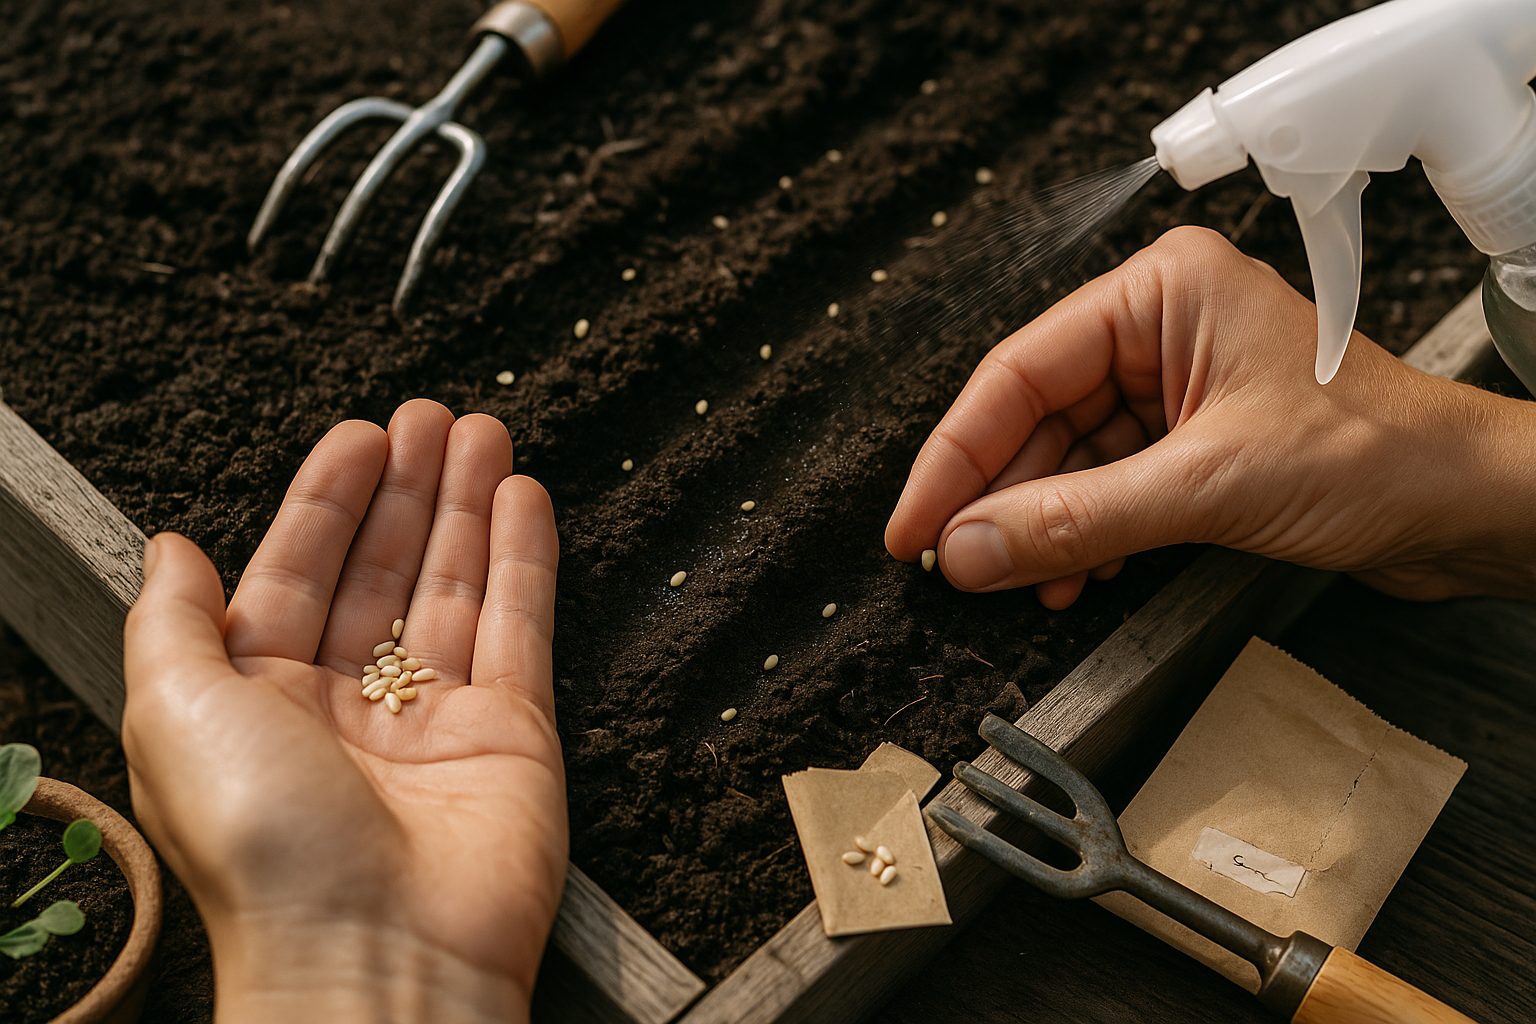
Sow arugula seeds about a quarter-inch deep, spacing them 1 inch apart in rows set 10-12 inches apart; for baby greens, you can sow seeds even more densely. After sowing, gently pat down the soil to ensure good seed-to-soil contact and water lightly with a fine mist, keeping the soil consistently moist but never soggy. This helps the seeds sprout quickly, usually within 5-7 days.
Once seedlings develop two true leaves, thin them to 4-6 inches apart to allow proper growth. Don’t toss the thinnings—they’re perfect for salads!
Succession Planting for Continuous Harvest
To keep arugula coming throughout the season, use succession planting: every two to three weeks, sow a new row or patch, especially in early spring and again in late summer for a fall harvest.
Common Challenges and Solutions
- Poor germination: Often results from overly warm soil or letting the soil dry out. Try mulching lightly to keep soil cool and retain moisture.
- Flea beetles: If these pests are a problem in your area, floating row covers can shield your young plants.
Starting with these steps and staying attentive to watering and spacing helps ensure lush, peppery arugula all season long.
Caring for Your Arugula Plants
Arugula is a rewarding leafy green to grow, and a few simple steps can make all the difference in getting vibrant, peppery leaves from your plants all season long. Start by watering arugula consistently—aim for about an inch of water per week, either from rainfall or supplemental watering. The soil should be evenly moist but never soggy or dry.
Set your plants in a sunny spot with at least 4–6 hours of direct light per day. If you garden in an especially hot climate, afternoon shade helps prevent bolting, which can make the leaves taste bitter. Thin seedlings early, leaving about 4–6 inches between each plant to prevent overcrowding and improve air circulation. Snip thinned greens with scissors and enjoy them as baby arugula in your salads.
Managing Pests and Encouraging Beneficial Insects
Keep pest trouble at bay by checking the undersides of leaves regularly for signs of flea beetles and aphids. floating row covers are a safe, chemical-free option for protecting young plants. You can also entice beneficial insects, like ladybugs, into your garden by planting companion herbs such as dill and cilantro nearby.
Preventing Bolting and Extending Your Harvest
To delay bolting, pick older outer leaves frequently and keep the soil cool with a layer of mulch. If you see flower stalks starting to form, pick them promptly to extend your harvest. And if you miss a few, know that even the blossoms are edible.
Harvesting Tips for the Best Flavor
For the best-tasting arugula, harvest in the morning before the heat intensifies and avoid letting plants get too mature. Small to medium leaves offer the best flavor and texture. With these guidelines, you can enjoy a constant supply of tender, zesty greens from early spring through fall.
Harvesting Arugula Leaves Properly
Harvesting arugula at the right stage can greatly impact both flavor and plant productivity. For tender baby greens, start picking leaves when they are about 2-3 inches long—usually about three weeks after sowing. Use clean scissors or gently pinch off the outer leaves, leaving the inner rosette untouched. This “cut-and-come-again” approach encourages the plant to keep producing new leaves.
If you prefer mature arugula, let the leaves grow until they reach 4-6 inches, which typically takes around five weeks. At this stage, the flavor becomes more peppery and bold—perfect for salads and sandwiches.
No matter the leaf size, avoid pulling up the whole plant. Instead, selectively harvest no more than one-third of the leaves at a time, spacing out your harvests every few days. This extends your picking season and keeps your plants healthy.
Try to harvest in the morning when leaves are crisp and full of moisture for the best taste and texture. If your arugula starts to bolt (send up a flowering stalk), the leaves will turn bitter, so harvest more aggressively at that point.
With these tips, you can enjoy a steady supply of arugula throughout the cool season, maximizing both flavor and yield from each plant.
Saving Arugula Seeds for Next Season
Arugula is a cool-season crop that quickly bolts, or goes to seed, once warm weather arrives. When arugula begins to flower, let a few healthy, vigorous plants continue growing instead of harvesting them.
After flowering, the plant will form slender seed pods that dry out and turn brown as they mature—this is your cue to collect seeds. Gently clip the dry pods off the plant before they shatter and spill seeds on the ground. Place them in a paper bag and let them finish drying in a cool, well-ventilated area for about one to two weeks.
Once the pods are crisp, crush them gently to release the seeds and sift out any debris. Store the cleaned seeds in a labeled paper envelope or glass jar in a cool, dry, dark place until the next planting season.
To ensure you save the best possible seeds, select only healthy, robust arugula plants with desirable traits—like good leaf flavor and slow bolting. Avoid using seeds from plants that were stunted or disease-prone. By saving seeds from the strongest plants, you help adapt your arugula crop to your local garden conditions, giving you even better results next year.
Quick Tips and Troubleshooting for Arugula Growers
For lush, consistent arugula harvests, focus on steady basics: provide regular watering—aim for moist, not soggy, soil to keep leaves tender, as dryness often leads to unwanted bitterness. Use balanced fertilizer, like a general-purpose 10-10-10, once or twice during the growing season to fuel growth without overdoing it.
Consider companion planting with crops like lettuce or radishes, which not only maximize space but also help deter pests like flea beetles and aphids naturally—marigolds can be especially helpful for repelling insects.
Watch out for signs of stress: if your arugula tastes extra bitter, it may be growing in heat or under-watered, so try planting it in early spring or fall for milder flavors. Holes in the leaves? Inspect for small pests and use floating row covers or organic neem spray if needed.
Slow or spindly growth may hint at overcrowding—thin plants to give them room, and make sure they receive at least four hours of sunlight.
For more ideas and quick help, join online forums like the r/gardening subreddit or Facebook groups such as “Home Vegetable Gardeners,” where growers eagerly share advice and solutions.
With these tips and a connected community, you’ll enjoy healthy, delicious arugula all season long.