Introduction
Arugula, with its peppery flavor and tender green leaves, has become a favorite among home gardeners and chefs looking to add a zesty twist to salads and sandwiches. If you’re thinking about growing your own, understanding the arugula growth stages is key to harvesting fresh, tasty leaves at just the right time. Whether you’re just starting out with your first planter box or have been tending vegetable beds for years, knowing what to expect during each phase helps you care for your plants more confidently and avoid common issues like early bolting or poor yields. In this article, we’ll break down the main arugula growth stages—from initial seed sprouting and seedling development, through the rapid vegetative phase, all the way to flowering and seed production. By the end, you’ll know exactly what to look for and when, so you can maximize both flavor and harvest.
Seed Selection and Germination
Choosing the right seeds is the foundation for successful arugula growth stages. When selecting arugula seeds, consider whether to choose heirloom or hybrid varieties. Heirloom seeds appeal to gardeners who value tradition and biodiversity, as they often produce plants with unique flavors and resilience suited to certain climates. Hybrid seeds, on the other hand, are bred for specific traits like improved disease resistance, uniform growth, and higher yields—making them ideal for beginners or those with limited space.
Whichever type you select, opt for seeds from reputable suppliers and look for packaging that indicates good germination rates and resistance to common arugula diseases like downy mildew or leaf spot. For germination, arugula seeds thrive in cool soil with an optimal temperature range between 10–20°C (50–68°F). Excessive heat can cause patchy sprouting or reduce seed viability.
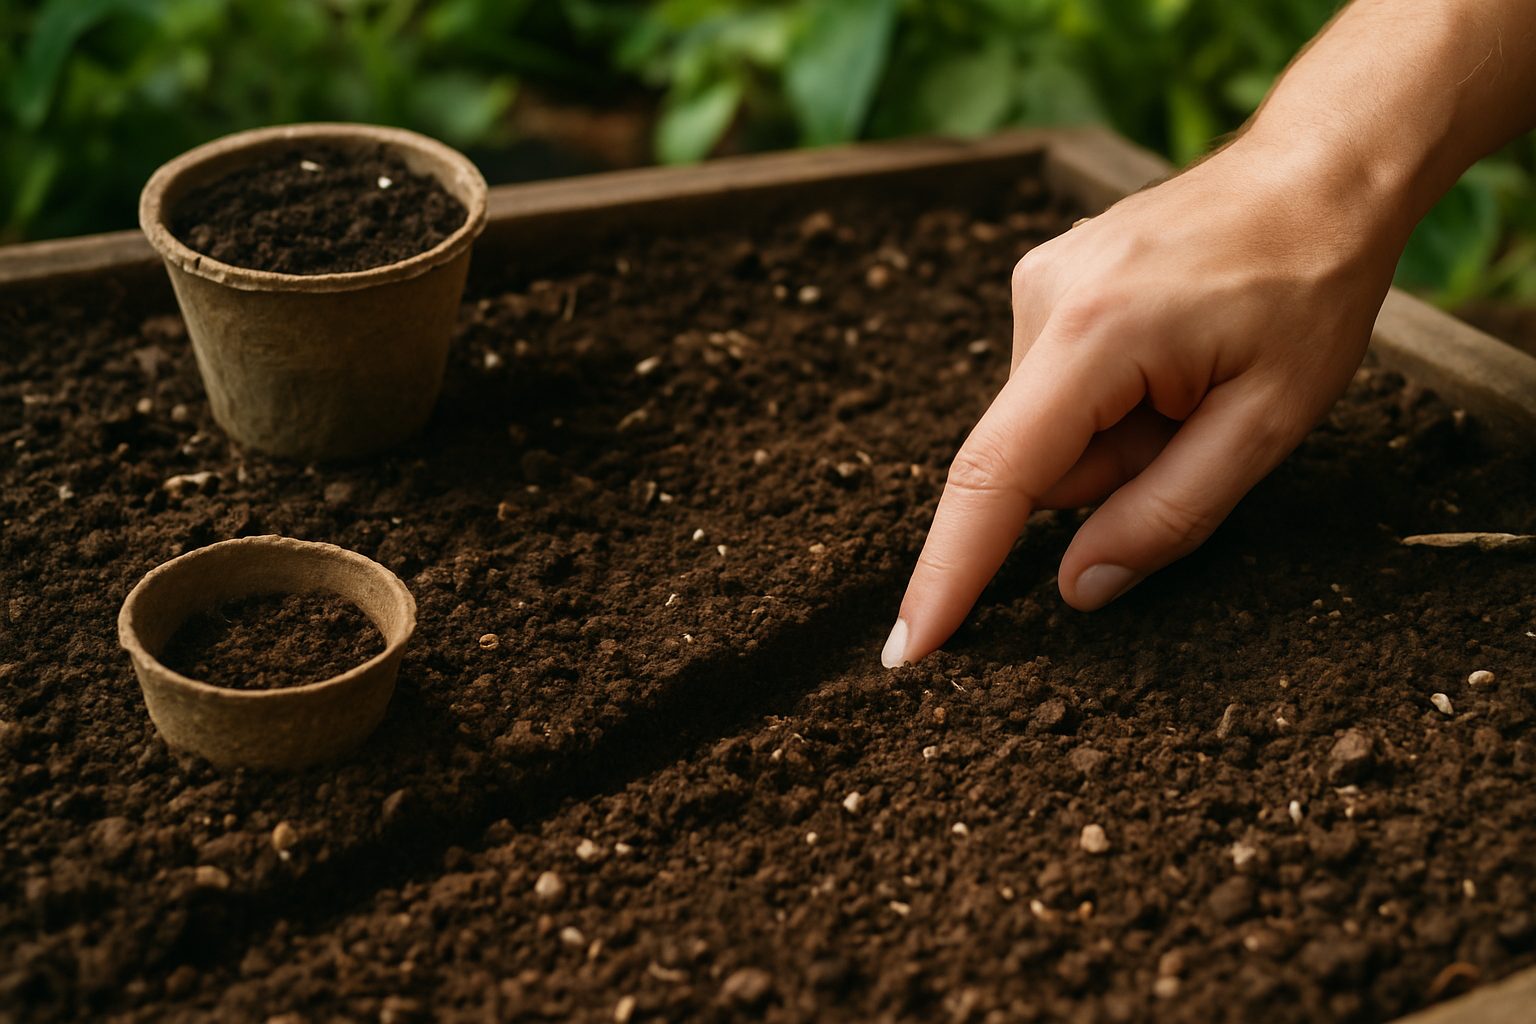
Prepare loose, well-draining soil and sow seeds about 1/4 inch deep. A shallow depth ensures seeds aren’t buried too far from moisture and warmth. Keep the soil consistently moist but not soggy—a gentle mist works better than heavy watering to avoid displacing seeds. While light isn’t crucial during germination, placing pots or beds in an area with indirect sunlight helps maintain even warmth.
Under optimal conditions, arugula seeds can begin sprouting in just 3 to 7 days. Look for tiny, cabbage-like cotyledons emerging through the soil—the first signs of a healthy start. Marking your sowing date can help you track progress and detect early setbacks, ensuring your plants transition smoothly to the next phase of arugula growth stages.
Arugula Growth Stages: Seedling Stage
During the seedling stage, arugula plants emerge as small, vibrant sprouts, marking the exciting first step in their growth journey. Shortly after germination, you’ll notice arugula seedlings with a pair of rounded, smooth-edged cotyledons (their first leaves), typically bright, fresh green in color. Within a week or two, these are followed by the first true leaves, which have a distinct, slightly lobed or serrated shape resembling mature arugula leaves and a deeper, glossy green hue.
At this stage, consistent but gentle care is essential. Thin crowded seedlings so they are spaced about 2-4 inches apart to prevent overcrowding and encourage robust growth. When thinning, snip extra seedlings at soil level rather than pulling them to avoid disturbing the roots of nearby plants.
Arugula prefers evenly moist but not waterlogged soil, so water carefully whenever the soil surface starts to dry. Overwatering can cause damping-off, a fungal disease that leads to weak stems wilting and collapsing. If possible, water from below or gently direct water at the soil around your seedlings.
Ensure your arugula receives plenty of bright sunlight—aim for at least 4-6 hours per day. Seedlings grown in poor light often become leggy, stretching tall and spindly while searching for more sun. To prevent legginess, start seeds under grow lights placed just inches above the plants or move containers to a sunny windowsill.
If you notice any white fuzz at the base of the stems—a sign of damping-off—increase airflow, reduce humidity, and promptly remove affected seedlings. Following these simple but important steps during the arugula growth stages will help ensure strong, healthy plants ready for rapid growth.
Vegetative Growth
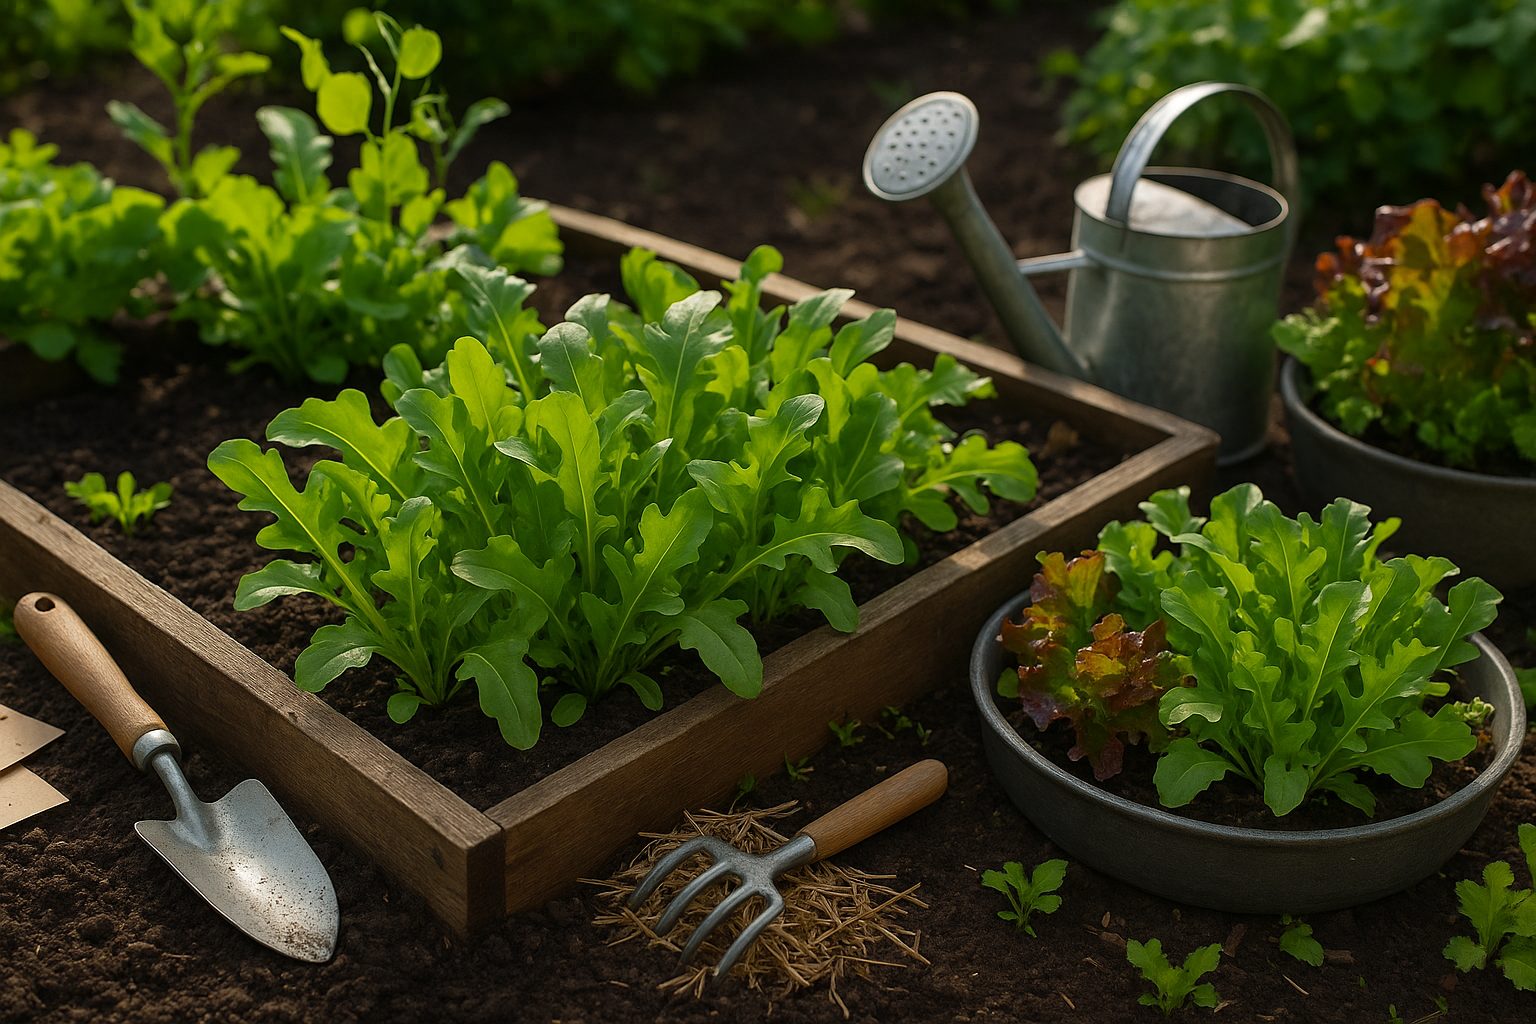
During the vegetative growth stage, arugula transforms from tiny seedlings into robust, leafy plants—a phase characterized by rapid leaf production and vigorous root expansion. Shortly after the initial seed leaves (cotyledons) appear, you’ll notice the first set of true leaves, which are distinctively lobed and have a peppery taste. These true leaves quickly multiply, thickening your arugula patch as the roots anchor more deeply to seek moisture and nutrients effectively.
Consistent moisture is vital at this point; the soil should stay damp but never waterlogged, since arugula dislikes both drought and standing water. Water gently at the base of each plant to avoid wetting the leaves, which helps reduce fungal issues. Feeding your arugula with a nitrogen-rich, balanced fertilizer every two to three weeks can boost leaf growth—diluted liquid fish emulsion or compost tea work wonders. Alongside feeding, keep the area around your plants weed-free to minimize resource competition and increase airflow, which helps prevent diseases.
However, this lush vegetative stage is when arugula is most attractive to pests. Flea beetles are the biggest troublemakers, chewing tiny holes in tender leaves and sometimes decimating young crops overnight. To outsmart them, use floating row covers immediately after planting and check for gaps at the edges. Aphids may also appear, clustering on leaf undersides to suck sap. Gentle blasts of water can knock them away, or you can introduce beneficial insects like ladybugs to keep their numbers in check. In moist conditions, slugs and snails may emerge, so consider spreading diatomaceous earth or using organic slug bait to deter them.
Keep a close eye on the foliage daily; the earlier you spot pest problems, the easier they are to control. Regular inspections, attentive watering, and timely feeding will ensure your arugula not only survives but truly thrives during its crucial vegetative growth phase of arugula growth stages.
Harvest Readiness
Knowing when to harvest arugula is key to enjoying its signature peppery bite and tender texture. The ideal point in the arugula growth stages for most home gardeners is when the leaves are about 2 to 3 inches long—usually around 3 to 4 weeks after sowing. At this stage, the leaves are young, tender, and have a mild, nutty flavor that’s perfect for salads or light garnishes.
Waiting longer, until the plants are about 35 to 45 days old, produces larger, mature leaves with a more robust and pronounced peppery taste. However, these older leaves can become tougher, making them better suited for cooked dishes like sautés or soups.
When it comes to harvesting, you have two main methods:
- The “cut-and-come-again” approach involves snipping the outer leaves with clean scissors, leaving the inner growth untouched. This encourages continuous production and can extend your harvest over several weeks.
- Alternatively, if you prefer a single, full yield—perhaps for a large dinner or if the plants are nearing the end of their growth cycle—you can pull up the entire plant at the base.
Either method works, but timing greatly influences flavor and how you use the leaves in dishes. Younger leaves are best for fresh salads, sandwiches, or garnishes due to their soft texture and milder flavor. Older leaves, with their sharper taste and slightly tougher bite, hold up well in hot preparations or hearty pesto blends. By selectively harvesting at different arugula growth stages, you can tailor your culinary uses and make the most of arugula’s unique taste and texture.
Bolting and Flowering in Arugula Growth Stages
Bolting is a natural part of the arugula growth stages, but it’s something most gardeners try to delay as long as possible. Bolting refers to the rapid shift from leaf production to flowering when the plant senses it’s time to reproduce. For arugula, hot weather and longer daylight hours are the main triggers—once temperatures consistently rise above around 75°F (24°C) or days get significantly longer, the plant “decides” to send up a tall flower stalk.
Visually, you’ll notice arugula plants suddenly shooting up, with their central stems growing taller and thicker. The leaves may become more spaced apart, and small white or yellow flower buds will form at the top. Once the flowers open, the leaves often turn tougher and more bitter, making them less ideal for fresh salads.
However, bolting doesn’t mean the plant is useless. Many people enjoy the spicy, intense flavor the leaves develop after bolting—these can be chopped and added sparingly to dishes for a peppery kick. The edible flowers themselves are a pretty and flavorful garnish, and savvy cooks even use the green seed pods in pickles.
If you’d rather keep your arugula in the leafy stage, plant it early in spring or late summer to take advantage of cooler weather. Regularly harvesting leaves and providing some afternoon shade can also help delay bolting. Using a shade cloth or choosing bolt-resistant arugula varieties are other handy strategies. Ultimately, learning to recognize the early signs of bolting lets you harvest promptly and enjoy your crop at every stage.
Seed Collection and Lifecycle’s End
As the arugula growth stages come full circle, seed collection becomes a simple yet rewarding task for gardeners looking to save seeds for next season. After your arugula plants have bolted and produced tall flower stalks, keep an eye out for slender green seed pods forming. Let these pods fully mature and dry on the plant—a good indicator is when they turn brown and feel brittle to the touch.
Once dry, gently snip the pods off and carefully break them open over a bowl to release the small, round seeds. Store the seeds in a labeled envelope or airtight container in a cool, dark place until you’re ready to plant.
After harvesting, be sure to clear away the spent arugula plants, which can be composted unless diseased. To prepare your bed for new crops, remove all plant debris, loosen the soil, and add fresh compost to replenish nutrients.
For a continuous arugula harvest, try staggered planting—sow small batches of seeds every two to three weeks. This succession planting ensures a steady supply of fresh leaves throughout the season and helps you make the most of your garden space.
Conclusion
From seed germination to leafy maturity and flowering, the arugula growth stages each play a crucial role in the plant’s success. Knowing what to expect at every phase helps you provide the right care—watering, thinning, and harvesting at just the right times—which leads to healthier plants and more abundant, flavorful greens. Understanding these stages allows you to troubleshoot problems early and tailor your gardening approach for better results. Have you noticed any unique patterns in your arugula garden, or do you have questions about any growth stage? Share your experiences or ask in the comments below!