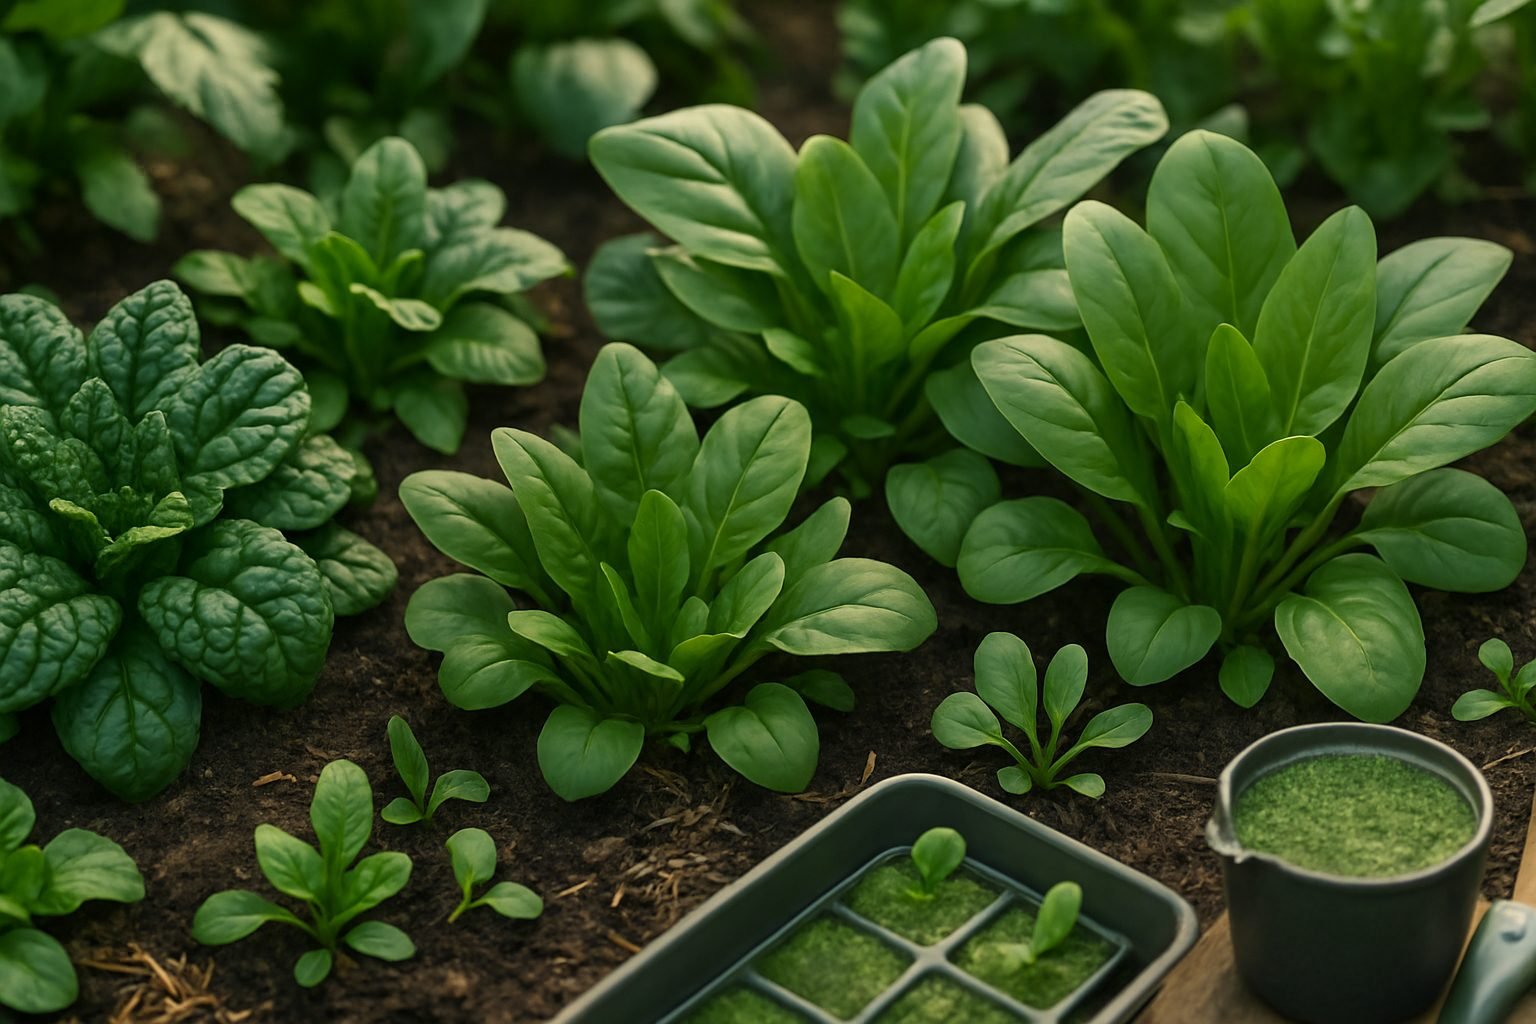
Choosing the Right Spinach Variety
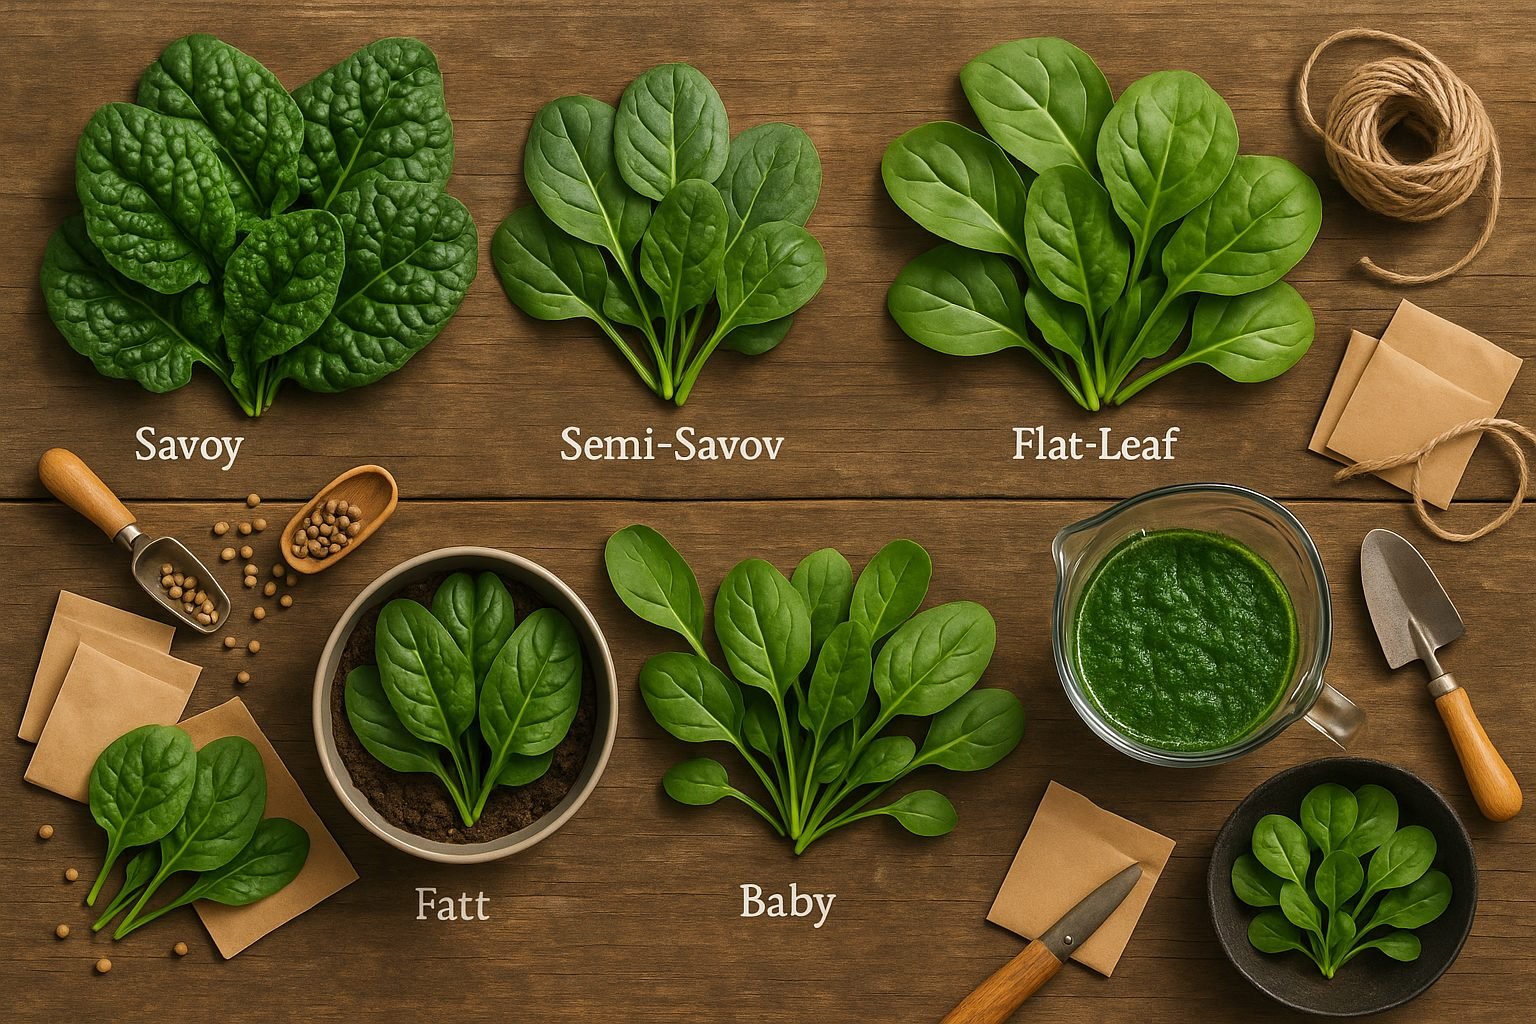
One of the most common spinach-growing mistakes is failing to choose the right variety for your climate, soil, and kitchen needs. Not all spinach is created equal—savoy, semi-savoy, flat-leaf, and baby spinach each offer distinct textures and flavors, with specific strengths in both culinary use and garden performance.
For example, savoy spinach, known for its deeply crinkled and dark green leaves, stands up well in salads and sautés and holds up to cooking, but can be trickier to clean. Semi-savoy offers a balance, with slightly wrinkled leaves that require less maintenance while remaining hardy in the garden. Flat-leaf spinach, such as ‘Bloomsdale,’ is ideal for smoothies, sandwiches, and easy washing thanks to its smooth texture. Baby spinach, harvested young, is exceptionally tender and perfect for raw dishes, but it requires careful timing in the garden and is best grown quickly in mild weather.
Your region’s climate and the length of your growing season will also affect your choice. Savoy types are excellent for colder climates, tolerating frost and allowing for early spring or fall harvests, while flat-leaf spinach thrives in more moderate conditions with a reliable, fast growth cycle—making it ideal in areas with unpredictable weather. If your summers are short and cool, baby spinach or semi-savoy types that mature quickly are particularly suitable.
When selecting seeds, look for reputable suppliers and check packet details for disease resistance and suitability for your local conditions. Opt for fresher seeds whenever possible, as spinach germination rates drop rapidly after a year. Don’t be afraid to experiment with several types to discover which rewards you with lush leaves and robust flavor in your home garden. Avoiding these spinach-growing mistakes not only ensures a more successful harvest but also brings the most satisfying results to your plate.
The Ideal Growing Conditions for Spinach
Spinach thrives best in cool weather, making early spring and fall the prime seasons for planting. Ideally, spinach prefers temperatures between 45°F and 75°F—too much heat can cause it to bolt (go to seed) prematurely. For a continuous harvest, sow seeds as soon as the soil is workable in spring, or about 6 to 8 weeks before the first frost in the fall.
When it comes to soil, spinach is happiest in well-drained, loose soil rich in organic matter. Aim for a sandy loam texture, which helps roots breathe and prevents water from pooling. The perfect pH for spinach is between 6.5 and 7.0, so consider a soil test and adjust as needed with lime (to raise pH) or sulfur (to lower it). Mix in compost or well-rotted manure before planting to boost fertility without relying too heavily on synthetic fertilizers, which can stress delicate seedlings.
For site selection, choose a spot that gets full sun in cooler seasons; in warmer climates or late spring, partial afternoon shade can keep leaves tender and slow bolting. Spinach appreciates evenly moist soil—neither waterlogged nor bone dry—so mulch around plants to conserve moisture and keep the roots cool. A simple but effective watering routine is to give plants about one inch of water per week, more during hot, dry spells.
Lastly, avoid planting spinach where other leafy greens have recently grown, as this helps prevent soil-borne diseases and keeps your crop healthier. With these tips, you’ll set the stage for lush, flavorful spinach all season long.
Step-by-Step Guide to Planting Spinach
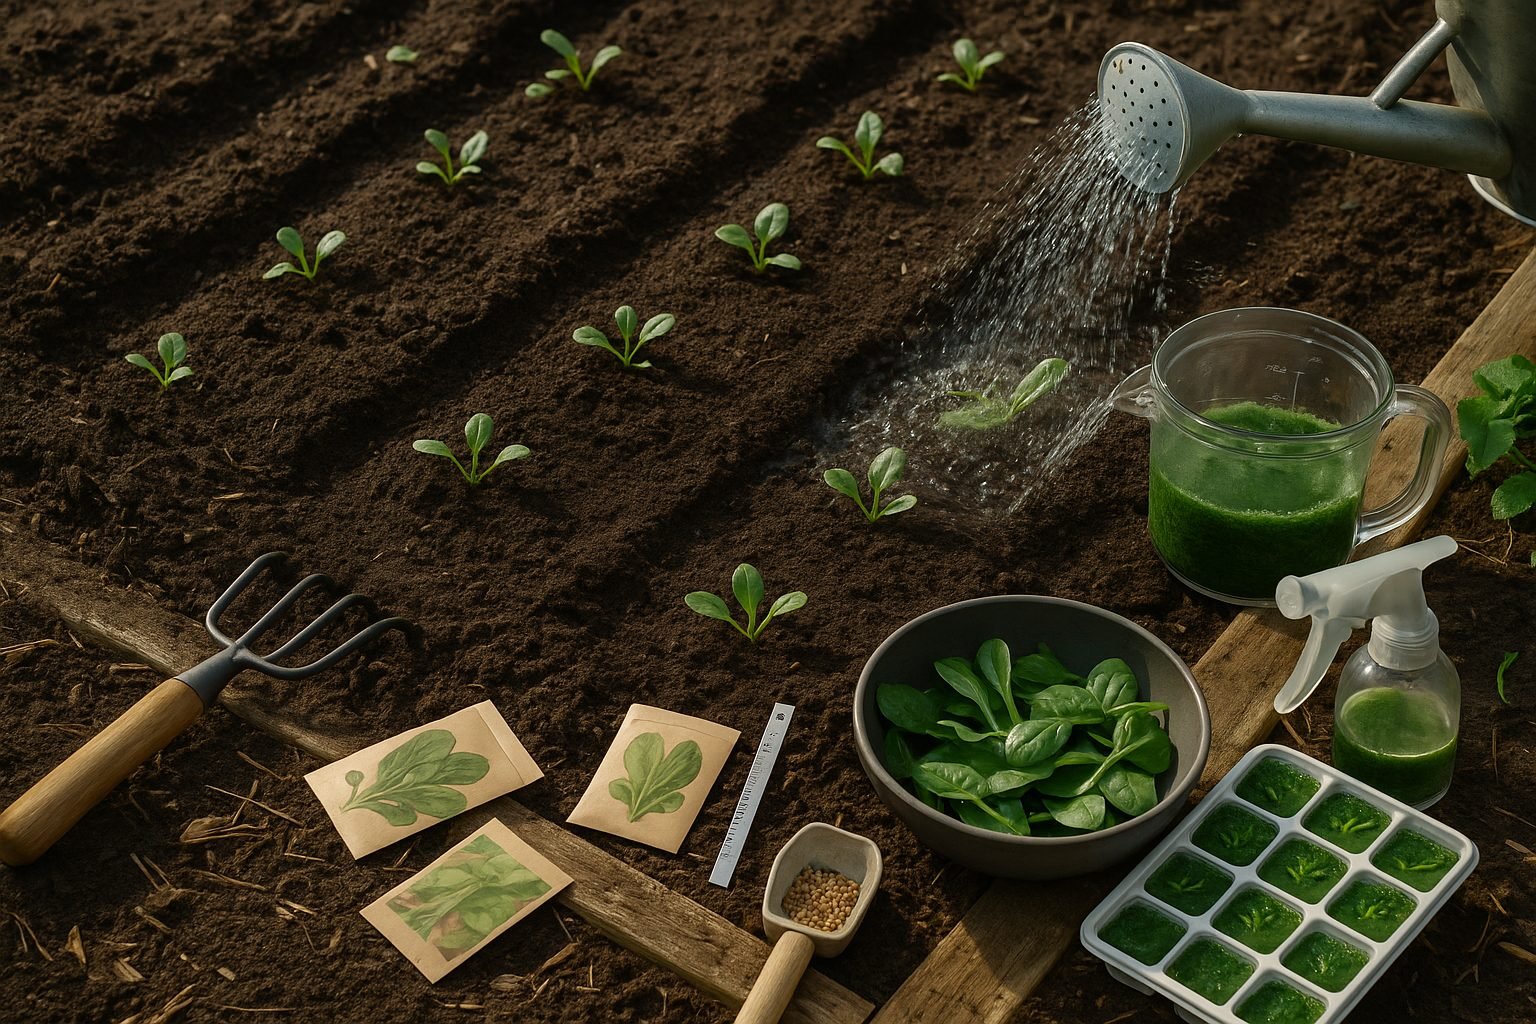
To start a successful spinach crop, begin by preparing your soil thoroughly. Choose a sunny spot with well-draining, fertile soil, and work in plenty of compost or aged manure to boost nutrients. Loosen the top six inches of soil and remove any rocks or clumps, ensuring a fine, crumbly texture—this makes it easier for spinach roots to establish.
Direct sowing is ideal: wait until the soil temperature reaches at least 40°F for spring planting, or about 6-8 weeks before the first expected frost for a fall crop. Sow seeds about ½ inch deep in rows spaced one foot apart; space each seed about 2 inches apart along the row.
As seedlings emerge (usually within 7-14 days), thin them to 4-6 inches apart to prevent overcrowding and allow room for healthy leaves. For watering, keep the soil consistently moist but not soggy—water gently with a fine spray or soaker hose, especially during dry spells, as spinach doesn’t like to dry out.
For spring plantings, you may need to provide a bit of shade during hot afternoons to prevent bolting, while in the fall, mulching can help insulate roots as temperatures drop. For both seasons, regular weeding and light side-dressing with compost can keep your plants thriving.
Remember, spinach grows best in cooler weather, so aim to harvest before temperatures climb above 75°F in spring, or grow through the mild frosts of fall for sweet, tender greens.
Common Problems and How to Prevent Them
Gardening comes with its share of challenges, especially when dealing with issues like bolting, yellowing leaves, pest infestations, and diseases.
Bolting, when plants flower and go to seed prematurely, usually happens with leafy greens during sudden heatwaves or spikes in daytime temperatures. To prevent this, provide shade during hot afternoons and maintain consistent moisture through mulching, which also helps keep roots cool.
Yellowing leaves often signal watering problems—either too much or too little. Check soil moisture regularly and aim for consistent, even watering to avoid root stress.
Pests like aphids and leaf miners can quickly damage crops. Inspect leaves often, remove pests by hand, and encourage beneficial insects like ladybugs.
Overcrowding is another root cause of plant problems. Tightly packed crops restrict airflow and increase susceptibility to fungal diseases, so always space your plants according to recommendations.
Organic treatments such as neem oil sprays or insecticidal soap work well against soft-bodied pests, but use them only if hand removal isn’t enough.
For fungal issues, a simple homemade spray of baking soda and water can help deter spread, but it’s important to promptly remove and discard affected leaves.
Generally, intervene with organic treatments only when the garden’s natural balance is disrupted or manual methods are ineffective.
Regularly walking your garden and checking both upper and lower leaf surfaces makes it easy to catch issues early and keep your plants healthy without resorting to harsh chemicals.
Fertilizing, Watering, and Ongoing Spinach Care
Caring for spinach starts with consistent watering—aim to keep the soil evenly moist but never soggy, as spinach roots don’t tolerate standing water. During active growth, check the top inch of soil: if it feels dry, it’s time to water.
Underwatering quickly shows as droopy or yellowing leaves, while overwatering may also cause yellowing, along with soft stems or spots of rot.
Early in the season, fertilize with a balanced organic option like compost, worm castings, or a slow-release granular blend. Work it into the topsoil before planting, then side-dress every 3-4 weeks as the plants grow. For a quick nutrient boost, liquid organic fertilizers like fish emulsion work well—apply every two weeks, diluted according to package directions.
If you choose synthetic fertilizers, use a water-soluble 10-10-10 formula, but apply lightly to avoid leaf burn, following all label instructions carefully.
Regular weeding is crucial since young spinach struggles to compete with aggressive weeds. Pull them by hand or use a hoe, taking care not to disturb the shallow spinach roots. Adding a thin layer of mulch like straw or leaf mold helps suppress weeds, retain moisture, and keep roots cool.
As spinach grows, watch for overcrowding and gently thin plants to allow better airflow, which helps prevent common fungal diseases. Remove damaged or yellowing leaves promptly, and keep an eye out for pests like aphids or snails—early intervention with insecticidal soap or hand-picking can prevent bigger outbreaks.
With steady care and a watchful eye, your spinach patch will reward you with a steady harvest of crisp, healthy greens.
Harvesting and Storing Spinach for Best Freshness
Knowing when to harvest spinach is key to enjoying the freshest, most flavorful leaves. Spinach is ready to pick when the leaves reach about three to six inches long and look vibrant, tender, and deep green—usually four to six weeks after planting.
To harvest, use clean scissors or gently pinch off the outer leaves, leaving the center intact so the plant keeps growing; avoid tugging or tearing, which can bruise the plant. Handle spinach leaves with care: pile them loosely in a basket rather than packing them down, and avoid harvesting in the heat of the day, as this can cause wilting.
Once harvested, don’t let the leaves sit in the sun—bring them indoors quickly, rinse gently to remove dirt, and dry thoroughly with a salad spinner or paper towels.
Storing Spinach for Short-Term Freshness
For short-term storage, wrap dry spinach loosely in a paper towel, place it in a breathable bag or a perforated container, and refrigerate—it should stay fresh for up to a week.
Preserving Spinach for Long-Term Use
If you want to preserve spinach for longer, blanch washed leaves in boiling water for a minute, cool them in an ice bath, drain, and transfer to freezer bags or airtight containers; frozen spinach will keep its quality for up to a year.
Whether you’re using spinach in salads now or saving it for cooking later, a gentle harvest and proper storage make all the difference in taste and texture.
Troubleshooting FAQ and Quick Tips
If you’re troubleshooting your spinach crop, start by checking a few common issues. Bitterness often occurs when spinach bolts—flowers early—due to hot weather or stress. To prevent this, try planting during cooler months and keep the soil consistently moist.
Yellowing leaves usually indicate overwatering or poor soil drainage, but they can also mean your plants need more nitrogen. Make sure your soil is rich in compost and drains well, watering only when the top inch is dry.
For beginners, pick a sunny spot with partial shade during hot afternoons, and space seeds about an inch apart to prevent overcrowding. Don’t forget to thin seedlings once they sprout, as good airflow keeps plants healthy. Mulching around the base helps retain moisture and keeps weeds down.
When ready to harvest, cut the outer leaves first and let the center keep growing for a steady supply of fresh spinach.
For more guidance, check out resources like the University of California’s Vegetable Research and Information Center, or browse the Old Farmer’s Almanac and local cooperative extension websites. They offer detailed growing guides and regional advice to help ensure your spinach patch thrives.