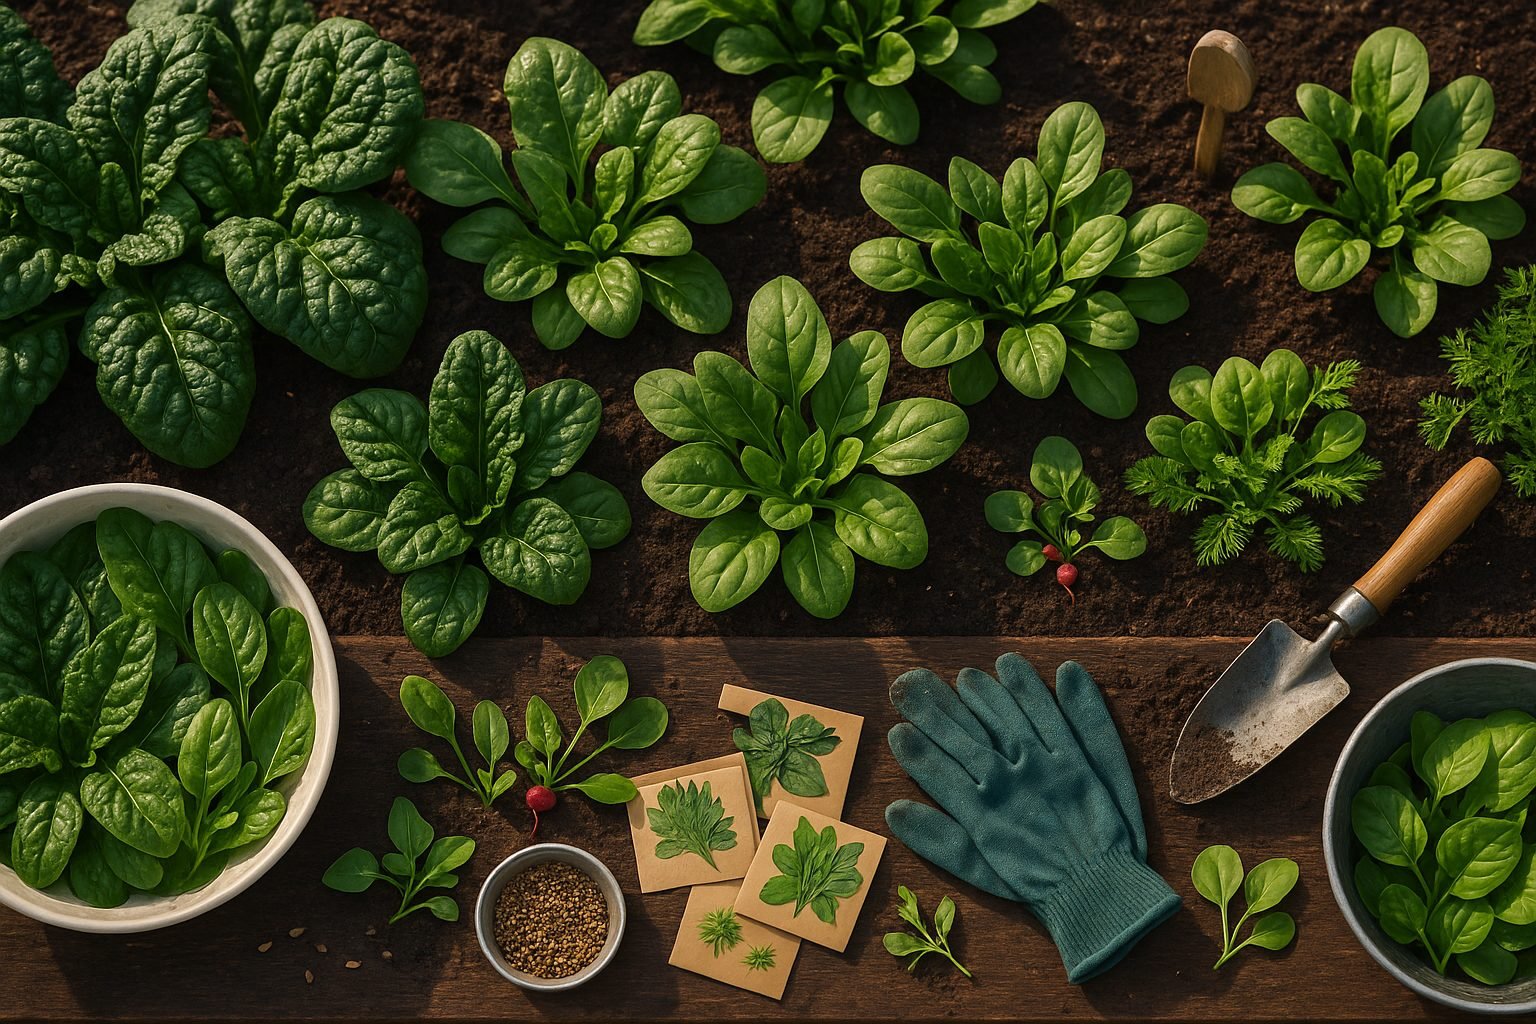
Why Grow Spinach at Home?
If you’ve ever wondered how to grow baby spinach right at home, you’re not alone—and the rewards make it more than worth your while. Imagine snipping fresh leaves for your salad or smoothie, knowing they’re packed with more nutrients and flavor than store-bought options. Homegrown spinach is rich in vitamins A, C, and K, offering a nutritious boost to meals while eliminating concerns about preservatives or pesticides commonly found in bagged greens.
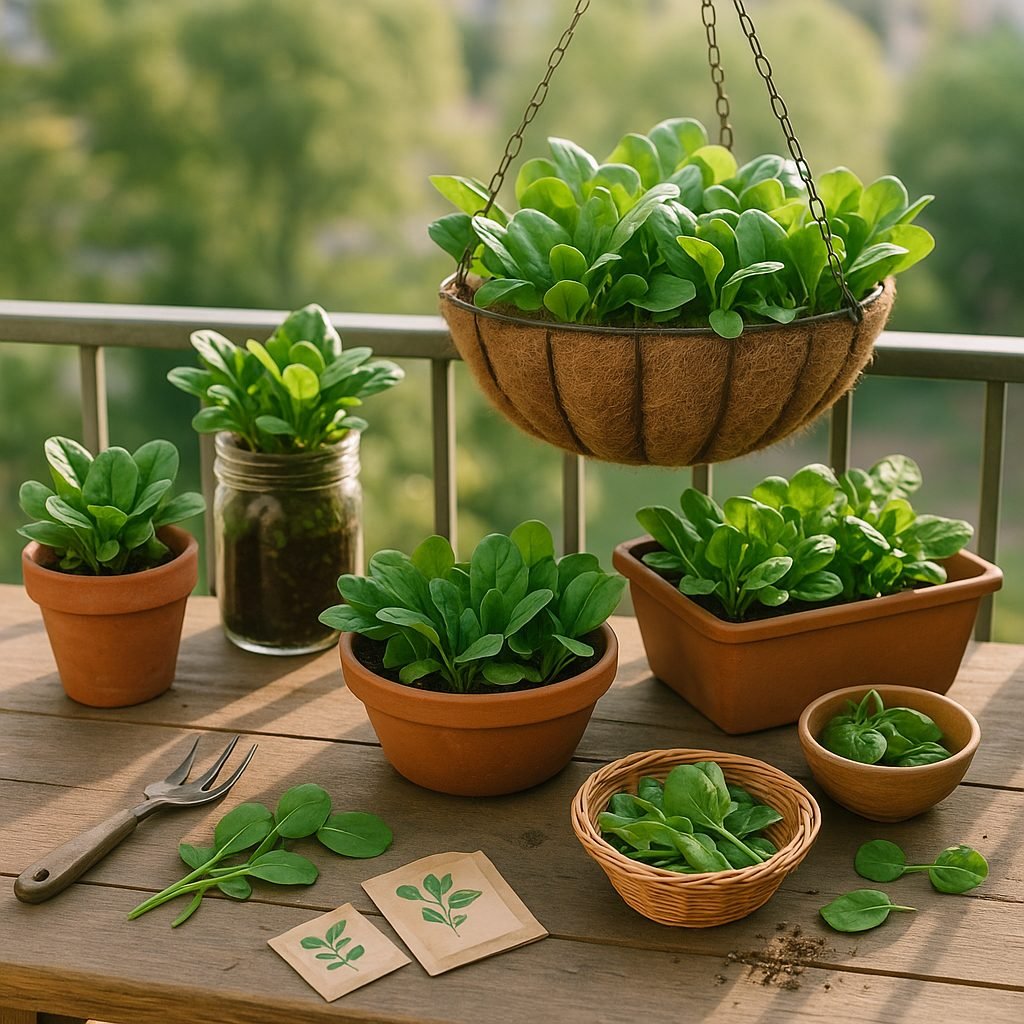
The savings can add up quickly, too; a packet of seeds or a handful of seedlings yields weeks or even months of continuous harvests, especially if you pick the outer leaves regularly and let the center regrow. Busy urbanites and suburban gardeners alike will appreciate how easy it is to adapt: you can grow baby spinach in a backyard bed, a balcony container, or even a sunny windowsill, making it a perfect crop whether you have sprawling space or just a few square feet to spare.
The mild, slightly nutty taste pairs beautifully in everything from vibrant salads to green smoothies and even hearty cooked dishes like quiches or stir-fries. With so much flexibility and so many benefits, growing your own baby spinach at home is a simple change that delivers on freshness, nutrition, and kitchen creativity, no matter your lifestyle or available space.
Choosing the Right Spinach Variety
When selecting the right spinach variety for your garden or kitchen, it helps to understand the differences between the main types: savoy, semi-savoy, and flat-leaf spinach.
Savoy spinach has heavily crinkled, dark green leaves and a robust, tangy flavor. It’s prized for its cold-hardiness but can be a bit tricky to wash because of its deep texture.
Semi-savoy is a hybrid with slightly crinkled leaves that are easier to clean. It offers good flavor and stronger resistance to common spinach diseases like downy mildew, making it a fantastic choice for home gardeners.
Flat-leaf spinach, often sold as “baby spinach” in grocery stores, has smooth, tender leaves that rinse easily and are perfect for salads or smoothies. However, it tends to be a bit more susceptible to disease.
Be careful not to confuse true spinach with similar alternatives like silverbeet (Swiss chard) or New Zealand spinach. Though they may look alike and can be used interchangeably in some recipes, these are different species with distinct growing needs and flavors.
For the best quality seeds, seek out reputable sources such as local garden centers, well-established seed catalogs, or trusted online retailers like Johnny’s Selected Seeds and Baker Creek Heirloom Seeds. It’s a good idea to check user reviews or gardening forums for variety recommendations tailored to your climate.
Don’t hesitate to try a few different types to compare—gardening is all about experimentation and finding what works best in your space.
Preparing to Plant: Soil, Position, and Containers
Getting your garden ready for planting starts with choosing the right soil. Most vegetables and flowers thrive in well-draining soil that’s rich in organic matter, such as compost or well-rotted manure. Good drainage prevents waterlogged roots and promotes healthy growth, so if your soil feels heavy or clay-like, mix in sand or perlite to improve its texture.
When picking a spot in your yard, aim for an area that receives at least 6-8 hours of sunlight daily—this is especially crucial for sun-loving crops like tomatoes and peppers, though many greens and herbs can handle a bit of partial shade.
If you’re tight on space or want more control, container gardening is a great alternative. Choose pots at least 12 inches deep with drainage holes at the bottom, and always use high-quality potting mix instead of garden soil to prevent compaction and encourage root growth.
Before planting, follow a simple soil prep checklist:
- Remove weeds and debris from your chosen area.
- Work in a generous amount of compost to enrich the soil.
- Test the pH to ensure it’s in the ideal range for your plants—most vegetables prefer a slightly acidic to neutral pH (around 6.0-7.0).
- Adjust the pH if needed using garden lime to raise it or sulfur to lower it.
Giving a little attention to these basics sets the stage for strong, healthy plants and makes your gardening season much easier and more rewarding.
Planting and Caring for Your Spinach
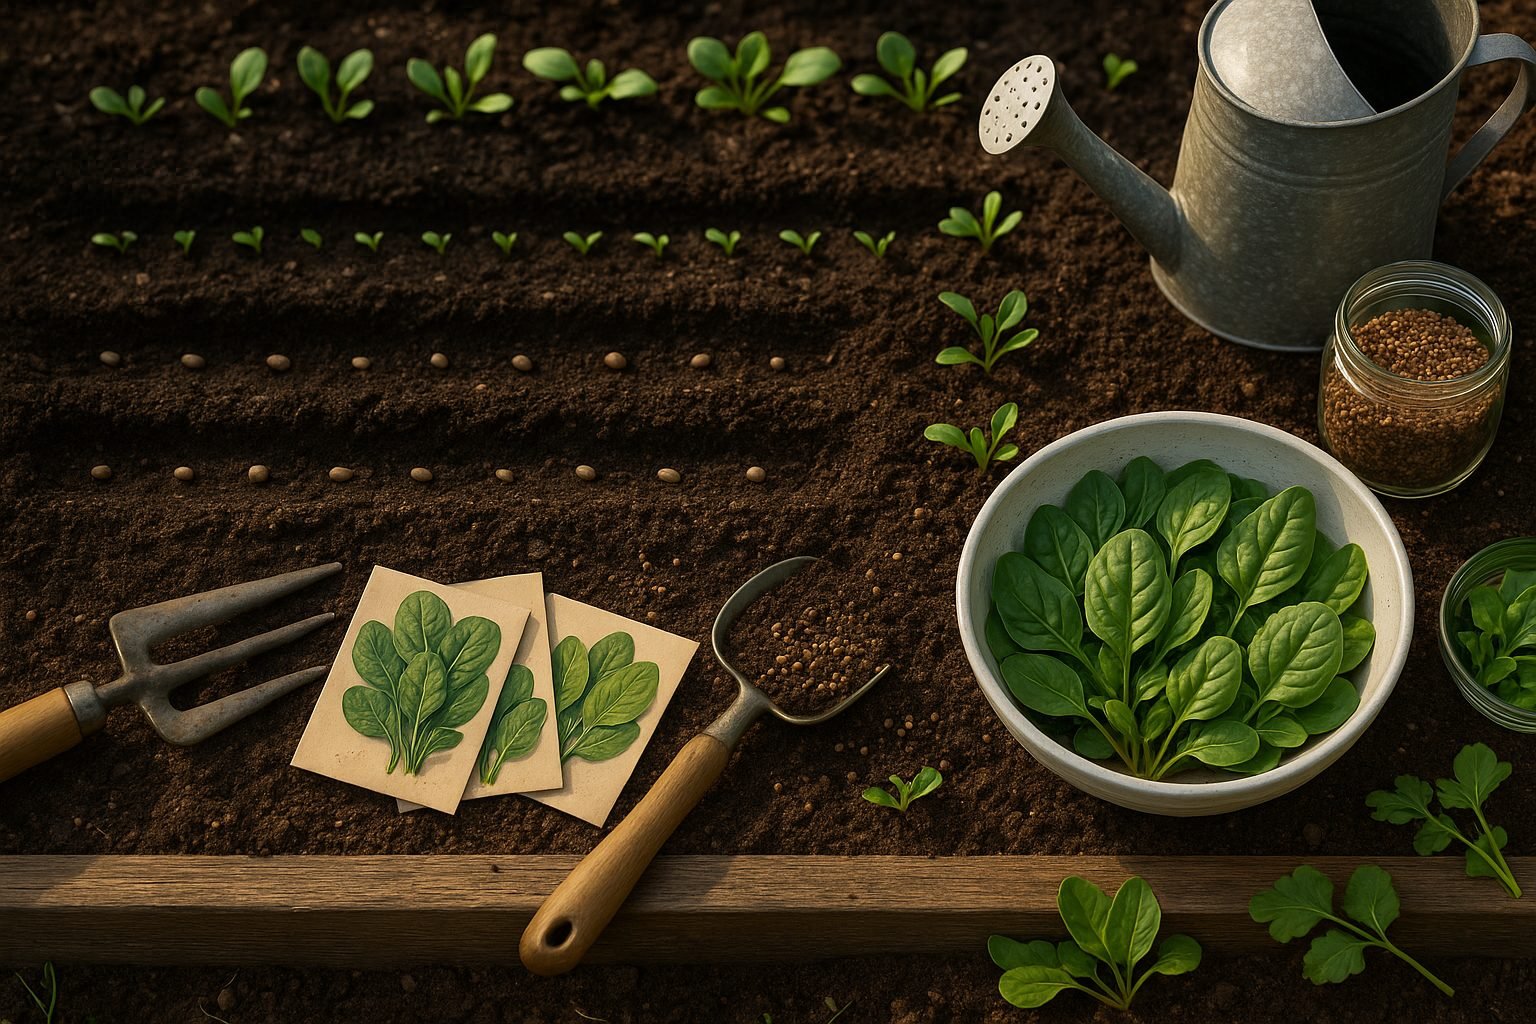
Planting spinach at the right time is essential for a bountiful harvest—this leafy green thrives in cool weather. Aim to sow seeds in early spring as soon as the soil is workable, or in late summer for fall crops. In warmer regions, plant spinach in the fall for a winter harvest. For a continual supply, try succession sowing: plant a new row every two weeks to keep your kitchen stocked with fresh greens.
Choose a spot with well-drained soil and good sunlight, and sow seeds directly into the ground at a depth of about ½ inch. Space them 2 inches apart in rows 12 to 18 inches apart. Once seedlings emerge, thin them to about 4 to 6 inches apart to allow plenty of room for growth—don’t skip this step, as crowded plants are more likely to struggle.
Keep soil consistently moist, especially during dry spells, but avoid overwatering, which can cause root rot. Mulching with straw or compost helps retain soil moisture and keeps weeds at bay. Spinach isn’t a heavy feeder, but mixing in compost before planting gives it a strong start. A light side-dressing with balanced fertilizer (like 10-10-10) once seedlings are established can encourage lush growth.
Remove weeds regularly and be gentle to avoid disturbing the shallow roots. By sticking to these straightforward routines—timing your plantings, watering wisely, giving plants room to thrive, and providing gentle feeding—you’ll enjoy a steady harvest of tender, vibrant spinach leaves perfect for salads, sautés, and smoothies.
Troubleshooting: Common Problems and How to Fix Them
Gardening inevitably comes with its share of hurdles, but knowing how to tackle them can make all the difference for a thriving spinach crop.
Aphids, leaf miners, and slugs are common pests:
- Aphids can be rinsed away with water or controlled by encouraging ladybugs in your garden.
- Leaf miners can be managed by promptly removing affected leaves.
- For slugs, try placing crushed eggshells or beer traps around your plants as a chemical-free deterrent.
Diseases like downy mildew show up as yellow spots and fuzzy growth; prevent them by watering early in the day and ensuring plenty of airflow between plants.
Bolting—when spinach suddenly sends up a flower stalk and turns bitter—is often caused by high temperatures or overcrowded beds. To avoid this, sow seeds in early spring or fall, thin seedlings to allow space, and use shade cloth on hot days.
Environmental issues like excessive heat can be mitigated by choosing bolt-resistant varieties and mulching to keep roots cool, while overcrowding is solved by regular thinning to improve air circulation.
If your garden suffers from poor drainage, consider raised beds or mix organic compost into the soil to improve its structure.
Poor germination may be due to overly wet or compacted soil, old seeds, or irregular watering. Sow fresh seeds in loose, moist—not soggy—soil and keep it consistently damp until sprouting.
Yellowing leaves typically indicate nutrient deficiencies or water issues; ensure even, moderate watering and consider a gentle nitrogen boost, such as diluted fish emulsion, if the problem persists.
Remember, observing your plants and acting early is your best defense—most issues can be minimized with prompt attention and eco-friendly habits, leading to healthier, better-tasting spinach all season long.
Harvesting Spinach: When and How to Pick for Best Results
Knowing when to harvest your spinach can make all the difference in taste and yield. Spinach is ready to pick at different stages, depending on your preference:
- Baby leaves are tender and mild, ideal for salads. They reach harvest size about 3 to 4 weeks after planting, when they’re 2 to 3 inches long.
- Mature leaves are heartier and better for cooking, typically ready when they’ve grown to about 6 inches but are still crisp and deep green without yellowing.
For the best results, use a clean pair of scissors or garden shears to snip the outer leaves, leaving the inner leaves and the growing center untouched. This selective harvesting method encourages the plant to keep producing, often for several more weeks.
If you prefer to harvest the entire plant, wait until the cluster is full and then cut the whole bunch just above the soil. This method is quicker but won’t allow for regrowth.
To avoid bolting (when the plant flowers and turns bitter, usually due to warm weather), harvest leaves early in the morning and frequently trim outer leaves before they get too large. Regular picking not only keeps the plant compact and healthy but also promotes new leaf growth.
Providing partial shade during hot spells and keeping the soil consistently moist are additional strategies to delay bolting. By paying attention to these simple cues and techniques, you’ll enjoy a longer, more productive spinach harvest all season.
Storing and Using Homegrown Spinach
To keep your homegrown spinach crisp and vibrant, start by washing the leaves gently under cold water to remove any dirt or bugs. Use a salad spinner or pat them dry with a clean towel—excess moisture can cause spoilage. Store the dry leaves in a loosely sealed plastic bag lined with paper towels; this helps absorb extra moisture and prevents wilting. Place the bag in your refrigerator’s crisper drawer, where spinach can stay fresh for up to a week.
If you have a larger harvest and want to extend its shelf life, freezing is a great option. Blanch clean spinach leaves in boiling water for 1-2 minutes, immediately plunge them into ice water, pat them dry, and then store in airtight freezer bags for up to six months.
When it comes to using your spinach, keep things simple:
- Throw a handful into morning smoothies.
- Tuck it into omelets.
- Layer fresh leaves on sandwiches and wraps for extra crunch and nutrition.
- Sauté spinach quickly with a bit of garlic and olive oil as a speedy side.
- Toss it into soups or stir-fries.
- Blend into pesto for a vibrant, healthy twist.
By storing it properly and finding easy ways to add it to meals, you’ll make the most of your garden’s bounty.