Radishes 101
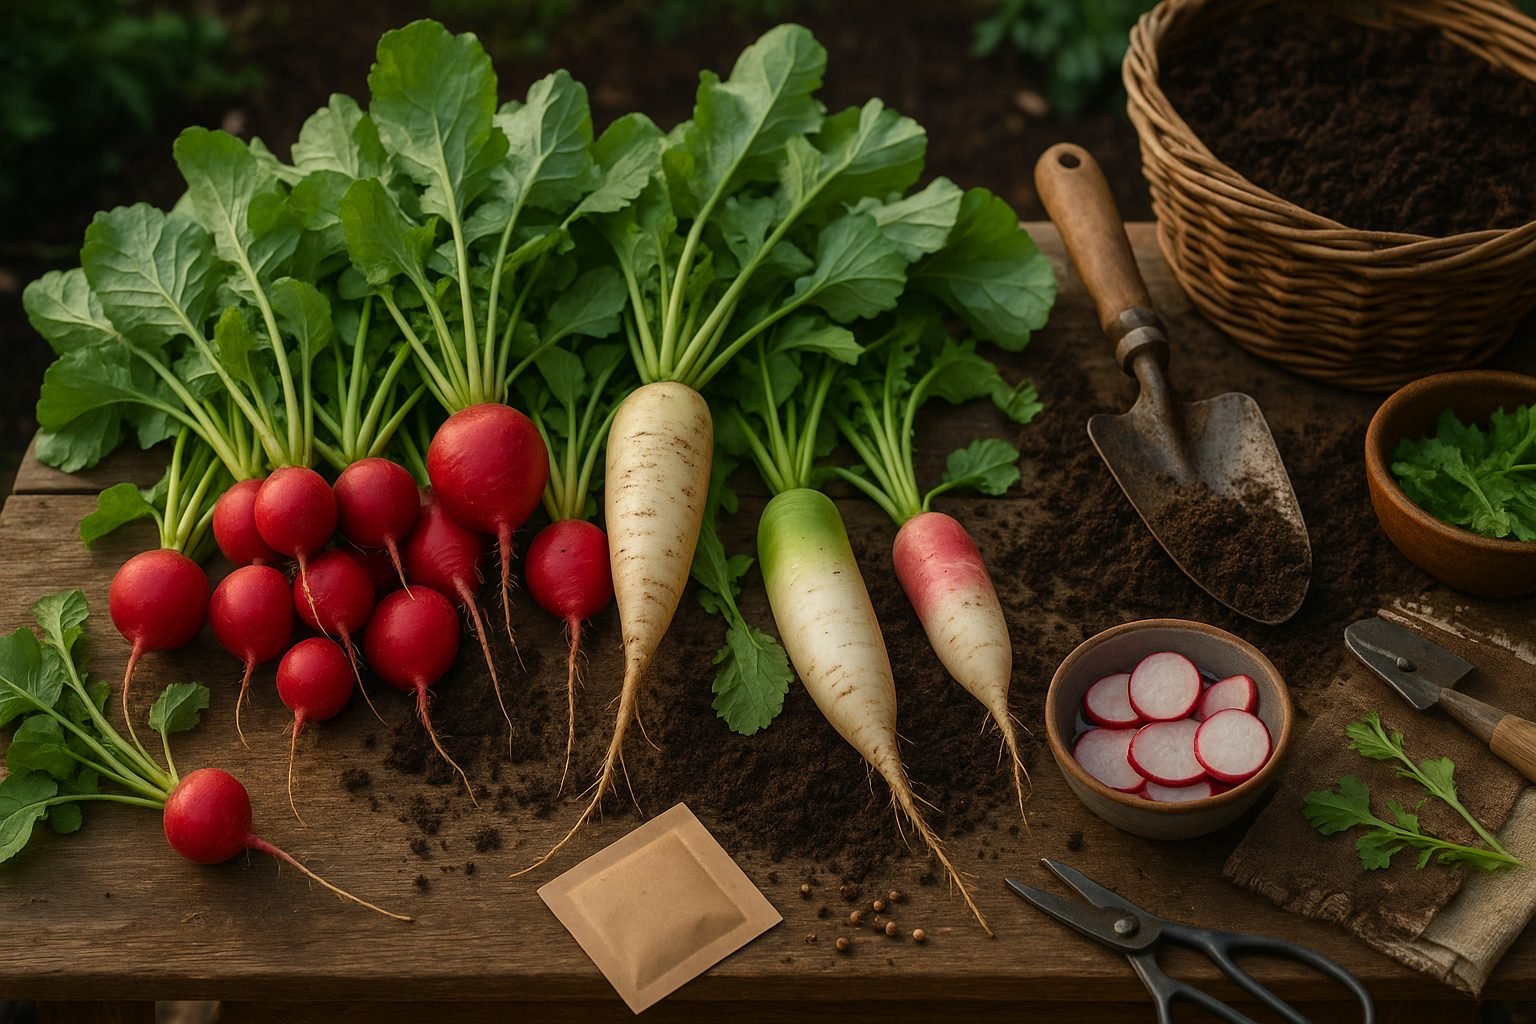
Wondering about radish harvest time and how to tell if your crunchy favorites are ready? Radishes are a staple in gardens around the world, cherished for their quick growth and satisfying crunch. The most common types you’ll find are the classic garden radish—usually small, round, and vibrantly red—and the larger, more elongated daikon radish, popular in Asian cuisine.
Garden radishes mature quickly, often in as little as three to four weeks, and offer a crisp, peppery flavor ideal for salads or snacking. Daikon radishes, by contrast, take a bit longer to mature and are milder in taste, commonly used in pickles and stir-fries.
No matter the variety, radishes are packed with nutrition. They’re low in calories but rich in vitamin C—important for immune health—plus minerals like potassium and calcium. These root veggies also provide a boost of fiber, helping support healthy digestion, while antioxidants found in radishes can help fight inflammation.
Part of what makes radishes so popular with home gardeners is their versatility and ease of growth. You can tuck them into even the smallest garden spaces, and their rapid growing time means you’ll enjoy fresh produce in weeks, not months.
Whether adding crunch to salads, color to vegetable plates, or subtle spice to main dishes, radishes offer a simple, nutritious way to brighten your meals—all while providing that satisfying moment of harvest when they’re just right.
Choosing the Right Radish & Preparing to Plant
Radishes come in a surprising range of shapes, sizes, and flavors, so picking the right variety for your garden starts with considering your local conditions and taste. Fast-growing ‘Cherry Belle’ is a favorite for crisp spring salads, while ‘French Breakfast’ offers an elongated, milder option perfect for dipping or slicing. If you’re in a warmer climate, try heat-tolerant types like ‘White Icicle’ or the spicy ‘Daikon’ for late summer planting and winter harvests.
Whichever you choose, select varieties that match your season length—most spring radishes mature in less than a month, while winter types take a bit longer but store well after harvest.
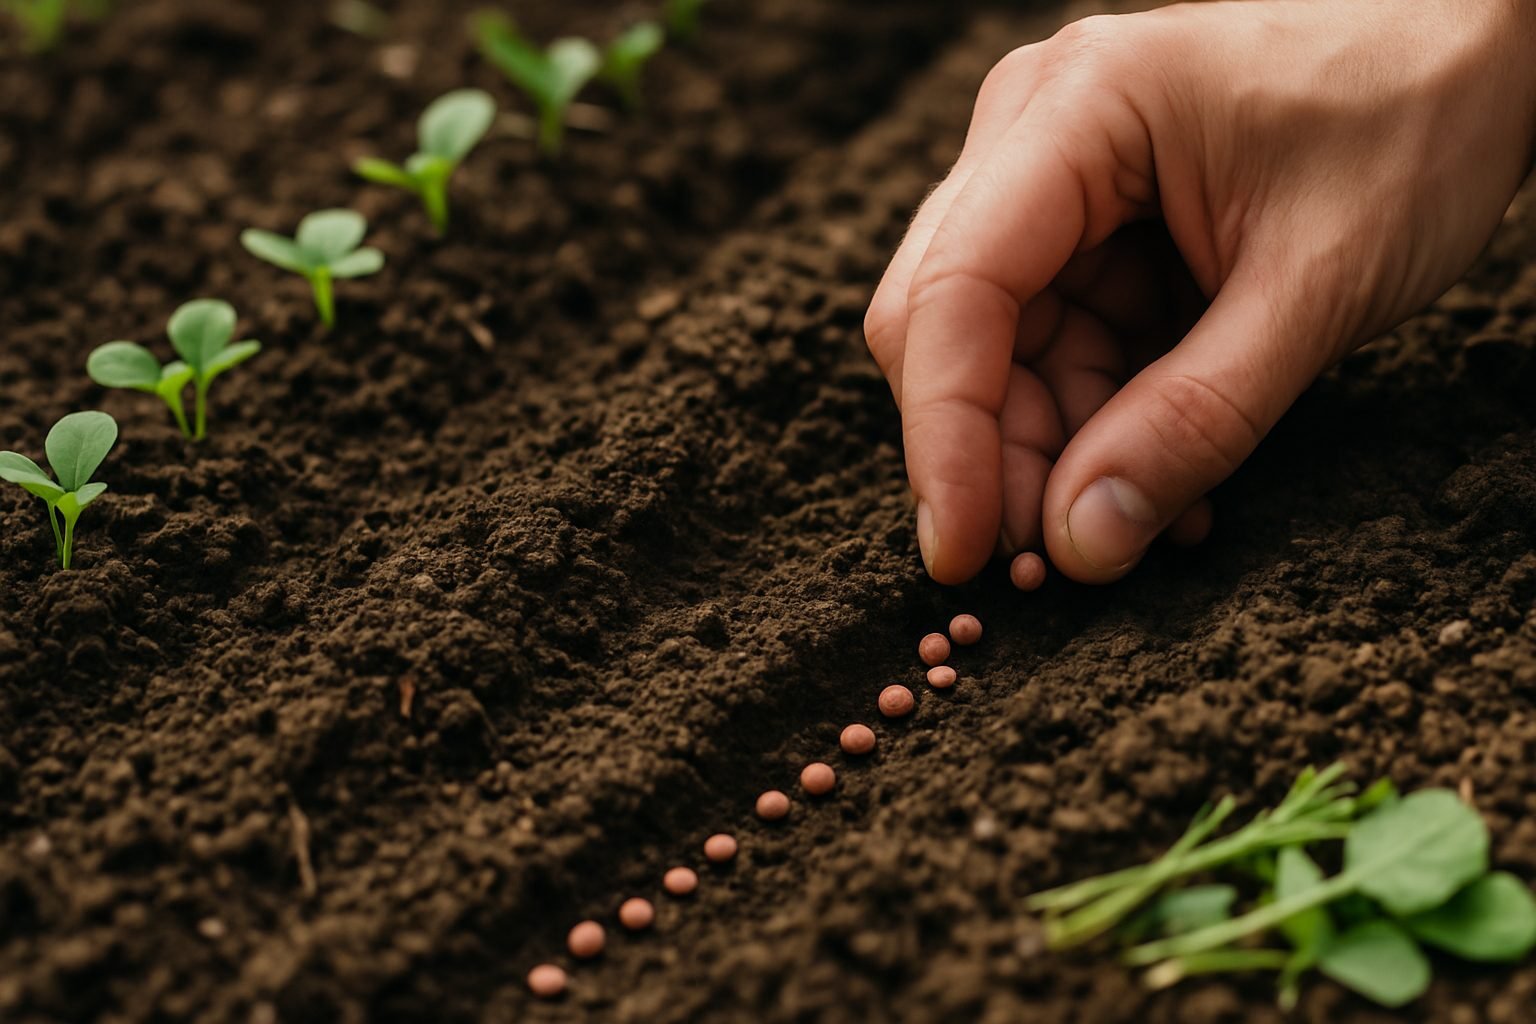
Radishes thrive in loosened, well-draining soil rich in organic matter, with a pH between 6.0 and 7.0, so work in some compost before planting. Sow seeds directly about half an inch deep, spacing them 1 inch apart and keeping rows about 6 to 12 inches away from each other; this prevents crowding and encourages even root development.
Full sunlight is ideal, but partial shade works if you’re growing in hotter regions to avoid bolting. Aim to plant when the soil temperature is between 45–85°F (7–29°C)—in many areas, that’s early spring or late summer.
To ensure strong germination and healthy crops, buy seeds from reputable local nurseries, seed catalogs, or trusted online retailers, and always check the packet for freshness date and disease resistance details.
With the right variety and preparation, you’ll be crunching into homegrown radishes in just a few weeks!
Sowing Your Radish Seeds: Step-by-Step
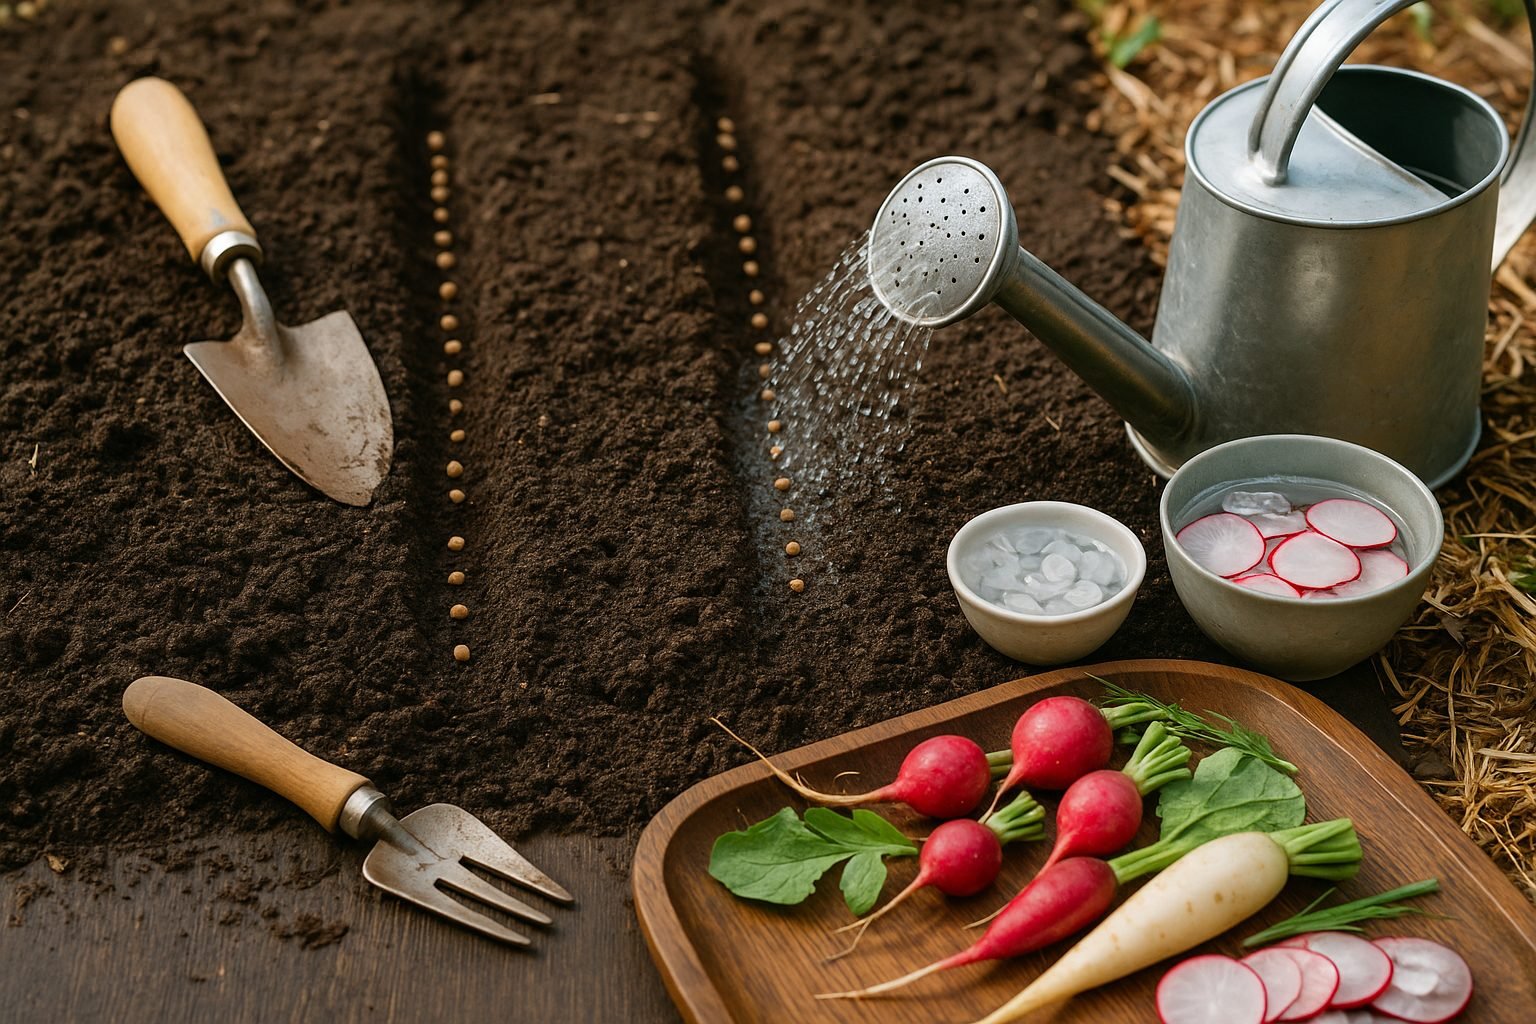
Sowing radish seeds is a quick and rewarding process, perfect for both new and experienced gardeners. Start by choosing a sunny patch of loose, well-drained soil. Use a garden trowel or even your finger to draw shallow furrows about half an inch deep (1.25 cm), spacing the rows about 6 to 12 inches (15 to 30 cm) apart.
Drop the radish seeds along the furrow, aiming to place each seed about an inch (2.5 cm) apart. Cover the seeds lightly with soil and gently press down to ensure good contact. Then, water the area with a gentle spray to settle the soil.
Keeping the soil consistently moist but not soggy is key for quick germination—radishes usually sprout in three to seven days, depending on the variety and weather.
As the seedlings emerge, you might notice they are crowded together. Thinning is crucial at this stage: once the plants have developed their first true set of leaves (not the tiny seed leaves), gently snip or pull out the weaker seedlings so each plant stands about two inches (5 cm) apart. This gives the remaining radishes enough space to form crisp, round roots instead of becoming spindly or competing for nutrients.
Mulch lightly to keep the soil cool and damp, and check regularly for weeds, which can quickly overtake young seedlings. If birds or pests are a problem, consider using a row cover for protection. Early on, avoid overhead watering and water at the base of the seedlings to help prevent fungal diseases.
With these steps, you’ll set your radishes up for a healthy start and a quick harvest—some varieties are ready in as little as 25 days.
Caring for Your Growing Radishes
Proper care is essential for growing healthy, flavorful radishes, and a good routine starts with consistent watering. Radishes need steady moisture for quick root development — about one inch of water per week is ideal. In warmer weather or sandy soils, you may need to check soil moisture daily, as dry spells can cause pithy roots or prompt the plants to bolt, meaning they flower prematurely and stop producing good roots.
Mulching is a simple trick that helps regulate soil temperature and retain moisture, reducing the need to water as often and keeping weeds at bay. Radishes are light feeders, so heavy fertilizing isn’t necessary; however, if your soil is poor, a small side-dressing of compost or an all-purpose balanced fertilizer once the seedlings have two true leaves can boost their growth.
Adjusting Care for Different Radish Types
Different radish types may need slightly adjusted care. For instance, spring radishes mature fast (about 3–4 weeks) and prefer cooler temperatures, while winter varieties like daikon take longer and tolerate a bit more heat.
Common Problems to Watch For
- Bolting: Caused by heat or stress, leading to early flowering.
- Cracked roots: Resulting from inconsistent watering.
- Slow growth: Often due to overcrowding or poor nutrition.
For best results, thin seedlings to the recommended spacing as soon as possible. Crowding forces plants to compete and can lead to small, misshapen roots. If your radishes grow mostly leaves with little root, try loosening the soil and make sure it’s not too rich in nitrogen, which promotes leaf growth over roots.
Checking your garden daily lets you spot issues early and adjust care accordingly, helping you grow crisp, satisfying radishes with less hassle.
Dealing With Radish Pests & Problems
Radishes are quick-growing and rewarding, but they can be targets for several pests and diseases that frustrate even experienced gardeners. Flea beetles are one of the most common culprits—look for tiny round holes in the leaves, as these small, jumping insects can quickly skeletonize young radish greens.
Root maggots are another threat, burrowing into the roots and causing plants to wilt or rot; if you notice stunted growth or brown tunnels in the roots when harvesting, there’s a good chance maggots are present. Fungal issues like downy mildew and black root are also possible, especially in wet conditions.
Prevention and Control
To prevent problems, practice crop rotation—avoid planting radishes in the same soil as previous seasons. Cover newly seeded beds with lightweight row covers immediately to keep adult pests from laying eggs. Keep your garden clean by removing plant debris, which can harbor insects and spores.
Favor organic controls like neem oil or insecticidal soap against beetles, and encourage beneficial insects such as ladybugs and lacewings that naturally keep pests in check.
Early Signs and Actions
If early signs of infestation appear—such as chewed leaves, wilted seedlings, or visible larvae—take quick action by removing affected plants or treating the area.
- Water at the base of plants to avoid excess humidity.
- Prune crowded seedlings for better airflow.
- Ensure good soil drainage.
With consistent vigilance and these smart, natural practices, you can keep radish pests and diseases in check for a healthy, productive harvest.
Harvesting, Storing & Enjoying Radishes
Knowing when to harvest radishes is key to their crisp texture and peppery flavor. Look for radish tops poking slightly out of the soil and check the roots—most round varieties are ready when they reach about one inch in diameter, typically three to four weeks after planting. Pull one gently to test; if it’s firm and brightly colored, it’s ready to go.
Leaving radishes in the ground too long can make them woody or bitter, so it’s better to pick them early.
For short-term storage, trim off the leafy tops (which drain moisture) and store the roots unwashed in a plastic bag in the fridge, where they’ll stay fresh for up to a week. For longer storage, place washed, trimmed radishes in a jar with a bit of water, changing the water every couple of days—this can keep them fresh for two weeks or more. Another option is pickling, which not only preserves them for months but also adds a tangy crunch to meals.
When it comes to enjoying your harvest, radishes are super versatile:
- Slice them raw into salads.
- Layer them onto buttered bread for a simple French snack.
- Quick-pickle them for a zesty taco topping.
Roasting or grilling mellows their bite and brings out a surprising sweetness, making radishes a flavorful addition to both raw and cooked dishes. Fresh from garden to kitchen, radishes are a quick win for busy weeknights and spontaneous snack cravings.