Why Save Radish Seeds?
Radish seed saving is quickly becoming a favorite skill among home gardeners who want to make their vegetable patches more sustainable and budget-friendly. So, why bother with radish seed saving?
For starters, collecting your own seeds means fewer trips to the store and less money spent on seed packets each season. More importantly, saving seeds allows you to preserve heirloom radish varieties that might not be available commercially—think of it as keeping your favorite flavors and textures alive for years to come.
Seed saving also empowers you to adapt your radish crops to local pests and climate over time, creating hardier plants perfectly suited to your garden’s unique conditions. Many gardeners find that saving radish seeds is surprisingly simple: after letting a few plants flower and form seed pods, you just harvest, dry, and store them for next year.
Plus, it’s a satisfying way to become more self-sufficient and form a deeper connection with your food. Whether you love crunching into spicy red globes or savoring rare black radishes, seed saving helps ensure you always have your favorites on hand—while supporting sustainable gardening practices in the process.
Understanding Radish Seed Pods
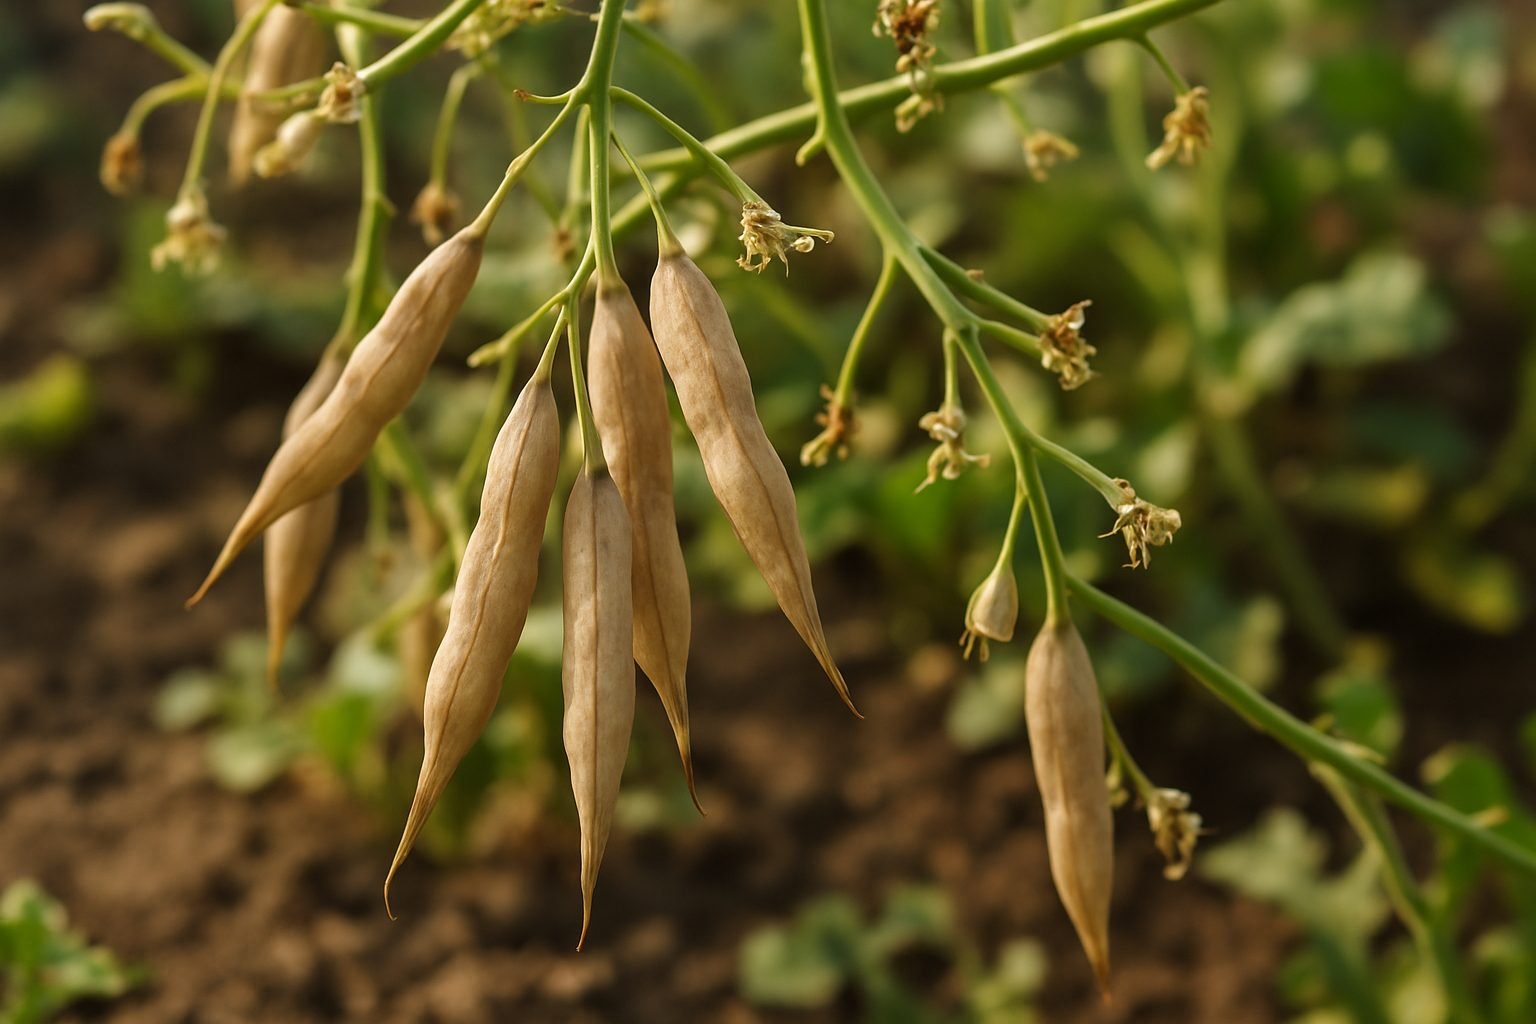
Radish seed pods are the small, slender vessels that form after radish plants finish flowering, serving as the plant’s natural way of reproducing. Once the radish flowers—which are typically white or pale pink—are pollinated, their petals fall away and green, elongated pods begin to develop along the stems.
Initially, these pods are tender, straight, and bright green, sometimes resembling tiny beans or pea pods. As they mature, the pods thicken and can reach up to two inches long, eventually turning pale yellow or light brown as they dry out.
To identify pods ready for harvest, check that they are firm and make a slight rattling sound when shaken, indicating the seeds inside have fully developed. A good tip is to wait until at least half the pods on a stem have dried—harvesting too early can result in immature seeds, while waiting too long risks the pods splitting open and dispersing seeds before you can collect them.
If you’re harvesting for eating rather than planting, pick the pods while they’re still green and crisp—they add a peppery crunch to salads and stir-fries.
When and How to Harvest Radish Seeds
Harvesting radish seeds requires patience, as you’ll need to let your radish plants bolt and flower, then wait for the seed pods to mature on the plant. The ideal time to harvest is when the seed pods turn from green to light brown and feel dry and brittle—usually several weeks after flowering. Don’t rush; immature green pods won’t contain viable seeds.
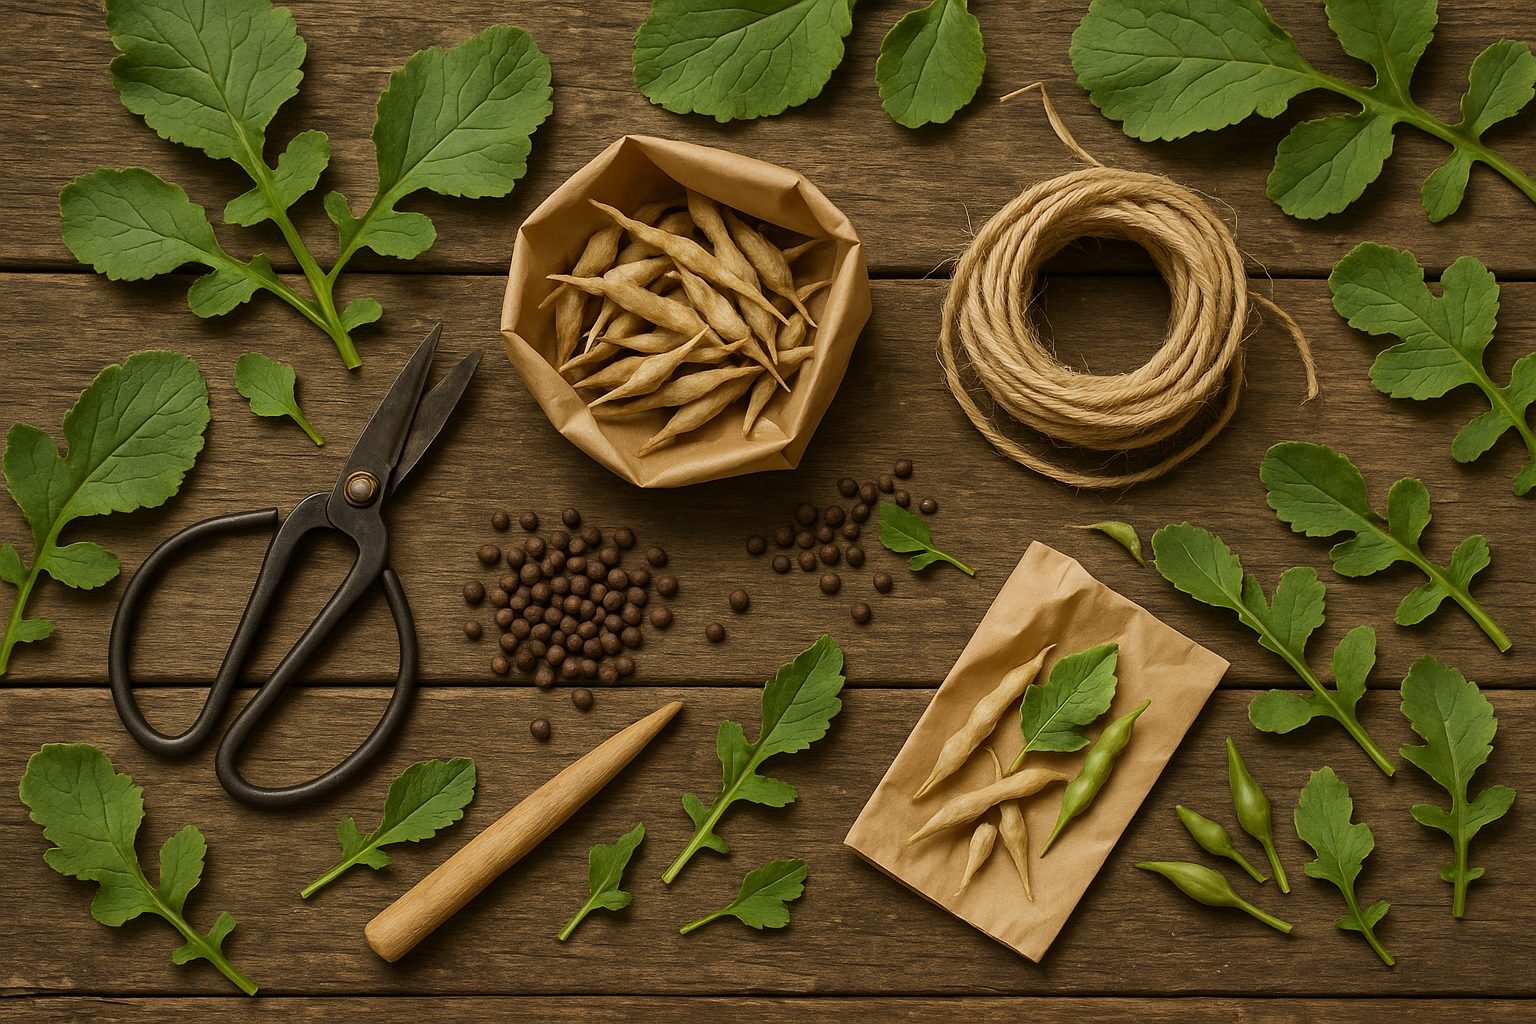
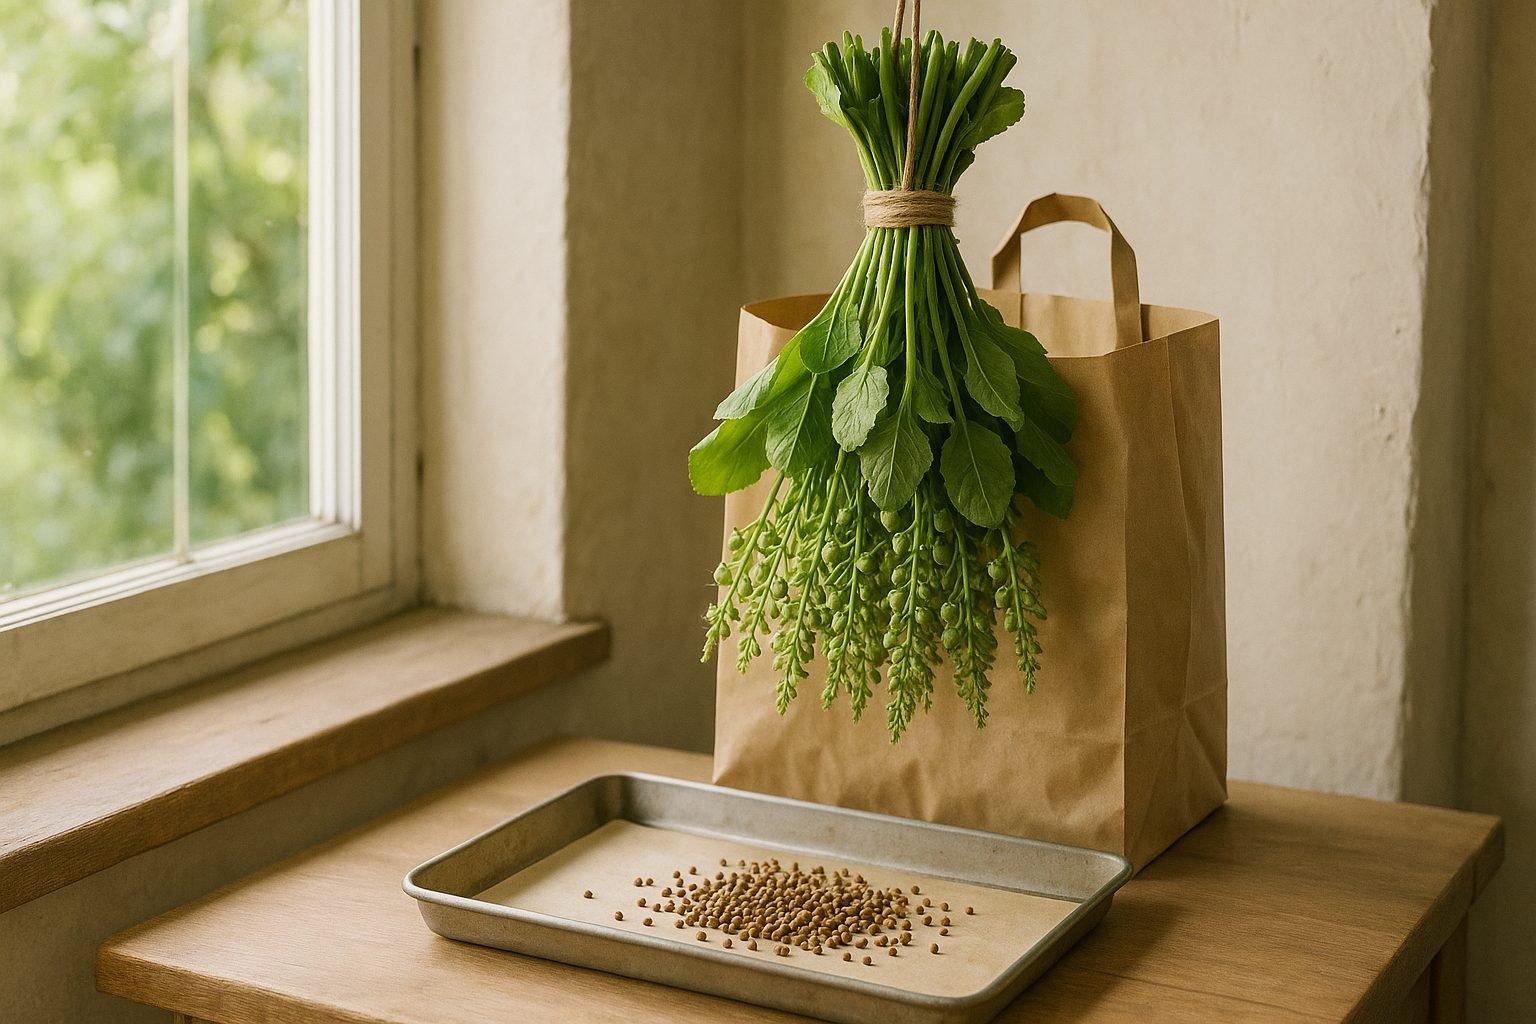
To begin, snip entire seed stalks off the plant with scissors or garden shears on a dry day to avoid mold. Bundle a few stalks together and hang them upside down in a paper bag or a well-ventilated area to finish drying for about a week.
When the pods are crisp, gently crush them inside the paper bag to collect the seeds, keeping the bag closed to contain the mess and prevent seed loss. Once separated, sift out the plant debris and let the seeds air dry for another day or two.
Store your seeds in a labeled, airtight container in a cool, dry spot for the best viability next season. For extra tidiness and to avoid losing seeds, work over a tray or sheet and use a sieve to separate finer debris. Always discard any damaged or moldy seeds before storage.
How to Clean and Store Radish Seeds
Cleaning radish seeds starts with letting the seed pods dry on the plant until they turn brown and brittle—this makes it easier to separate the seeds later. Once harvested, gently crush the pods over a clean, dry surface or a bowl to release the seeds.
To remove as much chaff—plant debris and pod fragments—as possible, try gently blowing across the bowl or shaking the seeds in a fine mesh strainer. Most debris is lighter and will separate easily.
After cleaning, spread the seeds in a single layer on a paper towel or screen in a well-ventilated, dry area, out of direct sunlight. Leave them for one to two weeks, stirring occasionally to ensure they dry evenly. Proper drying is crucial because any lingering moisture can lead to mold during storage.
Once thoroughly dry, transfer the seeds to airtight containers such as glass jars or sealed plastic bags. Always label the containers with the radish variety and harvest date.
Store seeds in a cool, dark, and dry spot—like a shelf in a closet or a cupboard—to help maintain viability for the next planting season. Regularly check for moisture or mold, and reseal containers as needed to keep your homegrown seeds in top condition.
Tips for Growing Radishes for Seed
Growing radishes for seed is a bit different from cultivating them for crisp, edible roots. When growing for eating, you typically harvest radishes while they’re young and tender, but for seed production, you’ll need to let the plants fully mature and “bolt” or flower.
Start by selecting healthy, disease-free radish plants with your preferred traits; root size and shape often carry over, so choose wisely. Space plants at least 8-12 inches apart to ensure good airflow and reduce the chance of disease as they grow larger and send up flower stalks.
To prevent unwanted cross-pollination, especially if growing multiple radish varieties or other brassicas, isolate different varieties by at least 500 feet, or stagger planting times so they don’t flower simultaneously.
Common issues like poor seed set often stem from overcrowding or insufficient pollinator activity; consider hand-pollinating flowers if you aren’t seeing pollinators. Watch for pests like aphids and flea beetles, which can quickly damage leaves and flowers; use floating row covers at the start and check plants regularly.
Finally, allow seed pods to dry on the plant before harvesting for the highest seed viability. Proper care and patience will reward you with a successful seed crop for next season’s garden.
Common Challenges and How to Overcome Them
Growing healthy seeds comes with its fair share of hurdles, with pod spoilage, pests, and poor germination topping the list.
Pod spoilage often occurs when pods are harvested too early or stored in damp conditions. To prevent this, let pods dry naturally on the plant whenever possible, then store them in a cool, dry place using breathable containers like paper envelopes or mesh bags.
Pests such as beetles or weevils can be a nightmare for seed savers. Regularly check your pods for tiny holes or insects, and try freezing dried seeds for a few days or using airtight containers to deter unwanted guests.
As for poor seed germination, outdated seeds or improper storage are usually to blame. Always label seeds with the harvest date, use fresh stock when possible, and keep seeds in a cool, dark spot. Test a few seeds before planting season to gauge viability.
Also, be aware of regional regulations concerning seed saving and sharing, especially if you’re working with patented or genetically modified varieties — always swap seeds ethically and legally.
Attention to detail at each step goes a long way toward building a thriving seed stash year after year.
Creative Ways to Use Extra Radish Seeds
If you find yourself with a surplus of radish seeds, consider turning that abundance into an opportunity for connection and creativity.
Here are some fun and thoughtful ideas to make the most of your extra seeds:
- Gift small packets of seeds to friends, neighbors, or local community gardens—they make thoughtful, cost-effective presents, especially when tucked inside handmade cards.
- Organize a seed swap with fellow gardeners, either in person or through local online groups, to trade your extra radish seeds for different varieties you’d like to try.
- Sprout radish seeds indoors for nutrient-rich microgreens, adding a peppery crunch to salads and sandwiches within just a few days.
- Use radish seeds as a spicy garnish or blend them into homemade spice mixes for a flavorful kick in your cooking.
- Share your seed-saving journey on social media or at gardening clubs to inspire others, helping build a resilient and interconnected gardening community.
By creatively using and sharing your surplus, you support biodiversity and foster relationships that make gardening even more rewarding.