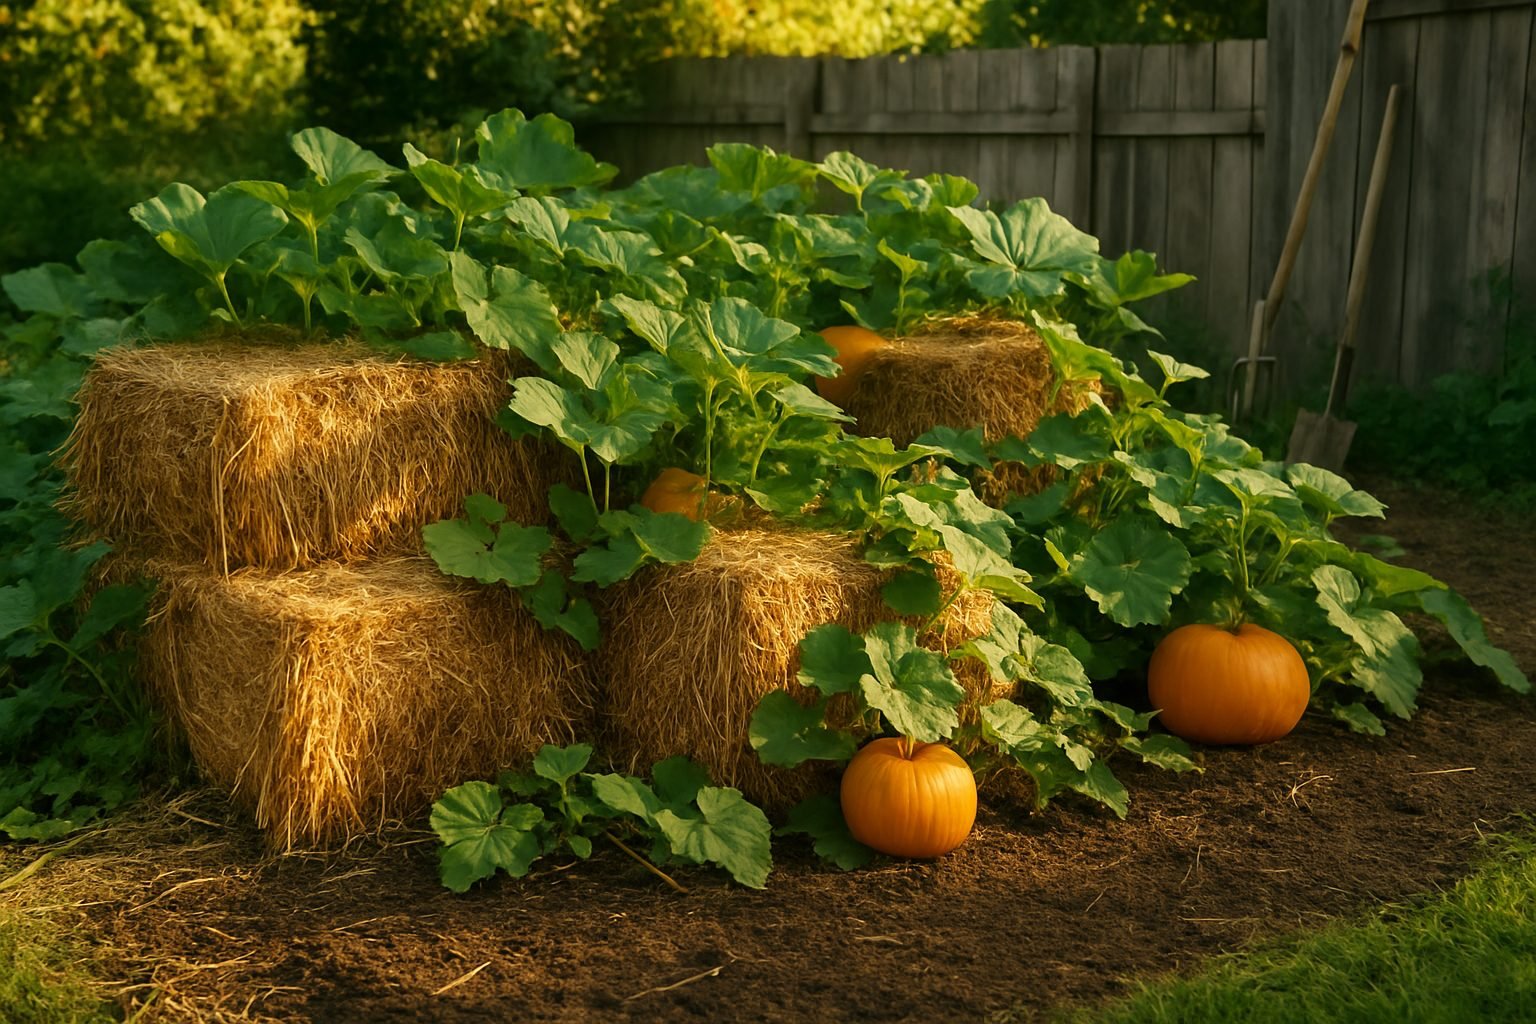
Introduction to Straw Bale Gardening
Straw bale pumpkins are becoming increasingly popular among gardeners seeking a fun and innovative way to grow their own crops. Straw bale gardening is exactly what it sounds like—using straw bales as raised beds to cultivate plants. This method is an accessible option for both beginners and experienced gardeners.
Setting up straw bale gardening is surprisingly easy, requiring minimal digging or heavy lifting. It offers great flexibility, whether you have a large backyard or just a sunny patio. One of the standout benefits is its cost-effectiveness; straw bales are affordable, and you won’t need to invest in building materials or soil amendments.
Since your crops grow above ground, you’ll encounter far fewer weeds and often enjoy an extended growing season—the bales warm up quickly in spring and retain heat well into autumn.
In this article, we’ll guide you through the basics of straw bale gardening, show you how to choose and prepare bales, share tips on successfully growing pumpkins in them, and answer common troubleshooting questions. With a little know-how, you’ll discover that growing vibrant, healthy pumpkins in straw bales is both simple and rewarding!
Choosing and Sourcing the Right Straw Bales
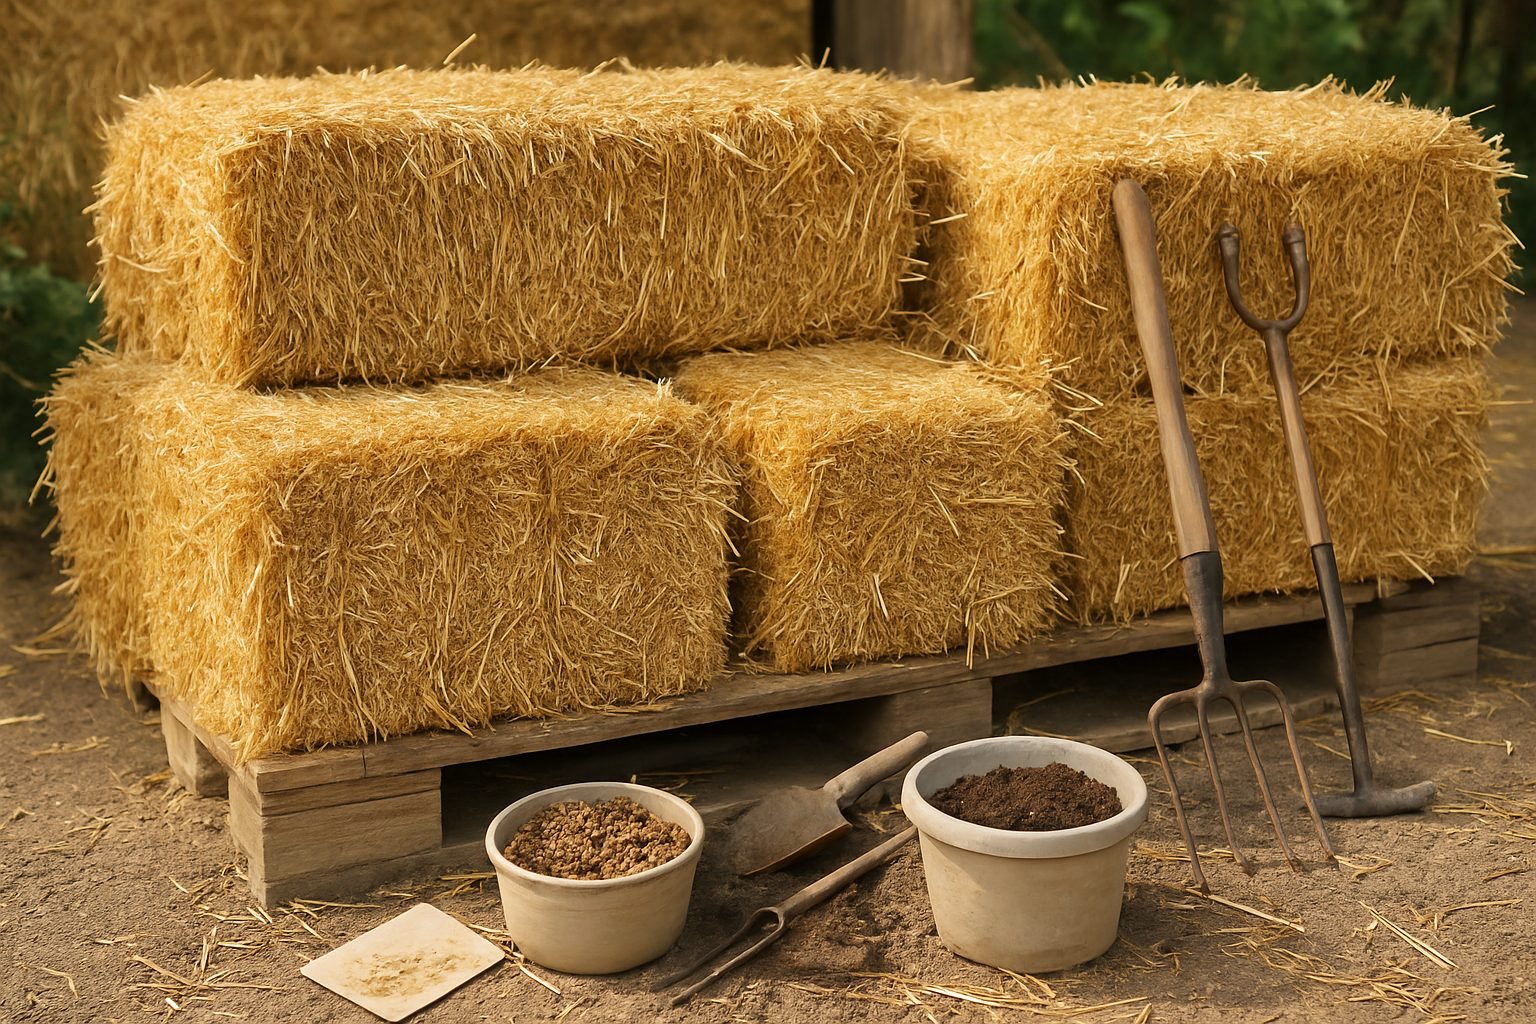
When starting a straw bale garden, it’s important to know the difference between straw and hay bales. Straw bales are made from leftover stalks of cereal grains like wheat or oats after the grain has been harvested, while hay bales consist of dried grasses or legumes and often contain seeds that can sprout into unwanted weeds.
For gardening, straw is the preferred choice because it offers a clean, seed-free growing medium that breaks down nicely over time to nourish your plants.
To source the best straw bales, try connecting with local farmers or garden supply stores and ask if their bales are free of pesticides and herbicides—these chemicals can linger and harm your plants. If possible, choose organic straw and inspect the bales to make sure they’re dry, tightly packed, and free from mold.
The number of bales you’ll need depends on your gardening goals and available space. A typical home garden might start with 5-10 bales arranged in a sunny spot with good water access. Standard bales are about 18 inches high and 36 inches long, so measure your area and plan a layout that allows comfortable access for planting and watering.
Remember to leave walking paths between rows if you’re using multiple bales. By selecting the right bales and planning ahead, you’ll set yourself up for a successful and healthy straw bale garden.
Preparing and Conditioning Your Bales
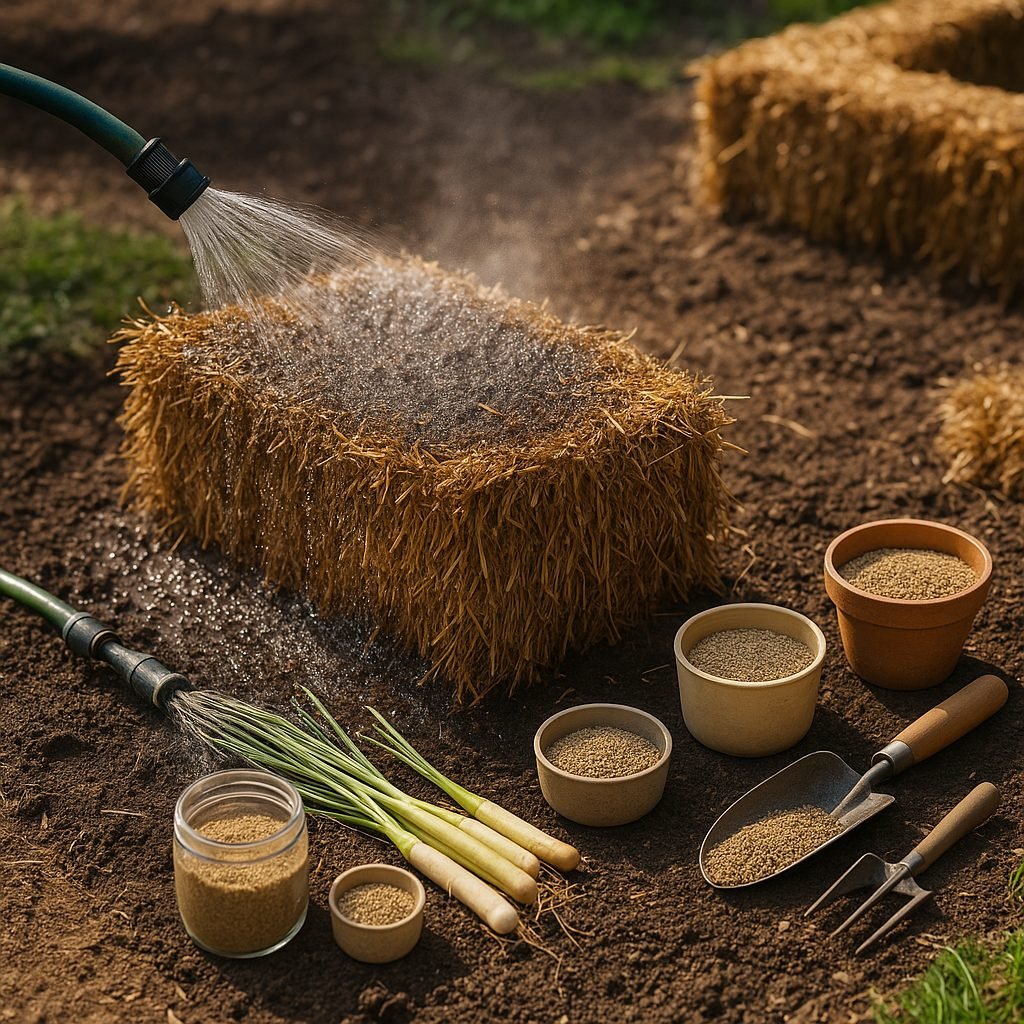
Properly preparing and conditioning your straw bales is crucial for successful gardening, as it transforms dry bales into fertile beds teeming with microbial life. Start the process about two weeks before planting by thoroughly soaking the bales with water every day for the first three days; this jumpstarts decomposition.
After that, sprinkle a high-nitrogen fertilizer (like ammonium sulfate or blood meal) over the top of the bales daily—typically about 1/2 cup per bale—while continuing to water, following this schedule for about a week. The added nitrogen feeds the internal microbes and accelerates the breakdown of straw into “humus-like” material, which is ideal for root development.
As the days pass, touch the inside of the bale; it should feel warm, which indicates that decomposition is underway. By around day 12, the temperature should return to near ambient levels—when the bale is no longer hot but still moist, you’re ready to plant.
Rushing this process or skipping the nitrogen means plants won’t get the nutrients they need, and roots may struggle in undecomposed straw. Common mistakes include:
- Using too little water, which slows decomposition
- Forgetting about nitrogen, resulting in poor growth
- Planting too early when the bale is still hot, potentially damaging young roots
Always monitor moisture and temperature, and avoid synthetic fertilizers with added weed killers, as they can harm plants. With patience and careful attention, your conditioned bales will provide a rich, healthy base for vibrant garden growth.
Setting Up Your Straw Bale Garden
When setting up your straw bale garden, start by picking a spot that gets at least six to eight hours of direct sunlight each day—plants like tomatoes, peppers, and cucumbers won’t thrive in the shade. Make sure the area is close to a water source; dragging hoses gets old fast, especially during dry spells. Check drainage, too—rainwater should run off easily and not pool around your bales.
Once you’ve chosen the site, lay out your straw bales with the cut side facing up (the ends of the straw visible) to encourage water penetration. Leave enough space around each bale for plants to grow and for you to walk or kneel comfortably as you work.
If you have limited space, try a single row of bales along a fence or garden edge. For larger areas, arrange bales in a grid with about 18 inches between rows to form pathways, making maintenance easy. Add sturdy supports like tomato cages, stakes, or trellises directly into the bales before planting—this is especially important for vining crops or tall plants.
For extra convenience and to avoid muddy shoes, use old bricks, wooden planks, or gravel to define your pathways. Small yards can benefit from a simple L- or U-shaped layout to maximize planting area without taking up too much room, while patios or balconies may only allow for one or two bales, which is perfect for herbs or salad greens.
The key is adapting the layout to your unique space and needs—there’s no single right way to arrange your straw bale garden.
Planting in Your Straw Bales
When you’re ready to plant in your conditioned straw bales, start by deciding whether you’ll use seeds or young transplants. For small seeds like lettuce, carrots, or radishes, make shallow trenches or holes in the bale’s surface, then fill these with a couple of inches of potting mix or compost. This layer provides a loose, fertile medium for germination before the roots grow into the straw.
For transplants—tomatoes, peppers, or herbs, for example—create a hole just big enough for the root ball, again adding a scoop or two of potting mix or compost to support early root growth.
As for spacing, follow the guidelines for traditional gardens:
- Tomatoes and peppers need about 18-24 inches apart.
- Bushy herbs or lettuce can be spaced closer, roughly 10-12 inches.
Straw bale gardens are forgiving, but avoid overcrowding to keep airflow high and reduce disease risk.
For beginners, easy choices include bush beans, zucchini, cucumbers, basil, and marigolds—these thrive in the warm, moisture-retentive bales and reward you with quick, visible progress.
Water newly planted seeds and transplants gently but deeply, soaking the bale so roots can spread and find nutrients.
With a little planning and the right touch of compost, your straw bales can become productive, tidy raised beds ready for almost any crop you want to try.
Caring for Your Straw Bale Garden
Caring for your straw bale garden is simple but does require some regular attention to keep your plants healthy and thriving. Since straw bales dry out faster than traditional soil beds, check moisture levels daily—especially during hot weather—and water deeply until you see it draining from the bale’s bottom.
In the early weeks, use a balanced liquid fertilizer every 7-10 days, as the decaying straw needs extra nutrients before it can nourish your plants on its own.
For pest and disease management, inspect your bales often for unwanted visitors like aphids or slugs. Handpick pests when possible, encourage beneficial insects like ladybugs, or use organic sprays if needed. Good airflow between bales will help prevent fungal diseases—keep plants pruned and avoid watering leaves.
Taller plants like tomatoes and peppers may need a little extra support; insert sturdy stakes or cages directly into the bale so your crops won’t topple as they grow.
Keep a simple garden journal or snap weekly photos to track growth, spot problems early, and celebrate your progress. This habit not only helps you stay on top of maintenance tasks but also makes it easy to plan improvements for next season.
With consistent watering, thoughtful feeding, proactive pest watch, and gentle support, your straw bale garden will deliver a healthy, rewarding harvest.
Troubleshooting Common Problems
Troubleshooting common issues with straw bale gardening can make your next growing season smoother and more productive.
If bales break down too slowly, it’s often due to dry conditions or insufficient nitrogen during conditioning—try watering more consistently and sprinkling a high-nitrogen fertilizer to kickstart decomposition.
Pests like slugs, rodents, or insects can occasionally move in; deter them by keeping the area tidy, using organic deterrents like diatomaceous earth, or setting up physical barriers such as netting or boards.
Overwatering is another frequent problem, leading to mold and root rot. Stick your hand into the bale: if it feels soggy, ease up on watering and ensure good drainage underneath.
Sometimes, despite your best efforts, a bale simply doesn’t last the season—look for signs like loss of structure or persistent fungal growth. Don’t hesitate to replace a spent bale and use the old material as rich mulch or compost.
Remember, each setback is an opportunity to learn—maybe you’ll try a new conditioning method, pest control tactic, or watering schedule next year. The more you experiment and adapt your approach, the more confident and successful you’ll become as a straw bale gardener.