Is Broccoli Easy to Grow?
Knowing when to harvest broccoli can make all the difference between tender, flavorful florets and an overgrown, woody vegetable. Broccoli has a solid reputation as one of the easiest—and most rewarding—vegetables for home gardeners, especially if you’re just starting your gardening journey.
Its beginner-friendly nature comes from being fairly resilient, with good tolerance for cool weather and minimal need for constant attention. Broccoli thrives in well-drained, fertile soil rich in organic matter and loves basking in at least six hours of sunlight daily. Just provide consistent moisture and watch out for common pests, and your plants will thank you.
Cooler temperatures—generally between 60°F and 70°F—encourage tight, compact heads, perfect for harvesting. Even urban gardeners using raised beds or large containers can succeed with broccoli’s adaptable nature.
The real magic happens when you step outside to snip your own fresh broccoli, packed with flavor and nutrients that far surpass supermarket varieties. Besides saving money, growing your own broccoli lets you avoid pesticides and experiment with varieties rarely seen in stores.
There’s nothing like the satisfaction of serving up a homegrown side dish, knowing exactly when to harvest broccoli for peak texture and taste. With just a bit of planning and care, broccoli can easily become a star crop in your garden patch.
When and How to Plant Broccoli
Broccoli thrives when grown during the cool windows of spring and fall, making timing especially important for success. In regions with mild winters, such as the southern U.S., broccoli can be planted outdoors in late summer for a fall harvest or even winter crops.
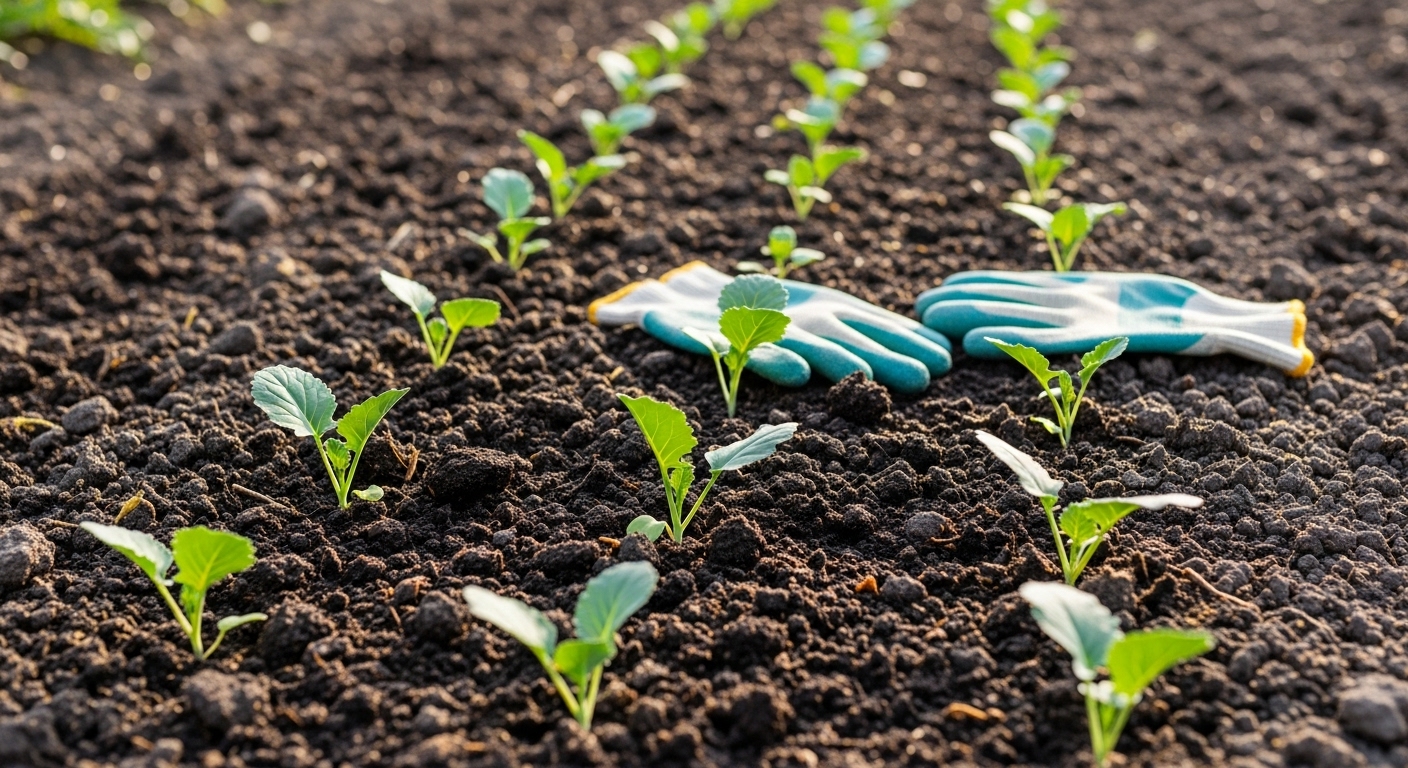
In colder climates, start seeds indoors 6–8 weeks before your last spring frost and transplant hardened seedlings outside two to four weeks before that frost date. If you’re direct sowing, wait until the soil warms to at least 50°F and the risk of hard frost has passed, as broccoli dislikes hot summer temperatures and may bolt.
No matter your approach, choose a location in full sun—at least six hours daily—since too much shade can result in leggy, weak plants and minimal heads. Prepare your soil by mixing in compost or well-rotted manure to ensure rich, well-drained ground; a slightly acidic to neutral pH of 6.0–7.0 works best.
Space plants 18–24 inches apart in rows about two feet apart to allow plenty of room for growth and air circulation, which helps prevent disease. For a head start on the season, many gardeners begin with young nursery seedlings, gently transplanting them outdoors and watering well to minimize shock.
With proper timing, preparation, and spacing, your broccoli crop can flourish whether you garden in raised beds, in-ground plots, or even larger containers on a sunny patio.
Broccoli Growth Stages Explained
Understanding broccoli growth stages helps you support healthy plants and get the best yields. It starts with germination: after sowing, keep seeds in moist soil (not soggy) and in a warm spot (around 70°F/21°C). Expect tiny shoots in 5–10 days. If seeds don’t sprout, check for overly dry soil or low temperatures.
Next comes the seedling stage, where the young plant develops a few true leaves. At this point, give plenty of indirect sunlight (12–16 hours if growing indoors) and avoid overwatering, which can cause “damping off”—yellowing, wilting, or stem rot at the soil line.
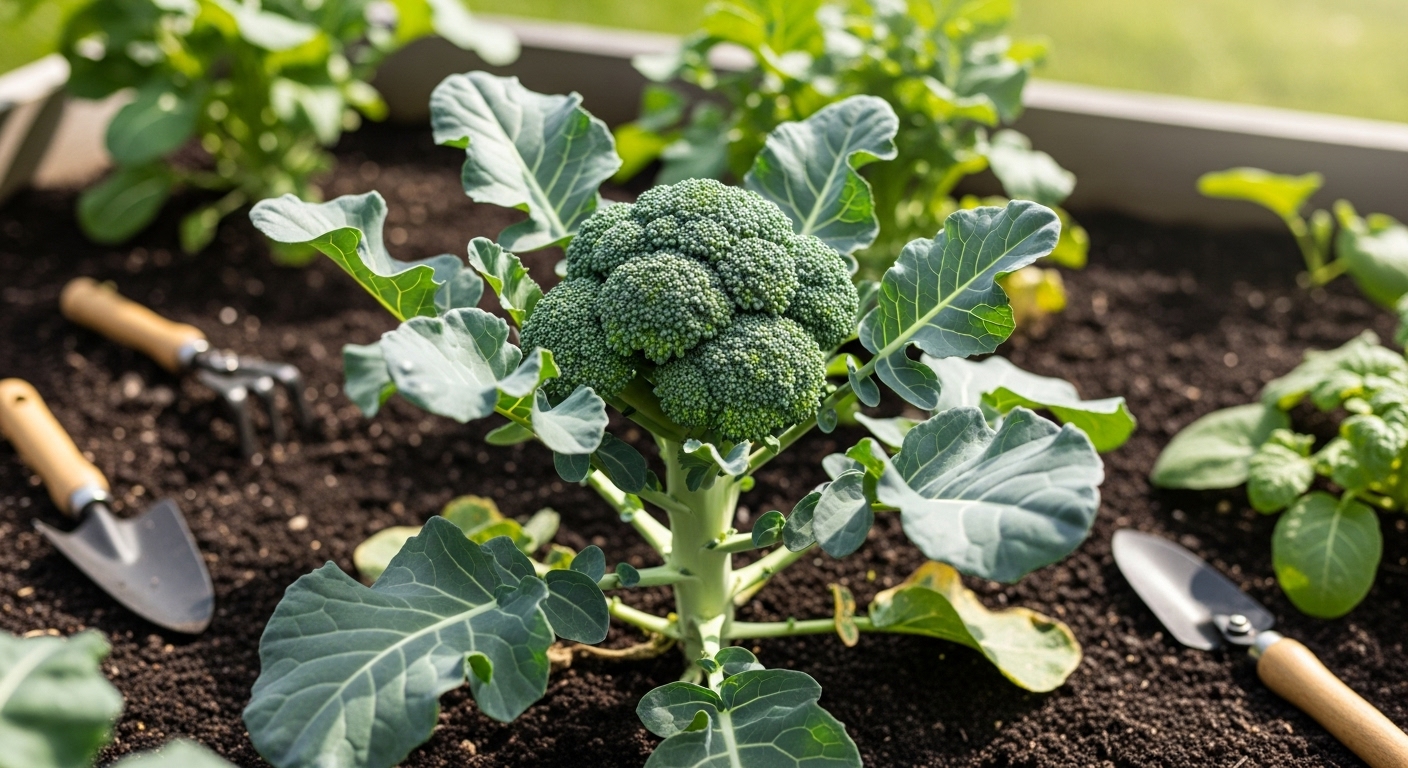
As broccoli enters vegetative growth, it will form larger, dark green leaves and a thick stem. Plants need slightly cooler temperatures (60–70°F/16–21°C), steady moisture, and occasional feeding with balanced fertilizer. Watch for pale leaves or stunted growth, which signal nutrient deficiency or inconsistent watering.
The final stage is head or flower formation: a tight, dark green cluster forms in the center. Provide consistent watering and avoid heat spikes (broccoli prefers cooler weather); too much heat can cause premature flowering or “bolting,” resulting in loose, bitter heads. Look for compact florets—once they begin to loosen or show yellow, harvest right away to avoid a tough texture.
Throughout all stages, watch for common problems like pests (aphids or cabbage worms) and address them early with natural treatments or hand-picking. A healthy broccoli plant always looks upright and robust, with deep green leaves and a firm, tight head—monitor appearance daily to catch stress before it harms your crop.
Care Guide: Watering, Fertilizer, and Common Problems
Caring for broccoli starts with getting the watering just right—aim to keep the soil consistently moist but never soggy. A good rule of thumb is about 1 to 1.5 inches of water per week, either from rainfall or supplemental watering, adjusting based on your local weather. Water early in the day and target the base of the plants to avoid wetting the leaves, which helps prevent disease.
When it comes to fertilizing, broccoli thrives with a balanced fertilizer—look for something with even numbers like 10-10-10. Apply fertilizer when preparing the soil and again once the plants are established, about three to four weeks after transplanting. For best results, use a granular fertilizer and lightly work it into the soil or apply a diluted liquid feed every couple of weeks.
Watch out for common issues like aphids, cabbage worms, and fungal diseases such as downy mildew. You can often spot pests by checking the undersides of leaves and pick them off by hand or use insecticidal soap. To reduce disease, practice crop rotation and ensure good air circulation between plants.
If you notice yellowing leaves or stunted growth, double-check your watering routine and soil drainage, as too much or too little moisture can stress the plants. Regularly inspect your broccoli, address problems promptly, and you’ll be rewarded with healthy, delicious heads ready for harvest.
When and How to Harvest Broccoli
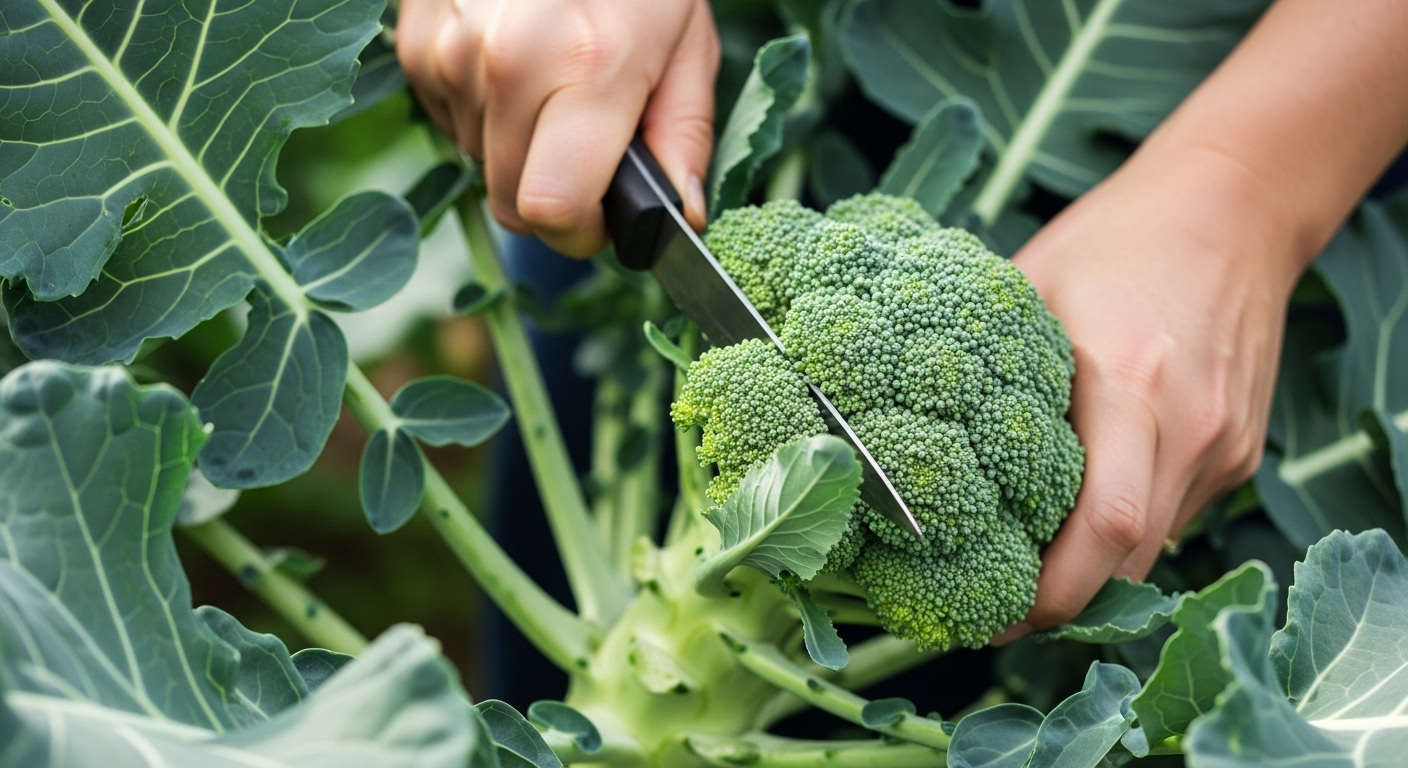
Knowing the right time to harvest broccoli can make all the difference between bland, woody stems and crisp, flavorful florets. Start by watching for a firm, dense head that’s about 4 to 7 inches across. Keep an eye on the tightly packed, dark green buds—these are your best indicators of readiness.
Don’t wait too long; once the tiny buds begin to loosen or show hints of yellow, the plant is about to flower. This signals a very short harvest window of just a few days.
For the best results, use a sharp knife to cut the main head off at an angle, leaving about 5 to 6 inches of stem and as many healthy leaves as possible. This approach not only prevents damaging the plant but also encourages side shoots to grow, providing a second, smaller harvest in the weeks that follow.
Try harvesting in the early morning when the heads are crispest and avoid pulling or twisting, which can shock the plant and hamper further growth. If buds start to open into yellow flowers, harvest immediately—florets will still be edible but less tender.
With these simple steps, you can maximize both the yield and quality of your homegrown broccoli harvest.
Storing and Enjoying Your Homegrown Broccoli
To keep your homegrown broccoli fresh and crisp, start by storing it unwashed in the refrigerator—moisture speeds up spoilage, so wait to wash it until you’re ready to use it. Place broccoli heads in a perforated plastic bag in the crisper drawer, which helps maintain airflow and prevents excess moisture buildup.
If you need to freshen up slightly wilted broccoli, try soaking the stems in ice water for a few minutes before cooking.
When you’re ready to enjoy it, broccoli shines when lightly steamed, roasted, or stir-fried—overcooking can dull its color, taste, and nutrients. Toss roasted florets with a drizzle of olive oil and a sprinkle of sea salt for a simple side, or add chopped raw broccoli to salads for a fiber and vitamin boost.
If you harvest more than you can eat right away, freezing is a great way to preserve the surplus:
- Cut broccoli into florets.
- Blanch them in boiling water for two to three minutes.
- Plunge into ice water to stop the cooking.
- Dry thoroughly and pack into freezer-safe bags.
Properly frozen, broccoli keeps its quality for up to a year and cooks quickly straight from the freezer. With these storage and preparation tips, you can enjoy the flavor and nutrition of your homegrown broccoli well beyond the harvest season.
Companion Planting and Container Tips
Companion planting is a smart way to boost your broccoli crop while keeping pests at bay and improving growth. Vegetables like beets, onions, and celery make great neighbors for broccoli, as they don’t compete for the same nutrients and can help repel unwanted insects.
Herbs such as dill, sage, and chamomile are not only aromatic but are believed to attract beneficial insects and enhance broccoli’s flavor and resilience. However, avoid planting broccoli near strawberries or tomatoes, as these can compete for resources.
For gardeners with limited space, growing broccoli in containers is a practical option—choose a pot that’s at least 5 gallons and 12 inches deep to give roots ample room to spread. Ensure your container has drainage holes to prevent soggy soil, which can harm roots. Place pots where they’ll receive at least 6 hours of sunlight each day, such as a sunny patio or balcony.
Whether you’re working with raised beds or pots, companion planting enriches biodiversity and can lead to healthier, more productive broccoli. With the right mix of neighbors and smart container choices, even a small space can yield satisfying harvests.