Getting Started with Growing Beets
Growing beets in clay soil might sound tricky, but it’s entirely possible—and rewarding—for home gardeners who want a hearty, nutritious crop. Beets are a versatile root vegetable, packed with vitamins, minerals, and antioxidants, offering both delicious, earthy roots and tender, nutrient-rich greens that can be cooked or tossed in salads. If you’re looking to add more color and nutrition to your plate, beets are a great choice due to their ease of cultivation and quick harvest time—many varieties can be pulled from the ground in just 50 to 70 days. Plus, even if you’re working with less-than-perfect soil, you can still achieve great results with the right preparation.
One of the main attractions of growing beets is that they thrive in small spaces and tolerate a range of conditions, making them perfect for beginner and seasoned gardeners alike. With beets, you get a double harvest: their roots make a sweet, earthy addition to many meals, while the leafy tops can be sautéed, steamed, or enjoyed fresh. Not only do beets grow quickly, but they also require relatively low maintenance compared to fussier crops.
Choosing Location and Timing
To get started on the right foot, focus on location and timing. Beets grow best in a sunny spot, with at least six hours of direct sunlight daily. Although clay soil can seem like an obstacle, breaking up the soil and mixing in some compost will help create a looser, better-draining environment that beets love. Aim to sow seeds directly in the garden in early spring, as soon as the soil is workable, or again in late summer for a fall harvest. Whether you’re gardening in a raised bed or a traditional plot, some careful preparation will help ensure your beets grow strong and healthy.
With just a little planning and a few simple steps, growing beets in clay soil can yield a bountiful harvest you’ll be proud of.
Choosing the Best Beet Varieties
With so many beet varieties available, picking the right one can make all the difference in your gardening experience and meals. Detroit Dark Red is a reliable classic—it thrives in most climates, produces medium-sized, deep red roots, and is perfect for everything from roasting to canning.
Chioggia, an Italian heirloom, stands out with its eye-catching pink-and-white rings inside and sweet, mild flavor. It’s a hit for salads and fresh eating, especially if you want to impress with color. If you prefer a milder, less earthy taste, consider Golden beets, which also resist staining and retain their lovely color when cooked, making cleanup and presentation a breeze.
When choosing your variety, think about your climate—most beets prefer cool, mild weather, but hybrids often offer improved tolerance for heat or disease if your growing season is unpredictable. Root size matters too; larger varieties are ideal for storage or pickling, while smaller, tender options are perfect straight from the garden.
Heirloom varieties like Chioggia and Detroit Dark Red carry traditional flavors and seed-saving potential, appealing to gardeners who enjoy preserving unique genetics and stories. Hybrids, on the other hand, often deliver higher yields, uniform shapes, and better resistance to common pests and diseases, which is great if you’re new to gardening or want an easier harvest.
Ultimately, matching beets to your local conditions and kitchen goals ensures a successful crop you’ll be excited to use—whether that’s pickled, roasted, or sliced raw in vibrant salads. Try growing a few types side by side—you’ll discover which beets best suit your taste buds and garden.
Preparing Soil for Beets
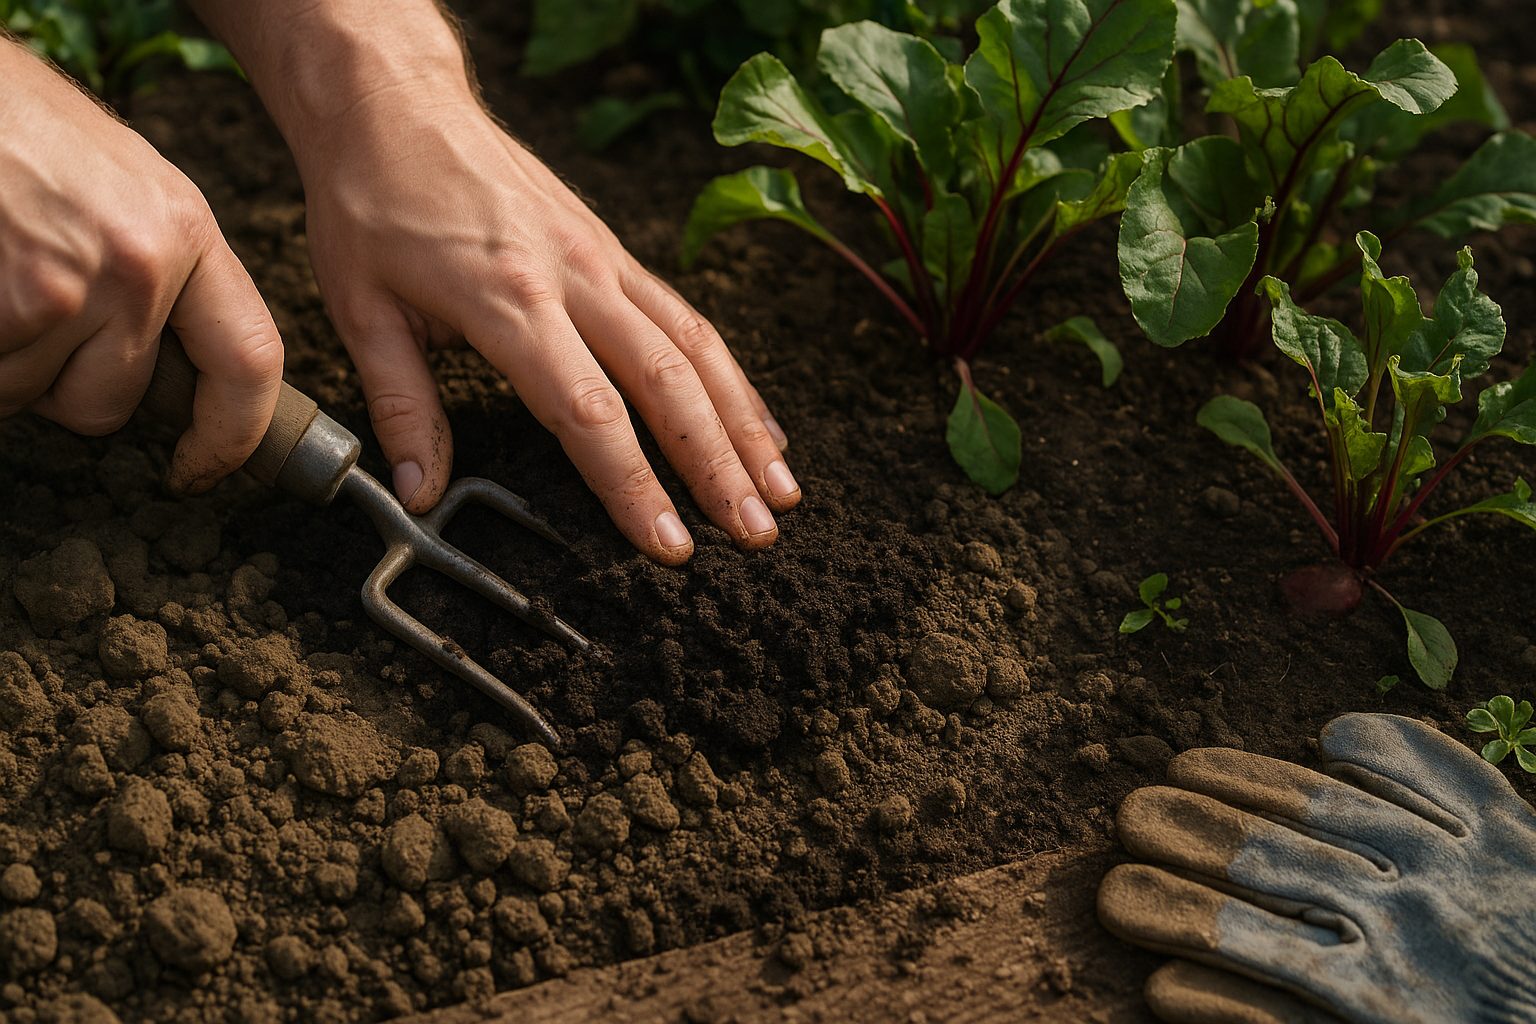
For beets to flourish, it’s crucial to start with loose, well-draining, and nutrient-rich soil—compact or heavy clay soils will stunt root formation or cause misshapen beets. Since beets are root vegetables, they push down and expand beneath the soil surface, so give them plenty of room by removing all rocks, debris, and large clumps from your garden bed.
Ideally, till or loosen the soil to at least 12 inches deep; this helps their roots grow straight and strong. Beets prefer a slightly acidic to near-neutral pH between 6.0 and 7.0. You can test your soil with a home test kit—if the pH is too low (acidic), add lime following package directions; if it’s too high (alkaline), work in a bit of elemental sulfur.
Before planting, work a 2-3 inch layer of well-rotted compost evenly through the soil to boost fertility and improve texture. Avoid high-nitrogen fertilizers, which encourage lush tops but small roots. Instead, use a balanced, all-purpose fertilizer worked into the top few inches to give beets a healthy start.
Space your planting beds about 12-18 inches wide so you can easily reach in from either side, and leave at least 3-4 inches between beet seeds. This prevents crowding and gives every beet enough space to form plump, even roots.
By taking these steps, you’ll create conditions that let your beets thrive and help ensure a smooth, sweet harvest.
Sowing and Planting Beets
For the best success with beets, timing is everything—beet seeds thrive when sown outdoors about 2-4 weeks before your area’s last expected spring frost. In cooler climates, you can even plant a second batch in late summer for a fall harvest.
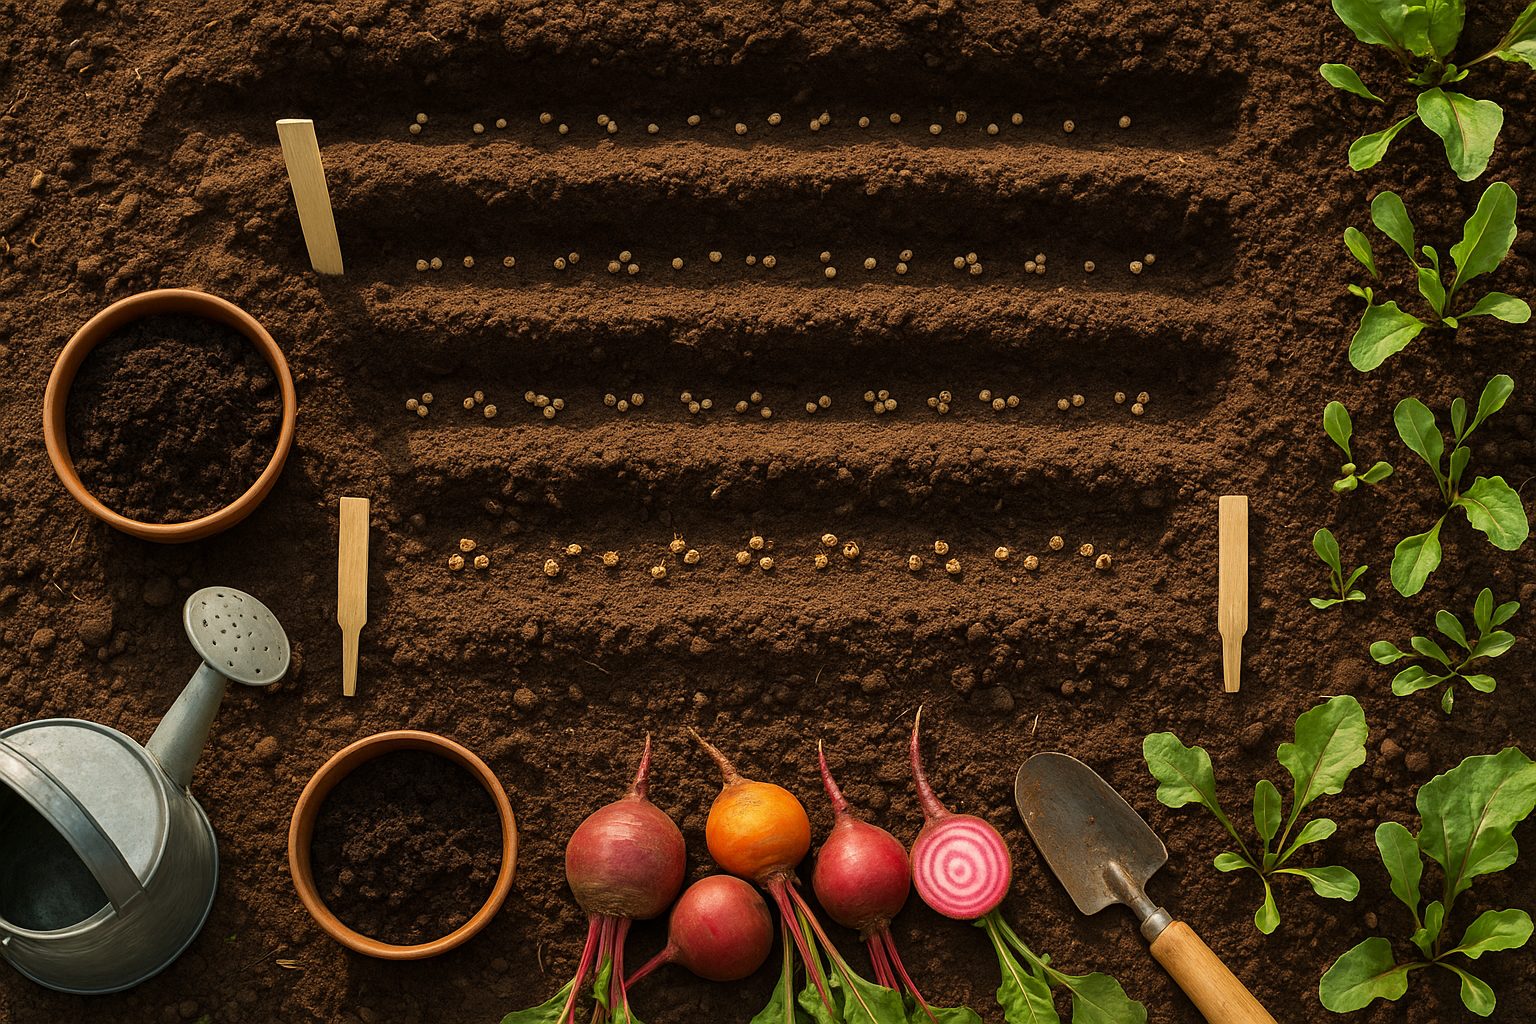
To get started, loosen your garden soil to at least 8 inches deep and mix in compost, since beets need soft, well-draining earth to grow those plump roots. Make shallow furrows about half an inch deep and sprinkle seeds roughly 1-2 inches apart; rows should be 12-18 inches apart.
Since beet “seeds” are clusters that may contain several embryos, you’ll likely see more than one seedling sprout together. Once the seedlings are about 2 inches tall, thin them so only the strongest remains every 3-4 inches—don’t skip this, as crowded beets develop small or oddly shaped roots.
For gardeners with limited outdoor space, container growing also works: choose a pot at least 10 inches deep, ensure good drainage, and follow the same sowing and thinning guidelines.
Direct seeding is usually preferred because beets dislike being disturbed, but if you start seeds indoors for an early jump (about 5-6 weeks before your last frost), transplant seedlings gently and keep soil moist to reduce shock.
In warmer regions, avoid midsummer planting which can cause poor germination or tough roots—instead, stick to early spring and late summer windows. As a helpful tip, in southern or USDA Zone 9 and higher locations, beets grow best when sown in fall or winter for a cool-season crop.
Always keep soil evenly moist, and mulch once seedlings are established to conserve water and suppress weeds, giving your beets the best chance at growing big, sweet, and tender!
Beet Plant Care and Maintenance
Proper care and maintenance can turn your beet patch into a productive and healthy part of your garden. Watering is key: aim to keep the soil consistently moist by watering deeply once or twice a week, depending on the weather. Watch for drooping leaves or pale color—signs of underwatering—or yellowing and root rot, which can indicate overwatering.
Early in the growing season, give your beets a boost with a nitrogen-rich fertilizer, then switch to a balanced or phosphorus-heavy fertilizer once the roots begin to form. Mid-season, top-dress with compost or well-rotted manure for extra nutrients.
Companion planting helps, too—try growing beets alongside onions, bush beans, or lettuce to deter pests and maximize space. Avoid planting near pole beans, as they can stunt beet growth.
To suppress weeds, gently hand-pull them when small to avoid disturbing beet roots, or lay a 2-inch layer of organic mulch, like straw or shredded leaves, around your plants. This mulch also helps retain soil moisture, making watering more efficient, and insulates roots if temperatures drop.
Beets prefer cooler weather, so provide shade with row covers during unexpected heat waves, or plant earlier or later in the season to avoid the hottest months. If your soil is dense or clay-heavy, mix in sand or compost to improve drainage and allow roots to expand—crumbly, loose soil leads to better beets.
By staying attentive to these needs, you’ll help your beet plants thrive and produce a colorful, tasty harvest for your table.
Dealing with Pests, Diseases, and Other Problems
Keeping your beet crop healthy starts with regular monitoring, as catching problems early makes them much easier to manage. One of the most common beet pests is the leaf miner, which creates winding, white tunnels inside leaves. To tackle them organically, pinch off and discard any affected leaves and consider covering your plants with lightweight row covers to block adult flies from laying eggs.
Aphids, another frequent pest, can cluster on new growth, sucking sap and leaving leaves curled or sticky. A strong blast of water can knock aphids off, or use insecticidal soap for persistent infestations—both effective organic solutions—while conventional gardeners might opt for a mild pesticide, following label instructions carefully.
Beets are also prone to diseases like root rot and fungal infections, which often result from overly wet soil or crowded conditions. Plant your beets in well-drained soil, space them adequately, and water at the base in the morning to help foliage dry quickly. If you spot signs like wilting, mushy roots, or powdery residue on leaves, remove and dispose of affected plants promptly—don’t compost them, as this can spread disease.
For organic disease prevention, mulch with clean straw and rotate crops yearly to discourage soil-borne pathogens; conventional growers might apply a fungicide labeled for edible crops at the first signs of trouble.
No matter which approach you choose, regularly inspect your beets, as swift action is key—a small patch of mildew or a few chewed leaves can quickly become a bigger issue. Relying on a combination of good hygiene, careful observation, and timely treatments will go a long way toward keeping your beets thriving all season.
Harvesting, Storing, and Using Beets
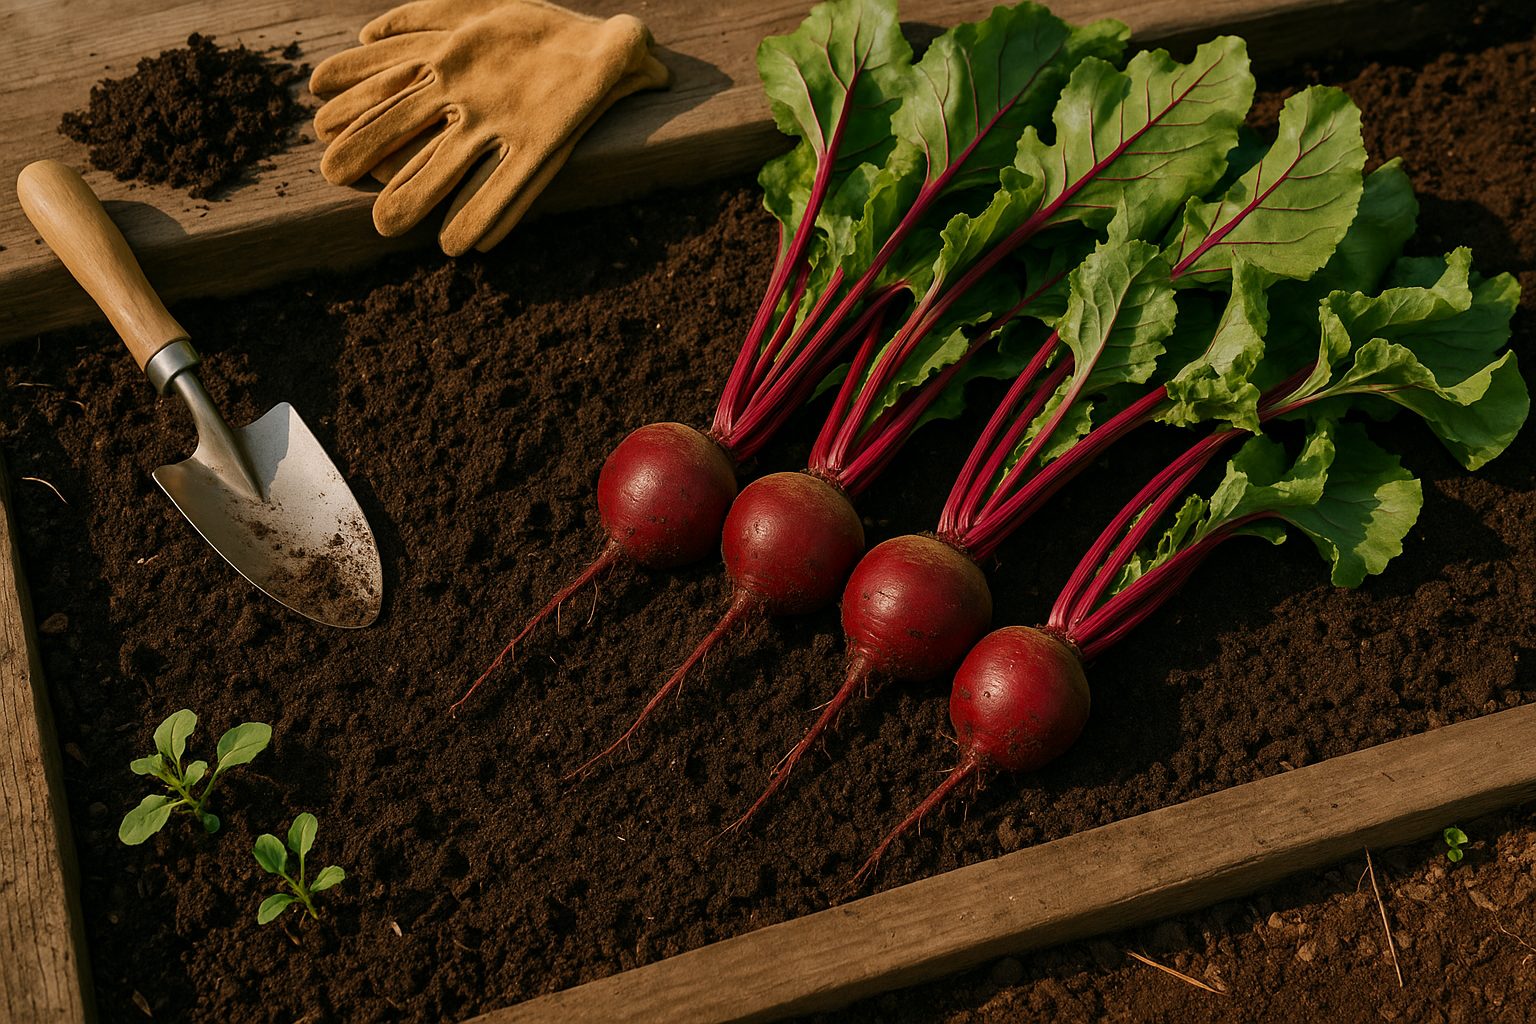
Harvesting beets at the right time makes all the difference in their taste and texture. For tender, sweet roots, pick beets when they reach about the size of a golf ball to a tennis ball—usually 1.5 to 3 inches in diameter. Larger beets can become woody and less flavorful. To harvest, gently loosen the soil with a garden fork and pull up the whole plant by grasping the greens near the base.
Beet greens can be harvested sooner, as soon as they’re 4–6 inches tall and before the leaves age and toughen. If you want both roots and greens, take a few younger outer leaves from each plant and let the root continue to develop.
Storing Beets
For short-term storage, brush off excess dirt (don’t wash them), trim the greens to about an inch above the root to prevent moisture loss, and keep the roots in a breathable bag in your fridge’s crisper drawer—this keeps them fresh for a couple of weeks.
To store beets longer, pack unwashed roots in a cool, dark place buried in damp sand or peat moss, which can keep them crisp for several months. The greens don’t last as long, but wrapping them in a slightly damp paper towel and sealing them in a bag can extend their life up to five days in the fridge.
Using Beets in the Kitchen
Roasting is a simple way to bring out their natural sweetness—just scrub, chop, toss with olive oil, and bake at 400°F until fork-tender. Pickling is another easy method; slice cooked beets and pack them in vinegar with a touch of sugar and your favorite spices.
Beet greens, often overlooked, can be quickly sautéed with garlic and a splash of lemon for a tasty, nutrient-rich side dish. Whether you’re crunching into a fresh salad, layering pickled beets on sandwiches, or serving sautéed greens with eggs, this root and its leaves offer a versatile, delicious addition to your meals.