Introduction
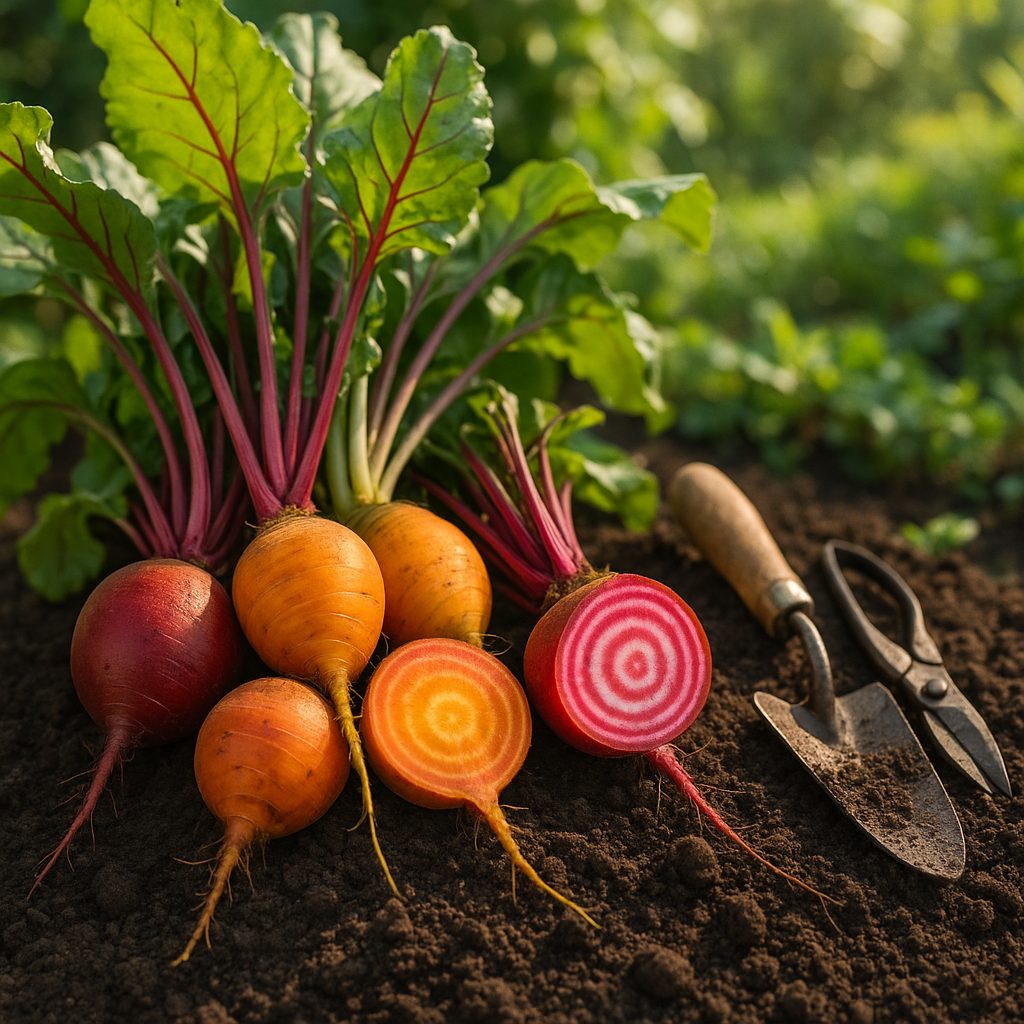
Thinning beets is a crucial step for anyone hoping to grow plump, healthy roots in their garden. In gardening, “thinning” means removing some seedlings so the remaining plants have plenty of room to grow. It might seem counterintuitive—after all, who wants to pull out what they’ve just planted? But when it comes to root vegetables like beets, overcrowded seedlings lead to tangled, stunted roots and weak tops.
Imagine a crowded subway where no one has space to spread out. Similarly, packed beet seedlings compete for sunlight, water, and nutrients, resulting in a patch of small, deformed roots instead of a bountiful harvest of sweet, round beets. Skipping thinning can also increase the risk of disease since cramped foliage stays damp longer and attracts fungi.
By taking a few minutes to thin out your beet patch, you’ll avoid these issues and set your garden up for success. Think of it as giving your beets the breathing room they need to thrive!
When and Why to Thin Beets
Thinning beets is one of the most important steps to ensure a healthy, productive harvest. The best time to thin beet seedlings is when they develop their first true leaves—usually about two to three weeks after planting. At this point, the young plants are sturdy enough to handle thinning but still small enough that they haven’t started crowding or competing aggressively.
Though thinning might seem counterintuitive, it’s essential for several reasons. Removing extra seedlings gives each remaining plant enough space to develop strong, well-shaped roots, resulting in sizable beets instead of small, misshapen ones. Thinning also reduces competition for vital resources like sunlight, water, and nutrients, helping each beet reach its full potential. Additionally, properly spaced plants promote better air circulation, which helps prevent fungal diseases and pest issues.
You’ll know your beet bed needs thinning if you see clusters of seedlings growing close together or if the plants look tall and leggy as they stretch toward the light. Crowded conditions often lead to weak, elongated stems and poor root development. If you’re unsure which seedlings to remove, start by thinning out the smallest or weakest, aiming to leave about 2 to 4 inches between each beet.
This simple but crucial task can make all the difference between a stunted crop and a bountiful beet harvest at season’s end.
Tools and Preparations Needed for Thinning Beets
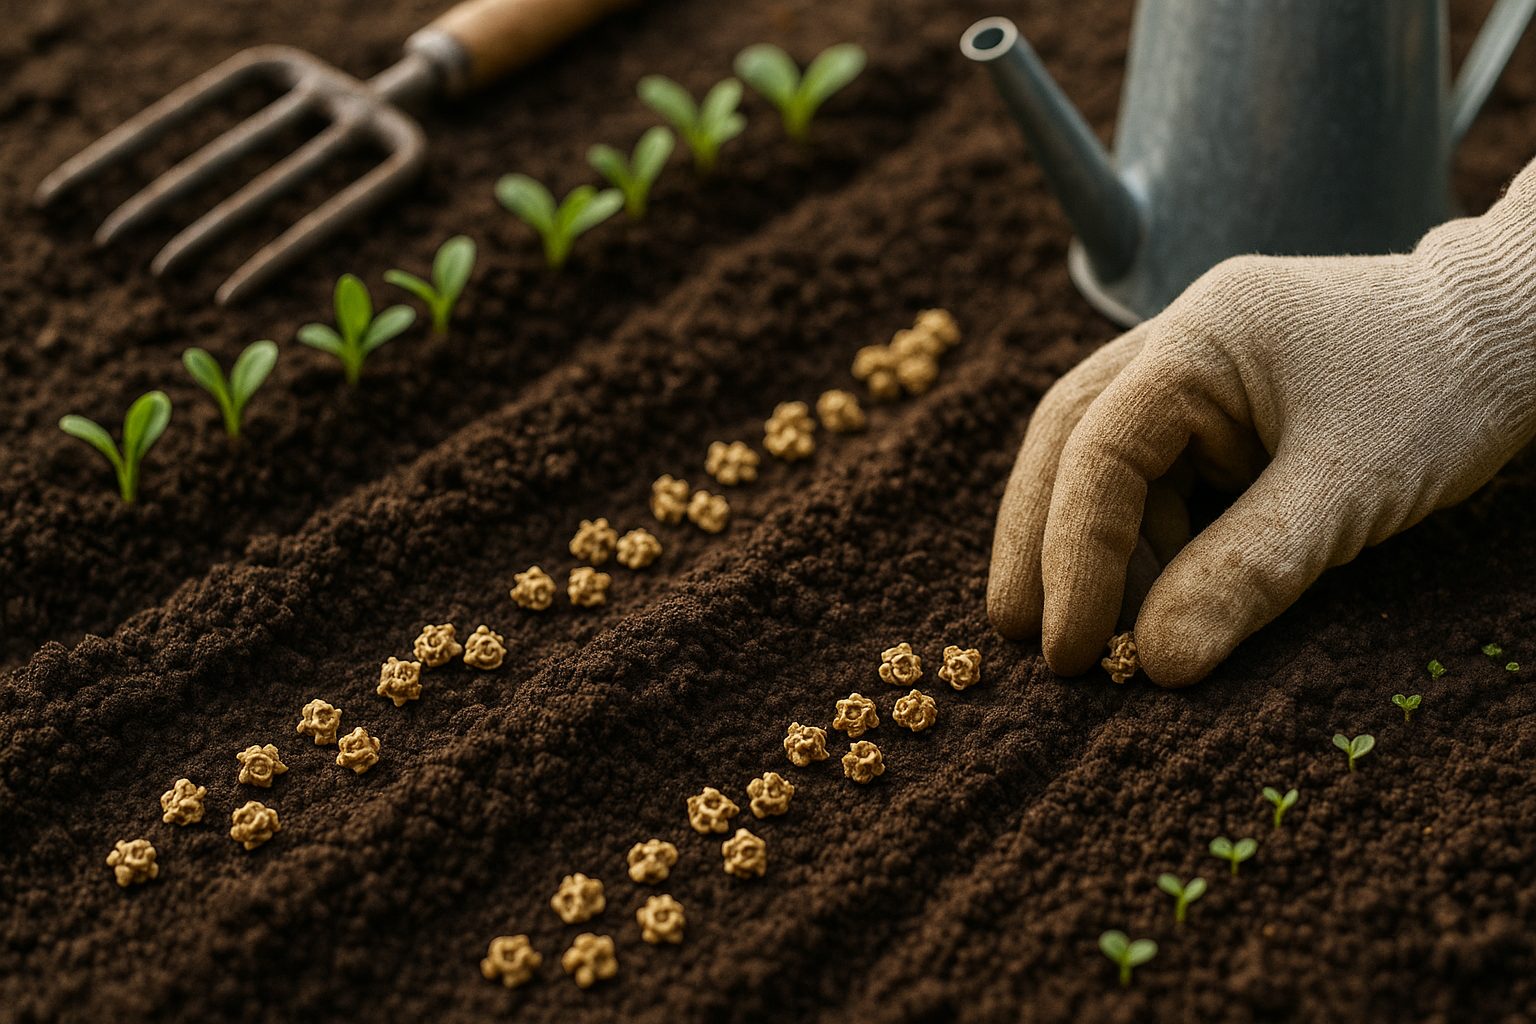
When it comes to thinning beets, you don’t need a lot of fancy tools—just your fingers, a pair of small scissors, a small trowel, and a watering can will do the trick. Start by making sure your beet bed is well prepared before you begin.
A day before thinning, give your beets a thorough watering; moist soil is softer and lets you pull seedlings with less resistance, reducing the risk of disturbing the roots of nearby plants you want to keep.
Gently loosen the soil around tight clusters using your fingers or a small trowel, taking care not to dig too deep or jostle the main root zone. When removing beet seedlings, grasp them low at the base and gently wiggle them free, or use scissors to snip them at ground level without pulling—this method is especially helpful if the beets are crowded together.
After thinning, water the bed again to help the remaining plants settle and recover from any minor disturbance. Remember, the key is to be patient and gentle so the beets you leave behind have the best chance to thrive without root damage or stress.
Step-by-Step Guide to Thinning Beets
Thinning beets is a simple but important process that can greatly improve your harvest. Start by waiting until your beet seedlings have developed two to three true leaves and are about two to three inches tall, usually around two weeks old. Look closely at the cluster of seedlings and pick out the strongest ones—these are typically the tallest, with thick, upright stems and vibrant, deep green leaves. Weaker seedlings may appear spindly, pale, or smaller.
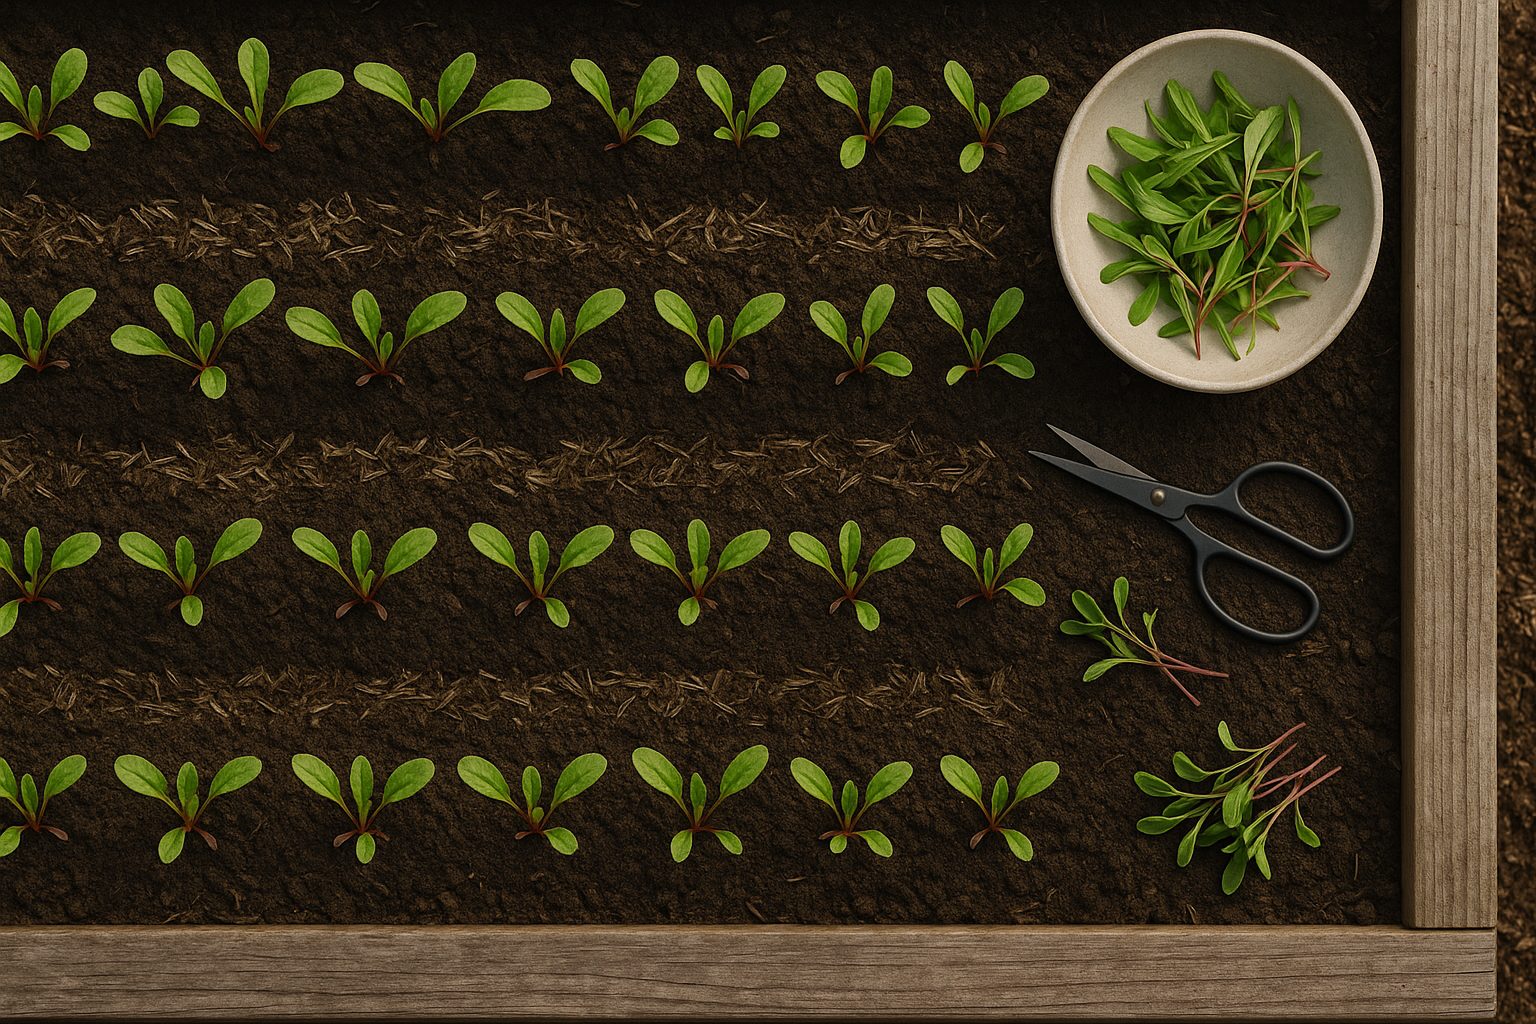
Plan for the final spacing: most beet varieties should be spaced about two to four inches apart to give each root room to grow fully. Using your fingers, gently grasp unwanted seedlings at the base and pull them upward with a slow, steady motion. If the soil is compacted or the seedlings are too close together, it’s safer to snip the extra plants at the soil line with small, clean scissors to avoid disturbing the roots of the beets you want to keep.
Avoid tugging or disturbing the soil too much, as beet roots are sensitive and can be easily damaged. For very small seedlings, around an inch tall, snipping is usually the best approach. If pulling a seedling does disturb a neighboring root, gently firm the soil around the remaining plant. Watering after thinning helps settle the soil and reduces shock.
Thinning can feel wasteful, but you can use the pulled seedlings as nutritious microgreens in salads or sandwiches. Repeat this thinning process as needed until all your beet plants have enough space to grow into plump, flavorful roots.
What to Do with Thinned Beet Seedlings
When thinning beets, don’t throw away those young, vibrant seedlings—there are plenty of eco-friendly ways to put them to good use! Beet seedlings pulled at just a few inches tall are incredibly tender and mild, making them a delicious addition to salads, sandwiches, or as a garnish. Just rinse them thoroughly to remove any soil.
If you’d rather give your seedlings a second chance, transplant the healthiest ones into bare spots in your garden. Gently lift them with as much root intact as possible, then replant immediately, keeping the soil consistently moist to help them recover from the move.
For seedlings that look leggy, floppy, or have damaged roots, composting is your best bet—they’ll enrich your soil for the next season. As a general rule, seedlings three inches tall or smaller are delicate enough to eat, while older or tougher seedlings (over four inches or with woody stems) should be composted.
By reusing, replanting, or composting your thinning beets, you reduce waste and get the most out of every plant you grow.
Caring for Beets After Thinning
Once you’ve finished thinning beets, the next steps are crucial for helping your plants recover from the disturbance and encouraging strong growth. Start by watering the beets thoroughly—newly exposed roots and disturbed soil make seedlings more prone to drying out. Keep the top inch of soil moist but not waterlogged, as consistent hydration helps stressed plants bounce back.
Next, apply a layer of organic mulch—such as straw, grass clippings, or compost—around your beet rows. Mulching helps retain moisture, regulate soil temperature, and prevent weed growth, all of which support healthy root development after thinning. Keep an eye on your beets for the first few days for signs of shock, like wilting or pale leaves. On very sunny days, light shading with row covers or mesh can protect sensitive seedlings.
Ongoing care is just as important. Watch for new weeds, since competition for nutrients and water can be tough on young beets—especially after thinning, when open soil invites weed seeds to sprout. Hand-pull weeds or use shallow cultivation to avoid disturbing beet roots. Also, check the spacing of your beet plants as they grow; some seedlings might fall over or become crowded again, so gently adjust them to maintain 3-4 inches between each plant.
Thinning beets is essential for healthy root development because it gives each plant enough space to grow well-shaped, plump bulbs. When beets are too close together, they remain small, grow sideways, or develop woody, underdeveloped roots. By thinning and providing consistent aftercare, you set the stage for a robust, flavorful beet harvest.
Common Mistakes to Avoid When Thinning Beets
One of the most common mistakes gardeners make when thinning beets is waiting too long to start. If seedlings grow too close together for too long, their roots can intertwine, making it difficult to separate them without causing damage. Aim to thin beets when they’re about 2 to 3 inches tall—this helps minimize root disturbance and gives each plant enough space to thrive.
Another pitfall is removing either too many or too few seedlings. Pulling too many can leave bare patches, while not thinning enough means the beets won’t have room to mature properly. To get it right, thin your rows so each beet has roughly three inches of space.
If you notice patchy growth after thinning, gently transplant some of the extra seedlings into sparse areas right away. Beets transplant best when they’re still young. Just be careful not to damage the roots of the remaining plants during the process, and water the newly filled spots well.
Finally, observe how your beets respond and take notes for next season. Every garden is different, so adjusting your thinning timing and technique based on your observations will help you grow bigger, healthier beets year after year.
Conclusion & Quick Reference
Thinning beets is a simple step with big rewards, leading to larger, healthier roots and lush tops. Giving each beet enough space improves air circulation, reduces disease risk, and makes weeding and harvesting much easier.
Here’s a quick checklist for successful thinning:
- Wait until seedlings are 2 to 3 inches tall.
- Use small scissors to snip extra plants at soil level or gently pull them out.
- Aim for 2 to 4 inches between each plant.
- Water gently after thinning.
- Use thinned seedlings in salads to avoid waste.
Remember, every garden is a little different—watch your plants, adjust spacing if needed, and don’t be afraid to experiment. By tuning into your beets’ needs, you’ll set yourself up for a bountiful and satisfying harvest. Happy growing!