Introduction to Growing Arugula
Starting arugula seeds indoors is a simple, satisfying project that can jumpstart your home gardening journey—whether you’re a beginner eager to see results or a seasoned grower seeking a flavorful, fast-maturing green. Arugula, sometimes called “rocket,” is cherished in kitchens around the world for its peppery zing, adding a fresh bite to salads, sandwiches, and pizzas.
But this leafy green is more than just tasty; it’s rich in vitamins A, K, and C, as well as calcium and antioxidants, making it a smart addition to any diet. Growing arugula yourself means you can enjoy these tender leaves at their peak freshness, free from the pesticides and plastic packaging of store-bought greens.
Best of all? Arugula is incredibly forgiving—it’s one of the easiest greens to grow, often thriving where others struggle. Its quick turnaround from seed to table can be just a few weeks.
In this step-by-step guide, we’ll walk you through everything you need to know about starting arugula seeds indoors: from selecting the right variety and setting up your containers, to providing the precise light and moisture conditions young arugula loves. You’ll learn how to nurture seedlings, thin crowded sprouts for optimal growth, and eventually harvest armfuls of crisp, flavorful leaves.
Whether you’re dressing up weekday meals or yearning for fresh greens year-round, you’ll find practical advice and pro tips to ensure your arugula crop thrives from the very first seed you plant.
When and Where to Plant Arugula
Arugula thrives in the cool temperatures of spring and fall, making these the best times to plant. In most regions, you can sow arugula seeds as soon as the threat of frost has passed in early spring, or about 4-6 weeks before your average first fall frost for a second crop.
If you live somewhere with hot summers, aim for partial shade to help prevent the leaves from becoming bitter and bolting too quickly. Choose a site that gets at least 4-6 hours of sunlight each day—morning sun and afternoon shade work especially well.
Arugula prefers fertile, well-drained soil that’s rich in organic matter, so mix in plenty of compost before planting. Good drainage helps prevent root rot, which arugula is somewhat prone to if left in soggy soil. If your garden soil is heavy or clay-like, raised beds or large containers are perfect alternatives.
For containers, use a high-quality potting mix with organic matter, and ensure the pot has drainage holes. Because arugula has a shallow root system, containers as shallow as 6-8 inches deep work fine—window boxes are a great option for those tight on space.
In garden beds, sow seeds thinly and cover with a thin layer of soil. In containers, scatter seeds lightly and thin seedlings to a couple of inches apart so they have room to grow. Remember to keep soil consistently moist, but not soggy, to encourage tender leaves and steady growth.
If temperatures spike, use shade cloth or move containers to a cooler spot to extend your harvest.
Choosing and Planting Arugula Seeds
When choosing arugula seeds, you’ll find several popular varieties, each offering distinct advantages for home gardeners. ‘Astro’ arugula is prized for its mild, peppery flavor and broad leaves, making it a favorite for salads and sandwiches. If you enjoy a sharper bite, classic ‘Rocket’ delivers a spicy punch and grows quickly, while ‘Wild’ arugula (Diplotaxis) features delicate, deeply lobed leaves and exceptional heat resistance, allowing you to harvest longer into summer.
For gardens with unpredictable spring heat, look for bolt-resistant varieties like ‘Sylvetta,’ which won’t go to seed as fast when temperatures climb.
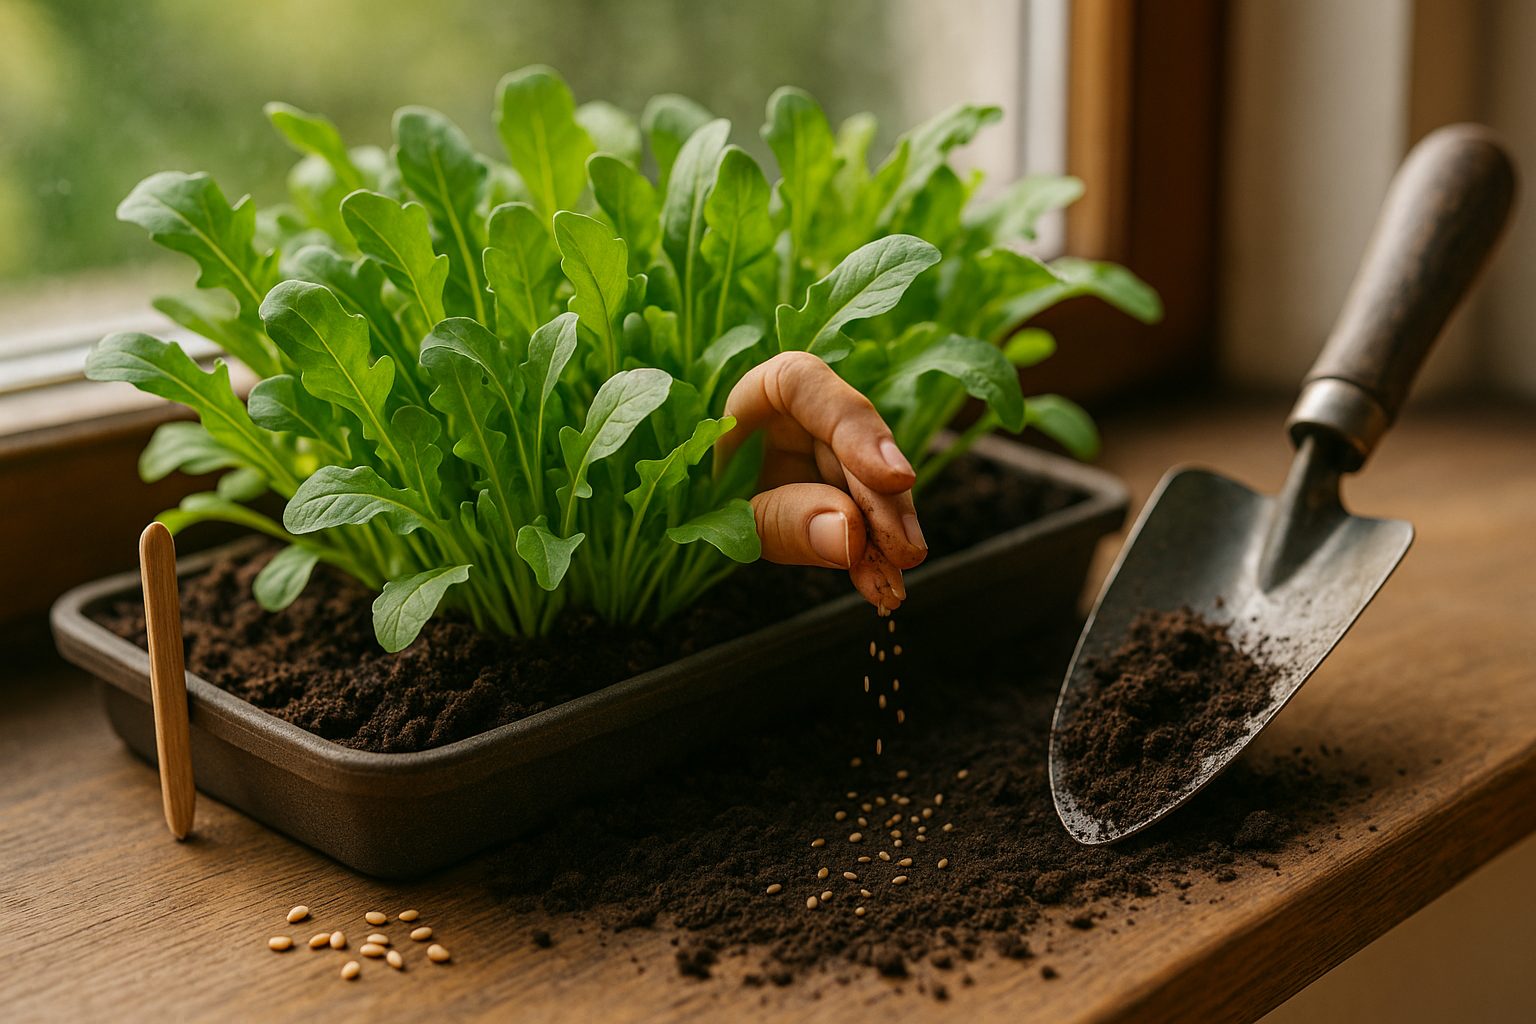
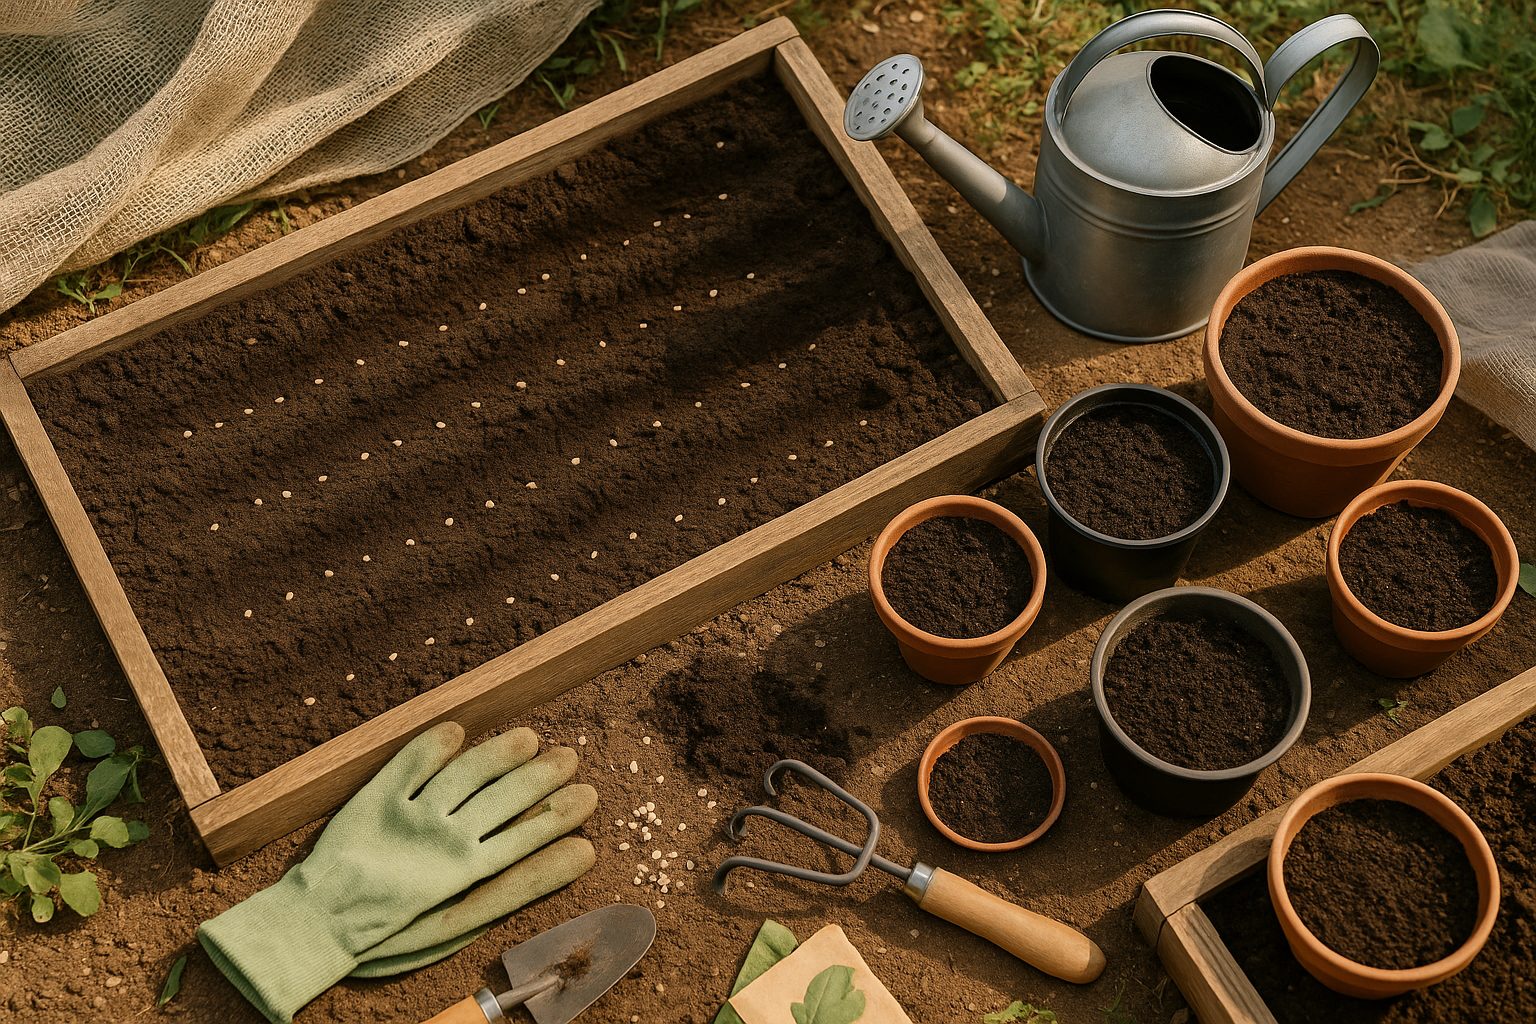
To sow arugula seeds, start by preparing well-drained soil in a sunny to partially shaded spot. Scatter seeds directly on the surface, then lightly cover with about 1/8 inch of soil—arugula needs both light and contact with moist soil to germinate well. Keep the soil consistently moist without letting it get soggy.
Space seeds roughly 1 inch apart in rows 8-10 inches apart for easy harvesting and good airflow. Once seedlings are a couple of inches tall, thin them by gently pulling the weaker plants, spacing the survivors about 4 inches apart to give each room to grow leafy and lush.
For a continuous supply, try succession planting: every two to three weeks, sow new rows of seeds through spring and into early fall. This simple method ensures you’ll enjoy fresh, tender arugula greens throughout the growing season, always ready for your next meal.
Nurturing Your Arugula Crop
Caring for your arugula crop doesn’t have to be complicated, but consistency is key to growing those peppery, tender leaves. Start by watering your arugula deeply once or twice a week, aiming to keep the soil evenly moist. Dry spells can lead to bitter flavors, while soggy soil invites root rot.
The best practice is to water in the morning at the base of the plants, letting the leaves stay dry to deter diseases. Overwatering is a common mistake, so always check the top inch of soil; if it feels dry, it’s time to water.
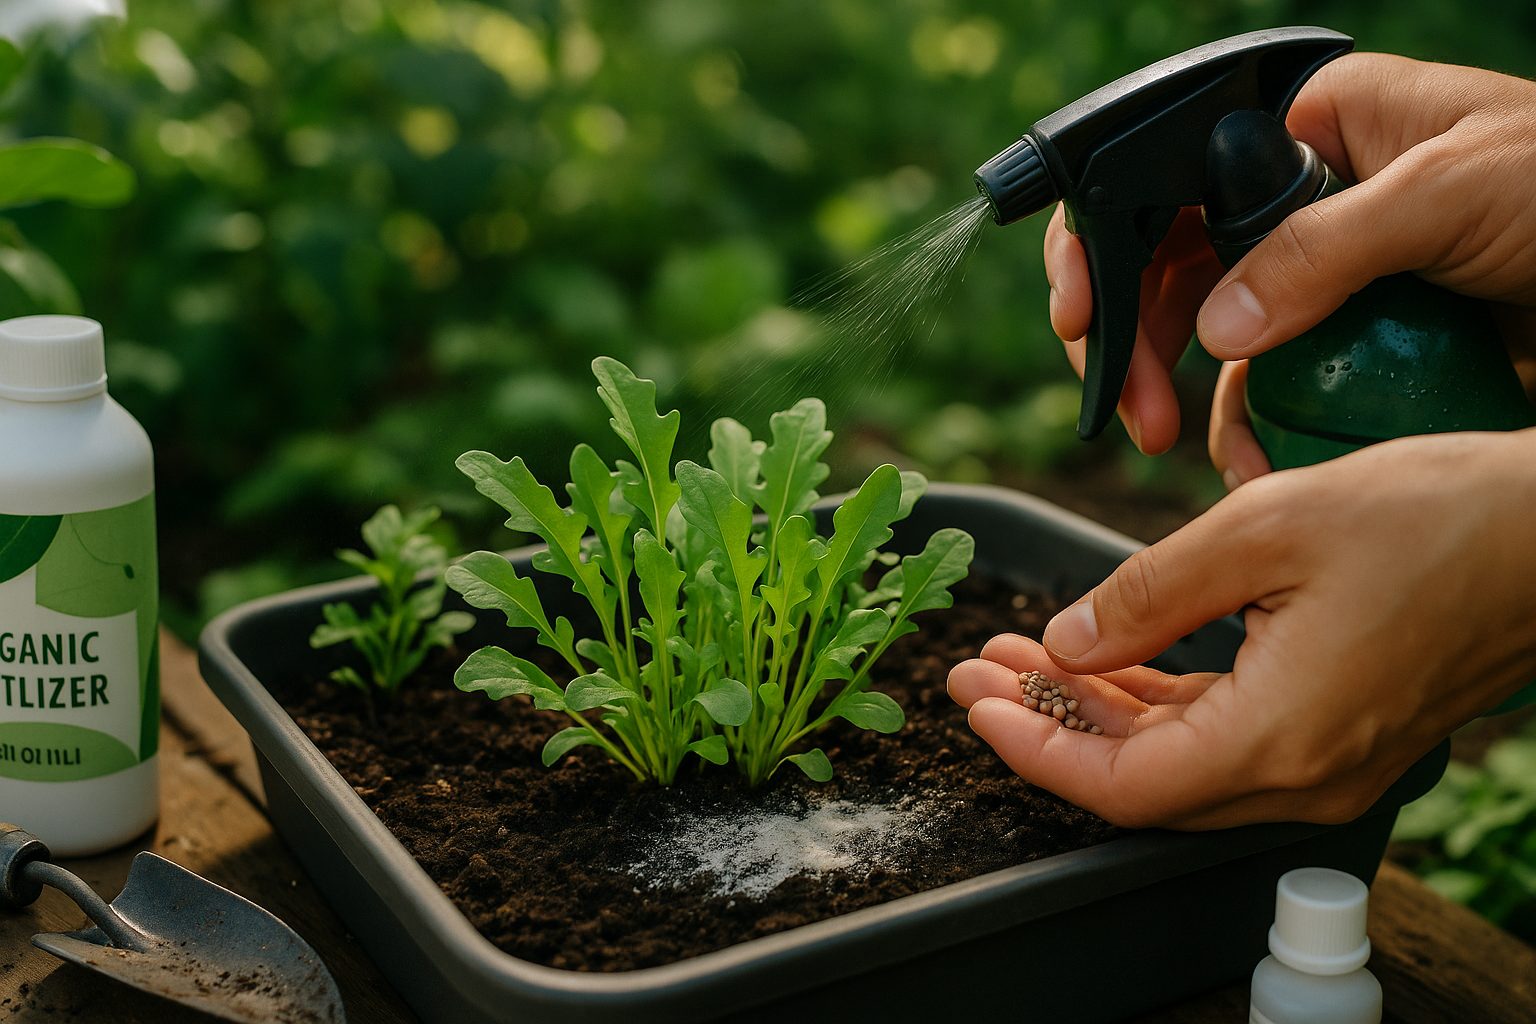
When it comes to feeding your arugula, wait until seedlings have at least two true leaves, then apply a balanced, organic fertilizer such as fish emulsion or well-composted manure. Use these sparingly—about once every three weeks—since arugula grows fast and too much nitrogen can make it leggy and reduce flavor.
Pest and Disease Management
Keep an eye out for pests like flea beetles and aphids, which are drawn to tender leaves. Row covers provide an effective physical barrier, and for organic control, introduce ladybugs for aphids or sprinkle food-grade diatomaceous earth to deter beetles.
To prevent fungal diseases like downy mildew, ensure good airflow by thinning seedlings to at least four inches apart and avoid overhead watering. Remove any yellowing or spotted leaves promptly to stop problems from spreading.
Harvesting and Mulching
Regularly harvest the outer leaves when they reach about three inches long to encourage vigorous growth and avoid plants bolting in warm weather, which makes leaves tough and bitter. Mulching around plants helps retain moisture, reduces weeds, and keeps the soil cool—crucial during hot spells.
Finally, taste your arugula often; leaves harvested young are milder, while older leaves pack more punch. With a watchful eye and a little routine care, you’ll enjoy a season-long supply of flavorful, crisp arugula perfect for salads and sandwiches.
Harvesting and Using Arugula
Arugula is ready to harvest when the leaves are tender, vibrant, and about 3 to 4 inches long—usually just three to four weeks after sowing. For the best flavor, pick arugula before it starts to flower, as older leaves quickly turn bitter or tough.
To keep your plants producing, use the “cut-and-come-again” technique: snip the outer leaves with clean scissors while leaving the inner, younger leaves undisturbed to grow. This way, you can get multiple harvests from each plant. Be gentle to avoid pulling up roots, and try to harvest in the morning when leaves are crispest.
Freshly picked arugula doesn’t last long, but you can extend its shelf life by wrapping unwashed leaves loosely in a paper towel and storing them in a perforated plastic bag in your refrigerator. This should keep them fresh for up to five days.
If you have more arugula than you can use, consider making and freezing arugula pesto or blending it into soups, as it doesn’t freeze well on its own.
In the kitchen, arugula shines in salads, sandwiches, and wraps, adding a peppery punch. It’s also delicious wilted into pastas or stirred fresh into warm grain bowls. Try tossing arugula with lemon juice, olive oil, and shaved parmesan for a quick side, or sprinkle it over homemade pizza right after baking for a vibrant finishing touch.
Growing and harvesting arugula at home means you’ll always have this versatile green ready for your next meal.
Troubleshooting and Common Issues
Every gardener faces challenges, but knowing how to troubleshoot common lettuce problems can save your crop. If your lettuces are “bolting” or sending up flower stalks too early, it’s likely due to warm temperatures or inconsistent watering. Try providing some afternoon shade and keeping the soil evenly moist to slow down the process.
Pests like aphids or slugs can be kept at bay by regularly checking leaves, spraying with a gentle soap solution, or using natural deterrents like crushed eggshells around your plants.
Notice leaf discoloration? Yellow leaves often indicate overwatering or nutrient deficiencies. Allow the soil to dry a bit between watering and consider feeding your lettuce with a balanced, all-purpose fertilizer to restore its health.
Don’t get discouraged by setbacks—lettuce is surprisingly resilient. Often, a single pruning of damaged leaves or quick pest removal is all it takes to rejuvenate struggling plants. Keep an eye out for early warning signs and deal with them promptly; quick action and a bit of patience can often turn things around and set you up for a successful, bountiful harvest.
Final Thoughts and Next Steps
Growing arugula at home is an easy and rewarding way to enjoy fresh, peppery greens right at your fingertips. Whether you have a big backyard or just a small sunny windowsill, arugula thrives in various spaces and doesn’t demand much from beginner gardeners.
One of the main benefits is that you can harvest leaves within a few weeks, enjoying chemical-free salads and garnishes all season. Even if you’re short on time or gardening experience, arugula is forgiving and grows well in pots, raised beds, or even recycled containers.
To get started, all you need is a shallow container, quality potting soil, arugula seeds, water, and a spot with at least 4-6 hours of sunlight. Remember to water consistently and harvest leaves when they’re young and tender.
If you run into questions or want to expand your skills, plenty of resources are available—check out gardening blogs, YouTube tutorials, or your local garden center for expert tips. With such low effort and high payoff, there’s no reason not to give arugula a try and add a burst of homegrown flavor to your meals!