Introduction
Raised bed arugula is quickly becoming a favorite among home gardeners, and it’s easy to see why. With its peppery kick and fast-growing nature, arugula adds a fresh twist to salads and sandwiches while being incredibly forgiving for beginners. Growing this leafy green in raised beds isn’t just trendy—it solves many common gardening challenges. Unlike traditional in-ground planting, raised beds give you control over soil quality, drainage, and weed management, resulting in healthier, more robust arugula leaves.
Plus, raised beds can extend your growing season because the soil warms up faster in spring and cools down more slowly in fall. In this article, we’ll guide you through the practical steps to setting up your own raised bed arugula patch—from choosing the right soil mix and location to tips on planting, watering, and harvesting for maximum yields. Whether you’re a first-timer or looking to upgrade your arugula game, these strategies will help you enjoy a thriving, flavorful harvest right from your backyard.
Choosing the Right Raised Bed Setup
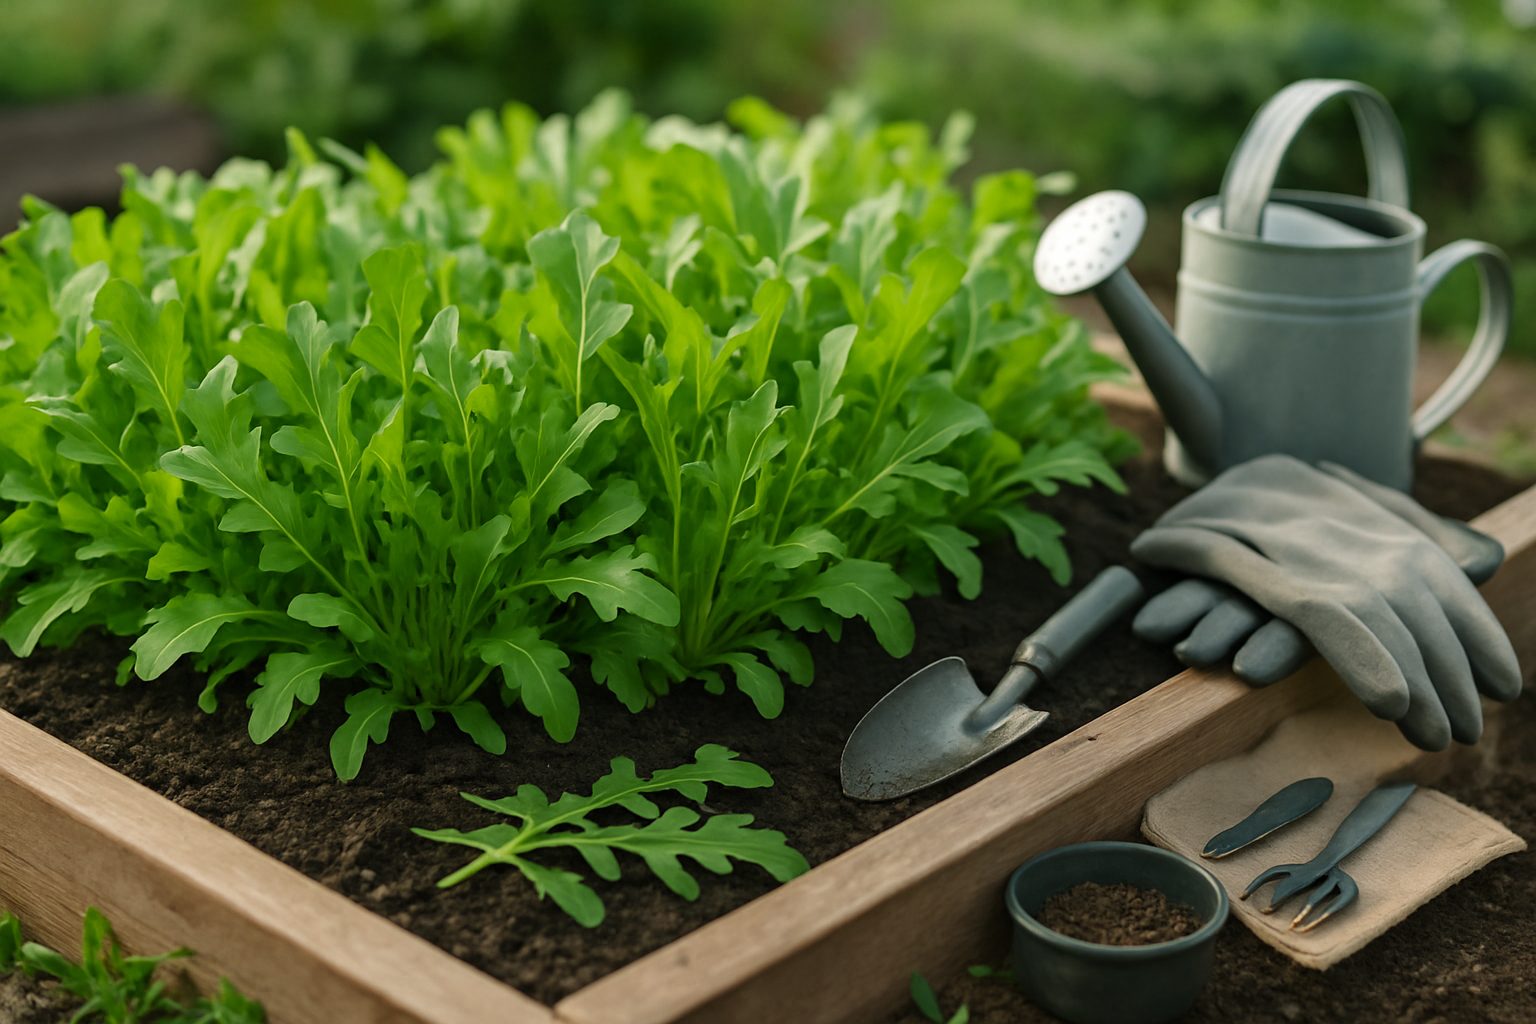
When setting up a raised bed for arugula, picking the right dimensions and materials can make all the difference for an abundant harvest with minimal effort. For arugula, a raised bed that’s 3-4 feet wide lets you easily reach the center without stepping on the soil, while a length of 6-8 feet offers plenty of space for generous plantings but remains manageable in most gardens. Height-wise, 6-12 inches deep is sufficient since arugula has shallow roots; however, opting for 12 inches provides richer soil, better drainage, and helps keep weeds at bay.
As for materials, untreated cedar or redwood are excellent natural choices—they resist rot and are safe for growing edibles. Food-safe composite boards offer a budget-friendly and durable alternative. Avoid pressure-treated lumber, as it can leach harmful chemicals.
Picking the Perfect Spot for Raised Bed Arugula
Choosing the right location for your raised bed arugula crop is just as important as the bed itself. Arugula thrives in full sun to partial shade; aim for at least 4-6 hours of sunlight daily, with some afternoon shade in hotter climates to keep leaves tender and flavorful. Good drainage is essential—select a slight slope or a spot that doesn’t accumulate standing water.
Also, consider accessibility: choose a site that’s easy to water, weed, and harvest from, ideally close to your kitchen for quick, fresh picking.
Soil Essentials for Healthy Arugula Growth
Since arugula is shallow-rooted, using high-quality, loose, and well-draining soil in your raised bed is key. A mix rich in organic matter, like compost and aged manure, encourages fast, healthy growth. Avoid heavy clay or compacted soils, as they restrict root development and drain poorly. Regularly topping up with compost between plantings will keep your soil fertile and your raised bed arugula thriving season after season.
Soil Preparation and Amendments for Raised Bed Arugula
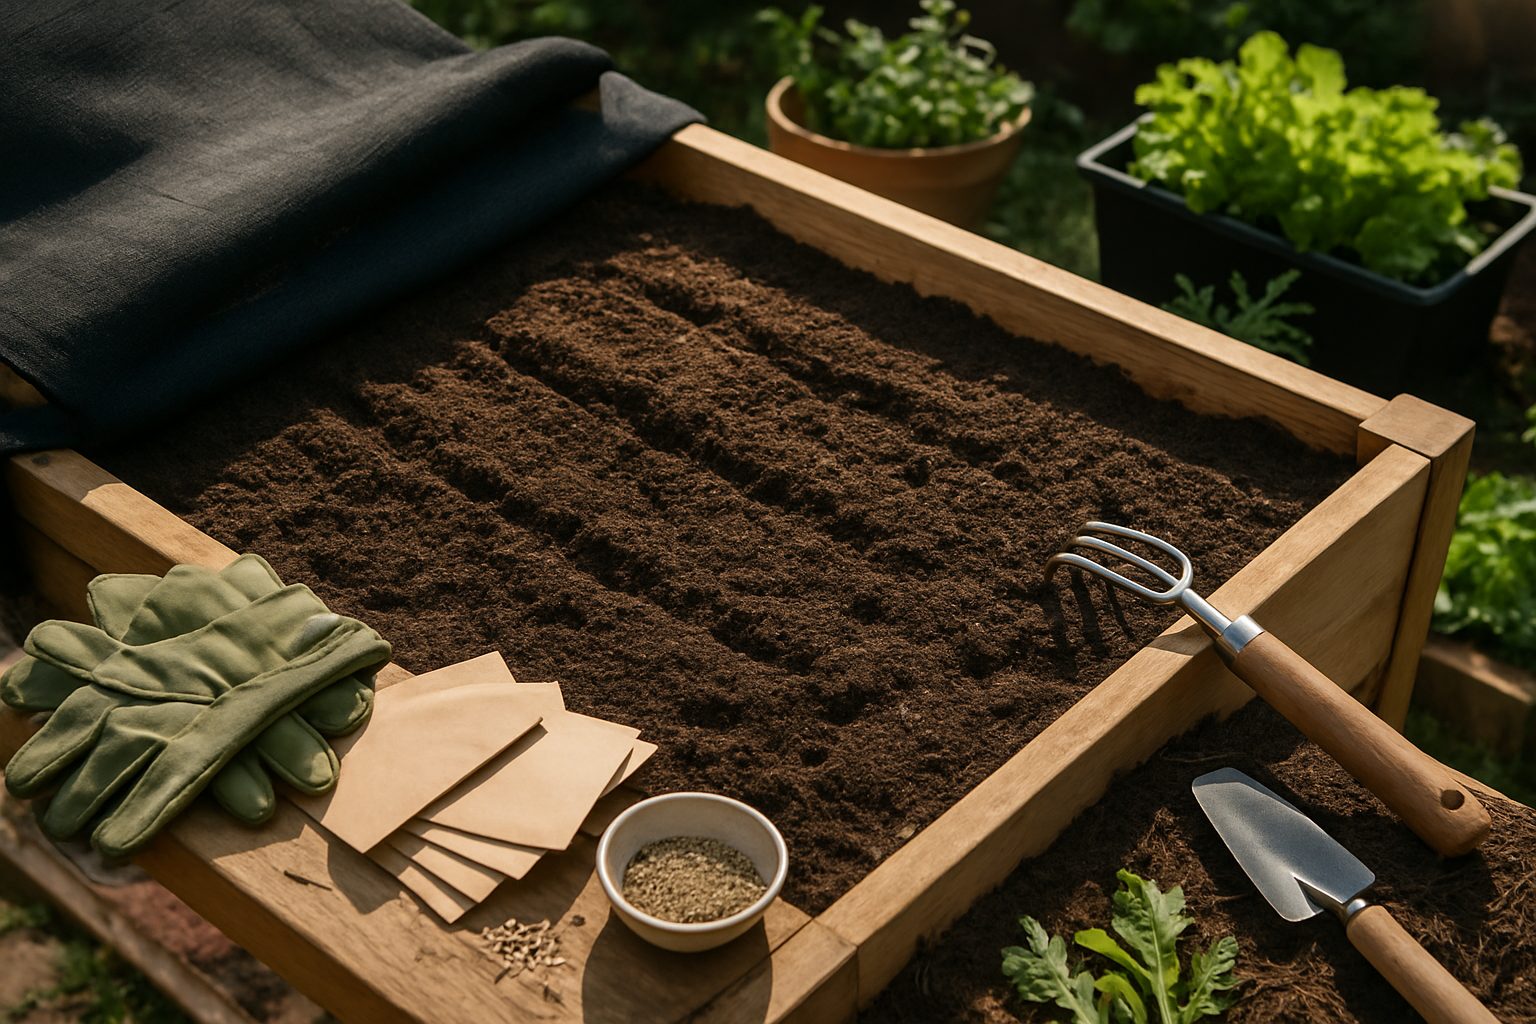
For the best results with raised bed arugula, start with a soil mix that offers excellent drainage, moisture retention, and high fertility. Aim for a combination of about 40% high-quality garden soil, 40% organic compost, and 20% lightweight materials like coconut coir or peat moss. Top it off with a handful of perlite or coarse sand to improve drainage. Arugula thrives in loamy, crumbly soils that don’t become waterlogged, so avoid heavy clay and choose a texture that feels loose and airy when squeezed in your hand.
Before sowing, mix in plenty of organic matter, such as well-rotted compost or aged manure. This provides a steady release of nutrients for lush, leafy growth and enhances the soil’s structure and moisture-holding capacity—key for the shallow roots of arugula. Replenishing compost each season keeps your soil ecosystem healthy and fertile.
Don’t skip soil pH testing—arugula prefers a slightly acidic to neutral range, ideally between 6.0 and 7.0. Simple at-home pH kits or probes are affordable and easy to use. If your soil is too acidic, add agricultural lime according to package instructions; for alkaline soils, incorporate peat moss or sulfur to balance the pH. Maintaining this range helps arugula absorb water and nutrients effectively, promoting faster germination and robust, peppery greens throughout the season.
Planting Arugula in Raised Beds
Planting arugula in raised beds is a simple and rewarding process, whether you sow seeds directly or start with transplants. For most home gardeners, direct seeding is the easiest and most effective method. Arugula prefers cooler temperatures, so plan to sow your first round of seeds in early spring as soon as the soil is workable, or in late summer for a fall crop.
If you want an extra-early harvest, you can start arugula indoors three to four weeks before your last expected frost. Transplant seedlings into the raised bed once they have two true leaves and nighttime temperatures stay above freezing.
To plant arugula seeds, make shallow holes about ¼ inch deep, spacing them about 1 inch apart in rows 6 to 8 inches apart. Cover the seeds lightly with soil and water gently.
For continuous harvests and to maximize your raised bed arugula yield, practice succession planting by sowing new seeds every two to three weeks. This approach ensures a steady supply of tender leaves throughout the growing season rather than one large harvest.
To further extend your yield, stagger your seedings not only by time but also by positioning rows at an angle to fit more plants into limited space, or alternate rows with other quick-growing greens.
Good companions for arugula in a raised bed include radishes, which mature quickly and help shade young arugula seedlings, and lettuce, which shares similar growing needs and helps maximize space. Avoid planting brassica relatives like broccoli or cabbage nearby to reduce the risk of shared pests.
With careful row planning, timely sowing, and succession planting, your raised bed arugula will provide a bounty of peppery greens for salads and sandwiches all season long.
Watering and Ongoing Care for Raised Bed Arugula
Proper watering is essential for healthy raised bed arugula, especially since these fast-growing greens prefer consistently moist—but not soggy—soil. Arugula needs about 1 inch of water per week, whether from rainfall or irrigation. Water deeply at the base of the plants early in the day to keep leaves dry and reduce the risk of fungal diseases like downy mildew.
Avoid overhead sprinklers; instead, use drip irrigation or a watering can with a narrow spout to target the soil, not the foliage. mulching around the arugula with straw, shredded leaves, or compost helps conserve soil moisture, making your watering routine more effective and reducing how often you need to water, especially during hot spells. Mulch also acts as a barrier against weeds, so your arugula won’t have to compete for nutrients and water.
As seedlings grow, thin them to about 4 inches apart to ensure good airflow, limit disease spread, and give each plant enough space to thrive. Thin when seedlings have two true leaves, and use the extras as microgreens in salads.
Keep an eye out for early signs of common pests like flea beetles, which leave small holes in leaves, or aphids, which cause leaves to curl and stunt growth. Removing affected leaves promptly and introducing beneficial insects, like ladybugs, can help control minor infestations before they get out of hand.
With consistent care and attention, your raised bed arugula will reward you with robust, flavorful harvests all season long.
Managing Pests and Diseases Organically
Raised bed arugula is especially tempting to pests like flea beetles, which cause small, shot-hole damage on the leaves. To combat these organically, cover seedlings with lightweight row covers immediately after planting to create a protective barrier. If flea beetle activity increases, try applying diatomaceous earth or neem oil—both are low-toxicity and safe for edible greens—on the soil or affected plants.
For slugs and snails, which often shelter in the cooler, moist conditions of raised beds, sprinkle crushed eggshells or set out shallow trays of beer as effective non-chemical traps. Prevention is just as important as treatment. Practice crop rotation by moving arugula to different sections of your bed each season to disrupt pest and disease cycles.
Ensure good airflow by thinning seedlings and providing mature plants with plenty of space to reduce fungal risks like downy mildew. Water in the morning and aim for the base of plants rather than overhead to minimize moist leaf surfaces that encourage disease. Adding organic mulch can suppress weeds without chemicals, and healthy, weed-free beds make it harder for pests to settle in.
With these simple, organic strategies, your raised bed arugula can thrive with fewer pest and disease problems.
Harvesting and Enjoying Arugula
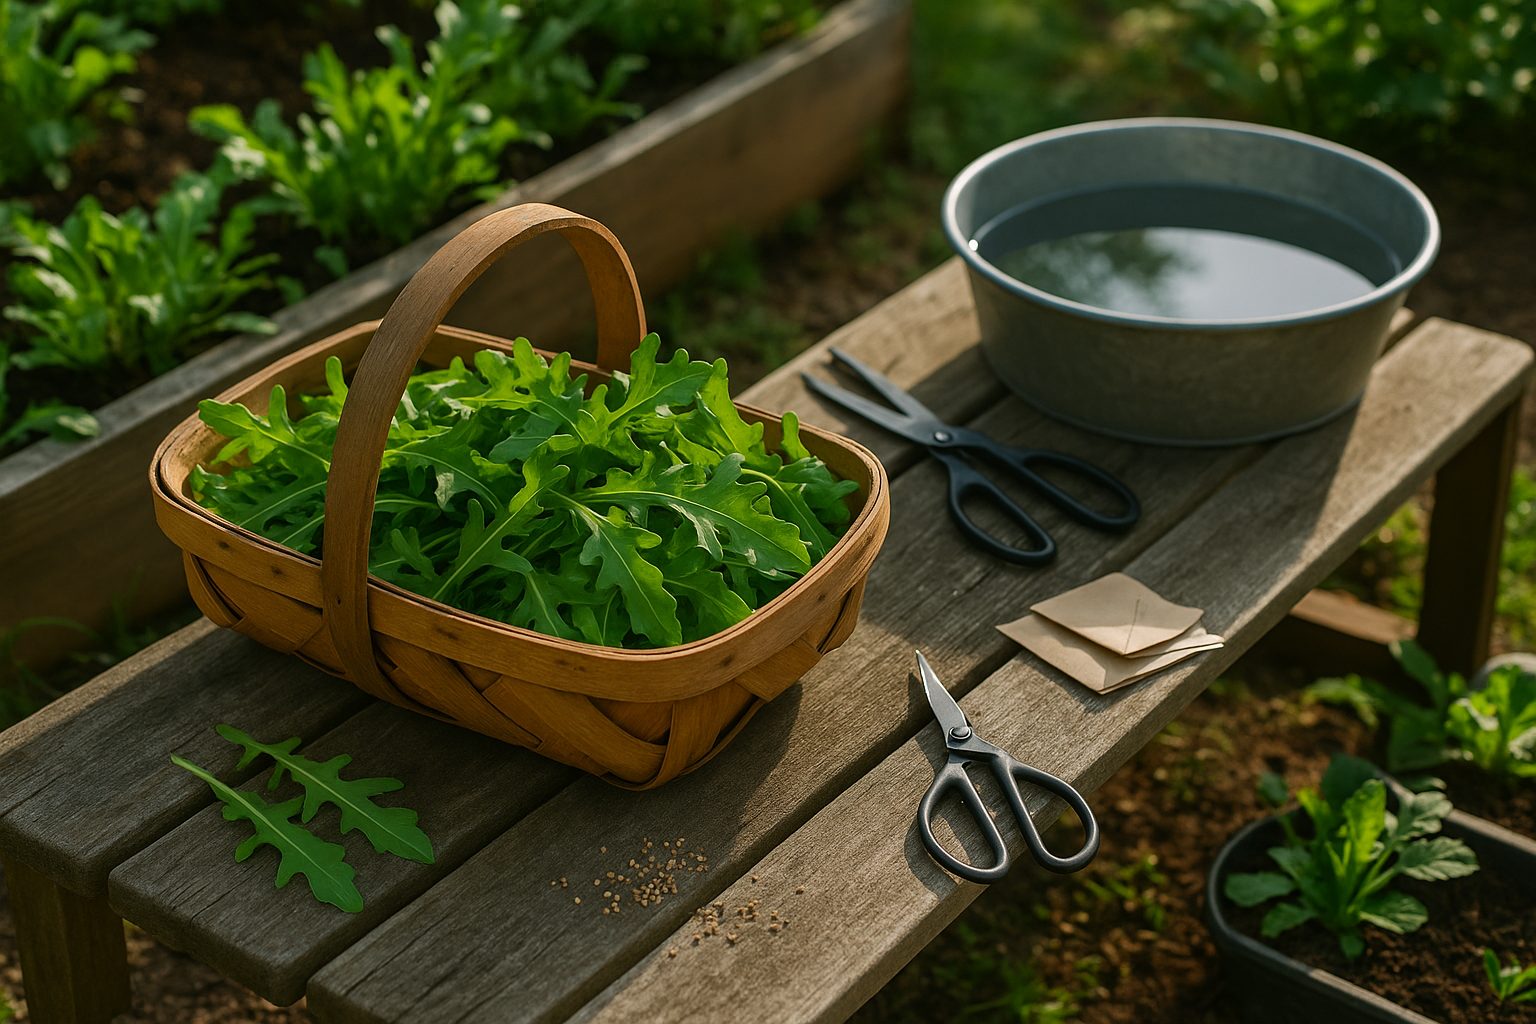
When it comes to harvesting raised bed arugula, timing is key to capturing the best flavor and tender texture. Start cutting leaves when they reach about three to four inches long, usually three to four weeks after sowing. Younger leaves offer a milder, peppery bite, while mature ones develop a stronger, slightly bitter taste. Use clean scissors or garden shears to snip the outer leaves, leaving the inner core intact to encourage continuous growth throughout the season. Be sure to harvest regularly—every few days—to prevent the plant from bolting, which can make the leaves tough and overly spicy.
For maximum freshness, harvest arugula early in the morning when the leaves are crisp from overnight moisture. Gently rinse them under cool water to remove any soil or insects, then pat dry with a clean towel or use a salad spinner. Store the dried leaves in an airtight container or a resealable bag lined with paper towels to absorb excess moisture. Keep them in the refrigerator’s crisper drawer, where they can stay fresh for up to a week.
Homegrown arugula is incredibly versatile in the kitchen. Toss fresh leaves into salads for a zesty kick, or use them to top pizzas, sandwiches, or flatbreads for added texture and flavor. Add a handful to pasta dishes right before serving, or blend with olive oil, nuts, and Parmesan for a bright, peppery pesto. Arugula also makes a perfect last-minute garnish for soups and grilled meats, adding a burst of color and nutrition straight from your raised bed garden.
“`html
Conclusion and Encouragement
Growing raised bed arugula is a simple and rewarding project. Just be sure to use well-drained soil, sow seeds densely, keep the soil consistently moist, and watch out for pests. Don’t hesitate to experiment with succession planting or companion planting to discover what works best in your garden. Each season offers a fresh chance to improve your techniques, so share your successes and lessons with fellow gardeners to help the whole community thrive. For more tips on growing leafy greens successfully, check out our guide on companion planting in raised beds—it’s a great next step for anyone looking to boost their harvest and gardening know-how.
“`