Introduction
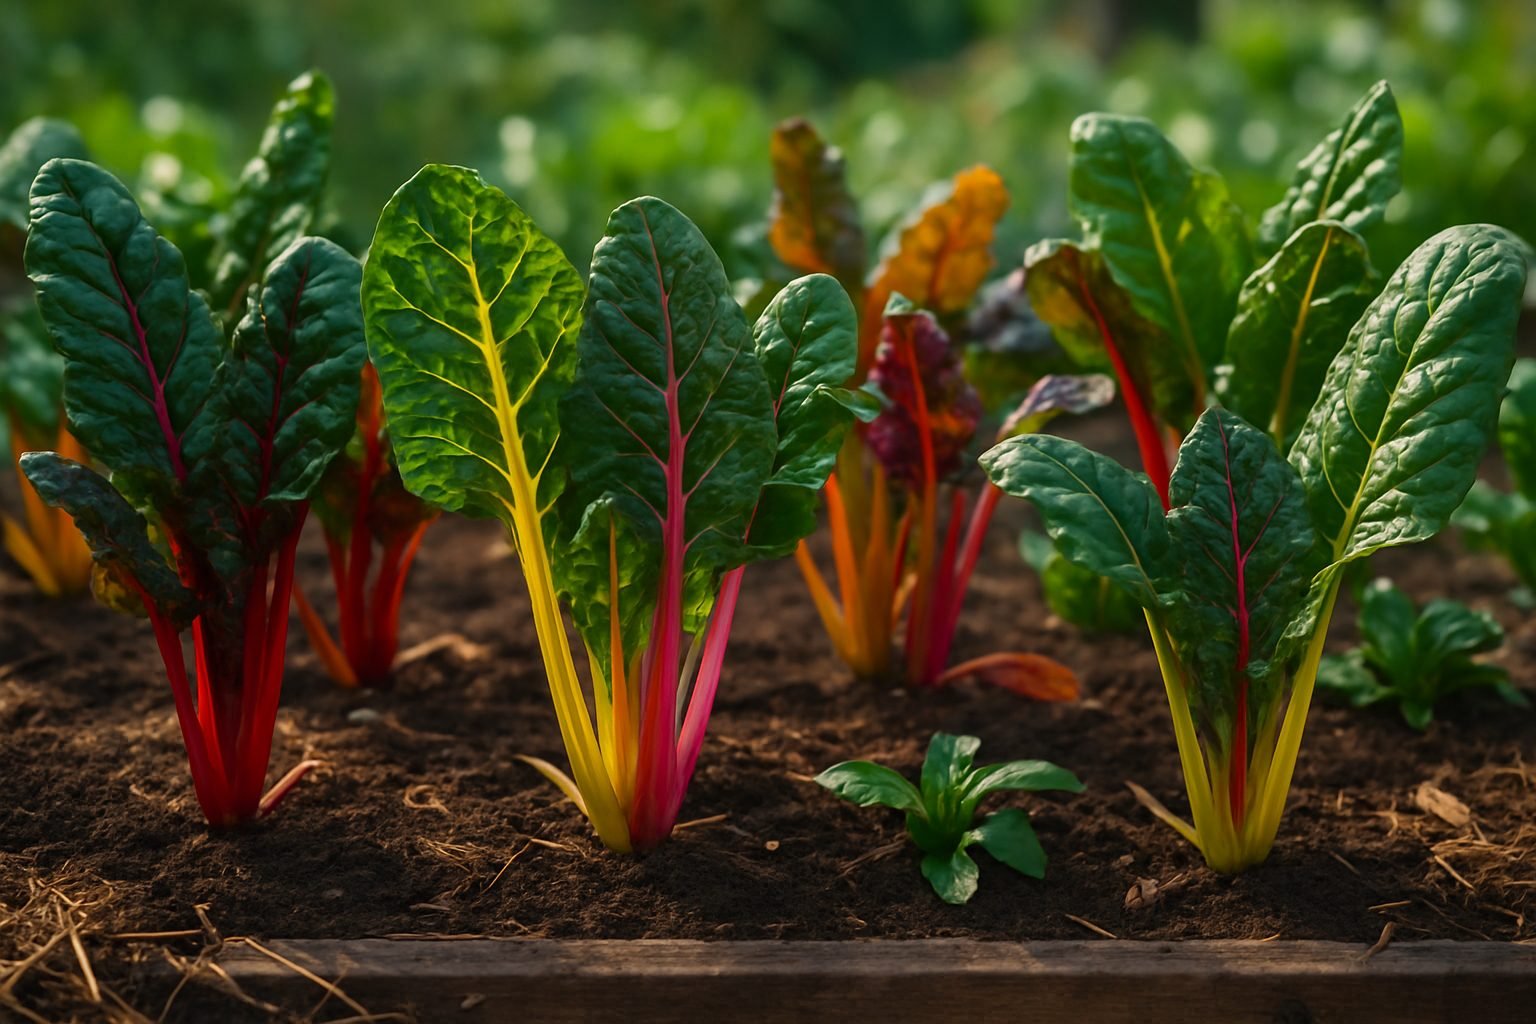
If you’ve ever wondered how to grow Swiss chard in your own home garden, you’re in for a treat—this vibrant, nutrient-packed green is as easy to cultivate as it is beautiful on the plate. Swiss chard comes in a rainbow of colors, from deep greens with white ribs to striking pink, yellow, and orange stems, adding instant appeal to your garden beds.
Not only does it thrive in a range of conditions, but it’s perfect for gardeners of all levels, whether you’re just starting out or looking to expand your edible landscape. In this beginner’s guide, we’ll cover everything from choosing the right Swiss chard varieties and preparing your soil, to mastering simple sowing techniques, plus practical tips on watering, harvesting, and troubleshooting common issues.
By the end, you’ll be ready to enjoy a bountiful, beautiful harvest right outside your door.
Recommended Swiss Chard Varieties
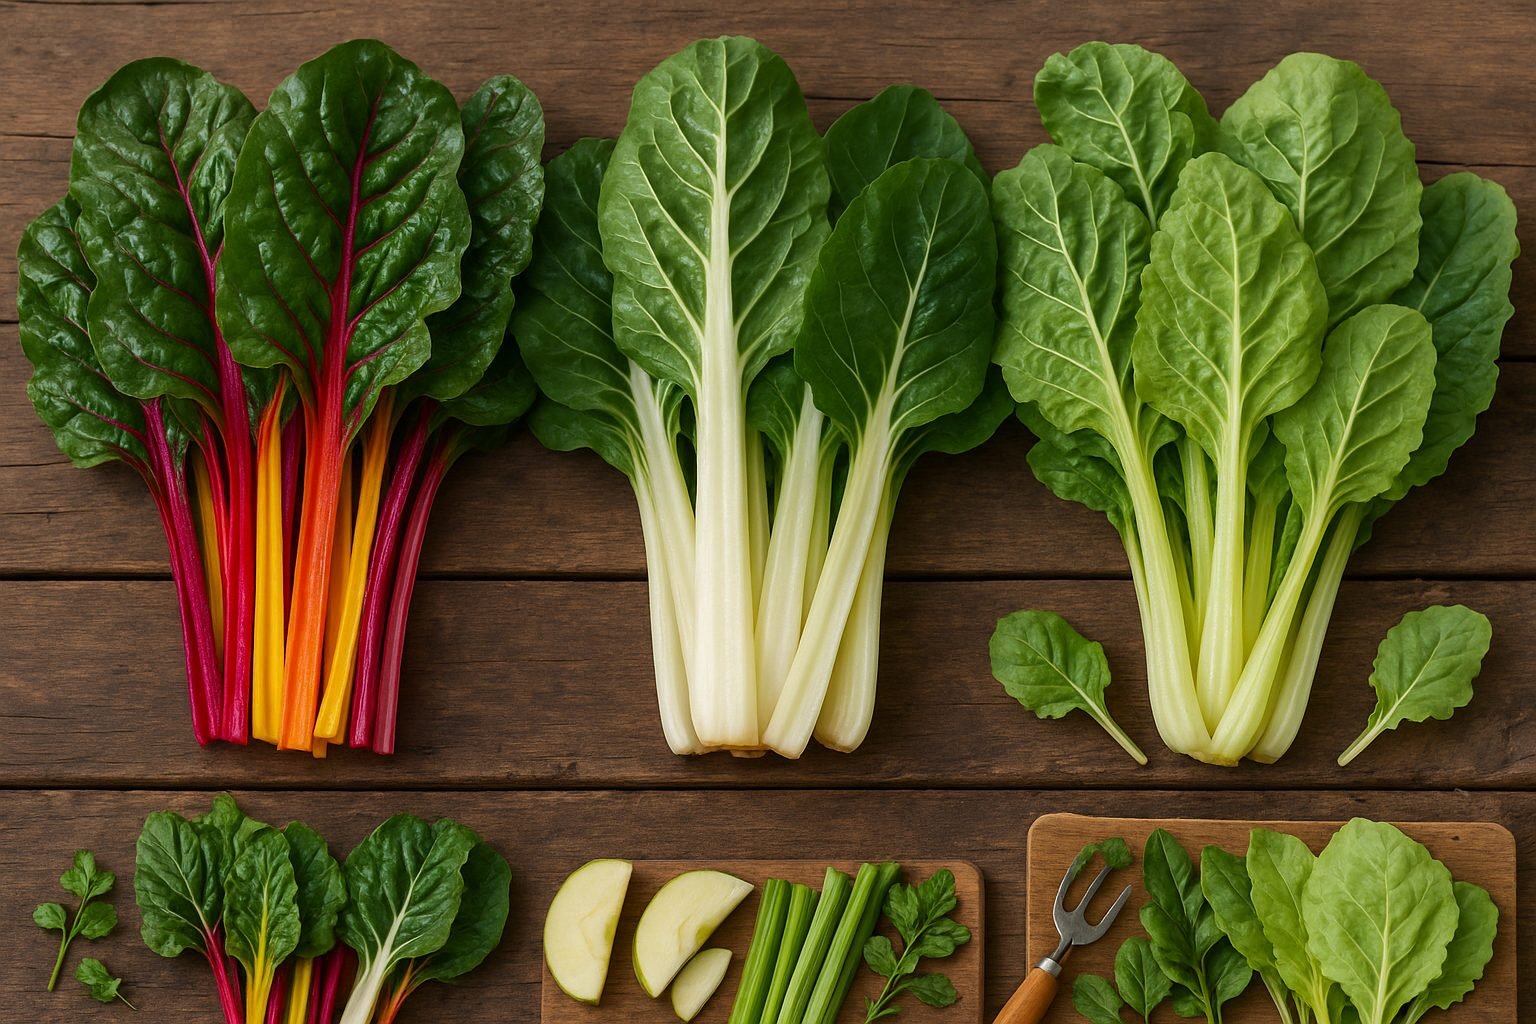
When choosing Swiss chard for your garden or kitchen, several standout varieties bring different flavors, colors, and strengths to the table. Rainbow chard is a favorite for its vibrant stalks in reds, pinks, yellows, and oranges—perfect for adding visual excitement to salads or sautéed dishes. Its flavor is mild and slightly earthy, making it versatile for various recipes.
Fordhook Giant, recognizable by its broad, dark green leaves and thick white stems, is prized for its exceptional resilience and productivity. Its taste is more robust and a bit sweeter, especially after a light frost, making it great for hearty stews and gratins. Lucullus chard boasts pale green stems and heavily crinkled leaves, offering a mild, almost buttery flavor that shines when simply steamed or tossed into soups.
When picking a variety, think about your local climate: Fordhook Giant thrives in both cool and warm temperatures, while Lucullus tolerates heat well, ideal for southern gardeners. For colorful meals and visual interest in ornamental beds, choose rainbow chard, but if yield and ease of harvest are priorities, Fordhook Giant is hard to beat.
Regardless of variety, all Swiss chard types can be harvested young for tender baby greens or left to mature for larger, more flavorful leaves—so consider planting a mix to suit different culinary uses throughout the season.
Starting Swiss Chard: Seeds, Soil, and Set Up
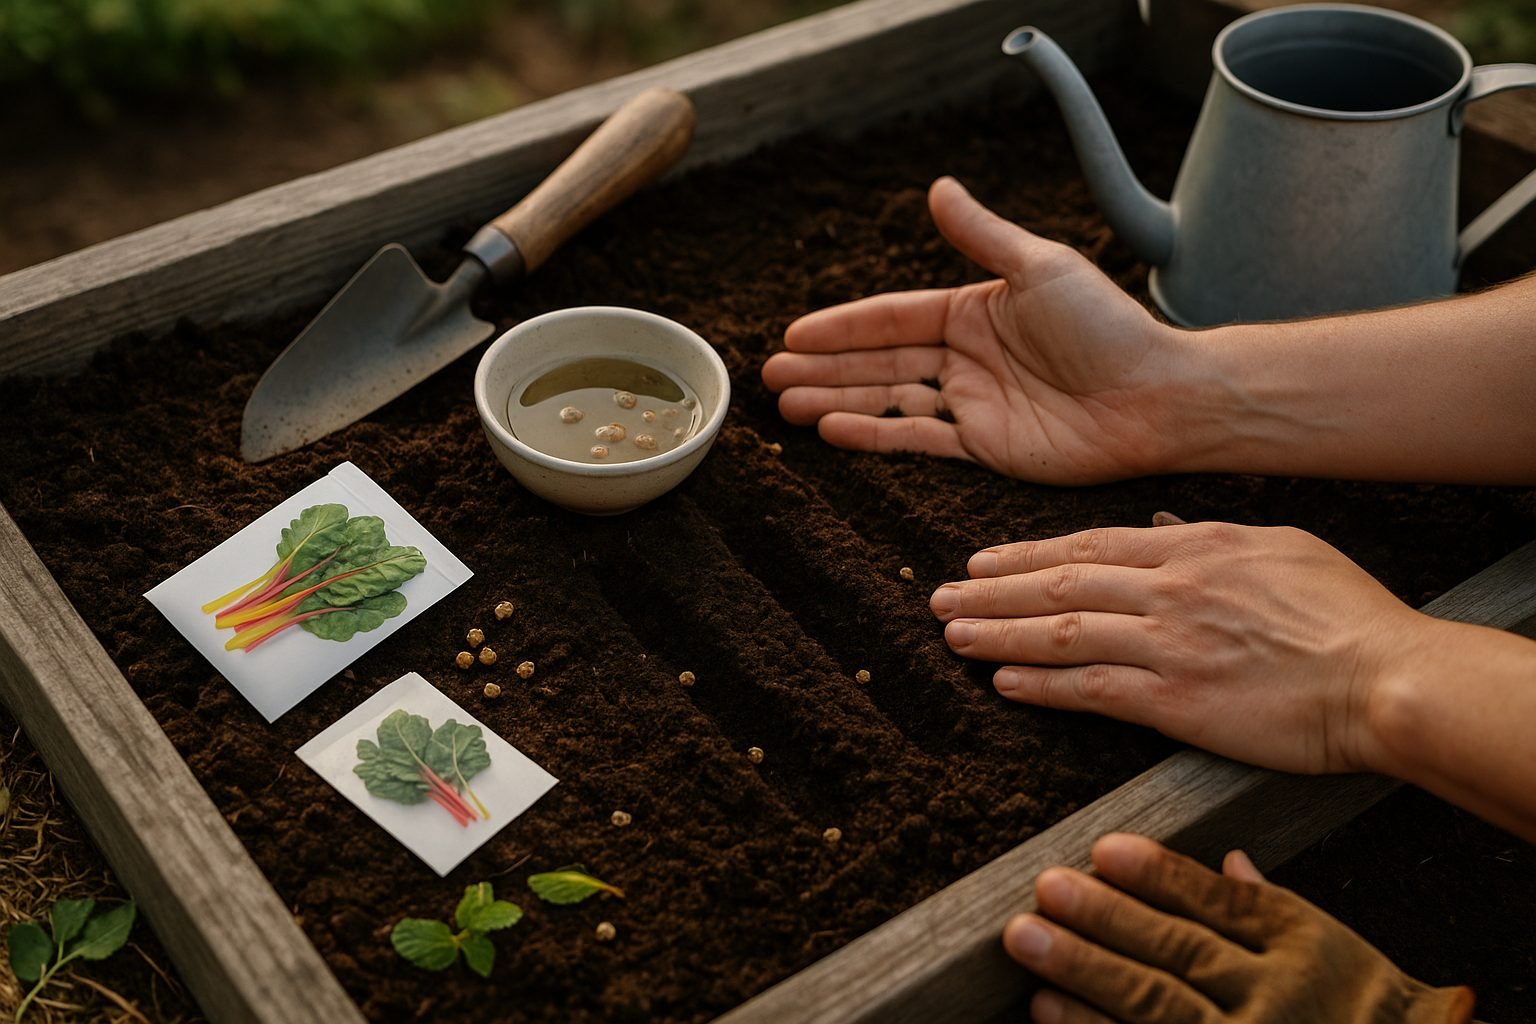
Swiss chard is a wonderfully versatile green that’s easy to start from seed, whether you’re planting indoors, outdoors, or even in containers. For the best results, start seeds about two to four weeks before your area’s last expected frost if sowing indoors, or as soon as the soil is workable in early spring if planting outside.
Swiss chard seeds benefit from a little prep: soak them in lukewarm water for a few hours or overnight to speed up germination. For soil, aim for a light, well-draining mix rich in organic matter—think compost-enriched garden beds or high-quality potting soil. Work in a couple of inches of compost and loosen the soil to a depth of about 10 inches to encourage strong root growth.
Choose a spot that receives full sun, though Swiss chard will tolerate partial shade, especially in hotter regions where afternoon shade can help prevent bolting. Space seeds about half an inch deep and 2 inches apart; thin to 6-8 inches apart as seedlings grow.
In cooler climates, sow directly outdoors or start seeds inside under grow lights, then transplant after the danger of frost has passed. In warmer zones, you can plant in early fall for a bountiful winter crop.
Remember to keep soil consistently moist but not soggy—mulching around the base can help retain moisture and suppress weeds. If using containers, make sure they are at least 8 inches deep and have good drainage.
With a bit of planning, you’ll have vibrant Swiss chard ready for harvest just weeks after planting.
How to Care for and Maintain Swiss Chard Plants
Caring for Swiss chard starts with consistent watering—aim to keep the soil evenly moist but not soggy. A good rule of thumb is about one inch of water per week, either from rainfall or supplemental watering, especially during dry spells.
Mulching around your plants with straw, compost, or shredded leaves helps conserve moisture, keeps roots cool, and suppresses weeds.
When it comes to feeding, Swiss chard benefits from a balanced, slow-release fertilizer at planting, followed by a light side-dressing of compost or organic fertilizer every 4-6 weeks to encourage leafy growth.
As seedlings emerge, thin them so plants are spaced 6 to 12 inches apart. This prevents overcrowding and improves airflow, reducing disease risk.
Regularly remove dead or yellowing leaves, and keep your garden beds free of debris to deter pests. Watch for common troublemakers like aphids and leaf miners:
- Spray aphids off with a blast of water or introduce beneficial insects like ladybugs.
- Use floating row covers to keep out leaf miners, and remove affected leaves early to prevent spreading.
Swiss chard is relatively hardy but may suffer from fungal diseases if air circulation is poor. To prevent this, avoid overhead watering and ensure plants aren’t crowded.
With these simple practices—careful watering, smart feeding, diligent thinning, and regular maintenance—you’ll keep your Swiss chard healthy, beautiful, and productive all season long.
Harvesting and Storing Swiss Chard
To get the tastiest and most productive Swiss chard harvest, start picking leaves when they reach six to eight inches tall—usually about 30 days after planting for baby leaves, or 50–60 days for mature ones. Use sharp scissors or a garden knife to cut the outer leaves about an inch above the ground, leaving the central bud intact so the plant keeps producing new growth.
This “cut-and-come-again” method lets you harvest regularly throughout the whole season. For prolonged harvests, pick just a few leaves from each plant at a time and rotate through your patch, giving plants time to recover. If you notice any leaves drooping or showing holes, remove them promptly to keep the plant healthy.
Once harvested, rinse the leaves well and pat them dry.
Short-Term Storage
Wrap the chard loosely in a damp paper towel and place it in a ventilated plastic bag in your refrigerator’s crisper drawer—this keeps it fresh for up to a week.
Long-Term Storage
For longer storage, blanch chopped Swiss chard in boiling water for two minutes, then plunge it into ice water before draining and drying thoroughly. Pack it into freezer bags, removing as much air as possible before sealing. Frozen Swiss chard keeps its nutrition and flavor for up to a year and is perfect for tossing directly into soups, quiches, or sautés straight from the freezer.
Cooking and Enjoying Swiss Chard
Swiss chard is a versatile green that can jazz up your meals from root to tip, so don’t toss those vibrant stalks! The tender leaves make a delicious sauté—just cook them with olive oil, garlic, and a squeeze of lemon for a healthy side dish.
For a creative twist, stir chopped chard leaves into soups, omelets, or grain bowls, adding a burst of color and earthy flavor. Meanwhile, the often-overlooked stems can be turned into a crunchy addition; try finely dicing them and tossing them into stir-fries, or pickle them for a tangy snack.
Chard is packed with vitamins A, C, and K, as well as magnesium and fiber, but these nutrients are sensitive to heat—so aim for quick cooking methods like steaming or sautéing rather than boiling, which can cause nutrient loss. To retain chard’s vibrant color and nutrients, cook it only until just wilted or tender-crisp.
Looking for an easy recipe? Toss chard leaves and stems with olive oil, roast in a hot oven for 10 minutes, then sprinkle with feta and toasted nuts. Or, stuff the leaves with a herby quinoa filling for a simple, healthy dinner that makes the most of this underrated vegetable.
Frequently Asked Questions
Many beginner gardeners wonder why their leafy greens, like lettuce or spinach, suddenly bolt—shooting up a tall stalk and flowering. This usually happens when temperatures climb or days get longer, signaling the plant to produce seeds.
To avoid bolting, try planting in cooler months, providing partial shade, and choosing bolt-resistant varieties.
Another common question is about cold hardiness: Will frosts kill my crops?
Some vegetables, including kale, carrots, and peas, can actually tolerate light frosts and even taste sweeter afterward. Start seeds directly in the ground when nights stay above freezing, or cover seedlings with a fabric row cover to protect them from unexpected cold snaps.
Harvesting can also trip up new growers. For most leafy greens, snip outer leaves first so the inner plant keeps producing, ensuring a longer harvest season.
With a few basic strategies, even a first-time gardener can enjoy consistent, thriving crops.