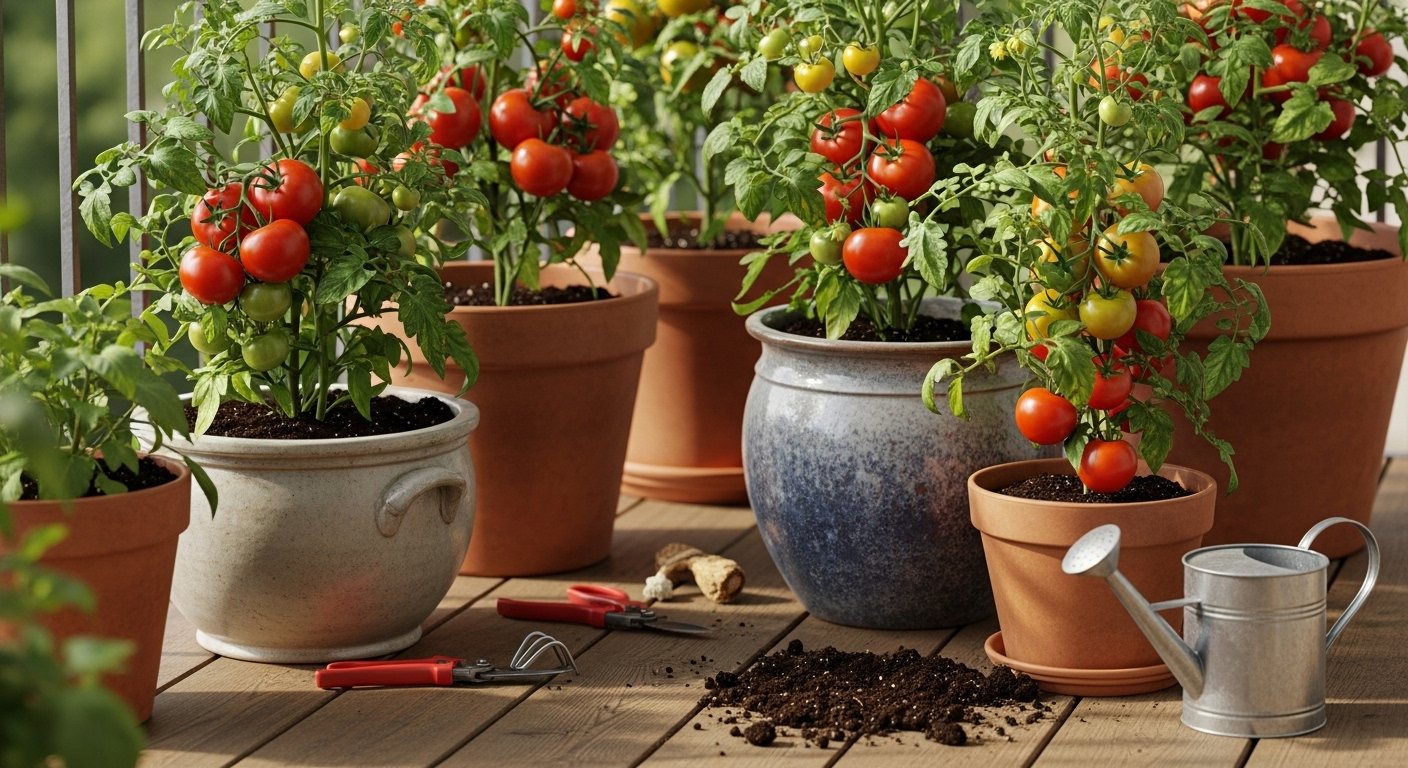
Why Grow Tomatoes in Pots
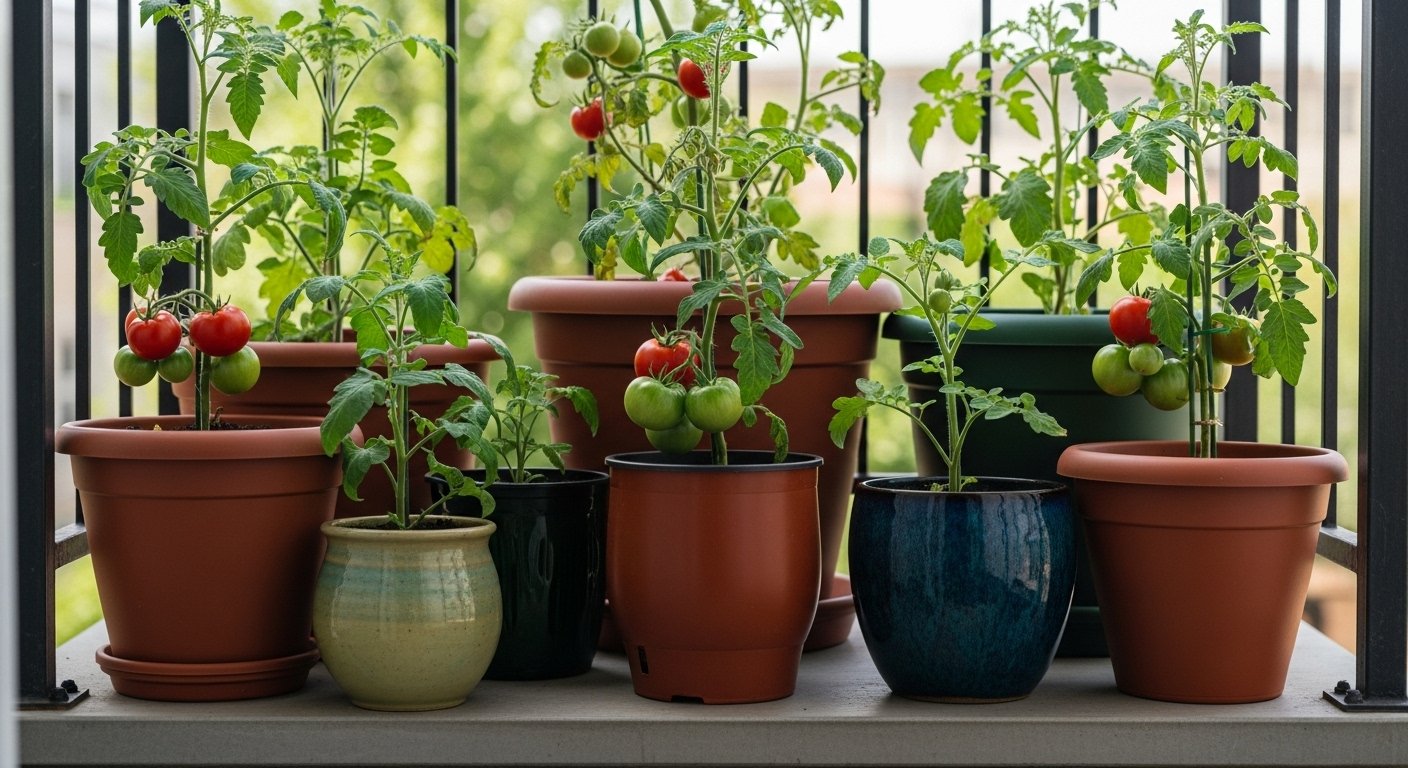
Growing tomatoes in pots offers a smart and flexible solution for anyone wanting to enjoy juicy homegrown tomatoes, even without a sprawling backyard. If you’ve ever felt limited by lack of space, poor soil, or an unpredictable growing location, container tomato gardening opens up new possibilities—think balconies, patios, fire escapes, or even sunny windowsills.
Pots solve the classic space problem, letting you tuck a productive tomato plant onto a deck or squeeze several onto apartment steps. This makes container growing especially popular for city dwellers, renters who can’t dig up the lawn, or anyone managing small patios.
Another major advantage? Tomatoes in pots are less susceptible to many soil-borne pests and diseases that often plague in-ground gardens—fresh potting mix and regular container cleaning make all the difference. Plus, if the weather shifts unexpectedly, it’s easy to move containers to chase the sun or avoid a late frost, giving you more control over your plant’s success.
Whether you want just a few cherry tomatoes within arm’s reach of the kitchen or crave a bushel of slicers but lack garden beds, growing tomatoes in pots offers unmatched adaptability. Urban gardeners, frequent movers, and those with mobility considerations all stand to benefit most; with containers, anyone can create a mini-tomato haven tailored to their space and lifestyle—no green thumb or big yard required.
Choosing the Best Tomato Varieties for Containers
When it comes to growing tomatoes in containers, understanding the difference between determinate and indeterminate varieties is key. Determinate tomatoes, often called “bush” types, grow to a fixed height—usually two to three feet—and produce most of their fruit in a short period, making them ideal for pots and small patios. Their compact size means less staking and pruning.
On the other hand, indeterminate tomatoes keep growing and vining throughout the season, often becoming topsy-turvy and unwieldy for confined spaces. For container gardening, opt for determinate varieties like ‘Bush Early Girl’ (great for classic, sweet flavor), ‘Roma’ (perfect for sauces with its dense, oblong fruit), or ‘Tiny Tim’ (a dwarf type with bite-sized cherry tomatoes and a remarkably compact habit).
If you crave cherry tomatoes, ‘Patio Princess’ and ‘Balcony’ are reliable options that thrive in small pots and still deliver an abundance of sweet snackers.
Avoid indeterminate giants such as ‘Beefsteak’, ‘Brandywine’, or ‘Cherokee Purple’—these varieties can sprawl six feet or more and will easily overwhelm most containers, leaving you with tangled vines and fewer, stressed-out fruits.
Stick with bush, dwarf, or patio types, and you’ll not only save yourself maintenance headaches but also have a much better chance at harvesting a steady supply of tasty, homegrown tomatoes right from your porch or balcony.
Picking the Perfect Pot & Location
Choosing the right pot and location can make all the difference when it comes to thriving container plants. Start with a pot made from breathable materials like terracotta or glazed ceramic, which help regulate soil moisture and temperature. Lightweight plastic pots are also fine if you want something easy to move.
Always pick a pot that’s at least one or two inches wider than your plant’s root ball to allow for growth. Herbs usually do well in 8-12 inch pots, while veggies might need 12-18 inches.
Good drainage is non-negotiable: look for pots with holes in the bottom and avoid letting water pool underneath, as this can quickly rot roots. Sunlight is just as critical; most edible plants and flowers need a spot that receives at least 6 hours of direct sunlight each day, ideally morning light to avoid harsh afternoon heat.
If your patio or balcony gets uneven sun, consider moving pots every few days or grouping them together on rolling carts so you can chase the light as the seasons change.
Giving plants plenty of space not only ensures they all get enough sun but also promotes airflow, which helps prevent mold or mildew. Just try not to crowd your containers, and occasionally rotate them for even growth.
Potting Soil, Planting Techniques & Support
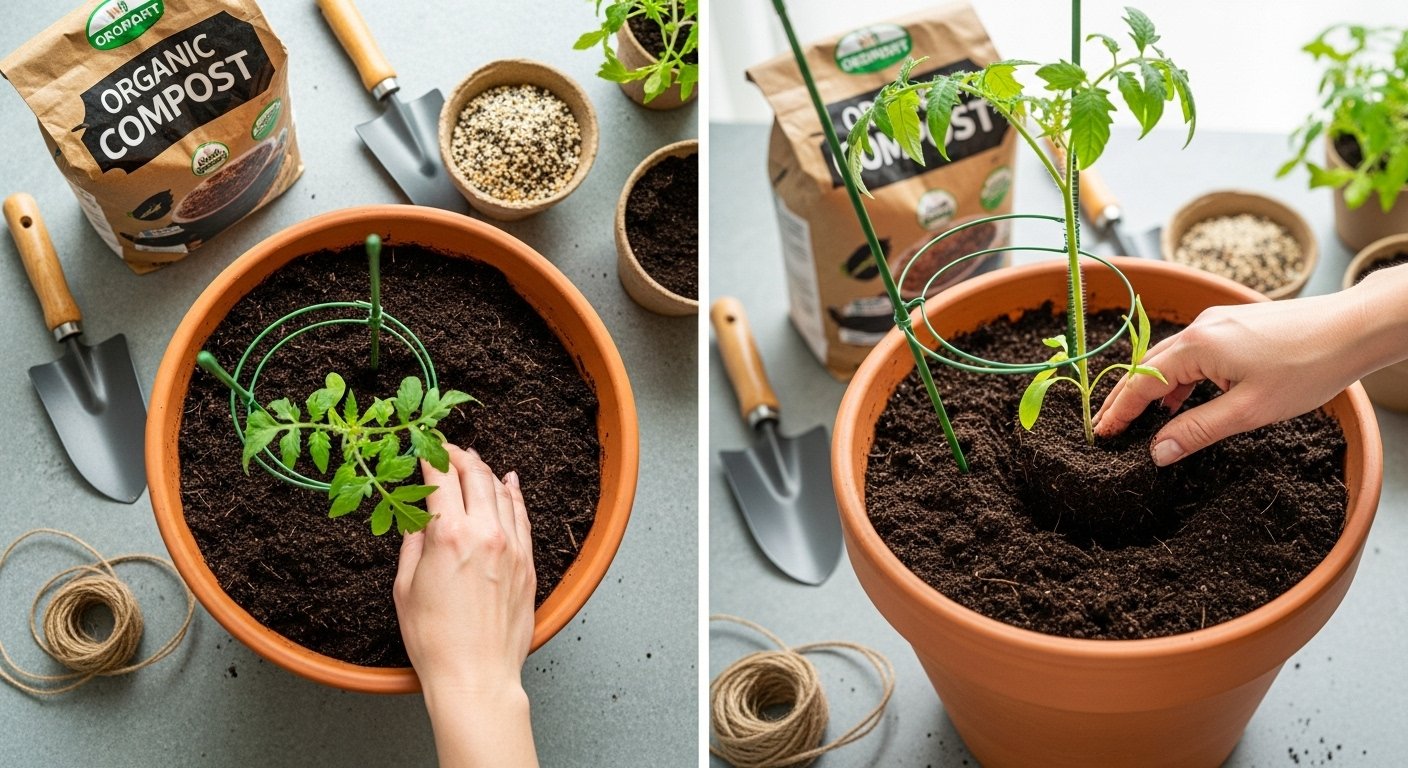
For the healthiest container-grown tomatoes, start with a high-quality potting mix formulated for vegetables. This ensures good drainage and aeration—a must for strong root development. Enhance it with a couple of handfuls of well-rotted compost or organic matter to boost nutrients and encourage vital soil microbes, giving your plants a solid foundation for sustained growth.
When it’s time to plant, fill your container about two-thirds full with the enriched mix. Gently remove the young tomato plant from its nursery pot and set it deeper into the soil than it was previously, burying the stem so that only the top set of leaves are above the surface. This extra depth allows roots to develop all along the buried stem, creating a sturdier, more resilient plant.
For smaller varieties, leave at least 12 inches between plants; for larger, indeterminate types, plant just one per 18-inch wide pot to give them ample space.
Right after planting, install a tomato cage or stake while the plant is still small. Early support prevents root damage that can occur if you add cages later and helps keep heavy, fruit-laden vines upright. This makes watering and harvesting easier while reducing the risk of diseases from soil splashing on leaves.
Essential Care: Watering, Feeding, and Mulching
Proper watering is crucial for container-grown tomatoes since pots dry out much faster than garden soil. Aim to water deeply until water runs from the drainage holes—usually once a day when the weather is mild. However, during hot spells or if you notice the soil drying quickly, especially on sunny patios, you may need to water twice daily. Always check the top inch of soil with your finger; if it feels dry, it’s time to water.
For feeding, tomatoes are heavy feeders and need a steady supply of nutrients to develop strong roots and plump, flavorful fruit. Start with a quality, balanced potting mix enriched with slow-release fertilizer, but supplement throughout the season by using a tomato-specific liquid fertilizer every 10-14 days. Focus on nutrients like nitrogen for leafy growth early on, then switch to fertilizers higher in phosphorus and potassium once flowers appear to encourage more blossoms and fruit set.
Don’t forget to mulch! Adding a two-inch layer of organic mulch, such as straw, shredded leaves, or compost, around the base of your tomato plant helps conserve moisture by reducing evaporation. It also acts as a natural weed barrier, keeping roots cooler and making it harder for pesky weeds to compete for nutrients and space.
These simple steps make all the difference in growing healthy, productive container tomatoes.
Troubleshooting & Maximizing Harvest
Growing tomatoes in containers can be incredibly rewarding, but a few challenges are common—fortunately, they’re easy to tackle with the right know-how.
Watch for pests like aphids and whiteflies; you can often spray them away with a gentle blast of water or treat them using insecticidal soap. Fungal diseases such as powdery mildew or blight often stem from poor airflow or overly moist leaves—spacing your plants apart and watering at the soil level rather than overhead helps prevent these.
Blossom end rot, which appears as dark, sunken spots on the fruit, is usually caused by inconsistent watering or calcium deficiency. Aim for even soil moisture and consider adding crushed eggshells for extra calcium.
To get the most out of your container tomatoes, make pruning a routine: snip off the lower leaves and any “suckers” (shoots growing in the junction between stem and branch) to help the plant focus energy on fruit production. Rotating your pots every few days ensures even sunlight exposure, resulting in sturdier, more productive plants.
Harvesting at the right moment is crucial—look for tomatoes that are fully colored (deep red, golden, or whatever suits your chosen variety) and just slightly soft to the touch. Gently twist the fruit off rather than pulling to avoid damaging the vine, and harvest in the morning for peak flavor.
With these simple steps, you’ll sidestep common problems and enjoy the juiciest, healthiest container tomatoes possible.
Frequently Asked Questions about Growing Tomatoes in Pots
New container gardeners often wonder if they can reuse last year’s soil for tomatoes. While it’s possible, it’s best to refresh it first. Remove old roots, add some compost, and mix in a slow-release fertilizer to replenish lost nutrients.
When it comes to how many plants to put in one pot, stick to just one tomato plant per pot for the best growth. Crowding leads to competition for water, nutrients, and sunlight, which results in fewer tomatoes.
Choosing the right pot size also makes a big difference. Aim for at least a 5-gallon container (about the size of a standard bucket) for each plant, and make sure there are good drainage holes at the bottom.
Many new growers also ask about watering—tomatoes in pots dry out faster. Plan to water daily in hot weather, and check moisture by sticking your finger into the soil.
Finally, don’t forget to support your plant with a stake or cage as it grows, since container tomatoes can get tall and heavy with fruit. These simple steps will set you up for a productive and stress-free tomato season.