Introduction
Wondering when to harvest swiss chard for the freshest, most flavorful leaves? Swiss chard is a vibrant, nutrient-packed leafy green that’s a favorite among home gardeners for its ease of cultivation and versatility in the kitchen. With its colorful stems and tender leaves, it often finds its way into sautés, soups, and salads, bringing both nutrition and beauty to your plate.
If you’ve planted Swiss chard or are thinking about adding it to your garden, it’s helpful to know how to grow and care for it so you can enjoy a steady harvest throughout the season. In this guide, you’ll find practical tips on planting Swiss chard, keeping it healthy, recognizing the signs that it’s ready to pick, and even a few ideas for turning your harvest into delicious meals. Let’s dive in and make the most of this garden superstar!
Getting Started with Swiss Chard
Swiss chard is a fantastic leafy green for gardeners of all experience levels, thanks to its resilience and easy-going growing habits. It thrives best in cool weather but can tolerate both spring and fall temperatures, making it a great fit for most temperate gardens.
Aim for a spot with full sun (at least six hours daily), though some light afternoon shade is helpful in hotter climates. Swiss chard prefers rich, loose soil with plenty of organic matter, and regular watering keeps the leaves tender and sweet.
Choosing a Variety
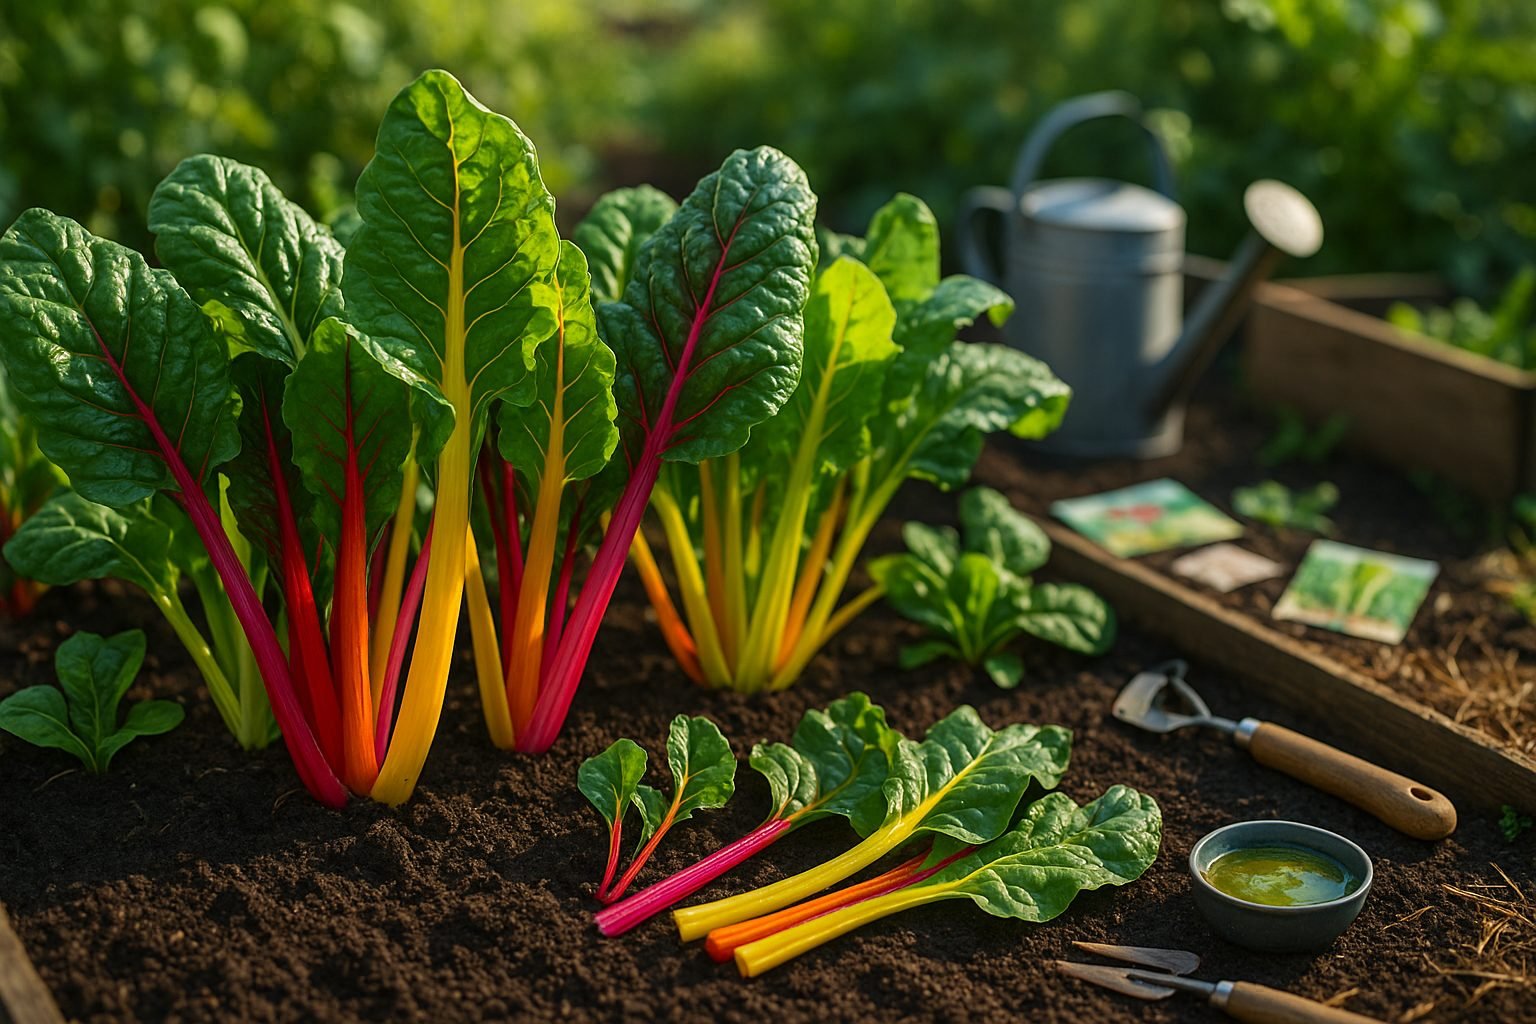
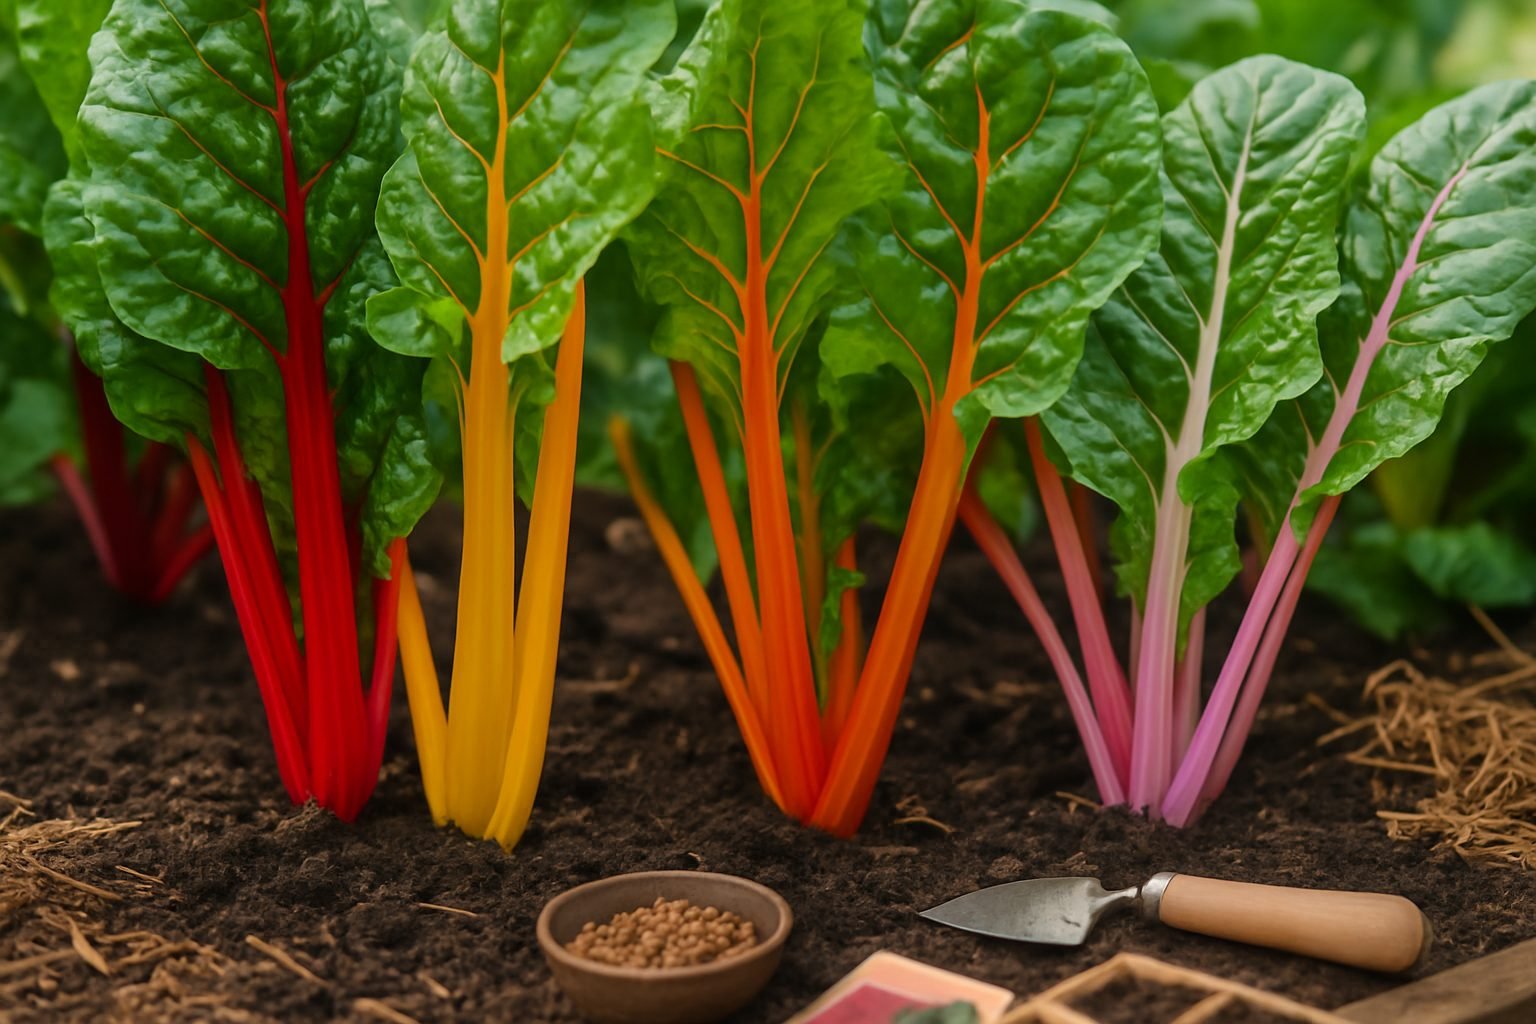
When picking a variety, Bright Lights is a popular choice for its rainbow of colorful stems—red, yellow, orange, and pink—all offering a mild, slightly earthy taste. Fordhook Giant produces broad green leaves with white stems and a more robust flavor, while Rhubarb Chard features deep red stems and veins with a gentle beet-like bite.
Why Gardeners Love Swiss Chard
- Eye-catching looks with vibrant colors
- Impressive nutrition packed with vitamins A, C, and K, plus fiber and antioxidants
- Incredible versatility in the kitchen: toss leaves in salads, sauté with garlic, or use the stems in stir-fries and soups
With so many benefits and uses, Swiss chard easily earns its spot in any home vegetable patch.
Sowing and Planting Tips
Getting the timing right is essential when sowing seeds. Start indoors 6-8 weeks before your area’s last frost date for vegetables like tomatoes and peppers, while hardy greens such as spinach can be directly sown outdoors as soon as the soil is workable.
Use clean seed trays or pots filled with moist, quality seed-starting mix. Press seeds gently into the soil at the depth recommended on the packet, often about two to three times the seed’s width. Avoid overcrowding by spacing seeds accordingly; this helps reduce disease and ensures strong, healthy plants.
After sowing, cover seeds lightly with soil, mist gently with water, and cover trays with clear plastic to retain moisture until seeds sprout. Place trays in a bright, warm spot—ideally 65–75°F—and remove covers as soon as you see green shoots. Water seedlings from the bottom or with a fine spray to prevent disturbing tiny roots.
Thin crowded seedlings so each has enough space, and gently brush your hand over the tops daily or use a small fan for indoor seedlings to encourage sturdy stems. If you encounter poor germination, check seed freshness, soil temperature, and moisture—too wet or too dry can hinder sprouting.
When transplanting outdoors, harden seedlings by gradually exposing them to outdoor conditions over a week. Plant on an overcast day or in the evening, water thoroughly, and mulch around plants to retain moisture and reduce weeds.
With these careful steps, even beginners can boost their odds of a vibrant, productive garden.
Caring for Your Swiss Chard Crop
To keep your Swiss chard thriving, focus on consistent watering—aim for about one inch of water per week, whether from rainfall or by supplementing with gentle, deep hand-watering. Mulching around your plants with straw or shredded leaves helps retain soil moisture, regulate temperature, and keep weeds at bay.
When it comes to fertilizing, Swiss chard benefits from a light feeding of compost or a balanced slow-release fertilizer every few weeks, especially if your soil isn’t rich. Just avoid over-fertilizing with nitrogen, as that can promote leaf growth at the expense of flavor.
Watch out for common pests like leaf miners, which leave squiggly lines inside the leaves. Pick off affected leaves promptly, or cover young plants with row covers to deter adult flies. To prevent fungal diseases, plant in well-drained soil and leave enough space between plants for good air circulation.
If you want to extend your harvest into the cooler months, start by planting in early spring and again in late summer for a fall crop. Swiss chard is quite cold-tolerant; in mild climates, mulch heavily with straw before the first frost to keep the roots insulated and enjoy fresh greens even through winter. In harsher zones, consider using cold frames or low tunnels to protect your chard and keep it productive until deep winter.
Regular attention to watering, soil health, and protection from common pests will ensure your Swiss chard provides delicious, nutrient-packed leaves all season long.
Harvesting Swiss Chard
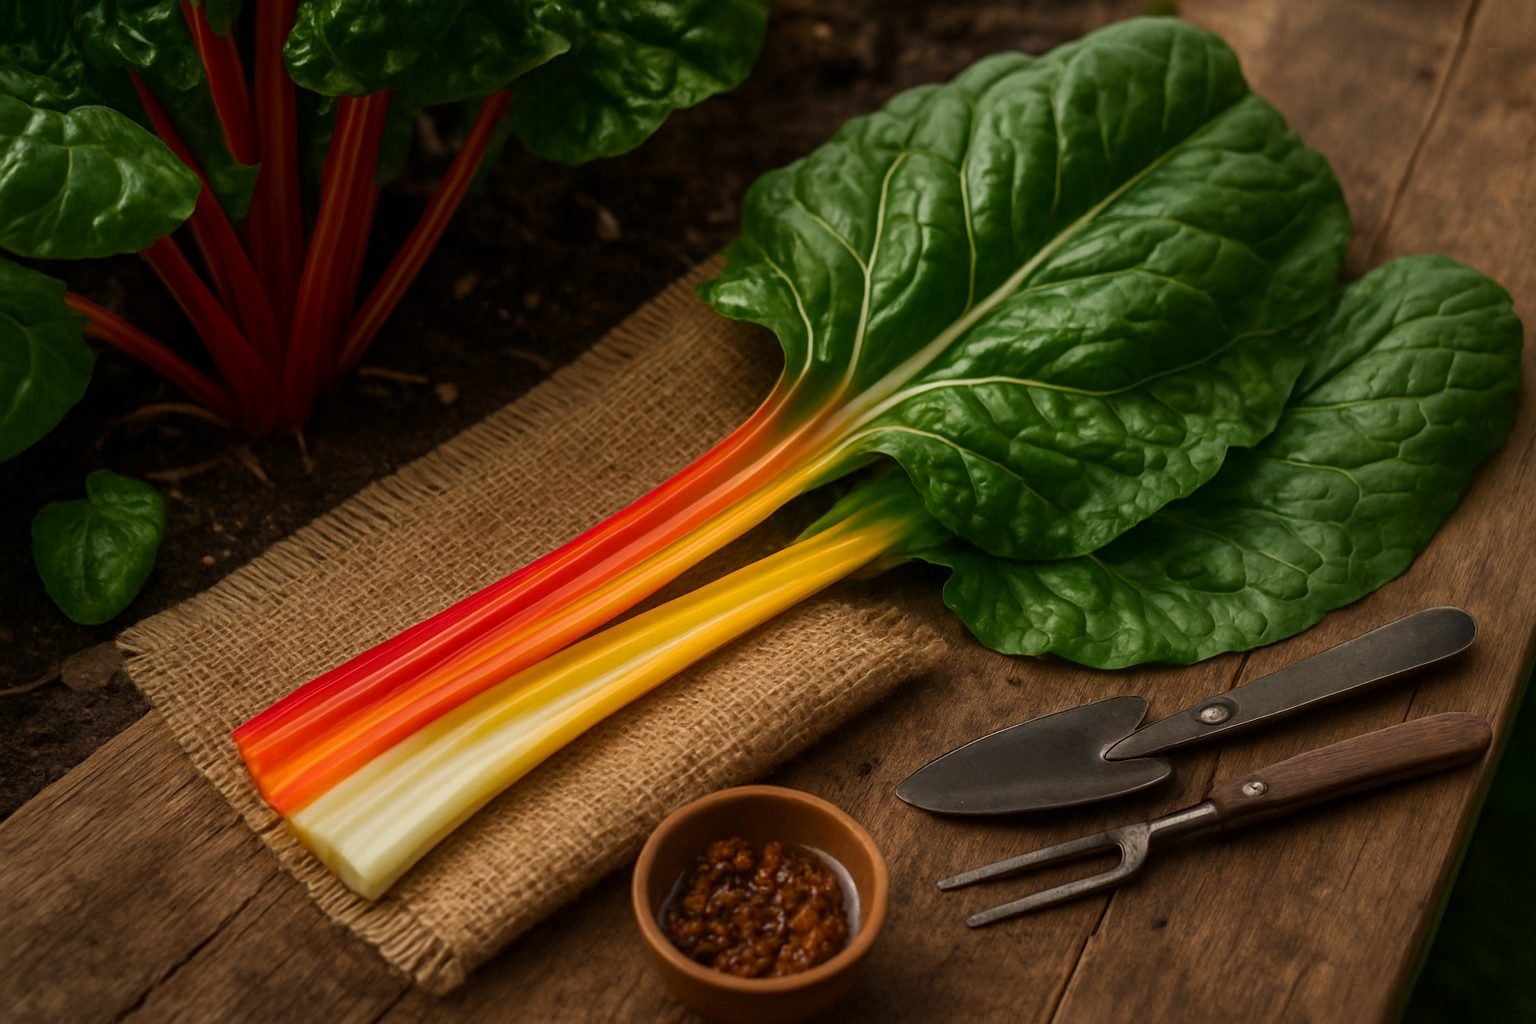
Swiss chard is ready to harvest when the leaves are firm, glossy, and about six to eight inches long—usually within 50 to 60 days after planting. Look for stalks that are thick and brightly colored, which signals peak flavor and nutrition.
To harvest without damaging the plant, use clean, sharp scissors or a knife to cut the outermost leaves about an inch above the soil, leaving the central immature stems and leaves intact for continuous growth. Harvest only a third of the plant at a time to avoid stressing it; this way, chard will keep producing fresh leaves throughout the season.
Plan to check your plants regularly—every week or even twice a week—to pick leaves before they get too large or tough. Regular, gentle harvesting also helps keep plants healthy and less prone to pests or disease. Avoid pulling or tearing leaves by hand, as this can damage the plant’s crown and slow down regrowth.
With the right approach, you’ll enjoy a steady, abundant supply of Swiss chard from spring well into the fall.
Storing and Using Your Swiss Chard
Properly cleaning and storing your Swiss chard ensures you’ll have crisp, flavorful greens ready for any meal. Start by rinsing the leaves under cool running water, paying special attention to the dirt-prone stems and folds. Shake off excess water and pat the chard dry with a clean towel or use a salad spinner.
For fridge storage, wrap the leaves loosely in a damp paper towel and place them inside a perforated produce bag—you can also use a partially open plastic bag. Stored this way, Swiss chard typically stays fresh for up to five days.
If you want to freeze chard for longer use, quickly blanch chopped leaves and stems in boiling water for two minutes, cool them in an ice bath, drain, and store in airtight freezer bags.
When it comes to cooking, Swiss chard shines in simple preparations—try sautéing it with garlic and olive oil, mixing it into scrambled eggs, or adding it to soups and grain bowls. Its tender leaves also work great raw in salads or tucked into sandwiches.
If you’ve grown your own chard, embrace its versatility by experimenting with homemade pestos, stir-fries, or even swapping it in for spinach in your favorite recipes—the options are endless and delicious.
Conclusion
Growing Swiss chard is simple, rewarding, and perfect for gardeners of any skill level. With its vibrant colors and impressive resilience, Swiss chard thrives in most gardens and can even be grown in containers.
Not only does it provide a steady harvest, but its leaves and stems also add nutrition and delicious flavor to countless dishes. Starting your own Swiss chard patch means enjoying fresh, healthy greens right from your backyard.
Give it a try this season—just a small corner of your garden can yield big rewards. Grab some seeds, plant them today, and get ready to enjoy the taste of homegrown goodness soon!