Introduction to Straw Bale Gardening for Strawberries
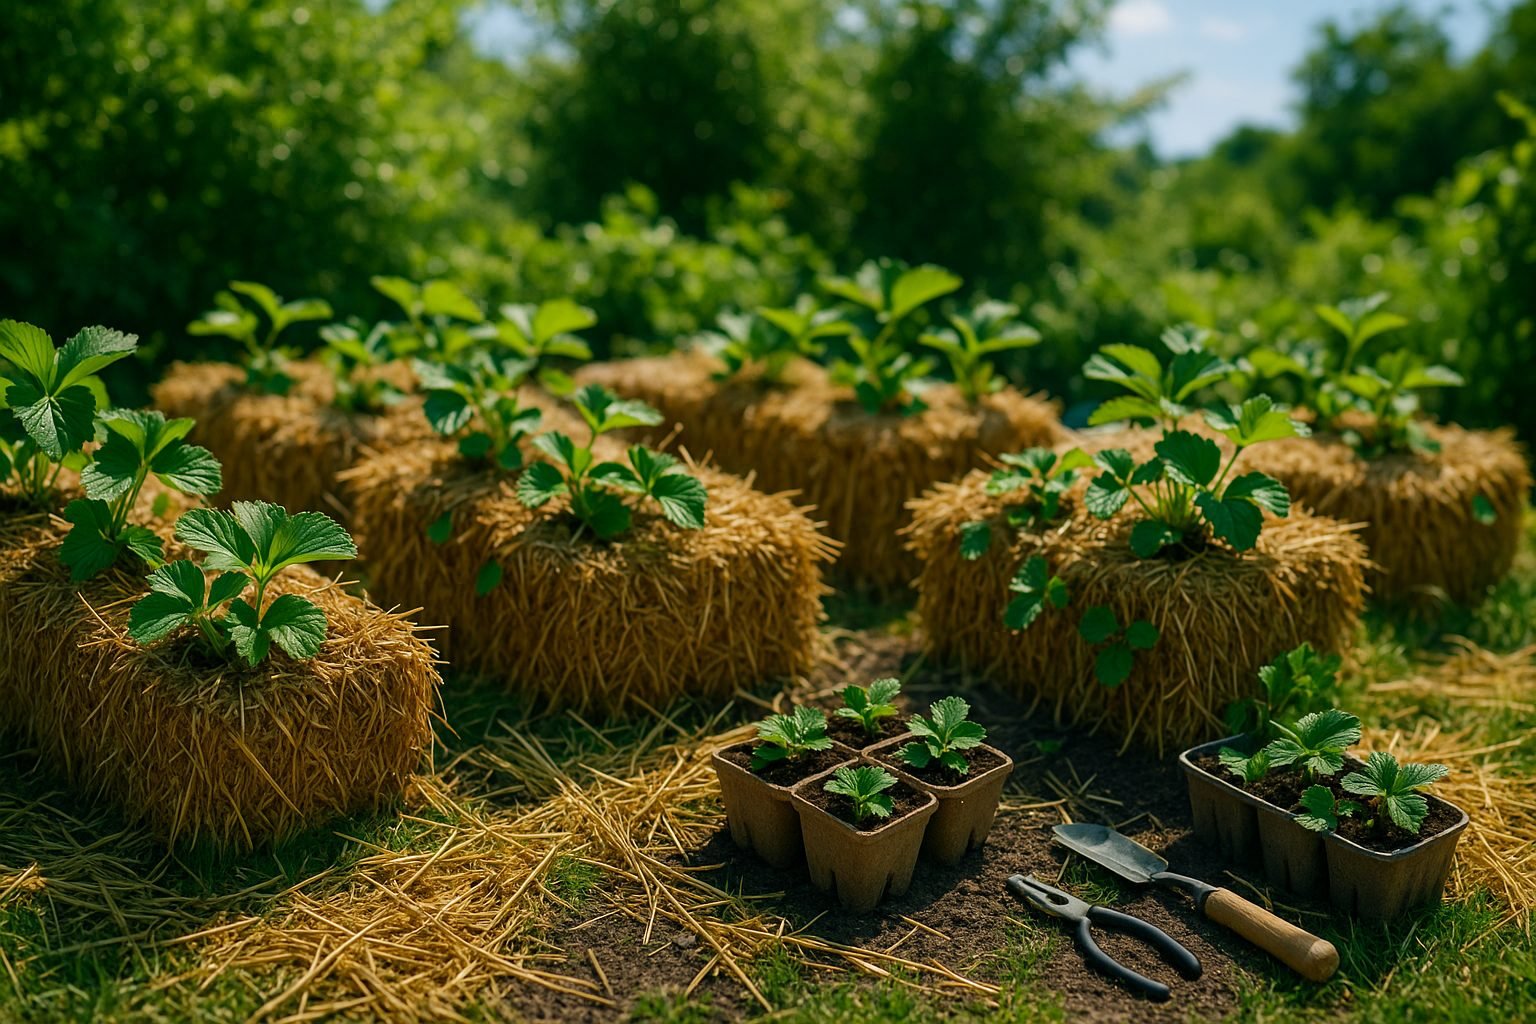
Straw bale strawberries are gaining attention among home gardeners, and it’s easy to see why. Straw bale gardening involves planting directly into a decomposing straw bale instead of soil, a technique that’s catching on for its simplicity and fantastic results.
This method has surged in popularity, especially with those seeking an easy, sustainable way to grow juicy strawberries right in their backyard, on patios, or even in urban settings with limited space.
One of the biggest draws is the improved drainage straw bales provide—no more worry about waterlogged roots during a rainy spell. The elevated growing height also reduces bending and makes picking strawberries easier, while the airy structure helps keep common soil pests and weeds at bay, so you’ll spend less time weeding and battling critters.
Additionally, straw bales warm up quickly in spring and break down into rich, compost-like material as the season goes on, offering constant nutrients to your strawberry plants. For gardeners frustrated with hard-packed soil or recurring berry diseases, straw bale strawberries offer a fresh start.
If you’re eager to enjoy plump berries with less hassle, this innovative method could be the gardening hack you’ve been searching for.
Why Straw Works for Strawberry Plants
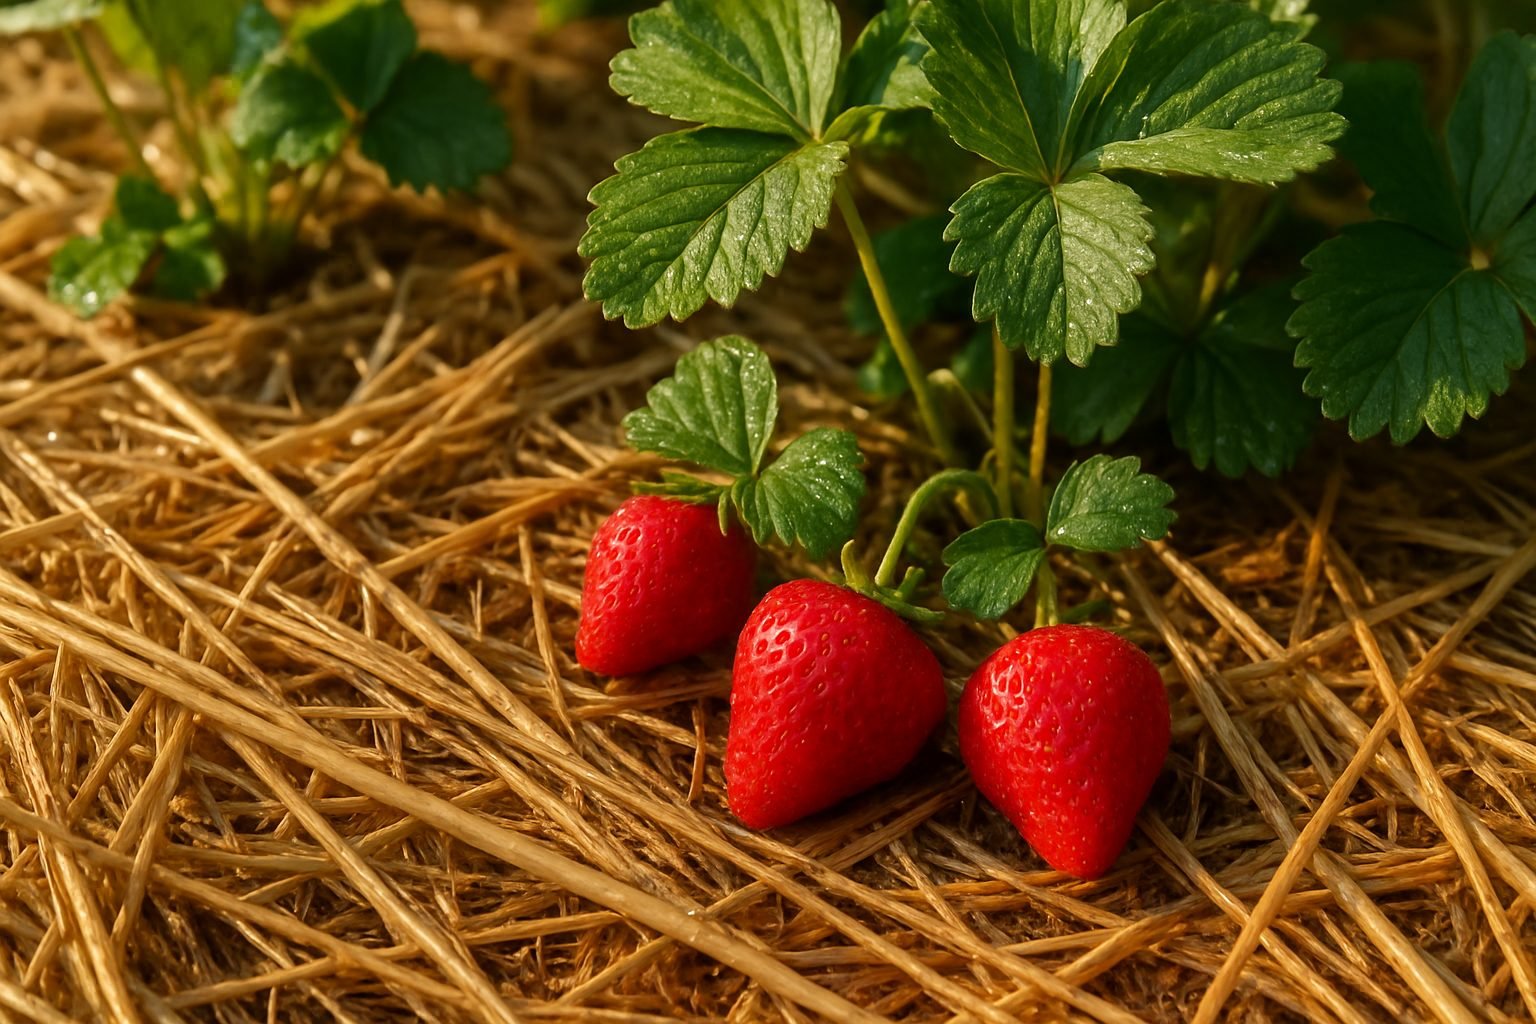
Straw works wonders for strawberry plants because it serves a dual purpose: acting both as a growing medium and as mulch. When used as mulch, straw creates a gentle blanket that keeps soil consistently moist and shields berries from direct contact with dirt, helping to prevent rot and ward off soil-borne diseases.
Straw mulch also holds in warmth, especially during cooler nights, which encourages strong root growth and earlier fruit production. If you want to take it a step further, you can grow strawberries directly in straw bales, which act like raised beds—great for drainage and keeping pests at bay.
Some worry that straw could smother plants or cause fungal issues, but as long as it’s kept loose and dry, it actually reduces mold by keeping berries elevated and air circulating. Just be sure to use clean, seed-free straw, and you’ll have healthier, cleaner fruit and happier plants.
Setting Up Your Straw Bale Garden
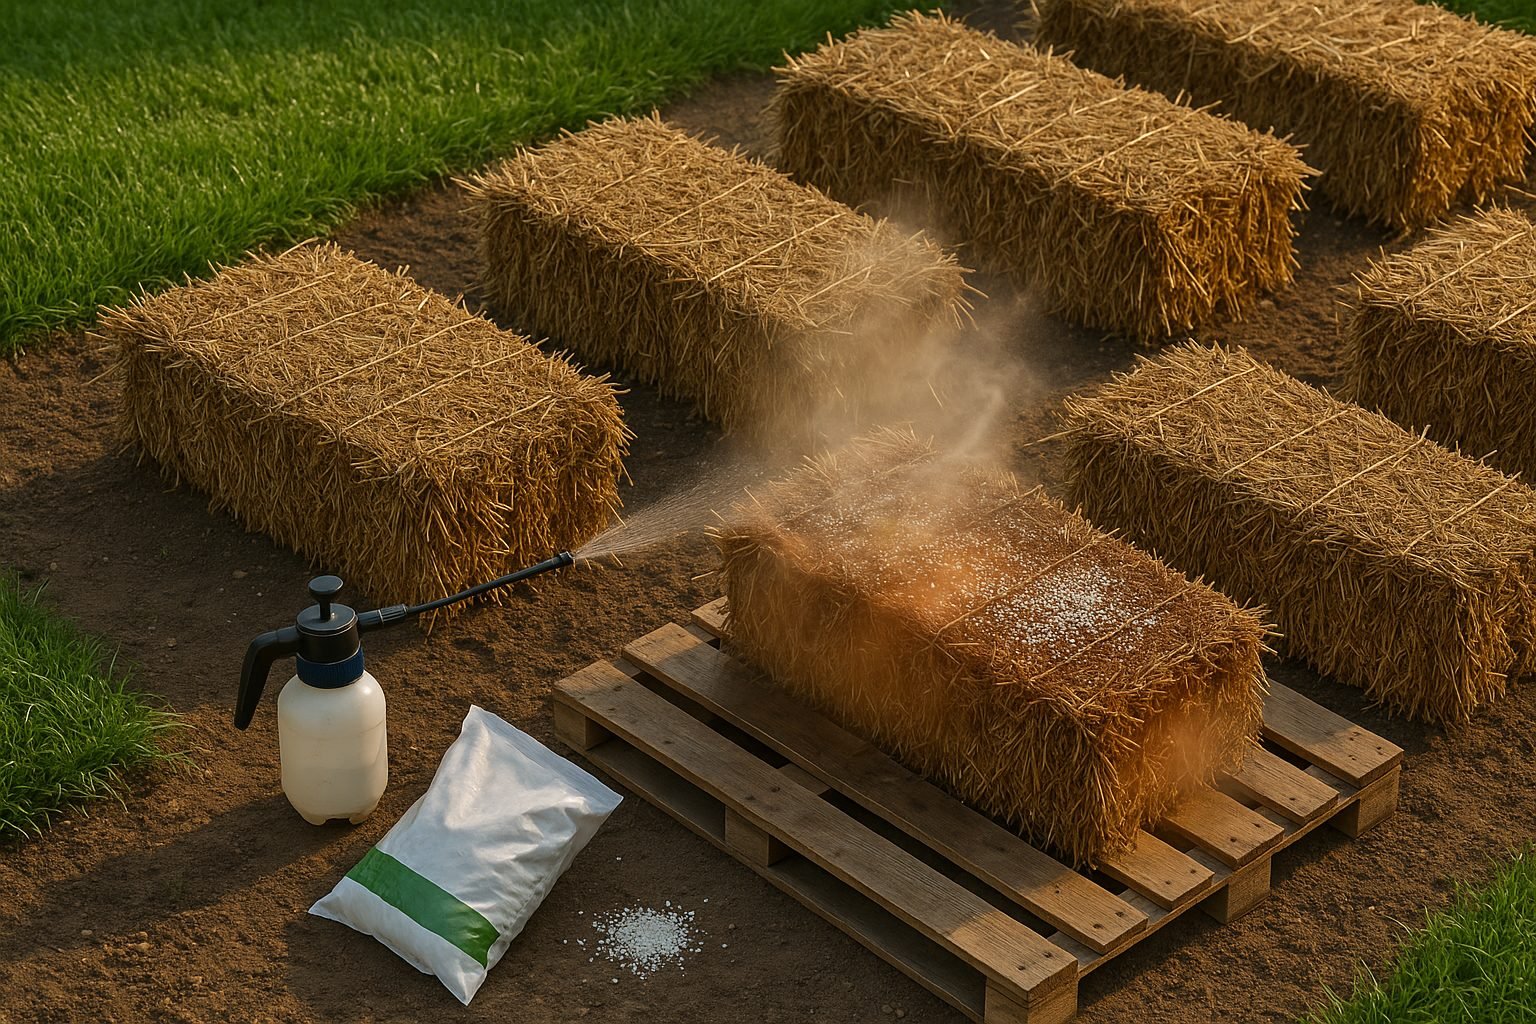
Selecting the right straw bales is the first step to a thriving strawberry garden. Choose bales made from wheat, oats, or barley—avoid hay bales, as they contain seeds that could sprout unwanted weeds. Place your bales in a sunny, well-drained spot; strawberries need at least 6–8 hours of direct sunlight daily. Arrange the bales in a single or double row, with at least one foot of space between rows for easy access.
Next comes conditioning, a vital process that transforms dry bales into a nourishing bed. Over 10–14 days, water the bales thoroughly to start decomposition, then apply nitrogen fertilizer (such as blood meal or lawn fertilizer) every couple of days to speed up the breakdown. This step creates a warm, compost-rich core perfect for strawberry roots—skipping it could stunt your plants. Be sure to monitor moisture levels and avoid overwatering, which can drown young roots.
Once the inside feels warm and the fibers start to soften, the bales are ready. Cut small holes in the bale tops, spacing strawberries about 12 inches apart, and gently nestle each plant in. For the best results, stagger rows and avoid overcrowding; this boosts airflow and reduces disease risk. Mulch between bales with straw or wood chips to suppress weeds and keep fruits clean.
With a little prep, your straw bale garden will be bursting with juicy strawberries before you know it.
Planting Strawberries in Straw Bales
When planting strawberries in straw bales, start by choosing varieties well-suited to your climate and container gardening—day-neutral or everbearing types like ‘Seascape,’ ‘Albion,’ or ‘Evie-2’ thrive in compact setups and produce fruit all season.
Before planting, condition your straw bale by soaking it thoroughly and adding a high-nitrogen fertilizer daily for about ten days. This helps break down the straw into a nutrient-rich, plant-friendly medium.
Once the bale is ready, create small holes about 6 inches apart along the top, deep and wide enough to accommodate the bare roots or young plants without crowding. Gently tuck in each strawberry plant, ensuring the crown sits just above the straw level to prevent rot.
Immediately after planting, water well to help settle the roots, and add a balanced, all-purpose liquid fertilizer to give your strawberries a strong start.
For ongoing care, keep the bale consistently moist—straw bales dry out faster than soil, so check daily, especially in warm weather. Use a liquid or water-soluble fertilizer every two weeks to keep plants productive. A light mulch of straw around the plants can reduce water evaporation and keep fruit clean.
Regularly remove runners to direct energy into fruit production and keep an eye out for pests. With these steps, your straw bale garden will provide a tidy, space-saving home for delicious strawberries all summer.
Caring for Straw Bale Strawberries Through the Season
Caring for strawberries in straw bales is simple but requires a steady routine throughout the season. Start by watering consistently, aiming to keep the bales moist but not soggy—this might mean daily checks in summer heat, as straw dries out faster than soil.
Fertilize every two to three weeks with a balanced, water-soluble fertilizer, since nutrients can leach quickly from straw.
Keep an eye out for pests like slugs and spider mites by checking under leaves and around the bale; organic options like diatomaceous earth or neem oil can help manage outbreaks.
Mulching is essential—add a two-inch layer of clean straw around your plants as soon as berries begin forming. This not only keeps fruit clean and deters weeds, but also helps the bale retain moisture and stay cool on hot days.
Watch for common issues like bales breaking down too quickly or staying too wet. If decomposition is rapid, boost support with stakes or boards. If water pools, improve drainage beneath with wooden pallets or bricks.
Regularly removing dead leaves and runners can also prevent disease and keep your strawberries producing strong throughout the season.
Harvesting and Beyond
Knowing exactly when to harvest strawberries grown on straw bales is key to enjoying sweet, juicy fruit and keeping your plants healthy for seasons to come. Look for berries that are fully red from tip to stem, as strawberries stop ripening once picked—avoid harvesting fruit with white or green patches.
Check your patch daily during peak season to gather berries at their prime, and gently pinch them off with a bit of stem attached to prevent bruising and reduce stress on the plants. Always work carefully to avoid damaging leaves or new runners, which are crucial for future harvests.
After the season ends, don’t toss out those straw bales—instead, break them up and use the decomposed straw as mulch around your garden to retain moisture and suppress weeds. You can also compost the spent straw; it’s a fantastic brown material that will enrich your compost pile.
This simple cycle helps you maximize your harvest and gives back to your garden, ensuring lush growth next season.