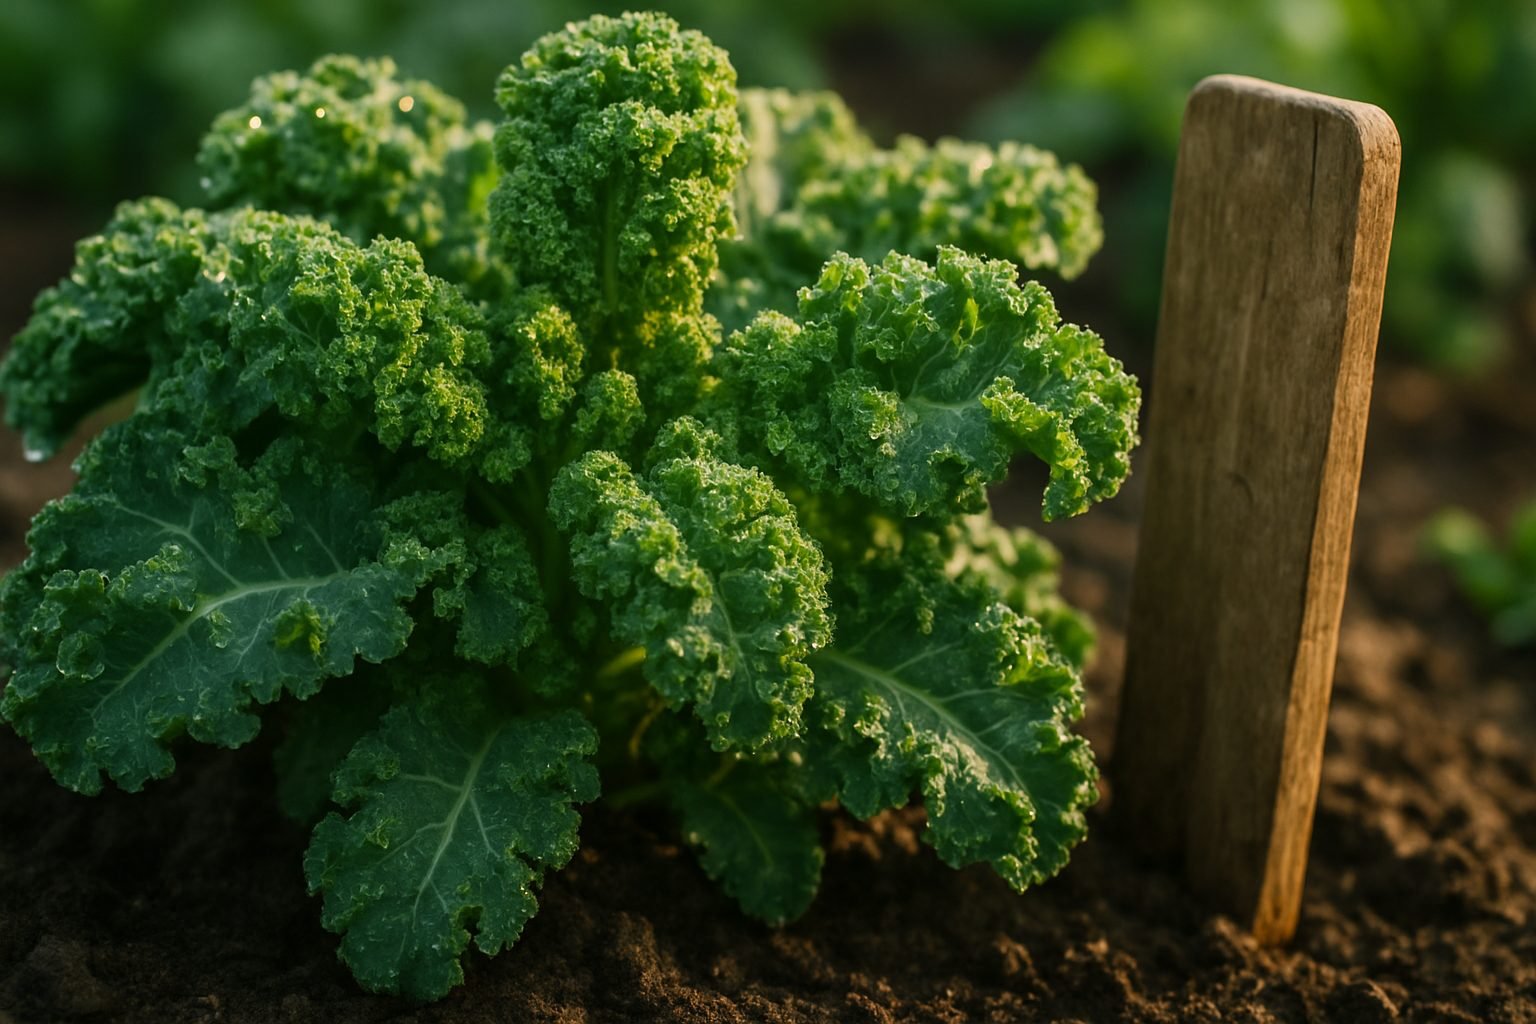
When to Harvest Kale
Knowing exactly when to harvest kale can make all the difference in how tender, flavorful, and nutritious your kitchen greens will be. Recognizing the right time to pick your kale starts with observing the plant’s size and color—mature leaves typically reach the length of your hand, display a deep or vibrant green hue, and feel crisp to the touch.
Firmness means the leaves are loaded with moisture and nutrients, while a faded or yellowish color signals that they may have passed their prime. If you prefer the sweeter, more delicate flavor of baby kale, look for smaller, palm-sized leaves that are velvety and tender; these are perfect for salads and require less cooking.
For those intending to harvest mature kale, wait until the leaves are fully expanded but before they become tough or start developing holes. Seasonal changes are crucial—kale thrives best in cool weather, so harvesting just after the first light frost often results in sweeter, less bitter leaves.
During hot summer months, leaves tend to grow faster but can become bitter more quickly, making regular checks important. In practice, kale can be picked continuously from the bottom up, allowing new, inner leaves to grow—this “cut-and-come-again” method prolongs the harvest throughout the season and promotes bushier plants with higher yields.
Remember, frequent harvesting encourages fresh growth, keeps the plant productive, and ensures you enjoy the best quality kale. Whether you’re after baby leaves for a tender salad or robust mature leaves for hearty soups, knowing these signs helps you confidently decide when to harvest kale, so your garden keeps giving back all season long.
How to Harvest Kale so It Keeps Growing
To keep your kale producing for months, harvest by picking the outer leaves first, always leaving the center, or crown, intact. Use clean garden shears or simply snap each leaf downward at the base, being careful not to tear the stem or disturb the plant’s heart.
Harvest when the leaves are about the size of your hand, and aim to take only a few mature leaves from each plant at a time. This way, the kale has plenty of energy to keep growing. Try to pick every one to two weeks, rather than stripping the plant bare all at once.
Over-harvesting, especially taking leaves from the crown, can stunt growth or even kill the plant. Always leave at least four to five healthy inner leaves untouched after each session.
By following these simple steps and harvesting thoughtfully, your kale will stay healthy and productive season after season.
Harvesting Kale Seeds and Leaves
For harvesting kale leaves, start by picking the outermost, mature leaves, leaving the smaller inner leaves to continue growing. This “cut-and-come-again” method lets you enjoy a steady supply throughout the season. Simply snap or cut the leaves cleanly at the stem, and avoid taking too many from one plant at once.
Kale is tastiest when the leaves are young and tender, especially before the weather gets too hot. For an ongoing harvest, check your plants weekly and remove any yellowing leaves to keep them healthy.
When it comes to harvesting seeds, you’ll need to let some plants bolt, or flower, which typically happens during the second year of growth (since kale is a biennial). Select your strongest, most disease-resistant plants—these are ideal for seed collecting, as their genetics will produce more vigorous future crops.
Allow these plants to fully mature without harvesting leaves late in their cycle, so they can divert energy into flower and seed production. Once the flowers fade and seed pods (called siliques) appear and turn brown, cut the stalks and dry them indoors in a paper bag or on a screen. Gently crush the dried pods to release the seeds, and store them in a cool, dry place.
While leaf harvesting focuses on continued plant productivity, seed saving requires patience and a bit of planning, as you’ll sacrifice some leaf harvests in exchange for a future garden full of reliable kale. Always label your seeds with the variety and year—they’ll stay viable for up to four years if kept dry and cool.
With these approaches, you can maximize both your culinary enjoyment and your garden’s long-term productivity.
Troubleshooting Common Kale Harvest Issues
Harvesting kale can sometimes reveal unexpected issues, from leaves riddled with holes to signs of wilting or pest damage.
Holes are often caused by caterpillars, flea beetles, or slugs, which can be managed organically by handpicking pests in the morning or using food-grade diatomaceous earth sprinkled around plants.
If you see only small holes but the leaf is still green and firm, it’s usually safe to eat after a thorough rinse, as most pests are not harmful to humans. However, discard any leaves that are yellow, slimy, or covered in black spots—these may indicate disease or advanced rot.
If wilting is the problem, check soil moisture; kale prefers consistently moist, but not waterlogged, soil. Mulching with straw can help retain moisture and keep roots cool.
For persistent pest issues, introducing natural predators like ladybugs or using neem oil spray can help without resorting to harsh chemicals.
If your kale plants aren’t producing new leaves after a cutting, check that you’re harvesting only the outer, lower leaves and leaving the crown intact; cutting from the top or too close to the plant’s center can stunt regrowth.
Also, ensure your kale is getting enough sunlight—at least 6 hours daily—and feed with a balanced organic fertilizer if growth stalls.
With these quick checks and organic strategies, you can troubleshoot most common kale harvest issues and keep your harvest healthy and productive.
How to Store and Preserve Fresh Kale
To keep your kale crisp and nutrient-packed, it’s important to tailor your storage method based on how quickly you plan to use it.
For kale you’ll eat within a week, start by washing the leaves thoroughly in cool water to remove dirt or bugs. Then, use a salad spinner or clean towels to dry the leaves well—moisture speeds up spoilage. Once dried, layer the kale in a resealable bag or airtight container with a sheet of paper towel to absorb any excess moisture, and store it in your refrigerator’s crisper drawer.
If you’re stocking up for the season, freezing is your best bet. Quickly blanch clean kale leaves in boiling water for 2-3 minutes, then plunge them into ice water to stop cooking and preserve color. Dry thoroughly and pack the leaves into freezer-safe bags, squeezing out as much air as possible to prevent freezer burn. Frozen kale works great for soups, smoothies, or sautés, and it keeps its nutritional value even through the winter months.
Keep in mind that baby kale is more tender and spoils faster than mature varieties—don’t wash it until you’re ready to use it, and store it in a loosely closed bag to avoid bruising.
By following these simple steps, you can enjoy fresh-tasting, healthy kale whether it’s in this week’s salad or next season’s stew.
Best Ways to Use Your Freshly Harvested Kale
After harvesting a bounty of fresh kale, there are plenty of tasty ways to enjoy it. Start with the classics—toss raw kale with lemon juice, olive oil, and a pinch of salt for a hearty salad; massaging the leaves first helps soften their tough texture and mellow the taste.
For a warm side, sauté chopped kale with garlic and olive oil until just wilted, then finish with a splash of balsamic vinegar for extra depth.
If you love snacking, try homemade kale chips: drizzle bite-sized pieces with a little oil, sprinkle with sea salt (or your favorite seasoning), and bake at 300°F until crispy.
Don’t forget smoothies—just blend a handful of fresh kale with banana, frozen berries, and yogurt for a nutrient-packed drink.
To use up large amounts, stir chopped kale into soups, stews, or pasta dishes; it holds up well to longer cooking times and soaks up flavors beautifully.
For extra tender leaves, remove tough stems and blanch kale briefly in boiling water before adding to recipes.
Finally, don’t be afraid to experiment—kale pairs well with everything from eggs in shakshuka to pizzas, grain bowls, and even breakfast scrambles. By trying different techniques and seasonings, you’ll discover new favorite ways to enjoy your kale harvest all season long.
Keeping Your Kale Plants Productive Year-Round
To keep your kale patch lush and productive all year, start by embracing succession planting—sow a new batch of seeds every 3-4 weeks during the growing season so you always have young, tender plants on the way. As older kale plants begin to look tired, refresh them by cutting back the central stem just above a lower leaf node; this encourages bushier regrowth and prolongs the harvest.
For a steady supply through fall and winter, choose cold-hardy varieties like ‘Winterbor’ or ‘Lacinato,’ and mulch generously with straw or leaves to protect the roots as temperatures drop. You can even use row covers or low tunnels to shield plants from frost, letting you pick fresh greens long after most garden crops are done.
In regions with mild winters, kale will often survive outdoors with minimal protection—just snip leaves as needed, and the plant will keep producing new growth. If you want a truly seamless supply, plan ahead by starting seeds indoors in late winter for an early spring start, and set out another batch midsummer for a robust autumn harvest that can sometimes overwinter and pick up again next spring. This rotation ensures you’re never without those healthy, flavorful leaves no matter the season.