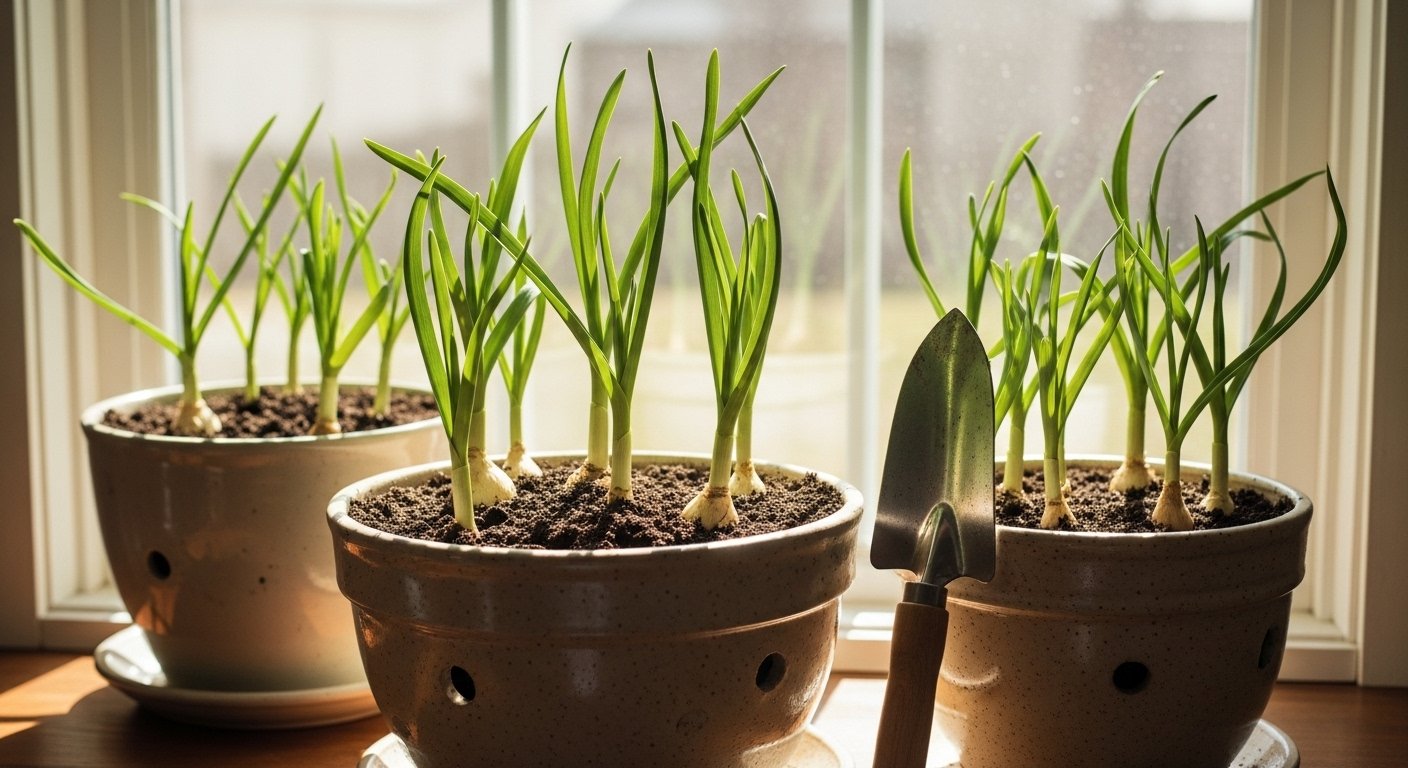
Where and When to Plant Garlic Indoors
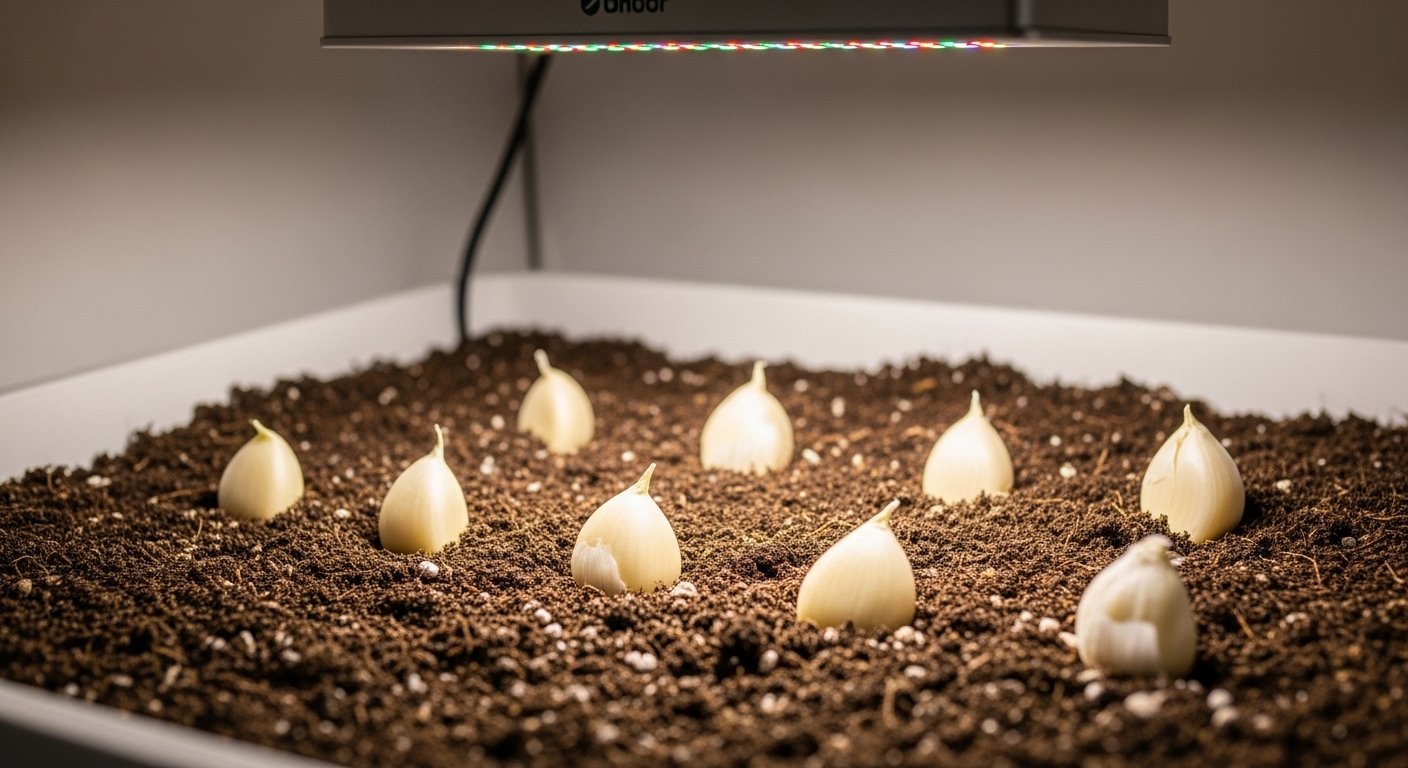
Growing garlic indoors opens up year-round possibilities for fresh, flavorful cloves right from your kitchen window. The key to successfully growing garlic indoors is choosing the right spot in your home—garlic loves at least six hours of bright, direct sunlight each day. South or west-facing windowsills are ideal, but if natural light is limited, supplement with a good-quality grow light to keep your garlic bulbs happy. Keep indoor temperatures steady, between 60°F and 75°F, and avoid drafts or sudden chills. When it comes to containers, pick pots that are at least eight inches deep with ample drainage holes; garlic hates soggy roots, so a well-draining potting mix is essential.
Timing is everything for garlic. Traditionally, garlic is planted outdoors in the fall for a summer harvest, but indoors you have more flexibility. For the best results, start your garlic cloves indoors between late fall and early winter. This gives the bulbs enough time to establish roots and grow hearty greens before the warmer, brighter days of late spring spark rapid development. Remember, garlic follows a long growth cycle—expect at least 8–10 months from planting to harvest, even indoors.
Regardless of where you grow it, garlic thrives on a few fundamentals:
- Lots of light
- Consistent moisture (but never waterlogged soil)
- Occasional feeding with a balanced liquid fertilizer
Rotate the pots every couple of days to ensure even sun exposure, and trim the green shoots occasionally for use in food—this can encourage bulb development below the surface. With a bright location, the right timing, and a bit of patience, growing garlic indoors can be a surprisingly easy way to elevate your home gardening and your cooking.
Choosing Your Garlic and Getting Started
When starting your indoor garlic garden, it’s important to choose the right type of garlic. Hardneck garlic, known for its rich flavor and easy-to-peel cloves, grows well in colder climates but usually needs a period of cold dormancy to thrive. Softneck varieties like California Early or Inchelium Red don’t require chilling and adapt well to container gardening, making them a top pick for indoor growing.
When shopping for planting garlic, skip supermarket garlic, as it might have been treated to prevent sprouting. Instead, buy seed garlic from a reputable garden center or online supplier. Look for firm, plump bulbs with no signs of mold or shriveling. Gently break apart the bulb into individual cloves, keeping the papery skin intact for protection.
For your containers, choose pots at least 6 inches deep with drainage holes, and use a quality potting mix enriched with compost. Plant each clove pointed end up, about 2 inches deep and spaced 4 inches apart. Water thoroughly after planting, and place containers in a spot that gets 6–8 hours of bright light—windowsills or under a grow light are both great options.
Start with these steps, and you’ll soon have healthy garlic shoots ready to nurture and enjoy!
Step-by-Step: Planting Garlic Indoors
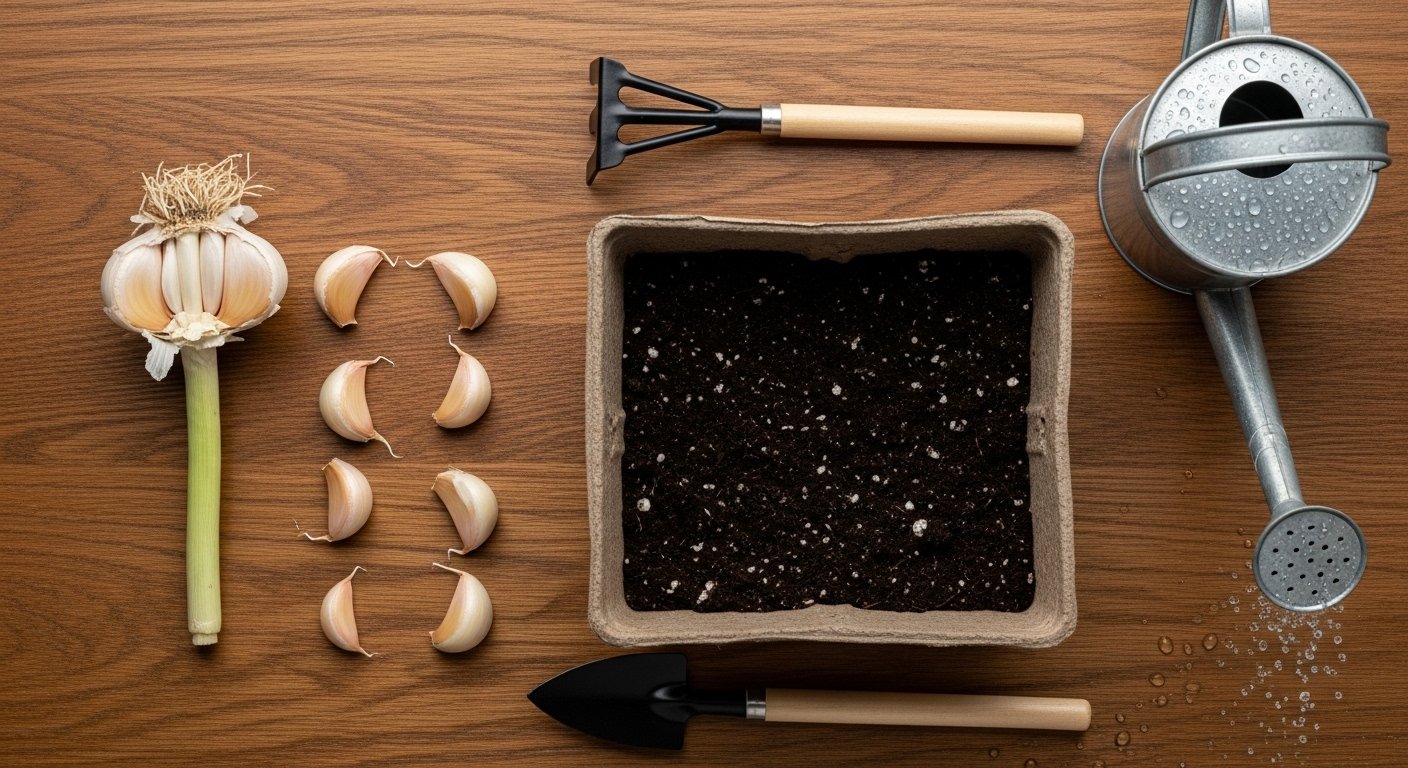
Planting garlic indoors is a rewarding project, but the right setup is crucial for healthy growth. Start by selecting a container that’s at least 8–10 inches deep and has plenty of drainage holes—garlic doesn’t like soggy roots.
Use a high-quality potting mix, ideally blended with a bit of compost for extra nutrients. Avoid garden soil, as it can compact and hold too much moisture.
Separate your garlic bulb into individual cloves, keeping the papery skins on, and plant each clove with the pointy end up, about two inches deep. Space cloves three to four inches apart to let each bulb develop fully.
After planting, water gently but thoroughly, ensuring the soil is moist but not waterlogged; a container with good drainage is a must here. Garlic loves a sunny spot, so place your container near a window where it gets at least six hours of light a day.
Early on, fertilize with a balanced, organic liquid fertilizer every two weeks to support strong growth, but don’t overdo it—too much fertilizer, especially nitrogen, can cause more leafy growth than bulb development.
A common rookie mistake is letting the soil get bone dry or, conversely, waterlogged. Stick your finger into the soil and water only when the top inch feels dry.
Watch for yellowing leaves or stunted growth—this could indicate root rot from poor drainage or a lack of nutrients. If you see signs of mold, improve air circulation and let the surface dry slightly between waterings.
Remember, patience is key; indoor garlic can take eight to ten months to mature fully, but with the right care and attention to these basics, you’ll be rewarded with fresh, homegrown garlic year-round.
Care and Maintenance for Indoor Garlic
Caring for garlic indoors starts with getting the watering right—garlic likes to be moist but not waterlogged. Aim to water only when the top inch of soil feels dry to the touch, and always use pots with drainage holes to prevent soggy roots that lead to rot. Overwatering is one of the most common reasons garlic fails, so when in doubt, err on the side of under-watering.
Light is another critical factor: garlic loves plenty of bright, direct light, ideally 12-16 hours a day. If your windows don’t get that much sunlight—especially in winter—invest in a full-spectrum LED grow light placed a few inches above your plants to mimic the sun.
When it comes to nutrients, start with a quality potting mix, then feed your garlic every three to four weeks with a balanced, water-soluble fertilizer diluted to half-strength to avoid burning the roots. Pay attention to the plant’s leaves: yellowing tips can signal either overfeeding or a need for more nutrients, so adjust as needed.
Good air circulation is also vital for preventing fungal diseases—space your pots apart, and if you’re growing many plants, consider using a small fan to keep the air moving. Prune any yellowed or dying leaves to encourage healthy growth, and watch for signs of pests or stunted development, which can indicate a need for better care or a change in routine.
By consistently checking soil moisture, maximizing light exposure, sticking to a gentle fertilizing plan, and fostering a healthy environment, your indoor garlic crop will thrive from sprout to bulb.
Troubleshooting Pests and Common Garlic Problems
Growing garlic indoors can be rewarding, but it does come with some unique challenges, especially when it comes to pests and plant health. Common indoor garlic pests include fungus gnats and spider mites, both of which thrive in warm, humid conditions.
Fungus gnats usually hover around moist soil, and their larvae can damage garlic roots, leading to yellowing leaves or stunted growth. To prevent infestations, allow the top inch of soil to dry out between waterings and use sticky traps to monitor adult gnats.
If mites appear—tiny, web-spinning insects that cause speckled, pale leaves—wipe plant leaves gently with a damp cloth and treat with an insecticidal soap safe for edibles.
Diseases like white rot and downy mildew can also affect indoor garlic, often due to excess moisture. Signs include wilting, white fluffy growth at the soil line, or grayish patches on leaves. Always ensure containers have good drainage, and avoid overhead watering to keep leaves dry.
Besides pests and diseases, watch for symptoms of nutrient deficiencies or stress. Garlic that’s pale, slow-growing, or has purple streaks may need more nitrogen or potassium; supplement with a balanced, water-soluble fertilizer every few weeks.
Drooping leaves, browning tips, or mushy bulbs often point to overwatering or insufficient light—try moving pots near a sunny window or use a grow light.
By catching these issues early and creating a stable environment, you’ll help your indoor garlic thrive from clove to harvest.
Harvesting and Storing Indoor-Grown Garlic
Knowing when to harvest your indoor-grown garlic is key to getting plump, flavorful bulbs that store well. Look for the lower leaves to start turning yellow and drying out, while leaving about five or six green leaves at the top. This means the bulbs have matured but haven’t started splitting or losing their protective wrappers.
When it’s time to harvest, use a small garden fork or trowel to gently loosen the soil around each bulb—avoid pulling them by the stalk, as this can damage the delicate layers and shorten their storage life. Shake off excess dirt from the roots, but skip washing the bulbs until you’re about to use them; excess moisture can invite mold during curing.
Next, leave the garlic to cure in a well-ventilated, dry area out of direct sunlight for two to three weeks. You can tie them in small bundles and hang them, or lay them on mesh trays—just make sure there’s plenty of airflow.
Once the outer layers are papery and the necks are fully dry, trim the roots and cut the stalks about an inch above the bulb. Store your cured garlic in a cool (60°F), dry, dark spot in mesh bags, baskets, or paper bags to keep humidity low and circulation high. Avoid plastic containers, which can trap moisture and cause rot.
Properly cured and stored garlic can last anywhere from several months up to a year, giving you a steady, flavorful supply long after harvest day.
Frequently Asked Questions About Indoor Garlic Growing
Many people wonder if they can plant garlic cloves from the supermarket, and the good news is you usually can—just choose organic bulbs, as conventional ones may be treated to prevent sprouting.
If you notice your indoor garlic sprouting early, don’t worry! While early sprouts can make the cloves softer, these green shoots are entirely edible and are great chopped into salads or omelets.
Sometimes, garlic grown indoors struggles to form large bulbs; this is usually due to limited sunlight or space. Try placing your pots on a sunny windowsill that gets at least 6 hours of direct light daily, or supplement with a grow light to encourage healthy bulb development.
Watering is another area where beginner growers often have questions. Garlic likes its soil consistently moist but not soggy—let the top inch of soil dry out before watering again.
Finally, if your garlic cloves send up plenty of green but no bulbs, don’t get discouraged; you can still use the tasty garlic greens in your cooking while you tweak your setup for better results next time.
Indoor garlic growing takes a bit of trial and error, but it’s a rewarding way to bring fresh flavor to your kitchen year-round.