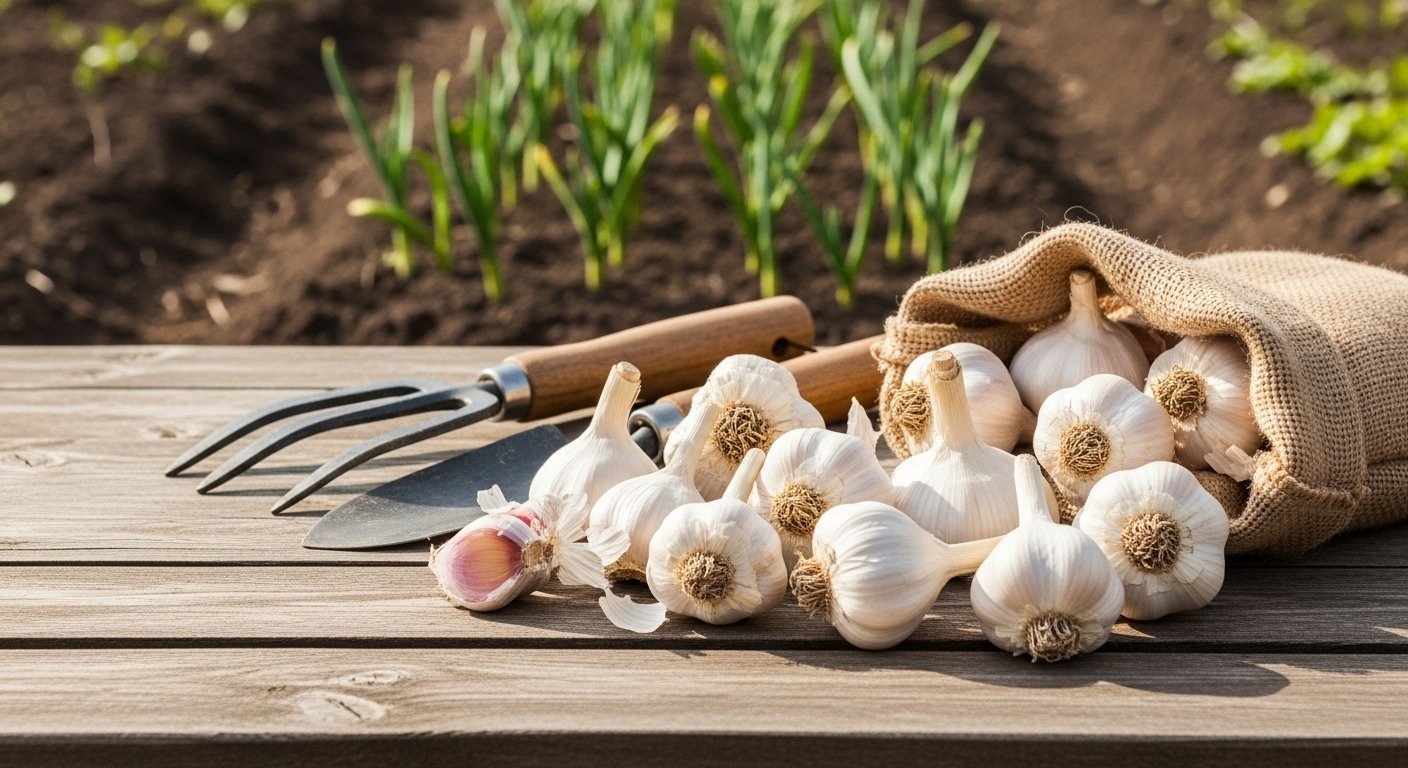
Introduction to Growing Garlic
Garlic frost tolerance is a crucial topic for anyone hoping to cultivate a thriving crop of this beloved kitchen staple. Garlic has earned its place in gardens and kitchens around the world, famous not only for its bold flavor but also for its versatility in dishes—from stir-fries to soups. Gardeners and home cooks alike appreciate the benefits of growing their own garlic: nothing beats pulling a fresh, aromatic bulb from your own soil, discovering new varieties beyond the supermarket standard, and savoring that unmistakable depth of flavor in every bite.
But how cold is too cold for garlic, and what should you know before planting your first clove? Understanding garlic frost tolerance puts you ahead of the curve when it comes to planting at the right time and protecting your crop from unexpected cold snaps. In this article, we’ll cover everything you need to know to grow garlic successfully, starting with how to choose the perfect spot for planting and create the right conditions for healthy growth.
We’ll also share practical tips for managing pests naturally, so you can enjoy healthier, chemical-free bulbs. And when it’s finally time to harvest, we’ll walk you through the steps for pulling, curing, and storing your homegrown garlic—ensuring your hard work pays off with flavorful, long-lasting results.
Whether you’re a seasoned gardener or a kitchen enthusiast eager to try new flavors, this guide is packed with tips and real-world advice to help you master every stage of the garlic-growing process.
Types of Garlic and Choosing the Right Variety
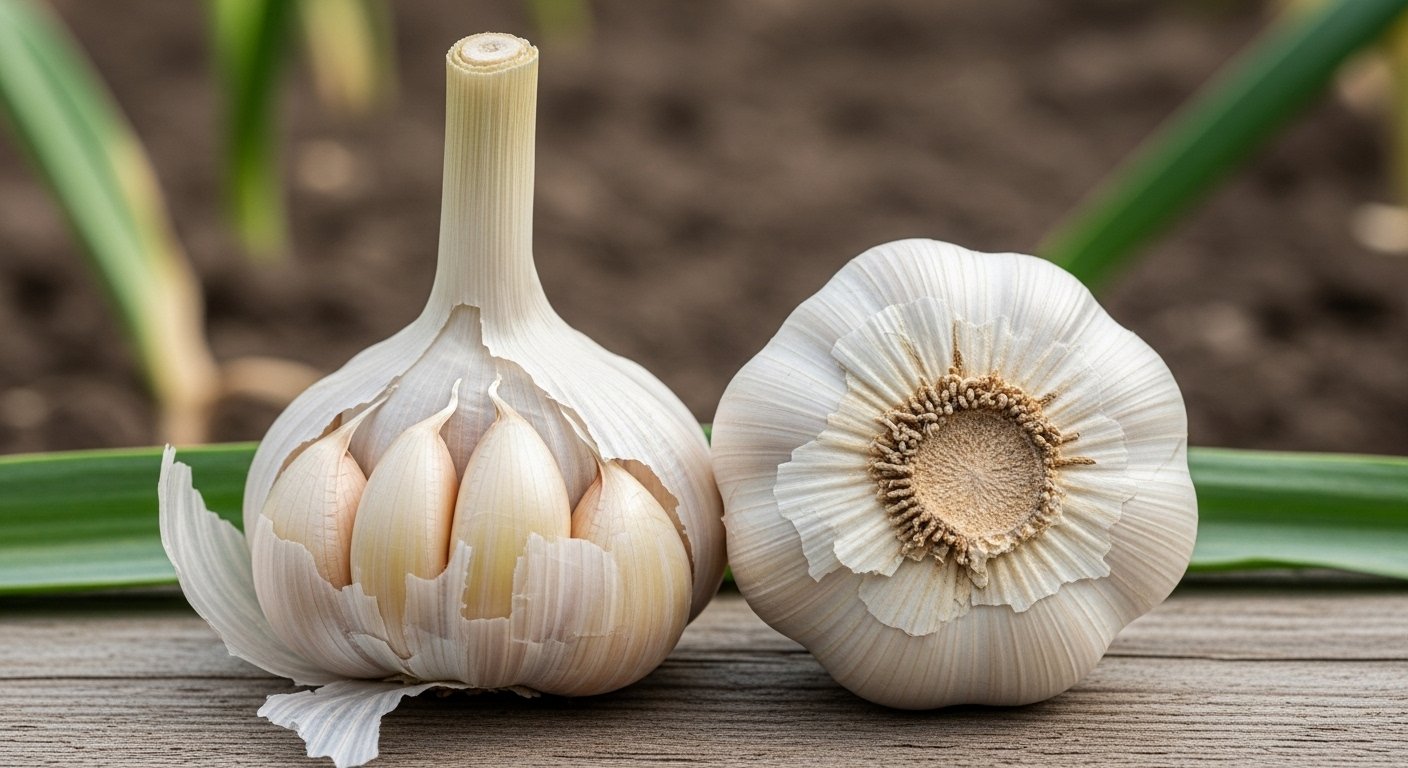
When it comes to growing garlic, understanding the differences between hardneck and softneck varieties is key. Hardneck garlic thrives in colder climates because it can withstand harsh winters and needs a cold period to form bulbs. It produces a central flowering stalk called a “scape,” which you can harvest and enjoy in the kitchen for its mild, garlicky flavor.
Hardneck bulbs typically have fewer, larger cloves, making them easier to peel, but they don’t store as long as softneck varieties. Softneck garlic, on the other hand, is better suited for milder regions and doesn’t require winter chill. This type doesn’t grow a central scape but instead produces bigger bulbs with more, smaller cloves.
Softneck garlic stores for a longer time—sometimes up to a year—making it ideal if you want a steady supply. California Early and Silverskin are popular softneck types, while Rocambole and Purple Stripe are common hardnecks.
When choosing a garlic variety, consider your local climate and how you plan to use or store your harvest. If your winters are severe, opt for hardneck; if you have warmer, mild winters, softneck is your best bet. For the best results, start with certified, disease-free seed garlic from reputable sources like local nurseries, seed catalogs, or online specialty suppliers such as Filaree Farm, Seed Savers Exchange, or your local university extension program.
Avoid planting grocery store garlic, as it’s often treated to prevent sprouting and may introduce disease. Taking the time to select the right type—matched to both your growing conditions and culinary needs—means you’ll enjoy a more abundant, flavorful harvest.
When and How to Plant Garlic
Planting garlic at the right time is key for big, flavorful bulbs. In most regions, the best time to plant is in the fall—about 4 to 6 weeks before the ground freezes. This gives cloves time to develop roots and experience a winter chill, which is vital for forming nice, plump bulbs in spring.
If you live in a mild climate where winters are not harsh, you can plant garlic in late winter or early spring, but the bulbs may be smaller since they get less “vernalization”—the cold exposure garlic needs to split into cloves.
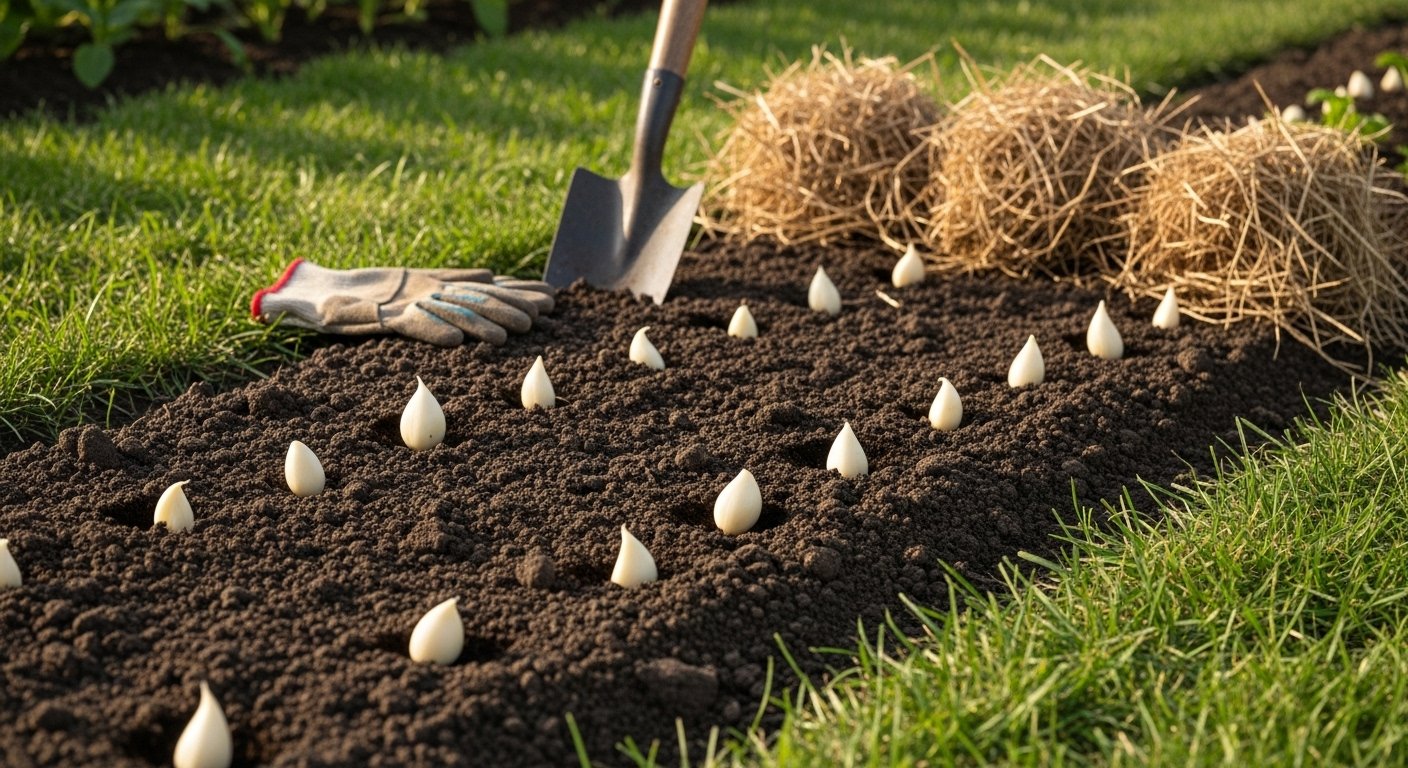
Start by choosing a sunny spot with well-drained soil; garlic hates soggy ground. Work in compost a few weeks before planting. Separate the garlic bulb into individual cloves, keeping the papery skins on.
Plant each clove pointed end up, about 2 inches deep and 4 to 6 inches apart, with rows a foot apart. In cool climates, cover the bed with mulch like straw for insulation, which protects cloves from temperature swings and weeds.
For warmer zones where the soil rarely freezes, skip the heavy mulch, but do refrigerate your seed garlic for several weeks before planting to help stimulate that cold requirement. Regular watering is key, but avoid waterlogging the bed.
As spring rolls in, you should spot green shoots poking up—just keep the area weeded and let the garlic grow until summer, when leaves begin to yellow. Whether you’re a cool-climate or warm-zone gardener, the timing and chilling make all the difference for a hearty garlic harvest.
Garlic Care Throughout the Growing Season
Caring for garlic throughout the growing season ensures a healthy, abundant harvest, and it starts with consistent watering. Garlic prefers moist, well-drained soil, so aim to give your plants about one inch of water per week, especially during dry spells. However, cut back as the bulbs mature to avoid rot.
Regular weeding is key since garlic doesn’t compete well. Gently pull weeds by hand or use shallow cultivation to avoid disturbing delicate roots.
Fertilizing is most effective just after shoots emerge. Use a high-nitrogen organic fertilizer, such as blood meal or fish emulsion, every three to four weeks until the bulbs begin to swell in late spring.
Keep an eye out for pests like onion thrips or leafminers. Introducing beneficial insects such as ladybugs or spraying with neem oil is an effective organic approach.
Fungal diseases like white rot or downy mildew can pop up in damp conditions. Rotate planting locations each year, provide good spacing for airflow, and remove any affected plants promptly to protect the rest of your crop.
Sometimes, you might see premature yellowing, twisted shoots, or “trapped” garlic scapes (flower stalks that fail to emerge from the leaves). This can mean your soil is too compact or watering is uneven. Loosen the area gently around shoots with your fingers, remove excess mulch, and provide even moisture to encourage proper growth.
By keeping a close watch and responding promptly, you’ll give your garlic the best chance from planting through harvest.
Harvesting and Storing Garlic
Knowing when to harvest garlic is essential for getting the best flavor and longest storage life. Garlic is usually ready to pull from the ground when the bottom few leaves have turned yellow or brown, but several green leaves still remain—typically in mid to late summer, depending on your climate.
Gently loosen the soil with a fork and lift bulbs by the stem instead of tugging to avoid bruising. Once harvested, don’t wash them; simply brush off excess soil by hand.
Proper curing is the key to storing garlic without it sprouting or molding. Lay the bulbs out in a single layer in a well-ventilated, dry, shady spot (like a garage or shed) for two to four weeks, keeping the bulbs out of direct sun.
After curing, trim the roots and cut the stalks down to an inch for loose storage, or keep the stalks attached for braiding—especially handy with softneck varieties. Braiding not only saves space but also allows you to hang garlic in your kitchen for easy access and visual appeal.
For long-term storage, keep the cured bulbs in mesh bags, paper bags, or baskets in a cool (between 50–60°F), dark, and dry place. Avoid storing garlic in plastic or airtight containers, which can trap moisture and lead to mold.
Check your stored garlic often and remove any soft or sprouting bulbs promptly to prevent spoilage from spreading. With these simple steps, you can enjoy flavorful, homegrown garlic for months after harvest.
Troubleshooting Common Garlic Growing Problems
Growing garlic at home can be rewarding, but it comes with a few common challenges. Yellowing leaves often signal nutrient deficiencies or overwatering. To fix this, check your soil’s nitrogen levels and water only when the top inch feels dry—overly wet soil encourages disease.
Poor bulb growth is another typical complaint, usually caused by planting cloves too late, crowding them, or giving garlic too little sunlight. Plant individual cloves in well-drained soil in the fall, space them 4-6 inches apart, and choose a spot with at least six hours of sun each day.
Bulb rot is a frustrating but preventable issue. Select disease-resistant varieties, rotate your crops each year, and avoid planting garlic in soggy or compacted ground. Remove any suspect bulbs at harvest to prevent spreading rot to your next crop.
Don’t be afraid to reach out if you’re not sure what’s wrong—local cooperative extension offices often offer free pest and disease identification along with tailored gardening advice for your region. You can also contact neighborhood gardening groups online for troubleshooting tips and support.
These simple steps go a long way toward ensuring a healthy garlic harvest and keeping future problems at bay.
Conclusion and Further Resources
Growing garlic successfully starts with choosing healthy seed cloves and planting them in well-drained soil with plenty of sunlight. Prepare your beds in the fall, plant cloves with the pointed end up, and give each enough space to grow. Regular watering, mulching, and keeping weeds at bay are key to developing robust bulbs, while monitoring for pests helps keep your crop healthy.
Try out hardneck and softneck varieties to see which thrive best in your climate and soil; each offers unique flavors and storage qualities, so experimenting can lead to delicious discoveries. You can also explore techniques like container gardening or companion planting to suit your space or boost yields.
To deepen your knowledge, check out books like The Complete Book of Garlic by Ted Jordan Meredith or Growing Great Garlic by Ron L. Engeland. Websites such as the Garlic Seed Foundation and University Extension Offices offer science-based advice, local growing tips, and troubleshooting guides. Don’t hesitate to connect with your nearest Cooperative Extension office for region-specific guidance and workshops.
Dig in, keep learning, and soon you’ll be enjoying homegrown garlic in your kitchen all year long!