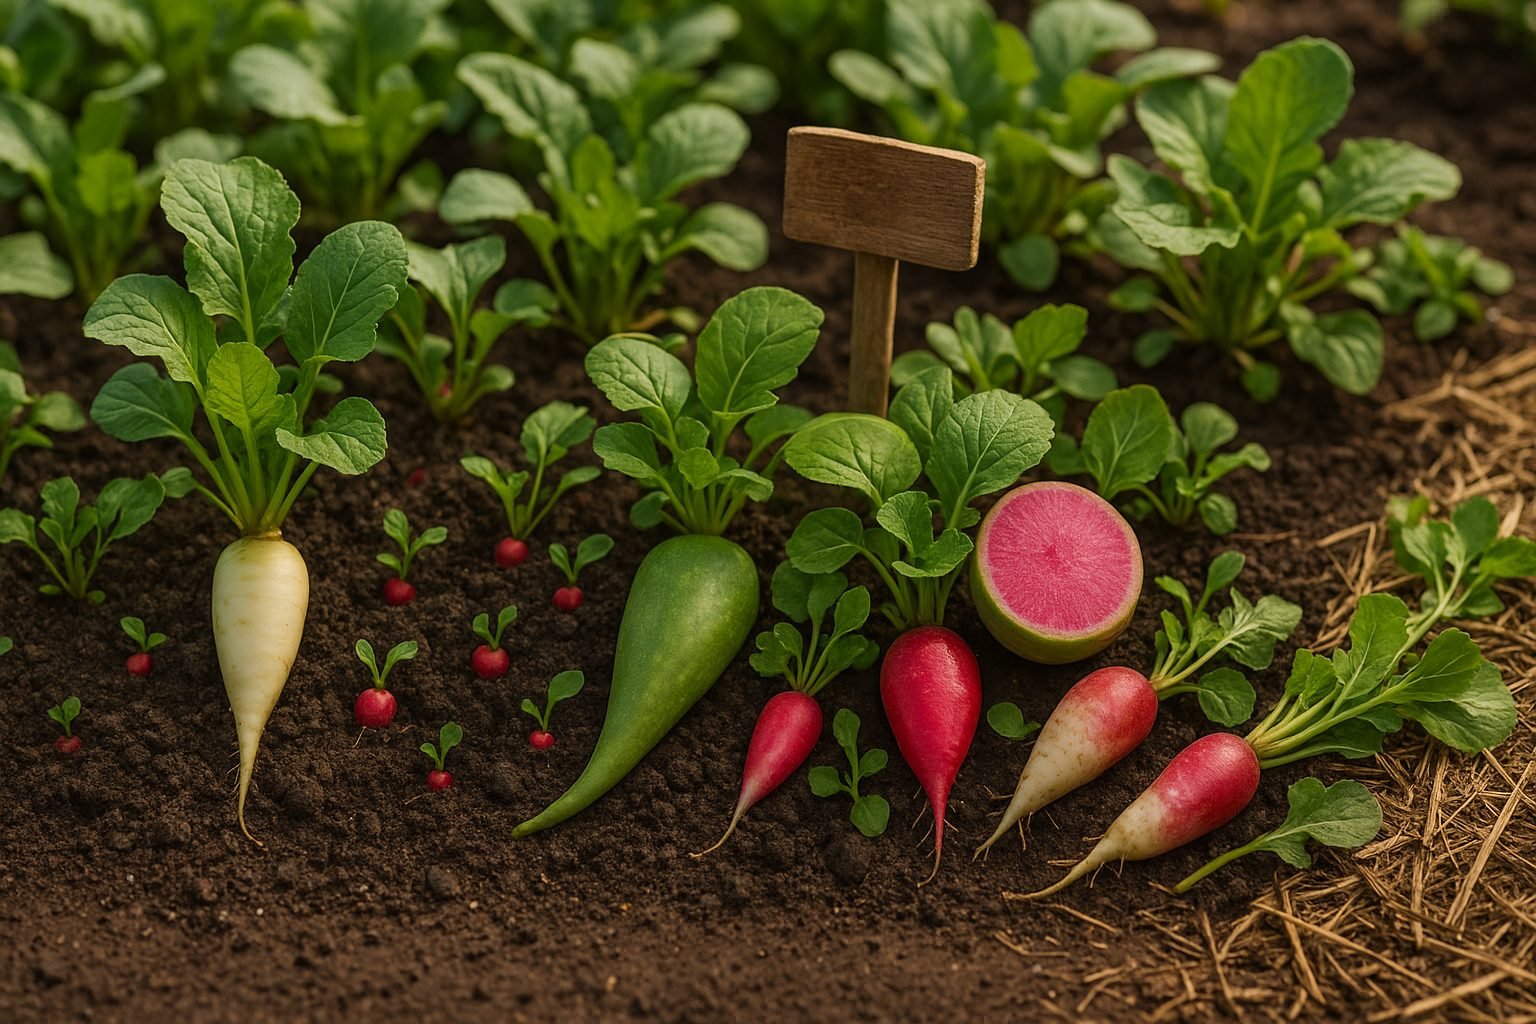
Introduction
Radishes are a favorite among gardeners, prized for their crisp texture, peppery flavor, and quick harvest time. Even if you’re new to gardening, understanding the radish growth stages can make a big difference in your success. While radishes might seem easy to grow, producing plump, flavorful roots depends on paying close attention to each stage—from seed to sprout to harvest-ready bulb.
By knowing what your radishes need at every phase, you can avoid common issues like woody roots or stunted growth. In this article, we’ll break down each radish growth stage, share practical care tips, and help you recognize the best time to harvest those vibrant roots. Whether you’re aiming for a steady supply for salads or experimenting with companion planting, understanding these growth stages will set you on the path to a bountiful radish harvest every time.
Radish Growth Stages
Stage 1: Seed Germination (Day 1–7)
When you first plant radish seeds, you’re setting the stage for a quick and rewarding growing experience. Radish growth stages begin with seed germination, a critical period typically lasting from day one to day seven after planting. During this stage, the seeds absorb moisture from the soil, activating enzymes that kick-start the growth process.
For optimal germination, keep the soil temperature between 55°F and 75°F (13°C–24°C). If it’s too cold, seeds may remain dormant; if too hot, they could dry out or rot. Consistent soil moisture is essential—aim for soil that is damp but not waterlogged, since both dryness and sogginess can inhibit sprouting. A good tip is to lightly mist the surface daily, especially in warm or breezy conditions, to prevent the seedbed from drying out.
Under ideal conditions, you’ll see the first signs of life in as little as 3 to 5 days, though some varieties may take up to a week. Look for tiny green shoots called cotyledons breaking through the surface. These initial “seed leaves” appear before the true leaves and are a sure sign your radish seeds have successfully germinated. If the cotyledons are healthy, green, upright, and open, your seeds are off to a strong start.
During these early days, continue keeping the soil consistently moist and watch for uniform sprouting across your rows—a clear signal that your radishes are moving into the next growth phase.
Stage 2: Seedling Development (Day 7–14)
During the second stage of radish growth stages, called seedling development (usually between days 7 and 14), your radish seeds will quickly grow from tiny sprouts into young plants. First, you’ll see the cotyledons—the smooth, rounded seed leaves that emerge above the soil. These cotyledons capture sunlight, providing energy for the plant’s next growth phase. Shortly after, the first set of true leaves will appear. These leaves are typically more textured and resemble mature radish leaves, indicating the seedling is moving toward full development.
At this stage, ensuring plenty of sunlight is essential. Radish seedlings need at least six hours of direct light daily. Without enough light, seedlings can become leggy—stretching upward with weak, floppy stems as they search for more illumination. To avoid this, place seedlings in a sunny spot or use a grow light if natural sunlight is limited.
Crowding can also slow healthy growth, so thinning is important. Once the true leaves show up, gently remove excess seedlings, leaving the strongest plants about 2 inches apart. This spacing gives each radish room to grow roots and leaves, reducing competition for nutrients and water. Be careful when thinning to avoid disturbing the roots of nearby seedlings.
During this stage, watch out for overwatering—a common mistake that can cause damping off, a fungal disease that rots young stems. Water at soil level only when the top layer feels dry and make sure your container or bed drains well.
In summary, healthy seedling development depends on adequate light, gentle thinning, and consistent, moderate watering, setting the foundation for strong radish growth in the coming weeks.
Stage 3: Leaf Growth & Root Initiation (Day 14–21)
By days 14 to 21, your radishes enter an important phase marked by vigorous leaf growth and the start of root development. During this stage of the radish growth stages, the plants transition from small seedlings with just a few cotyledons to having several true leaves. The foliage becomes broader and darker green, indicating increased sunlight absorption and enhanced photosynthetic activity—a crucial factor for strong root formation.
As the tops flourish, the plant begins to channel energy downward, swelling the edible root just below the soil’s surface. To support both leafy and root growth, keep the soil consistently moist but not waterlogged; water when the top inch feels dry. Because radishes have shallow roots, gentle, even watering is best to avoid disturbing young roots or causing splitting. Nutritionally, side-dress with a balanced fertilizer—such as 10-10-10—at half strength if your soil lacks fertility, aiming for even support rather than just boosting foliage. Over-fertilizing with nitrogen can lead to lush tops but small roots, so moderation is key.
At this stage, gently move aside some soil at the base of a plant to check for early root swelling; you should see a small round or oval bulge developing. If roots fail to thicken, review light exposure (at least six hours daily) and ensure plants aren’t overcrowded, as poor spacing can stunt growth. Watch for common issues: yellowing or wilting leaves may indicate overwatering, while twisted or stunted roots can signal pests like root maggots.
If your radishes start sending up a tall, central flower stalk—especially during unpredictable weather—they’re bolting. Bolting stops root growth and makes radishes woody. To prevent this, keep plants cool with regular watering and promptly remove weeds to maintain even soil temperatures and reduce plant stress. By addressing these details, you’ll set the stage for healthy, rapid root expansion in the next phase.
Stage 4: Root Bulbing & Maturation (Day 21–35)
During stage 4 of the radish growth stages, which spans from about day 21 to day 35, the most exciting transformation happens: root bulbing and maturation. Up until now, radishes have focused mainly on leafy top growth and developing their taproots. Now, the root begins to swell and round out into the crisp, edible globe we all recognize. You’ll notice the upper part of the radish root pushing slightly above the soil surface, while the skin color—whether red, white, purple, or black depending on the variety—deepens and becomes glossier. The “shoulders” of the radish may peek through, giving you clues that it’s ready.
To support healthy bulbing, keep soil moisture consistent but not soggy. Radishes mature quickly and are especially sensitive to fluctuations in watering; too little or inconsistent moisture during this stage can cause the roots to split or become hard and pithy. Aim for regular, shallow waterings to maintain even moisture throughout the root zone. Mulching helps retain moisture and prevents weed competition. Speaking of weeds, hand-pulling is best, since dense weeds can crowd roots and stunt their growth. Make sure to leave about an inch of space between each radish to reduce crowding and encourage even bulbing.
Common issues at this stage include splitting and pithiness. Splitting often happens when heavy watering follows a dry spell, so try not to let the soil dry out completely between waterings. Pithiness—when roots become spongy or hollow inside—occurs if radishes are left in the ground too long or experience water stress. Harvest radishes promptly as they reach mature size (usually about 1 inch across), handling them gently to avoid damaging the delicate roots. By staying attentive—watering regularly, removing weeds, and harvesting at peak maturity—you’ll enjoy crisp, vibrant radishes straight from your garden.
Stage 5: Harvesting & Post-Harvest Care (Day 25–40+)
Knowing exactly when to harvest your radishes is essential for enjoying sweet, crisp roots instead of tough or woody ones. Radishes mature quickly—usually within 25 to 40 days—so check on them daily as they approach maturity. A clear sign they’re ready is when their shoulders (the top of the root) start to push above the soil and measure about 1 inch (2.5 cm) across for standard varieties.
If you’re unsure, gently brush away some soil to check their size before pulling them up. To harvest, grasp the radish leaves near the root and gently pull upward with steady pressure to avoid snapping the greens or breaking the root, especially if your soil is compact or dry. Loosening the soil with a hand fork or trowel can make harvesting easier, particularly for larger or daikon radishes.
After harvesting, shake off excess dirt and rinse the radishes in cool water. Remove the leafy tops about an inch above the root to prevent moisture loss and bitterness, since the greens can draw water from the radish once it’s uprooted. Store radishes in the refrigerator inside a perforated plastic bag or container to keep them crisp for up to two weeks. If you leave them unwashed, use a brush to remove soil just before eating.
Enjoy your radishes raw in salads, sliced onto toast with butter, pickled, or roasted for a milder flavor. And don’t forget—the tender greens are edible too! Toss them in stir-fries or pesto for a zero-waste harvest.
Troubleshooting Radish Growth Issues
Growing radishes is usually straightforward, but sometimes you’ll face challenges at different radish growth stages. Poor germination is a common problem, often caused by planting seeds too deeply, using old seeds, or letting the soil dry out. To improve germination, use fresh seeds, plant them just ¼ inch deep, and keep the soil evenly moist until the sprouts appear.
If your radishes grow plenty of leaves but very little root — the classic “all top, no bulb” situation — it’s usually due to overcrowding, too much nitrogen, or irregular watering. Thin seedlings early, follow the recommended spacing, and avoid over-fertilizing.
Bolting, which is when radishes send up flower stalks instead of developing good roots, often happens when it’s too hot or the plants are stressed. To prevent this, plant radishes in early spring or fall when the weather is cooler, and select bolt-resistant varieties if your area warms up quickly.
Pests like flea beetles and root maggots can attack during every stage of growth. Use row covers as a physical barrier and rotate crops each year to disrupt pest cycles. Hand-pick pests and promptly remove infested plants to reduce damage.
For persistent issues or unfamiliar symptoms — such as unusual spots, excessive wilting, or patterns you can’t identify — local extension services or garden centers can be invaluable. They often diagnose problems using photos or samples. Online gardening forums, cooperative extension websites, and radish grower communities are also great resources for troubleshooting and connecting with fellow gardeners.
Conclusion & Quick Reference Table
Understanding the radish growth stages is key to growing crisp, flavorful roots and lush greens. From sowing and germination to leaf growth, root bulking, and finally harvesting, each stage has specific needs—like maintaining consistent moisture during germination and thinning seedlings to prevent crowding during leaf development. Paying close attention and meeting these needs can help avoid common issues such as splitting or spicy, fibrous roots. Proper timing, like harvesting before roots become woody, along with regular pest checks, will ensure your crop thrives. The benefits are substantial: healthier plants, higher yields, and better flavor in every bite. Use the quick table below as a handy guide throughout the growing season.
| Stage | Timeframe | Essential Care Tip |
|---|---|---|
| Sowing/Germination | Days 0–7 | Keep soil consistently moist |
| Leaf Growth | Weeks 1–2 | Thin seedlings and weed regularly |
| Root Bulking | Weeks 2–4 | Water evenly and avoid crowding |
| Harvest | Weeks 3–6 | Harvest promptly for best flavor |