Introduction to Growing Radishes from Scraps
If you’ve ever wondered whether you can regrow radishes after slicing them for your salad, you’re not alone—learning how to regrow radishes is both a sustainable and satisfying way to extend the life of your groceries. Growing radishes from kitchen scraps not only reduces waste but also offers an easy, low-cost project that even beginners can tackle.
The good news is: while you can’t regrow an entire radish root from just a leftover piece, you can regrow radish greens by placing the tops (the leafy portion with a small slice of root attached) in water or soil. This means you can enjoy a fresh supply of nutritious greens right from your windowsill.
With a few simple steps—snipping, soaking, and transplanting—you’ll quickly see new growth. This beginner-friendly guide will walk you through the process, so you can start bringing a bit of life back to your kitchen scraps.
Selecting and Preparing Radish Scraps for Regrowth
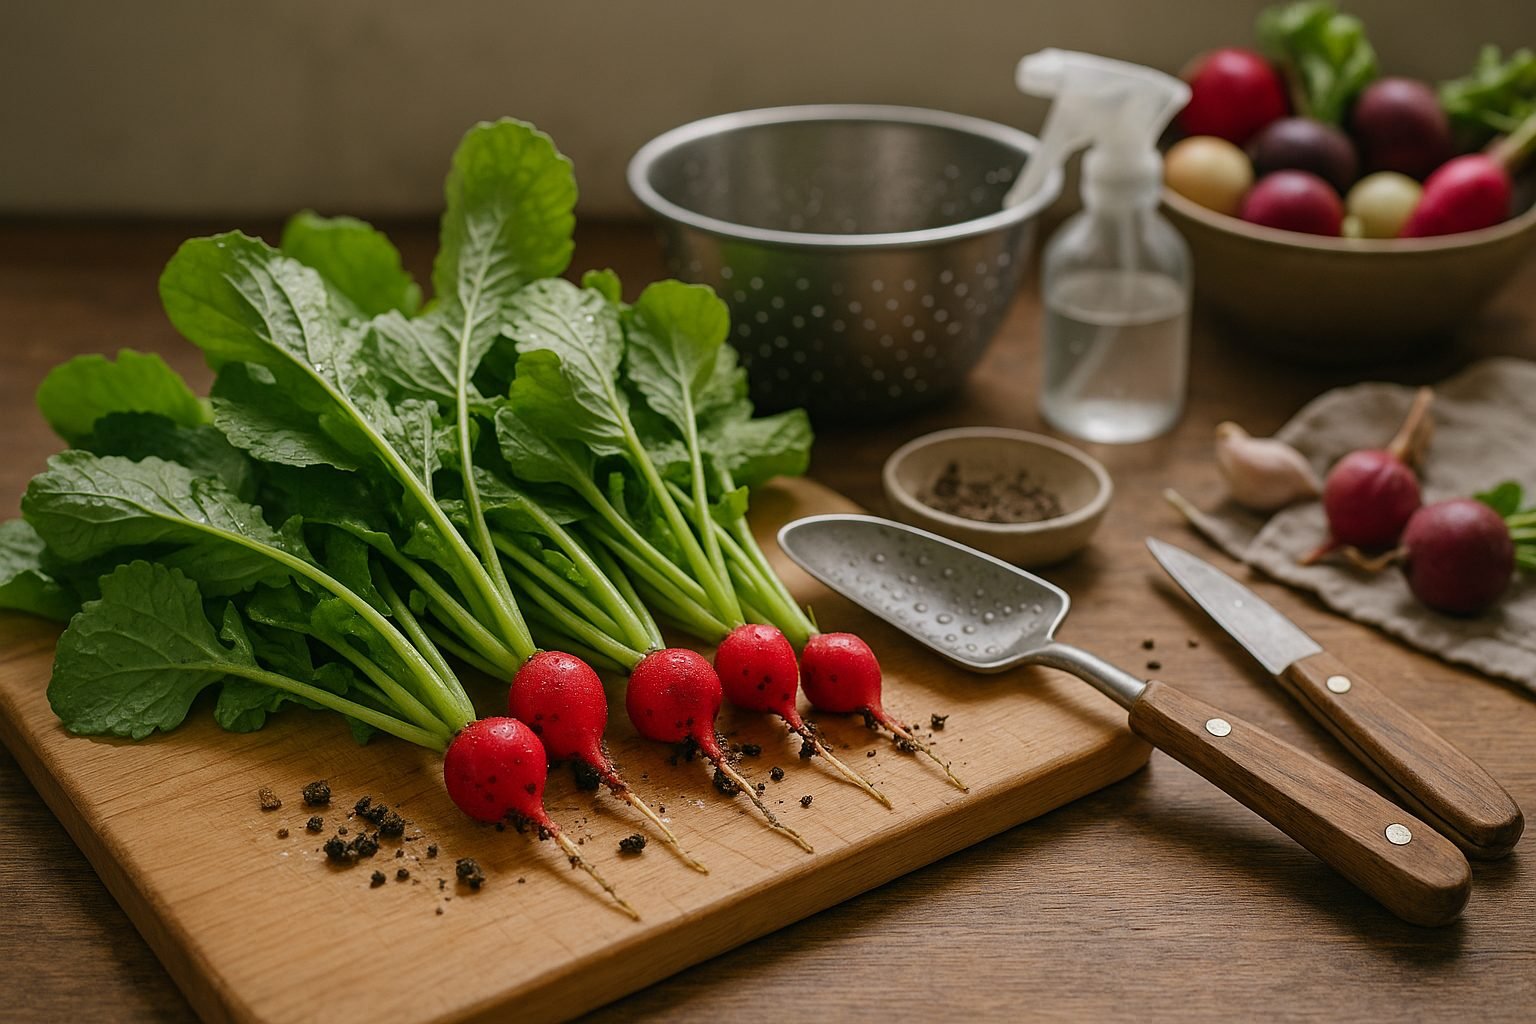
When regrowing radishes from kitchen scraps, start by choosing fresh radish tops that still have a bit of root attached—these are essential for successful regrowth. Look for plump, firm tops with minimal discoloration or signs of wilting, since fresher scraps are more likely to sprout new growth.
Red Globe and French Breakfast radishes are often preferred for their robust regeneration, but you can experiment with any variety you have on hand.
Before you begin, rinse the radish tops thoroughly under cool running water to remove any dirt or lingering chemicals. Gently trim off any damaged leaves or dried-out sections, ensuring you leave about half an inch of the root base intact.
One common mistake is using scraps that are too old or completely rootless, as these rarely regrow. Another pitfall is leaving too much foliage, which can sap energy from the regrowth process; keep a small cluster of healthy leaves to support new shoots.
With a bit of attention to quality and preparation, you’ll set the stage for vibrant, home-grown radish greens in just a few weeks.
Starting the Regrowth Process: Methods and Tips
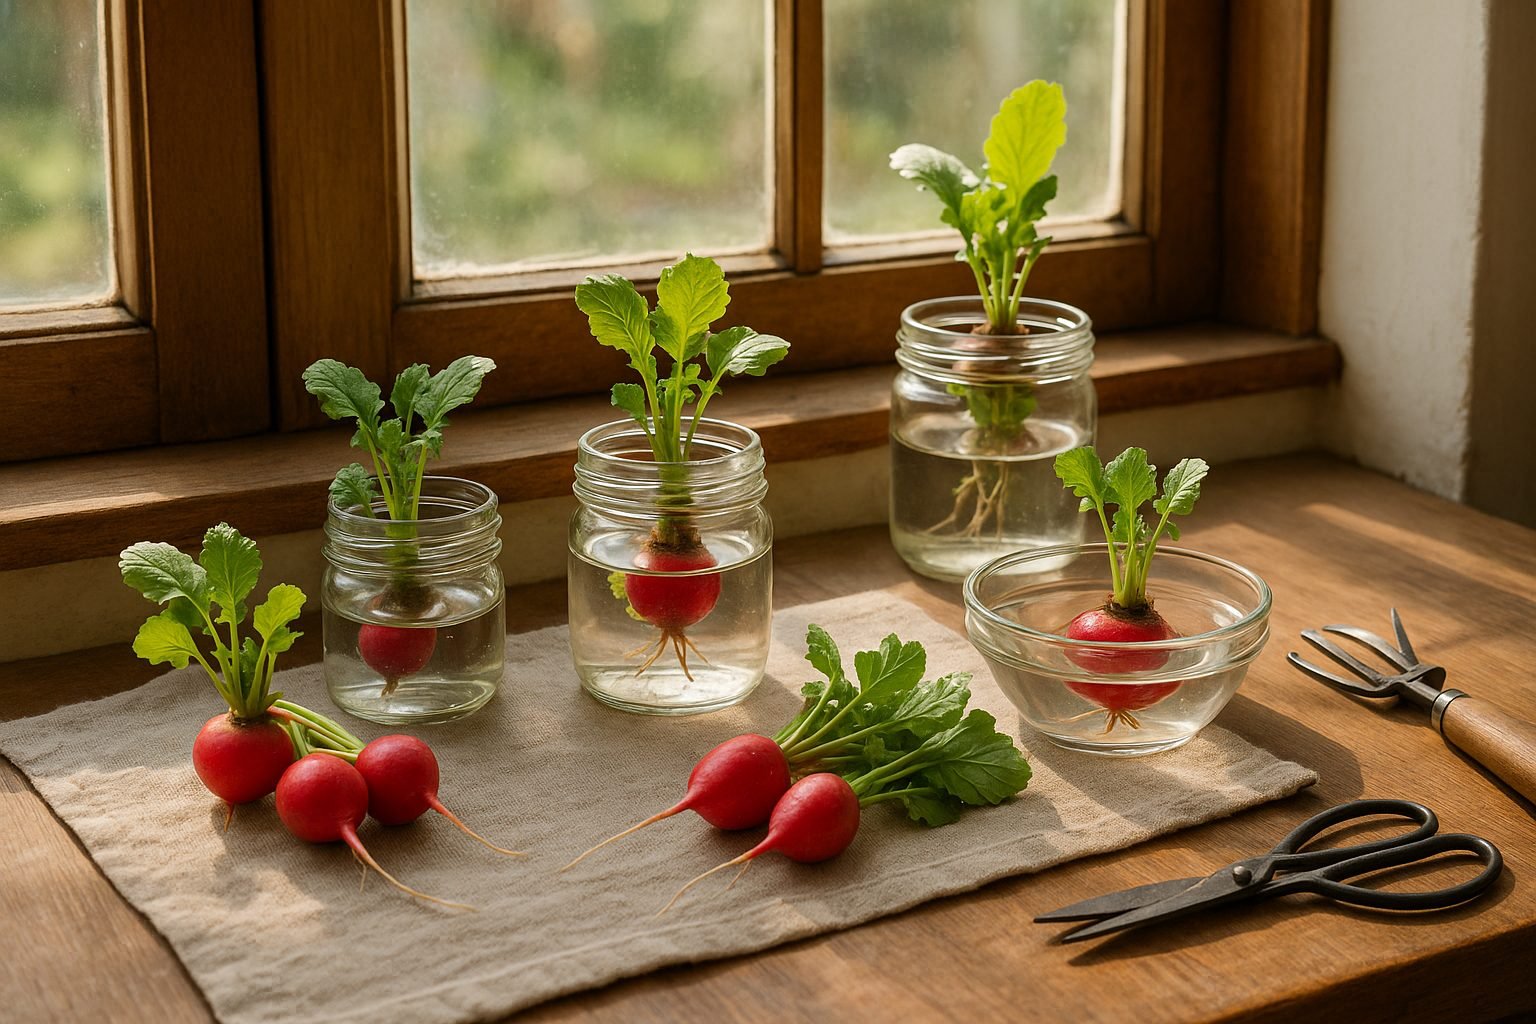
To start regrowing radish tops, place the root-end scraps (about one inch thick) cut-side down in a shallow dish with just enough water to cover the bottom. Clear glass jars, shallow bowls, or repurposed food containers work well—choose something wide enough so the scraps aren’t crowded.
Set your container on a sunny windowsill; radish tops thrive in bright, indirect sunlight and a warm spot—room temperature is ideal. Each day, check the water level and top it off if needed so the roots are always slightly submerged, but the tops don’t get soggy.
Every two days, pour out the old water, gently rinse the container and radish scraps, and refill with fresh water—this prevents rotting and keeps the environment clean. Watch for new white roots and green leaves sprouting within a week. If you notice mushy bits or a bad smell, remove those scraps immediately.
To avoid oversaturation or dried-out tops, always use just enough water to moisten the cut section, and never submerge the entire scrap. If your home is dry, mist the tops lightly, but don’t drench them.
With a little daily care, you’ll soon have healthy radish greens and roots ready for transplanting or snipping into salads.
Transplanting and Creating the Best Growing Environment
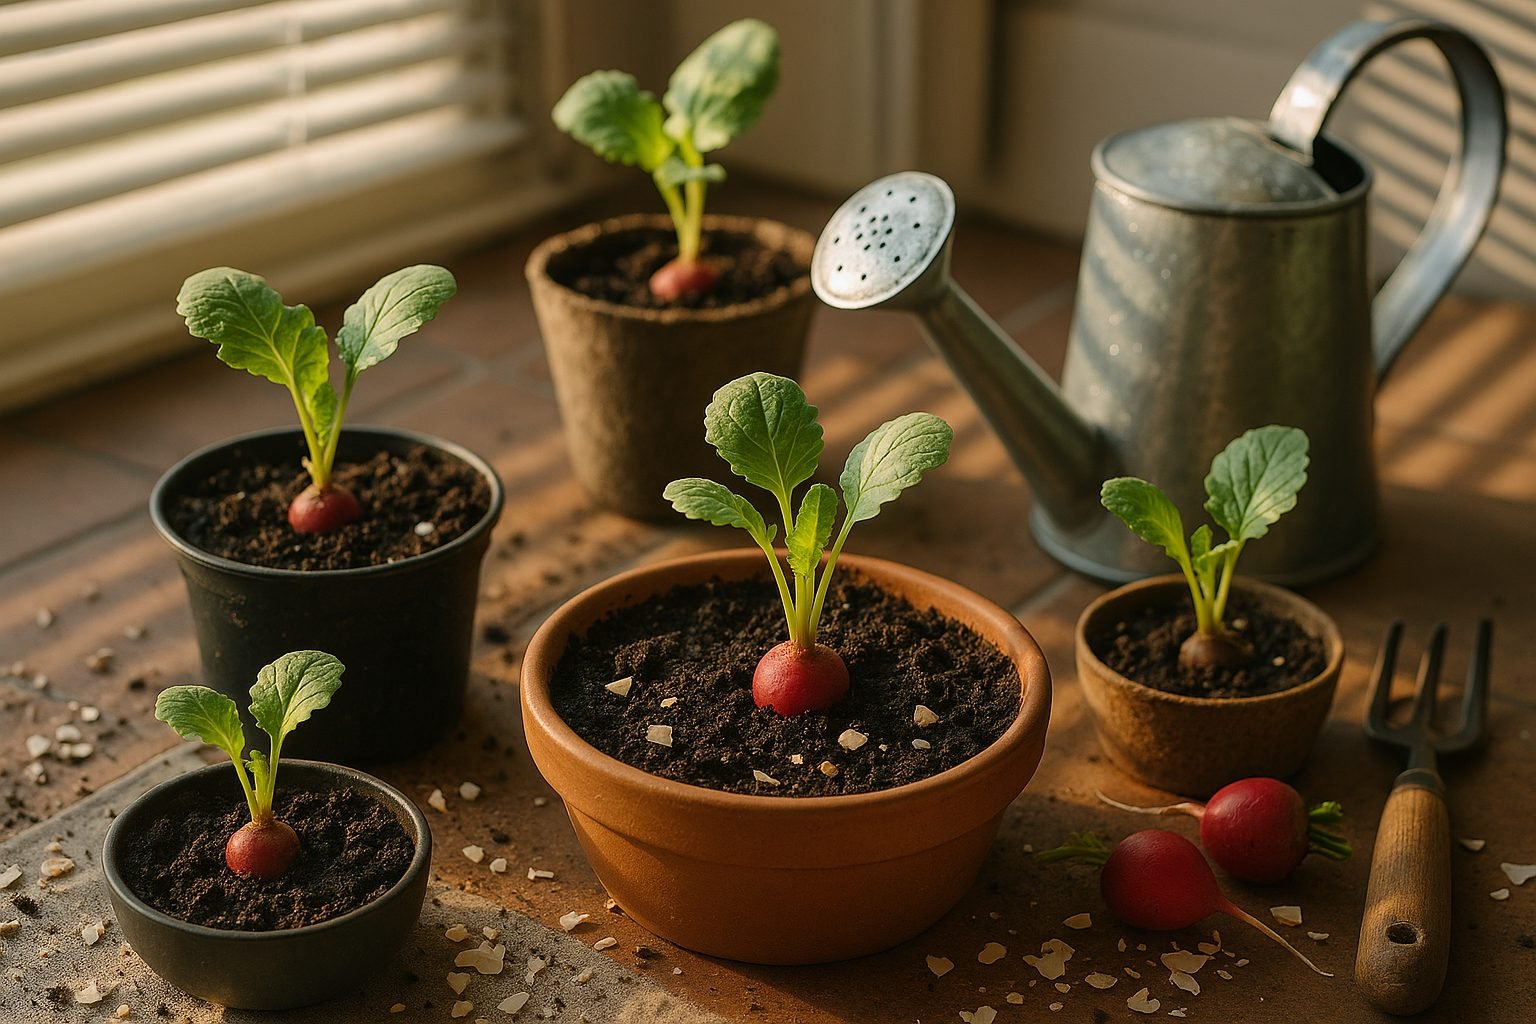
Once your radish cuttings have sprouted roots in water, it’s time to transplant them into soil for optimal growth. Wait until the roots are at least one to two inches long and the stem looks sturdy—usually about 7–10 days after regrowth begins.
Use well-draining, loose soil rich in organic matter, whether you’re planting in containers or a garden bed. For containers, make sure they have holes at the bottom to prevent soggy roots; raised beds or garden plots should avoid heavy clay soils, as radish roots can rot without good drainage.
Space each plant 2–3 inches apart so their bulbs form properly without crowding. Water them right after transplanting to help the roots settle, then keep the soil consistently moist but not waterlogged.
Radishes thrive with at least six hours of sunlight daily, but if you’re in a very hot region, partial afternoon shade can prevent wilting. Protect young seedlings from slugs and snails by scattering crushed eggshells or using organic slug bait. You can also use lightweight row covers or shade cloth to shield them from harsh midday sun.
Regular monitoring and quick action against pests will give your regrown radishes the best environment to flourish.
Caring for Your Regrown Radish Plants
Once your radish shoots have started regrowing, maintaining them is key to healthy roots. Water your radish plants consistently, aiming to keep the soil moist but not soggy—typically, watering every two to three days works well, especially during dry spells. Overwatering can cause roots to rot, while underwatering leads to woody, tough radishes.
Fertilizing isn’t always necessary, but a light feeding with a balanced, all-purpose fertilizer once at the start of growth can give them a boost.
As your plants grow to about two inches tall, thin them by gently pulling up weak or crowded seedlings, leaving about two inches between each remaining plant. Thinning is crucial—radishes need space to develop round, healthy roots instead of skinny or misshapen ones.
Healthy radish plants have bright green leaves and sturdy stems. If you notice wilting, yellowing, or slow growth, check the soil; soggy or dry soil is often the culprit. Pests like flea beetles or root maggots can also cause issues—look for tiny holes in leaves or chewed roots, and consider using row covers if pests persist.
With consistent care and quick attention to problems, your regrown radishes will be thriving in just a few weeks.
Harvesting and Enjoying Your Homegrown Radishes
Knowing when to harvest your homegrown radishes is key to enjoying their crisp, peppery flavor. Most radish varieties are ready for picking about three to four weeks after planting—check the seed packet for specifics.
Look for roots that are about an inch in diameter and slightly pushing up from the soil; if left too long, they can become woody or overly spicy. To harvest, gently grasp the base of the greens and pull straight up, loosening the soil with your other hand if needed to avoid snapping the roots.
Once inside, rinse them well and slice the roots into salads, tacos, or even roast them for a milder taste. Don’t toss those leafy tops—sauté them with garlic or add them to pesto for a nutritious twist.
For ongoing enjoyment, try replanting every couple of weeks for continuous harvests, or experiment with regrowing greens from leftover tops in a shallow dish of water.
Sustainable Gardening Tips and Creative Uses for Radish Scraps
Sustainable gardening starts right in the kitchen, and radishes are a perfect example of how you can reduce waste and get creative. Don’t toss those leafy radish greens—try adding them to pesto, stir-fries, or use them as a peppery salad topper.
Radish seed pods, often overlooked, are deliciously crunchy and can be pickled or chopped into salsa. When prepping radishes, save the trimmed ends and peels for homemade veggie broth, or drop them straight into your compost bin to enrich next season’s soil.
For an eco-friendly project, stick the root ends with a bit of stem left into moist soil—you might sprout new greens for more harvests. Get inspired to do the same with carrot tops, celery bases, or scallion roots; grown on a sunny windowsill, these scraps turn into fresh, edible greens.
Adopting these habits not only cuts food waste but also empowers you to make the most of every veggie.