Introduction
Harvesting potatoes is one of the most satisfying moments for any gardener or home grower, marking the reward for months of patience and care. But did you know that when and how you harvest your potatoes can mean the difference between a fresh, unblemished crop and one that’s bruised, cut, or spoiling in storage?
Harvesting potatoes without damaging them is crucial if you want to enjoy delicious, homegrown spuds for weeks—or even months—to come. Whether you’re working with a backyard plot, raised beds, or even large containers, careful timing and gentle handling are key to protecting your harvest and maximizing its shelf life.
In this guide, you’ll discover the best time to dig up your tubers, how to recognize when they’re ready, and step-by-step tips for lifting them from the soil with minimal damage. Plus, you’ll learn the right way to cure and store your potatoes so they stay firm and flavorful well past harvest season.
If you’re looking to boost your potato-growing success and avoid common pitfalls, read on for practical advice and real-world strategies every home grower can use.
Understanding Potato Growth and Maturity
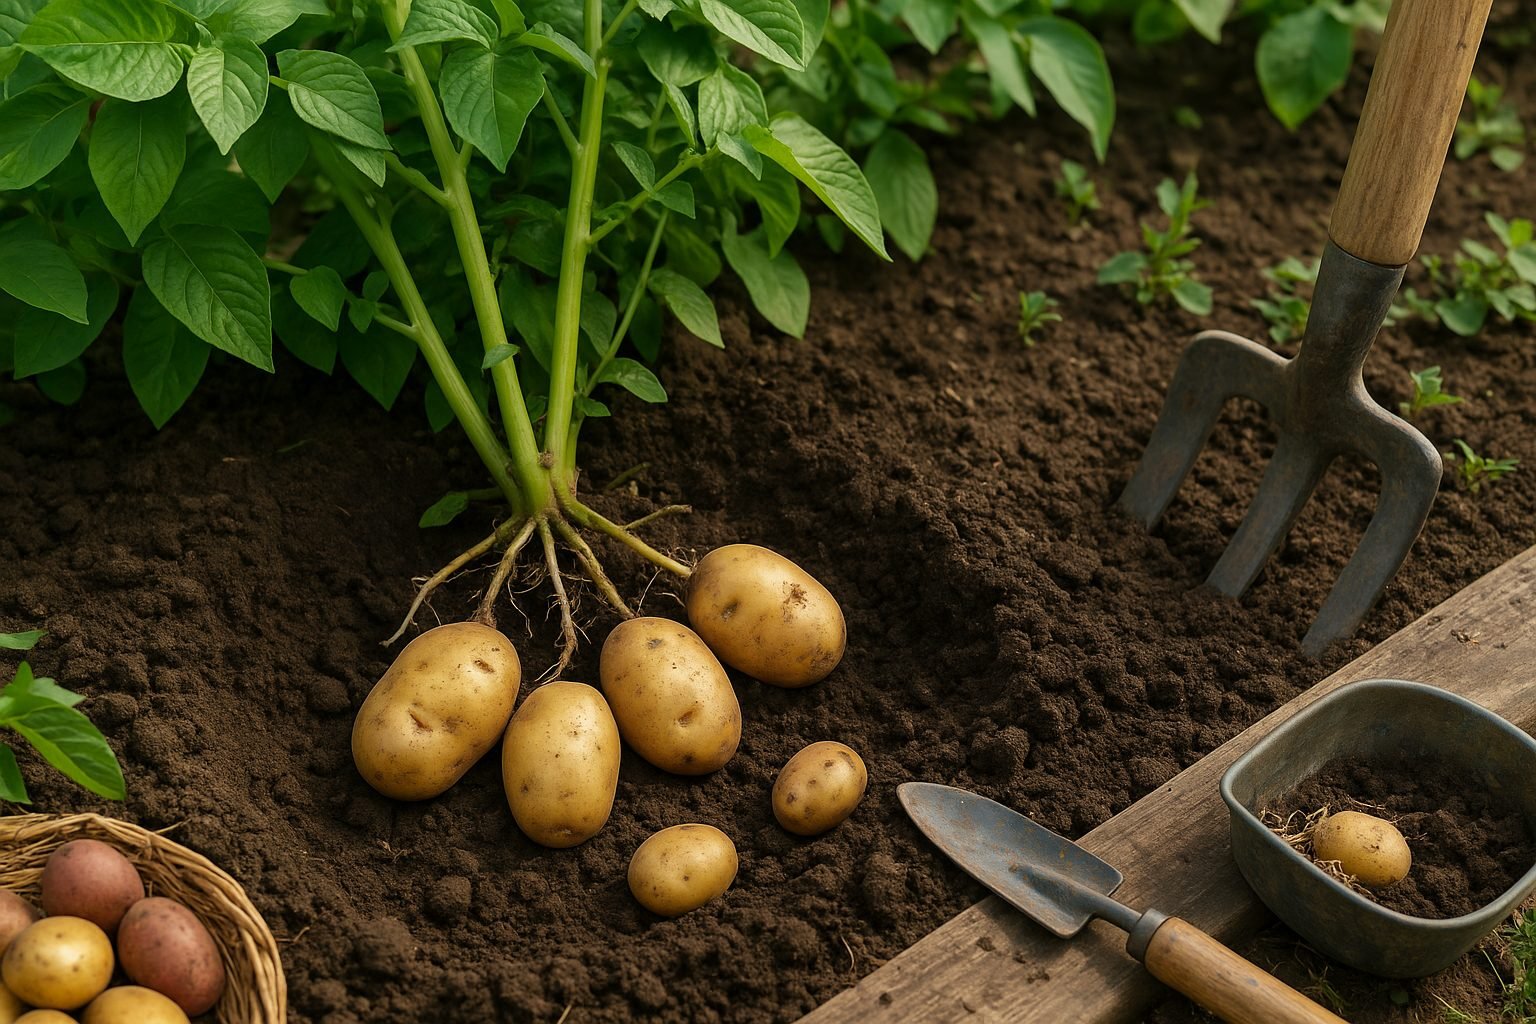
potato plants go through a fascinating life cycle that begins when seed potatoes are planted in cool, well-drained soil. After sprouting, leafy stems and foliage grow above ground, while specialized underground stems called stolons begin to swell and form tubers—these are the potatoes we eat.
Throughout the season, tubers slowly fill out, storing starches and nutrients as the foliage gathers energy from the sun. Knowing when these buried treasures are ready is essential for a successful harvest.
One of the clearest signs of potato maturity is the yellowing, wilting, and eventual dieback of the plant’s foliage. Most varieties reach this stage 90 to 120 days after planting, but it’s best to double-check the seed packet for specific “days to maturity,” as early, mid, and late varieties can differ by weeks.
Many gardeners make the mistake of digging up potatoes when the plants are still flowering or green, which usually results in small, thin-skinned spuds that can’t store well. Another common error is waiting too long after the plants have died back, when tubers are more vulnerable to rot or pest damage.
For best results, wait 2–3 weeks after the foliage has died before harvesting; this allows the skins to toughen, minimizing bruising and spoilage. If you’re unsure, gently dig around the edge of a plant with your hands or a small fork to check tuber size before making a full harvest. This simple step will help you catch the perfect window for harvesting plump, mature potatoes ready for the kitchen or cellar.
When Is the Right Time to Harvest Potatoes?
Knowing when to harvest potatoes is key to enjoying the freshest flavor and highest yields, but timing depends on whether you’re after “new” potatoes or main crop potatoes.
New potatoes, prized for their thin skins and delicate texture, are typically ready 60 to 70 days after planting, just after the plants have finished flowering but while the foliage is still green. Gently dig around the base of the plants when you see blossoms, and you’ll find small, tender tubers perfect for salads or roasting.
For main crop potatoes, which store better and have thicker skins, wait until the plant foliage turns yellow and starts to die back—usually around 90 to 120 days after planting. This indicates the tubers have matured underground. Once the foliage has died, you can allow the potatoes to sit in the soil for another two weeks to help toughen their skins, reducing the chance of bruising and prolonging storage.
To strike the right balance between yield and quality, check the forecast and aim to harvest on a dry, mild day; wet conditions can encourage disease, so try not to dig potatoes when the soil is soggy. If you’re unsure whether your potatoes are mature, do a test dig on the edge of a row—mature potatoes will have firm skins that don’t rub off easily with your thumb.
By paying close attention to your potato plants’ growth stages and the weather, you’ll be able to pick the best possible time for a perfect harvest.
Step-by-Step Guide: How to Harvest Potatoes Safely
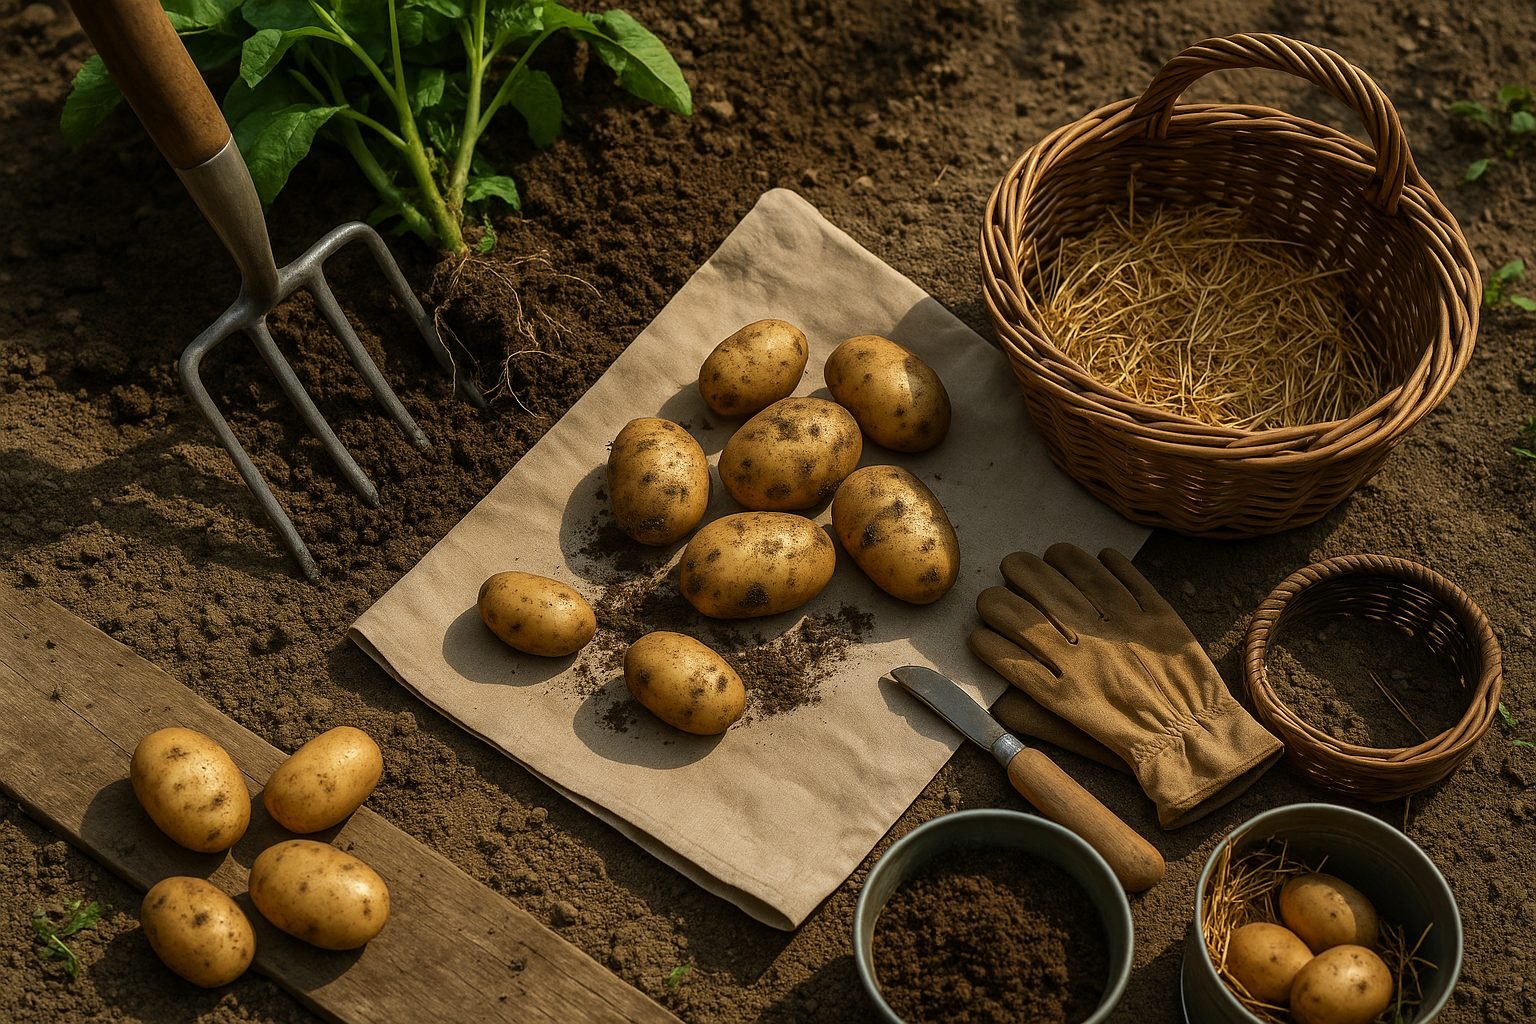
Harvesting potatoes is most successful when you gather a few essential tools and follow gentle techniques to protect the delicate tubers from bruises and cuts.
Start by grabbing a garden fork or a small hand trowel—these tools let you lift potatoes more carefully than a shovel, which can slice through the potato skins.
If you’re growing potatoes in the ground, begin by loosening the soil around the plant about a foot away from the main stem. Work your fork or trowel under the plant at an angle, leveraging upwards slowly to avoid stabbing any potatoes.
In harder, clay-rich soils, it may help to water lightly a day before harvesting to soften the earth, but avoid soaking, which can make the ground sticky and messy.
For container-grown potatoes, simply tip the container onto a tarp or large tray and gently sift through the soil with your hands, feeling for tubers and brushing off excess dirt without scrubbing or pulling roughly.
Always pick potatoes on a dry day, if possible—wet conditions can lead to increased bruising and make potatoes more prone to rot during storage. If harvest day ends up wet, lay your potatoes in a single layer on a dry surface indoors to air-dry thoroughly before storing.
Regardless of where they were grown, always handle potatoes gently, picking them up with flat palms rather than squeezing, and never toss them into baskets or buckets.
By using the right tools, loosening the soil thoughtfully, and harvesting in favorable weather, you’ll protect your potatoes’ skins and ensure a longer shelf life, whether they came from the ground or a patio pot.
Curing and Preparing Potatoes for Storage
Curing is a crucial step after harvesting potatoes that helps extend their storage life by allowing minor cuts and bruises to heal and thickening the potato skins, which reduces moisture loss and the risk of rot. To cure potatoes properly, set them in a well-ventilated area with high humidity (85-95%) and temperatures between 45-60°F (7-16°C) for about 10 to 14 days.
Many gardeners use basements, sheds, or even garages as curing spots, but avoid damp areas where mold can develop. Lay the unwashed potatoes out in a single layer, taking care not to stack or pile them, as airflow is key. Handle potatoes gently throughout the process to avoid additional cuts; every bruise can become a gateway for disease during storage.
After the curing period, check for a toughened, dry skin that resists rubbing or peeling—this is your best indicator the potatoes are ready for storage. Discard any with signs of soft spots, green patches, or sprouting.
Only store clean, cured, and healthy potatoes in a dark, cool, and well-ventilated space, like a root cellar or a ventilated cardboard box in a pantry. Following these curing steps gives you the best chance of enjoying fresh, firm potatoes for months ahead.
Best Practices for Storing Potatoes
Storing potatoes properly can make a big difference in how long they last and how well they taste. Potatoes should be kept in a cool, dark place with temperatures between 45°F and 55°F. Lower temperatures can make them overly sweet, while warmer conditions encourage sprouting and spoilage.
Humidity is also key; aim for about 85-90% humidity to prevent the potatoes from drying out, but avoid excessive moisture, which leads to rot. Darkness matters, too—exposure to light causes potatoes to turn green and produce solanine, a substance that can be toxic if consumed in high amounts.
Choosing the Right Containers
Use breathable containers like paper bags, cardboard boxes, wicker baskets, or mesh bags that allow airflow and help keep moisture at bay. Avoid plastic bags or airtight containers—they trap humidity and quickly contribute to mold and decay.
Ideal Storage Locations
Good spots include a basement, cellar, pantry, or cupboard away from heat sources. Many people successfully store potatoes in a covered bin kept in a garage, as long as temperatures don’t drop below freezing.
Storage Tips
- Lay the potatoes in a single layer when possible.
- Don’t wash them until you’re ready to use them, as washing adds unwanted moisture.
- Check your potatoes every week or two. Remove any that are soft, shriveled, or show dark spots to prevent spoilage of the whole batch.
- Avoid storing potatoes with onions—onions release gases that speed up potato spoilage, so keep them far apart.
By following these simple storage habits, you can cut back on food waste and enjoy fresh, firm potatoes for weeks or even months.
How to Recognize and Prevent Common Potato Storage Problems
Potatoes are a kitchen staple, but storing them incorrectly can lead to several frustrating issues like greening, sprouting, and rot.
Greening
Greening happens when potatoes are exposed to light, causing the development of chlorophyll and potentially toxic solanine—a chemical that can cause nausea or headaches if eaten in large amounts. To avoid this, keep your spuds in a cool, dark place, like a pantry or cabinet, and never store them in clear bags on the countertop.
Sprouting
Sprouting is another common problem, usually triggered by warm temperatures or moisture. If you see small sprouts, simply remove them before cooking, but discard potatoes that have become shriveled or soft, as these are signs of spoilage.
To slow sprouting, store potatoes loosely in a paper bag or a basket with good air circulation and keep them away from onions, which emit gases that can hasten spoilage.
Rot
Rot is most often the result of excess humidity or washing potatoes before storage. Always check the spuds for dampness or soft spots and remove any rotten ones right away, since decay can spread quickly to healthy potatoes.
Food Safety Tips
- Never eat potatoes that are green or have a bitter taste.
- Cut away small green patches, but if the potato is extensively green, it’s safest to toss it.
- Store potatoes in a cool (about 45–50°F), dark, dry spot.
- Inspect your stash regularly to keep them safe, fresh, and ready for your next meal.
Conclusion
Harvesting and storing potatoes successfully can make a big difference in the quality and longevity of your crop. The key is to harvest once the plants have died back and the skin has set, being gentle to avoid bruising the tubers.
Cure your potatoes in a cool, dark place for about two weeks to toughen their skins, then move them to a well-ventilated, dark, and cool storage area—ideally between 45-50°F (7-10°C). Regularly check your stored potatoes and remove any that show signs of rot.
By following these simple steps, you’ll enjoy delicious, homegrown potatoes for months to come. Start small if you’re new to the process; even a few pots or a corner of your yard can yield a satisfying harvest.
For more detailed guidance, the local agriculture extension office or reputable gardening websites like the Old Farmer’s Almanac can be valuable resources. You can also join gardening groups online or in your community to swap stories and tips with other potato growers.
With a little care and attention, you’ll soon become confident in both harvesting and storing your potatoes, ensuring you make the most of your hard work in the garden.