Getting Started with Kale
Year-round kale growing offers a simple yet rewarding way to enjoy fresh, nutrient-packed greens no matter the season. Whether you’re testing your green thumb for the first time or have tended thriving vegetable patches for years, kale is one of the most forgiving and versatile crops you can choose. Its impressive hardiness—kale shrugs off frost and thrives in both cool spring mornings and brisk autumn afternoons—makes it perfect for gardeners in a range of climates. Plus, with its vitamins, antioxidants, and mineral-rich leaves, kale brings big nutritional benefits to your table, enhancing everything from breakfast smoothies to hearty winter stews.
The Advantages of Year-Round Kale Growing
One of the biggest advantages of year-round kale growing is the flexibility it offers. If you have a sunny plot in your backyard, kale will flourish in well-drained beds or raised planters. For those working with smaller spaces—like patios, balconies, or even sunny kitchen corners—kale also thrives in containers, so a lack of yard space is no longer a limitation.
Extending the Growing Season
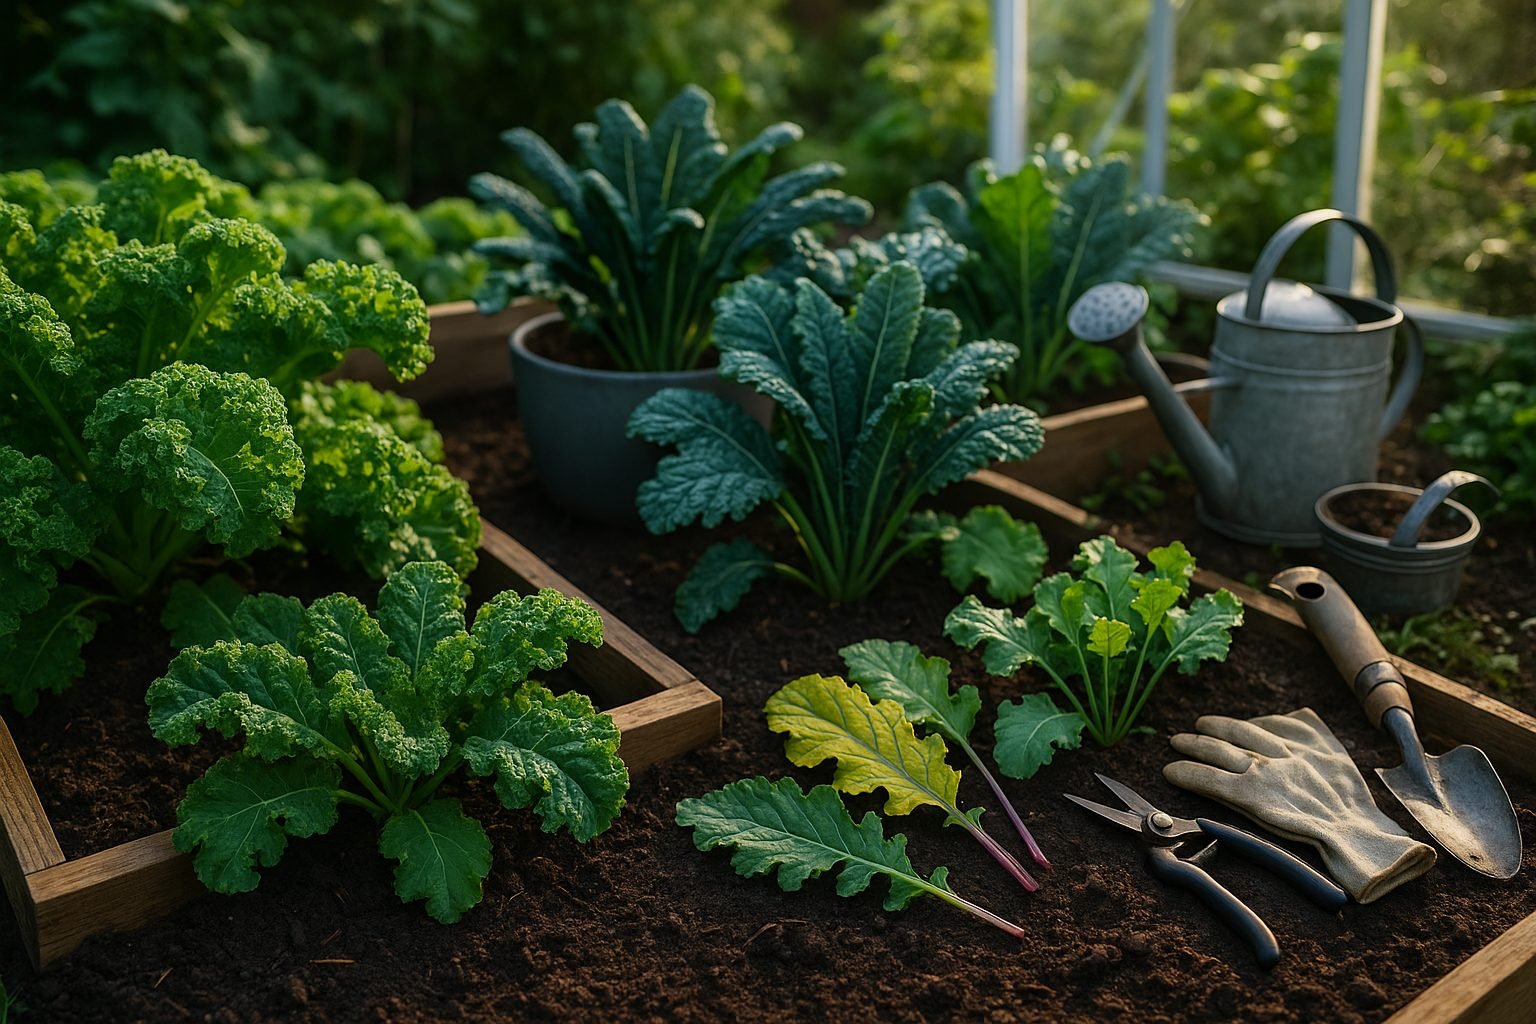
Want to keep things even more consistent regardless of the weather outside? Many gardeners find that small greenhouses or simple cold frames extend the growing season beautifully, shielding kale from temperature swings and pests for nearly continuous harvests.
Indoor Growing Options
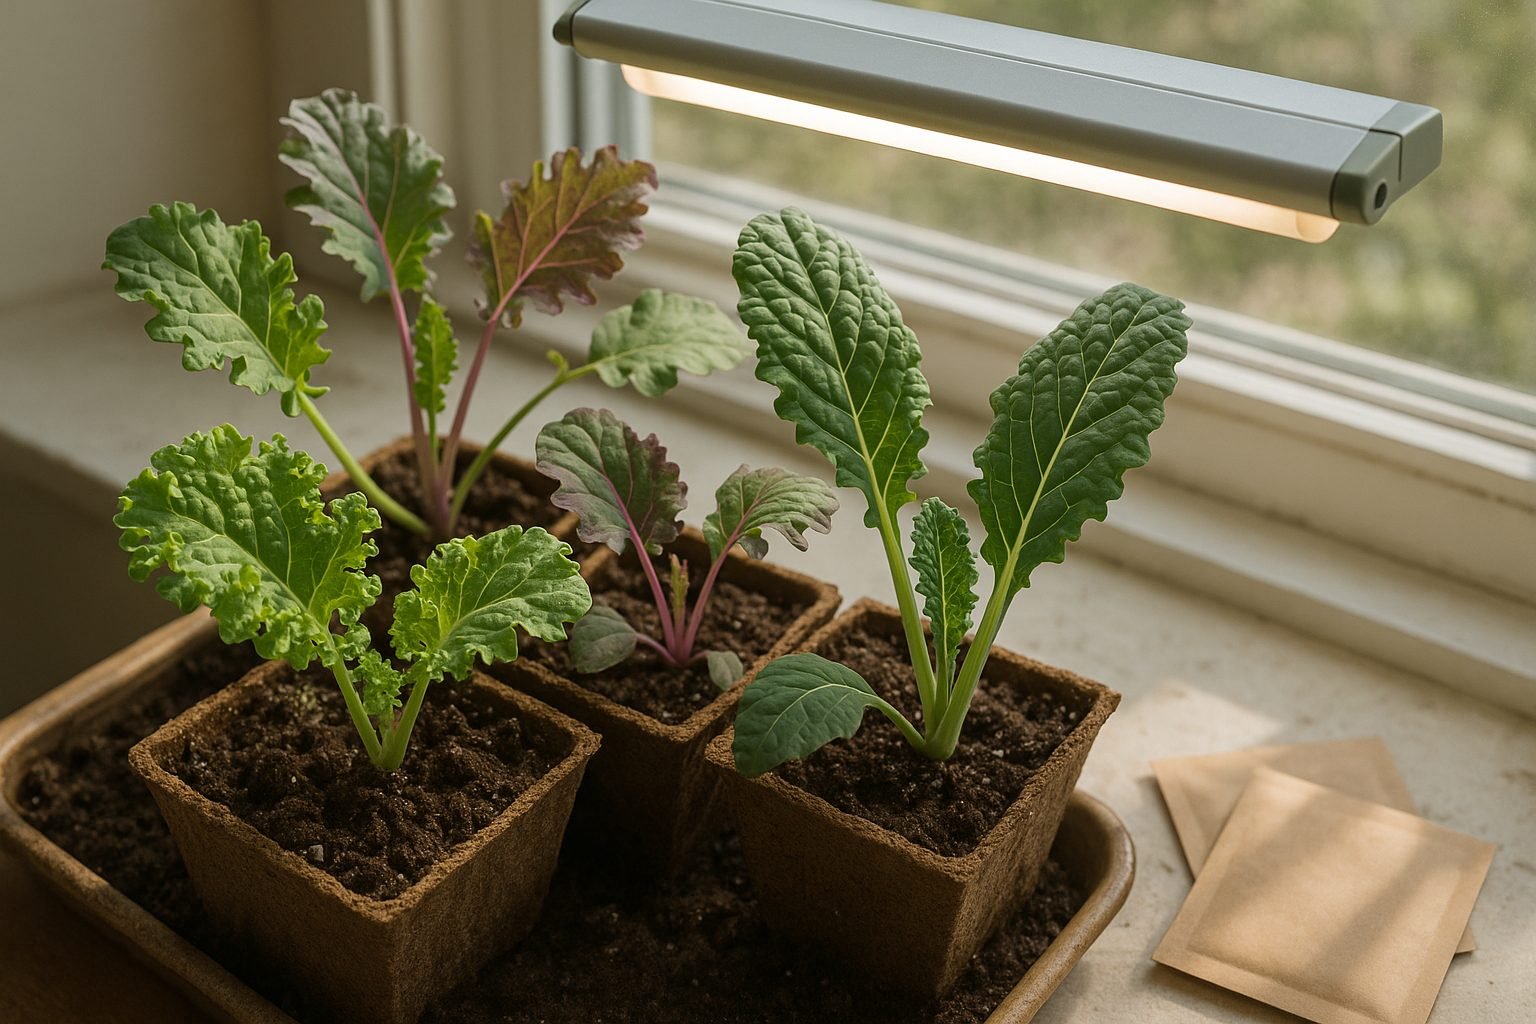
Indoor growing is also an increasingly popular option. By using grow lights and compact indoor planters, you can enjoy fresh leaves throughout the winter while your outdoor garden rests. Try starting a few seeds on your windowsill, then transplant the seedlings as your needs and the weather allow.
No matter which method you choose, kale is remarkably adaptable and forgiving, making it an ideal crop for experimenting and building gardening skills. This versatility, culinary usefulness, and toughness make year-round kale growing one of the smartest choices for anyone looking to embrace homegrown, healthy food.
Choosing the Right Kale Variety
When deciding which kale variety to grow, it helps to know the basics of each type.
Curly kale is the classic—it has ruffled, crisp leaves and a mildly peppery flavor, making it perfect for salads or as crunchy chips. Dinosaur kale, also called lacinato or Tuscan kale, features dark blue-green, bumpy leaves and a sweeter, earthier taste that shines in soups and sautés. Russian kale, including Red Russian, stands out with softer, flat, purple-tinted leaves and a tender, slightly sweet flavor, ideal for raw dishes. Dwarf Siberian kale has frilly, compact leaves and thrives in cooler climates; it’s especially cold-hardy and works well in containers or small garden beds.
When choosing, consider your climate:
- Curly and Dwarf Siberian kale tolerate frost well.
- Russian kale is resilient but less heat tolerant.
- Lacinato prefers milder, steady conditions.
If you like robust, chewy greens, go for lacinato; for milder salads or snacks, stick to curly or Russian. Limited on space? Dwarf Siberian’s compact shape is your friend.
Reliable seed sources include Johnny’s Selected Seeds, Baker Creek Heirloom Seeds, and High Mowing Organic Seeds—these retailers offer diverse kale varieties with quality and good germination rates, so you can confidently start your kale patch no matter your garden’s size or your taste preferences.
When and Where to Plant Kale
Kale thrives when planted during the cooler parts of the year, making early spring and late summer the best times to sow seeds or transplant starts. In most regions, sow seeds directly into the soil about 4-6 weeks before the last expected frost in spring, or start them indoors in pots for an even earlier jump.
For a fall harvest, plant seeds in late summer, around 6-8 weeks before the first fall frost. Cooler temperatures actually improve the flavor by making the leaves sweeter and more tender.
Kale prefers full sun but will tolerate partial shade, especially in warmer climates where some afternoon shade can prevent heat stress. The ideal soil is rich in organic matter, well-draining, and slightly acidic to neutral (pH 6.0-7.0). If your garden soil is heavy or clay-like, amend it with compost to improve texture and drainage.
Raised beds are excellent for controlling soil quality and drainage, but kale also grows well in large containers—choose pots with drainage holes and fill them with a high-quality potting mix. For container gardening, make sure your kale has at least 12 inches of space for root growth.
If you have access to a greenhouse, you can extend the growing season and protect your crops from pests, giving you fresh kale nearly year-round.
No matter where you plant, water consistently to keep the soil evenly moist but not waterlogged, as overly wet conditions can cause root rot. Mulching around your plants helps retain moisture and suppress weeds—a useful trick whether you’re growing in beds, containers, or under glass.
By choosing the right location and timing, you’ll set yourself up for a hearty harvest of this nutrient-packed leafy green.
How to Plant Kale: Seeds or Starts
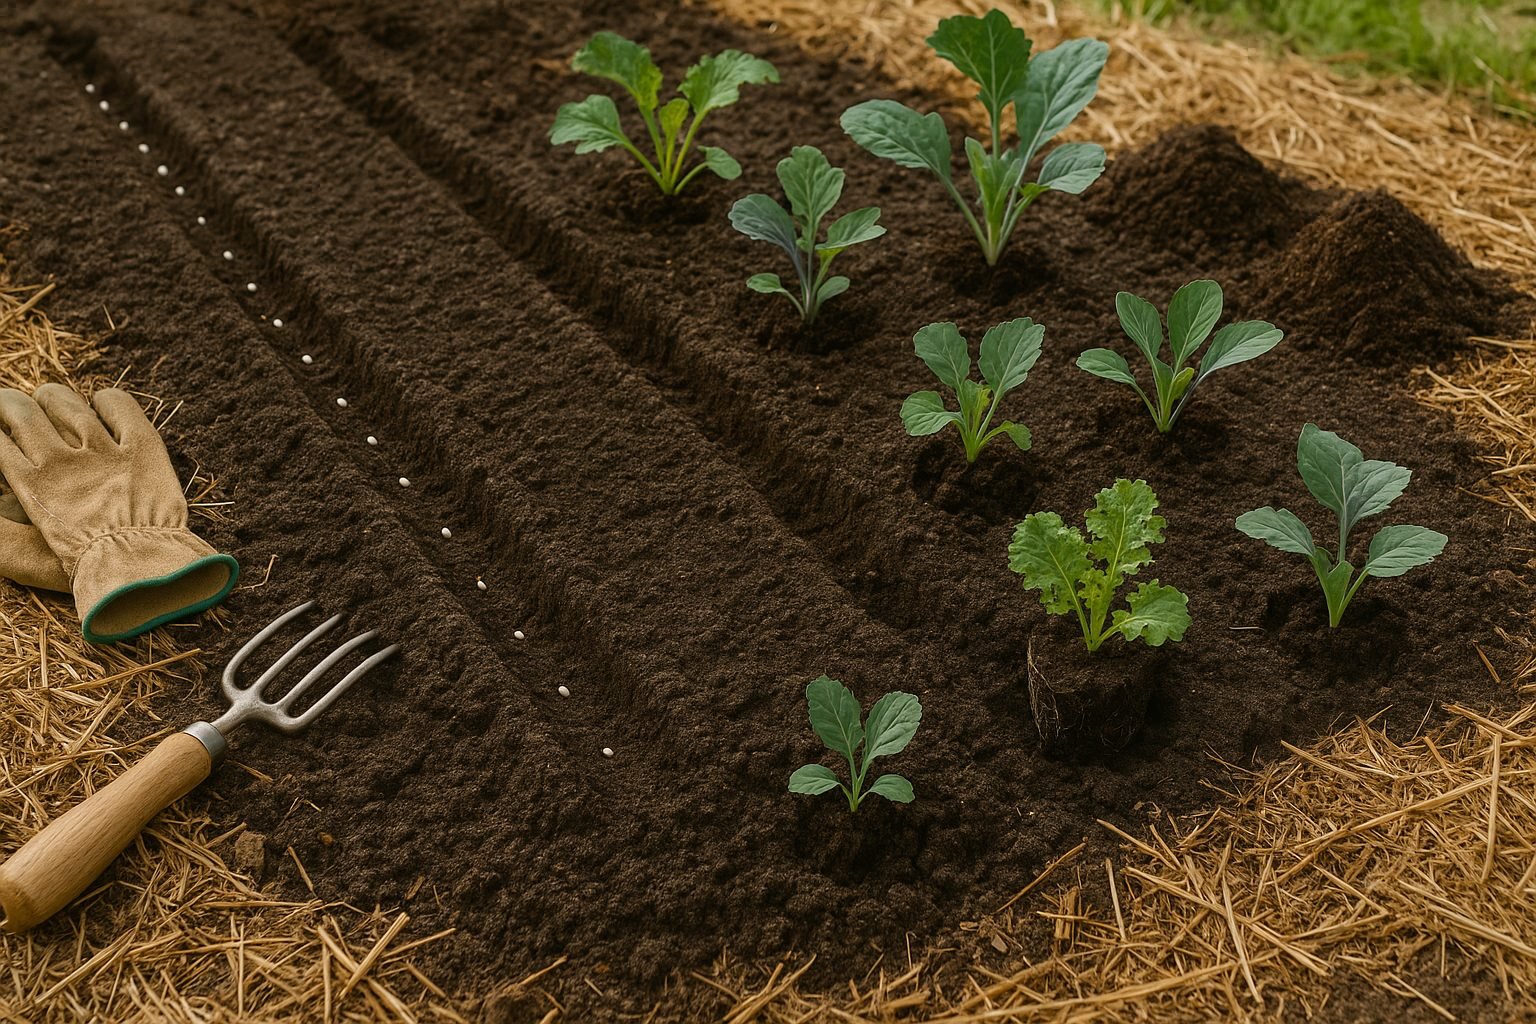
When planting kale, you have two main options: sowing seeds directly into your garden (direct seeding) or transplanting seedlings (starts) that you’ve grown indoors or purchased from a nursery.
Direct seeding is budget-friendly, especially if you’re growing a large patch, and it avoids transplant shock. However, it may lead to uneven germination if spring conditions are unpredictable or your soil isn’t consistently moist. Transplanting seedlings gives you a head start on the season, yields more uniform rows, and helps outcompete weeds early on. The downside is it’s more labor-intensive at first, and young plants may need special care to adjust to outdoor conditions.
Whichever method you choose, preparation starts with your soil: kale loves rich, well-draining soil full of organic matter. Before planting, loosen the soil to a depth of 8–12 inches, remove stones and weeds, then work in 1–2 inches of compost and a balanced fertilizer (such as 10-10-10 or an organic equivalent) according to package directions.
Direct Seeding
- Plant seeds about ¼ to ½ inch deep.
- Space seeds roughly 1 inch apart in rows at least 12–18 inches apart to allow air circulation.
- Once seedlings reach 2–3 inches tall, thin them so each plant stands 12–18 inches apart to prevent crowding and promote strong, leafy growth.
Transplanting Seedlings
- Set plants 12–18 inches apart in rows.
- Place the lowest set of leaves just above soil level.
- Firm the soil gently around the stem.
- Water thoroughly after planting and keep the bed moist but not waterlogged as plants establish.
For an extra boost, mulch around your kale to keep weeds down and soil cool.
Companion Planting Tips
Pair kale with good companion plants like onions, garlic, beets, or nasturtiums to help repel pests and promote strong growth. Avoid planting kale near other brassicas like cabbage or broccoli, as they share diseases and attract the same pests.
With the right start, kale is a resilient and rewarding green that will thrive and keep you harvesting for months.
Caring for Your Kale Plants
Maintaining healthy kale plants starts with a consistent care routine focused on watering, feeding, and protecting them from the elements. Kale prefers evenly moist soil, so aim to provide about one to two inches of water per week. Adjust this amount for rainfall and ensure the soil drains well—soggy roots invite disease.
Applying mulch around the base helps retain moisture, suppress weeds, and regulate soil temperature. Organic mulches like straw or shredded leaves work great, breaking down slowly to enrich the soil.
When it comes to feeding, kale is a heavy feeder and benefits from monthly applications of balanced organic fertilizer or a side dressing of compost. Be careful not to over-fertilize, as this can encourage lush foliage at the expense of flavor.
Dealing with Pests and Diseases
Common pests like aphids, cabbage worms, and flea beetles can be deterred by regularly inspecting leaves—especially the undersides—and handpicking them. You can also spray with a mild soap solution or use row covers as a physical barrier.
If you notice powdery mildew or downy mildew, space plants to improve airflow and avoid overhead watering. For organic control, weekly sprays of neem oil or homemade baking soda solutions can help keep fungal issues at bay.
Protecting Kale from Temperature Swings
Temperature changes can stress kale plants. During cold snaps, cover them with floating row covers or old sheets to prevent frost damage. In heat waves, provide afternoon shade using shade cloth to keep plants comfortable.
Recognizing and Addressing Nutrient Issues
If you notice yellowing leaves, check whether older leaves are naturally aging. However, if younger leaves yellow or growth stalls, poor soil nutrition or compacted roots may be to blame. Gently loosen the soil, add compost, and ensure even watering.
Stunted growth or purpling leaves might signal phosphorus deficiency. In that case, an organic bone meal supplement can help.
Ultimately, staying observant and responding quickly to changes will help you grow robust, delicious kale, even when challenges arise.
Harvesting and Using Your Kale
For the tastiest, most tender kale leaves, timing your harvest is key. Start picking when the leaves are about the size of your hand—usually 8 to 10 weeks after planting—while they’re still young and vibrant green. Aim to harvest in the early morning when the plants are well-hydrated and sugars are at their peak; this helps lock in sweetness and crispness.
Use clean garden scissors or a sharp knife to snip the outer, lower leaves near the base of the stem, leaving the central bud and several inner leaves untouched. This technique encourages the plant to send up new growth, allowing for multiple harvests from the same plant throughout the season.
Avoid cutting the main stem or taking too many leaves at once—always leave at least a third of the foliage so the plant can keep photosynthesizing and thriving.
Once picked, avoid washing kale until you’re ready to use it, as moisture can speed up spoilage. Instead, gently shake off any dirt and store the leaves in a breathable produce bag or wrap them loosely in a damp paper towel, then place them in the crisper drawer of your fridge. Properly stored, kale can stay fresh for up to two weeks.
For even more longevity, consider blanching and freezing leaves for smoothies or soups. With these simple steps, you’ll enjoy a continuous supply of fresh, homegrown kale for salads, sautés, and more all season long.
Enjoying and Preserving Kale
Kale is a nutritional powerhouse that’s easy to enjoy in a variety of ways, both fresh and cooked. Toss raw kale into salads or blend it into your morning smoothie for a boost of vitamins A, C, and K.
If you prefer it cooked, kale works well sautéed with garlic, stirred into hearty soups, or baked into crispy chips—a healthy alternative to potato chips.
To make the most of a bumper crop or a big grocery haul, several preservation methods can help prevent waste.
Preservation Methods
- Dehydrating: Dehydrating kale leaves gives you crunchy chips or flakes that store in jars for snacking or adding nutrients to soups and stews.
- Freezing: Wash, chop, blanch the kale for a couple of minutes, then freeze it in airtight bags for months of use in cooked dishes.
- Fermenting: Try fermenting kale with salt and spices to create a tangy, probiotic-rich snack similar to sauerkraut.
With these techniques, you can keep enjoying kale’s earthy flavor and health benefits all year.
Creative Ways to Use Surplus Kale
Don’t be afraid to get creative with surplus kale—toss it into frittatas, layer it in lasagna, or blend it into pesto for an extra nutrition kick.
By exploring these storage and recipe ideas, you’ll make the most of every green leaf while fueling your body with minerals, antioxidants, and fiber.