Introduction
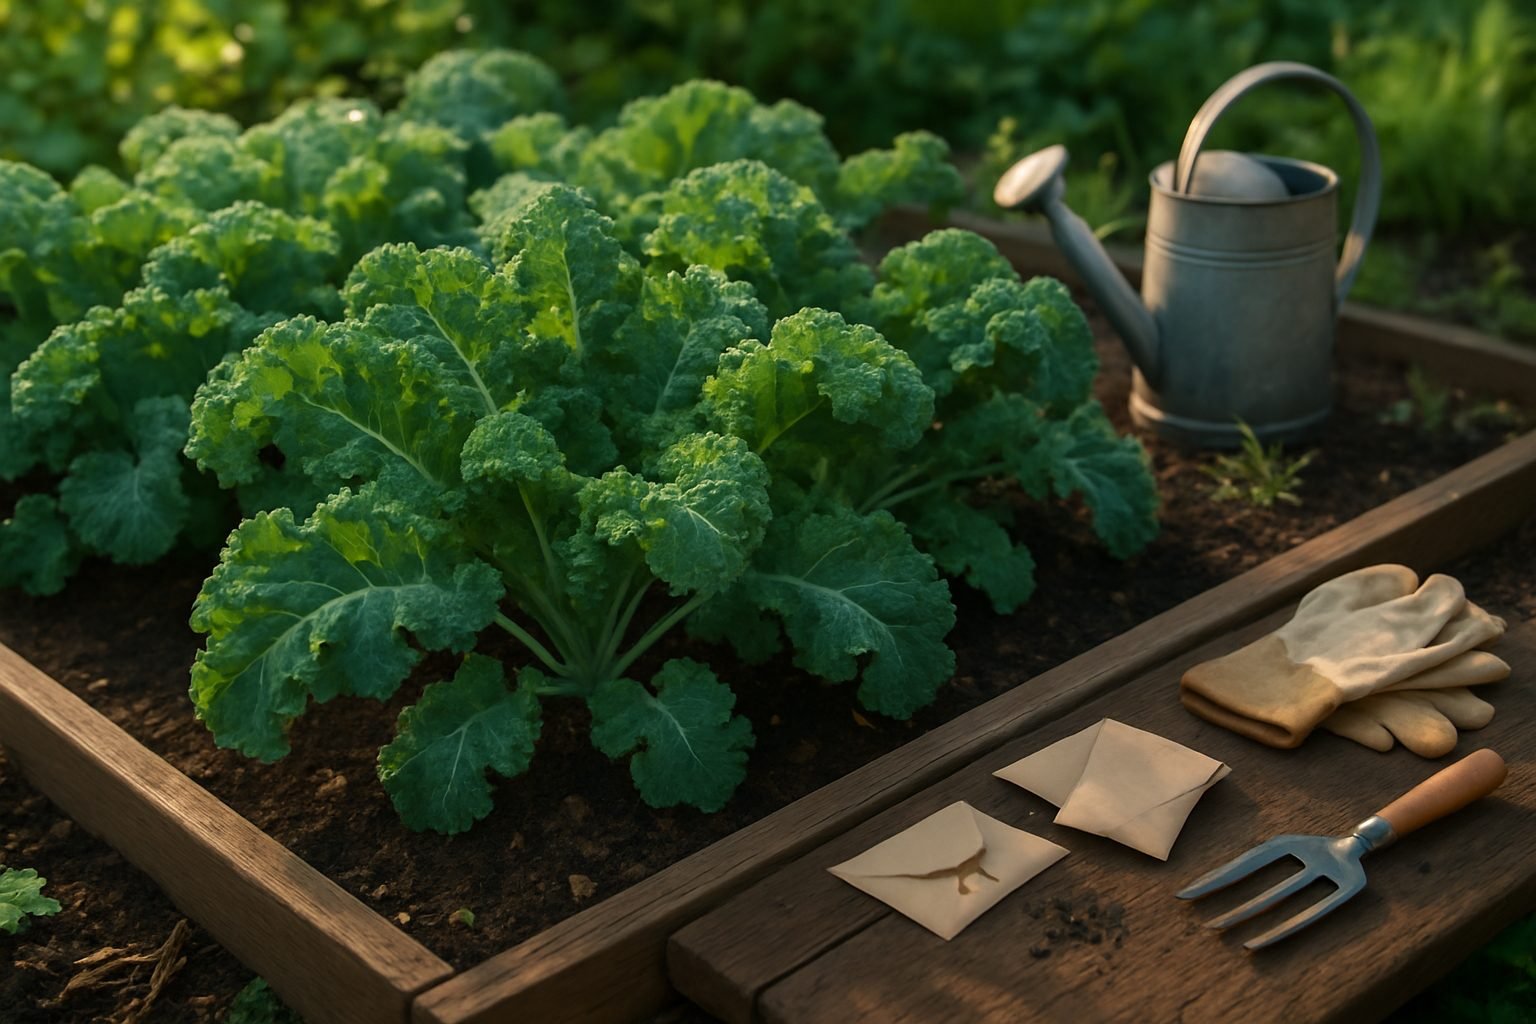
Harvesting kale has become a favorite activity for home gardeners, largely because kale is such a hardy, nutritious, and easy-to-grow leafy green. With its deep green, ruffled leaves and impressive cold tolerance, kale thrives in a variety of climates, making it a popular choice for backyard plots and even small container gardens.
Growing and harvesting your own kale isn’t just about enjoying fresher flavors—it’s also a great way to save money, reduce trips to the store, and ensure your greens are free from unwanted chemicals. Plus, having a constant supply of kale at your fingertips means you can add a superfood boost to soups, salads, and smoothies whenever you like.
While the plant itself is tough, learning the right way to pick those leaves is key if you want your kale to keep producing all season long. In this article, we’ll focus on practical tips for harvesting kale without harming the plant, so you can enjoy multiple cuttings from a single patch.
Whether you’re a gardening newbie or just want to get more out of your crop, understanding a few simple techniques will help you harvest kale efficiently and encourage healthy regrowth for weeks or even months ahead.
When is Kale Ready to Harvest?
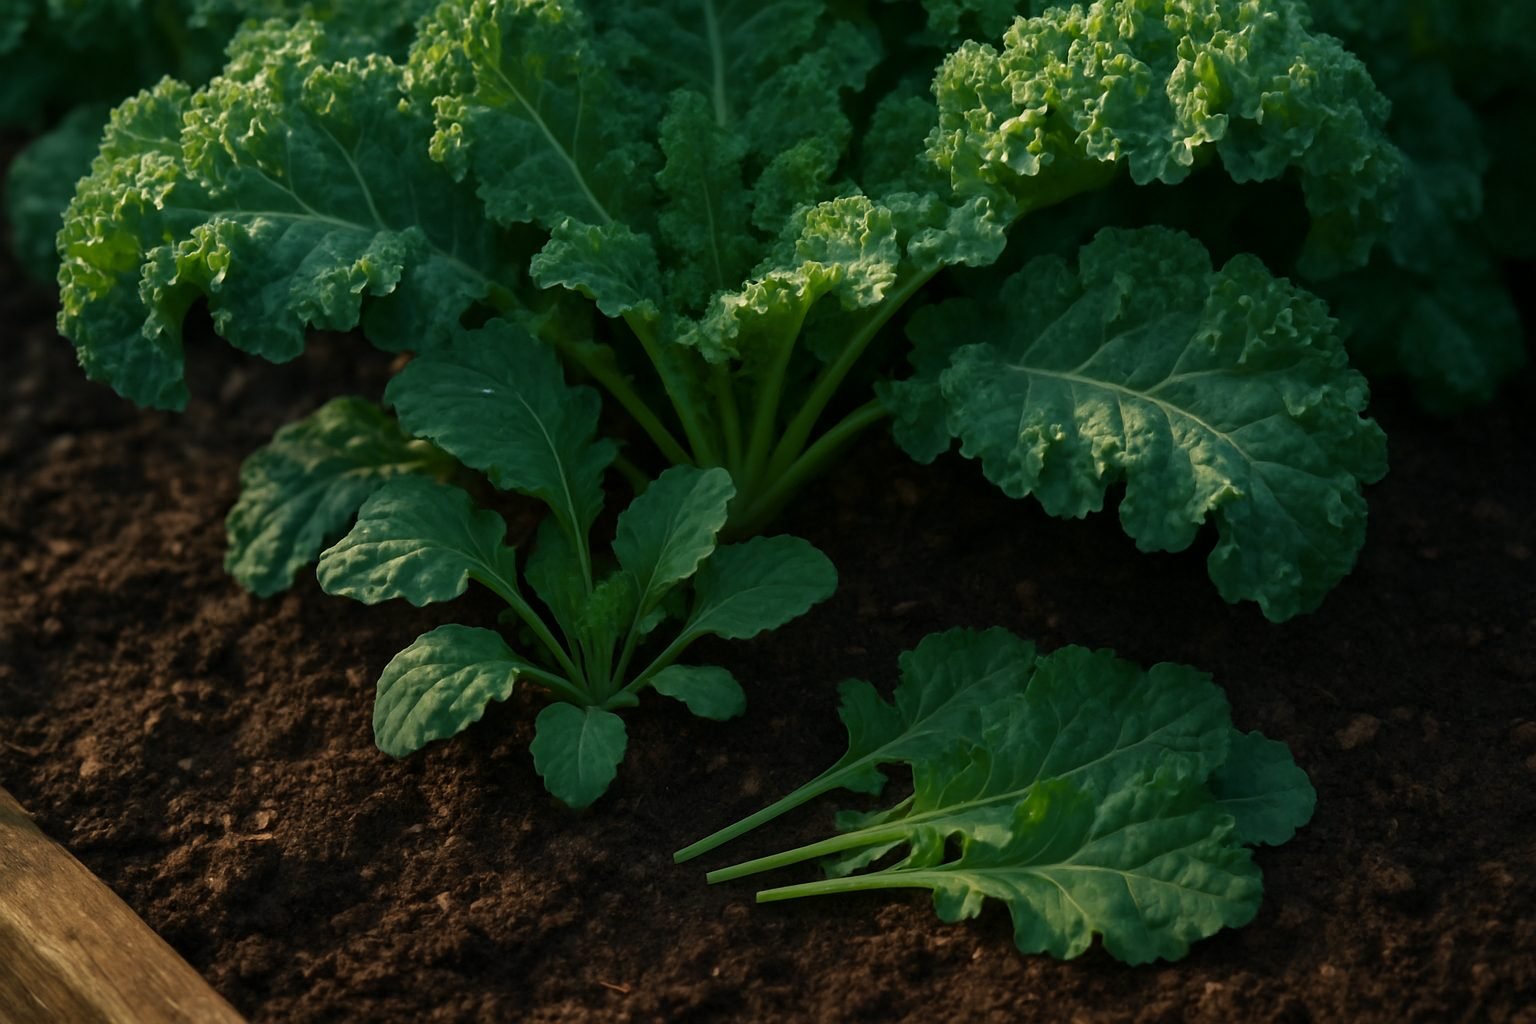
Knowing when your kale is ready to harvest can make all the difference in flavor, texture, and overall yield. For baby kale, look for leaves that are about 2 to 4 inches long—vibrant green, tender, and smooth to the touch. These are perfect for fresh salads and can be picked as soon as three weeks after sowing.
Mature kale, on the other hand, usually has broader, thicker leaves that reach 6 to 10 inches in length and show that signature curly or ruffled texture depending on the variety. Both young and mature leaves should look rich in color (deep green, sometimes even blue-green or purple with certain types) and feel crisp, not limp or yellowing.
It’s best to harvest kale in the cooler mornings when the leaves are sweetest and most hydrated; heat can make them wilt and turn bitter. Spring and fall are prime seasons for harvesting since kale thrives in cooler weather and even sweetens after a light frost.
For continuous harvests throughout the growing season, pick the outer leaves first, working from the bottom of the plant upward, and leave the center untouched—this allows the plant to keep producing new foliage for weeks or even months. Aim for harvesting every week or two, but if your plants are especially productive, you can visit your kale patch as often as twice a week for the freshest, most tender leaves.
How to Harvest Kale Without Damaging Your Plant
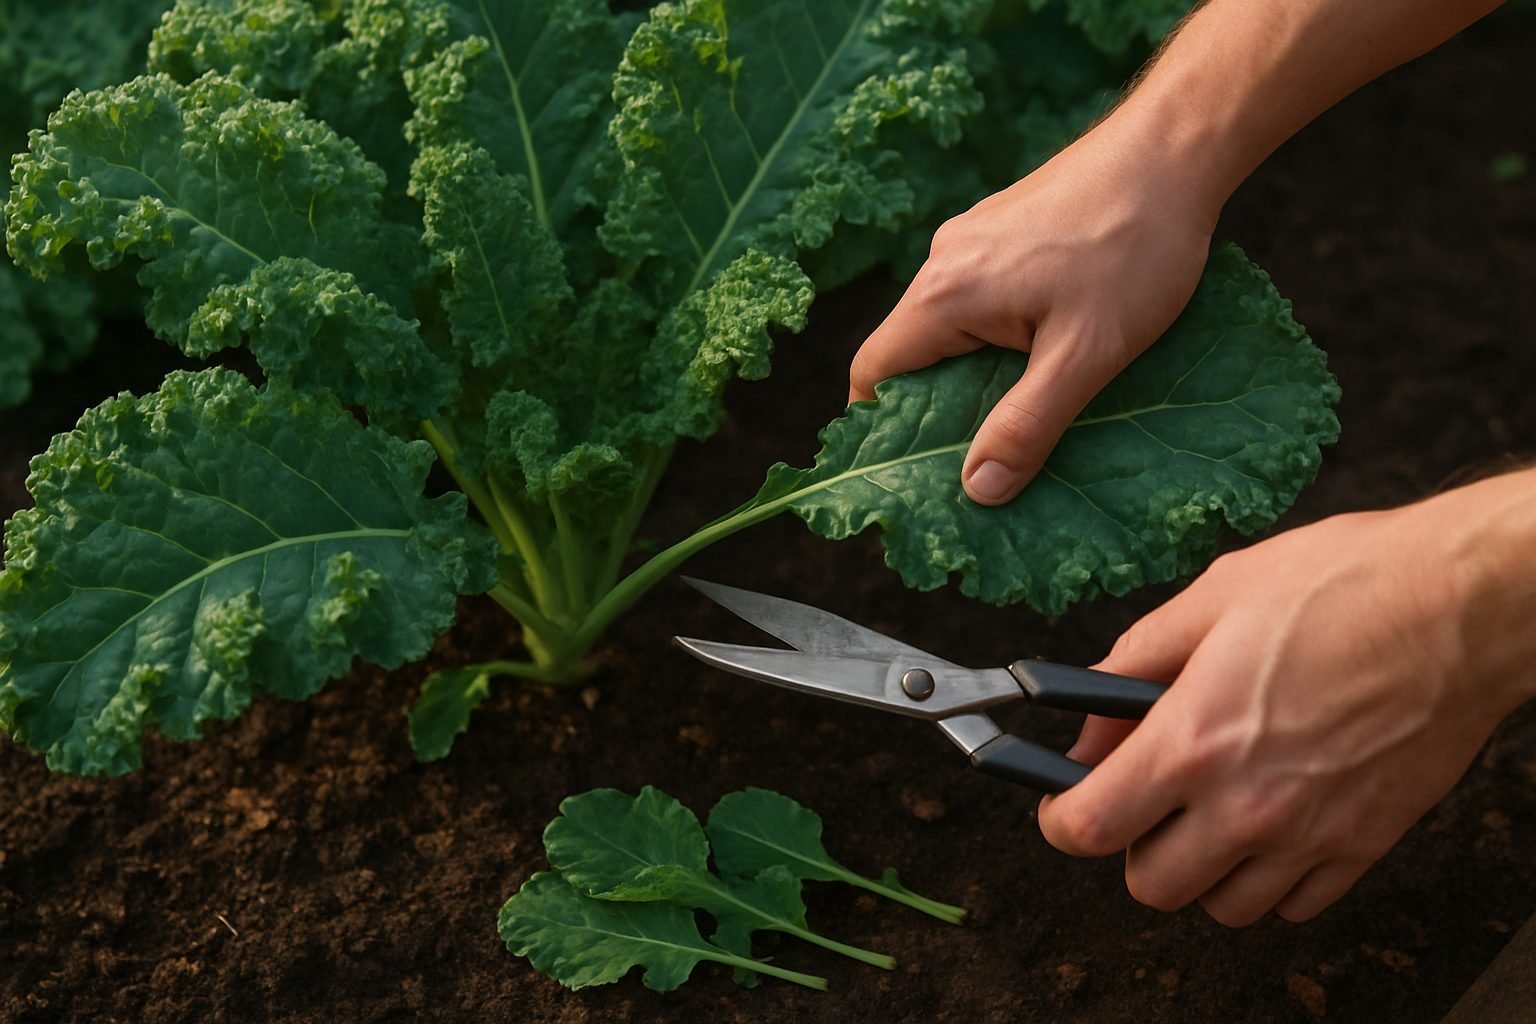
When harvesting kale to keep your plant producing, focus on picking the outermost leaves first. These are the oldest, largest leaves and can be taken without harming the plant’s growth.
Start by inspecting your kale and look for leaves that are full-sized, crisp, and healthy. Using clean hands, gardening scissors, or small pruners, gently snap or snip the stem of each leaf about an inch above where it joins the central stalk. Avoid pulling or tearing, as this can damage the stem and leave your plant vulnerable to disease.
Always leave the inner, young leaves at the center—called the crown—untouched, since these are the plant’s growing points and will keep supplying new leaves after each harvest.
For best results, harvest only a few leaves at a time from each plant—usually up to one-third of the total foliage—so the kale has enough energy to recover and regrow quickly.
Make a habit of checking your kale every week and harvesting regularly, since removing old leaves encourages fresh growth and helps prevent pests or rot.
Finally, skip harvesting after heavy rain, as wet leaves can bruise more easily and may be more prone to spreading garden bacteria. Instead, wait until the leaves are dry for the cleanest cut.
By being gentle and selective, you’ll enjoy a longer, healthier harvest from your kale patch.
How Often Should You Harvest Kale?
You can harvest kale as often as once or twice a week, depending on how quickly your plants are growing and your own needs. Regular, even minimal, harvesting actually encourages kale to keep producing new leaves—think of it as a little nudge for the plant to replace what’s been removed.
In general, start picking the outer, larger leaves when they’re about the size of your hand and leave the inner, younger leaves to continue growing. If the weather is cool and your kale is thriving, you might be able to harvest every 5–7 days; in slower-growing conditions, every two weeks is fine. The key is never to take more than a third of the plant at a time, so the kale has enough foliage left for healthy photosynthesis.
Frequent picking not only increases your overall harvest but also keeps the leaves tender and sweet—older, oversized kale tends to turn bitter and tough.
Tips for Keeping Kale Plants Healthy
- Water deeply but infrequently to encourage strong roots.
- Add mulch to retain moisture in the soil.
- Feed with compost or an all-purpose fertilizer every month.
- Remove any yellowing or damaged leaves to prevent disease.
- If you spot cabbage worms, pick them off by hand or rinse the leaves well.
With these habits, you’ll enjoy a steady supply of sweet, leafy kale from early summer right through the first light frosts.
Common Problems During Harvest and How to Solve Them
Harvest time is exciting but often comes with challenges like yellowing leaves, holes, pests, and diseases. Here’s how to tackle these common issues:
Yellowing Leaves
If you notice yellowing leaves, it could be due to nutrient deficiency or natural aging. Check your soil’s health and consider applying a balanced fertilizer. Don’t worry too much about a few yellow leaves as harvest approaches—they’re usually normal.
Holes in Leaves
Holes are often caused by caterpillars, beetles, or slugs. Inspect the undersides of leaves and handpick any pests you find. You can also use organic treatments like neem oil or diatomaceous earth to keep them at bay.
When eating produce with holes, it’s generally safe as long as you wash leaves thoroughly and check for any remaining pests. Cut away any badly damaged parts and discard anything that’s mushy or moldy.
Diseases
Diseases such as powdery mildew or blight can appear close to harvest. Remove affected leaves promptly and avoid overhead watering to prevent spreading spores.
Preventative Measures
- Keep your garden tidy by clearing away fallen leaves and debris that can harbor pests.
- Rotate crops each year to reduce disease risk.
- Use mulch to keep soil healthy and moist.
- Use floating row covers to protect plants from bugs while allowing light and water through.
- Check your garden frequently to catch problems early before they get out of hand.
With a little vigilance, you’ll protect your crop and enjoy a successful harvest.
How to Store and Use Freshly Harvested Kale
After harvesting your kale, start by giving it a gentle rinse in cool water to remove dirt, then pat the leaves dry with a clean kitchen towel or use a salad spinner—excess moisture can lead to faster spoilage.
For short-term storage, wrap the dry kale loosely in a paper towel and place it inside a plastic bag or airtight container in the refrigerator’s crisper drawer. This helps maintain the right humidity and keeps the leaves crisp for up to a week.
If you have more kale than you can use, freezing is a great option:
- Blanch the washed leaves in boiling water for two minutes.
- Dunk them in ice water to stop the cooking.
- Pat dry, then store in freezer bags for smoothies or cooked dishes later.
To enjoy kale at its freshest, try tossing chopped leaves with lemon juice, olive oil, and a pinch of salt for a quick salad—massaging the dressing in helps tenderize tougher leaves.
For a hearty breakfast, sauté kale with garlic in olive oil and top with a poached egg. Or blend a handful of leaves into your favorite smoothie for a healthy, nutrient-packed kick.
With these simple storing tips and recipe ideas, you’ll make the most of your harvest and keep flavorful kale on hand all week long.
Harvesting Kale Seeds for Future Planting
Letting kale bolt to produce seeds is an easy way to save money and support a sustainable garden. Start by choosing healthy, disease-free kale plants and allow them to grow into their second year—kale is a biennial, so it produces seeds after overwintering.
In spring, you’ll notice tall flower stalks forming; resist the urge to cut them back. Let these blooms mature and turn into seed pods. When the pods become dry and tan (usually in early summer), it’s time to harvest.
Gently cut the stalks and place them in a brown paper bag to finish drying for about one to two weeks in a cool, dry spot. Once fully dry, crumble the pods over a tray or plate and shake out the seeds. Remove any chaff and debris, then store the clean seeds in a labeled envelope or glass jar, keeping them in a cool, dark place to maintain viability.
Saving your own kale seeds not only ensures a steady supply of plants adapted to your garden but also reduces dependence on commercial sources and promotes greater biodiversity in your backyard. Even a small effort each year can lead to more resilient crops and a more self-sustaining garden routine.
Conclusion & Next Steps
Harvesting kale doesn’t have to be complicated—just remember to pick the outer leaves first, use sharp scissors or shears, and never take more than a third of the plant at once. By following these simple tips, you’ll keep your kale growing strong all season, ensuring a fresh supply for salads, smoothies, or sautés.
Regular harvesting not only rewards you with crisp, nutrient-packed leaves but also encourages the plant to produce even more. Don’t forget to check on your kale every few days and remove any damaged or yellowing leaves to keep your patch healthy and productive.
Enjoy the satisfaction of pulling ingredients straight from your garden whenever you need them—it’s a small joy that adds flavor and nutrition to every meal. If you’re looking for new ways to use your abundant harvest, check out some creative kale recipes online, from chips and pestos to hearty soups.
And if your green thumb is itching for more, consider growing other leafy greens like spinach, Swiss chard, or collards—many of the same harvesting strategies apply. Happy harvesting, and here’s to even more garden-fresh meals ahead!