Introduction to Growing Kale
kale growing mistakes are surprisingly common—even among seasoned gardeners—especially as this leafy green continues to soar in popularity. Whether you’re a health enthusiast drawn to kale’s impressive nutritional credentials or a beginner looking for an easy yet rewarding crop, kale deserves a space in your vegetable patch.
With its reputation for high levels of vitamins, minerals, and antioxidants, and its ability to thrive in a variety of climates, it’s no wonder home gardeners are eager to grow their own bunches of this superfood. Kale can be sautéed, blended into smoothies, or tossed fresh in salads, making it a truly versatile addition to your table.
But even with its hardy reputation, several common mistakes can hold you back from a bountiful, healthy harvest. In this guide, we’ll highlight the most frequent pitfalls—like improper soil preparation, overcrowding, and ignoring pest issues—while sharing practical tips for both newbies and experienced growers.
If you want to enjoy thriving kale plants all season long, read on to discover what to avoid—and how to set your kale garden up for success.
Picking the Right Kale Variety
When choosing the best kale for your garden or kitchen, it helps to understand the differences among popular varieties. Curly kale, found most often in grocery stores, has frilly, bright green leaves and a peppery, slightly bitter taste that mellows when cooked—making it perfect for soups, sautés, and chips.
Lacinato kale, also called Dinosaur or Tuscan kale, features long, dark blue-green leaves with a crinkly texture and a slightly sweet, earthy flavor; it stands up well in hearty salads and Italian dishes like ribollita stew.
Red Russian kale is another favorite, recognizable by its flat, tender gray-green leaves with purple veins and stems—its mild, slightly sweet flavor shines raw in salads or when lightly sautéed.
Your local climate can help guide your choice: curly and Lacinato kale are robust and tolerate cooler temperatures, thriving in zones with chilly springs or falls, while Red Russian tends to be more cold-hardy and can survive mild frosts.
Think about your flavor preferences as well—Lacinato is a favorite for those who find curly kale too strong, while Red Russian is particularly good for adding color and mildness to dishes.
When sourcing seeds or starts, look for reputable sellers like Johnny’s Selected Seeds, Baker Creek Heirloom Seeds, or your local extension office’s nursery recommendations. Local garden centers often carry varieties well-suited for your region, and many online suppliers offer organic or heirloom options for gardeners looking to experiment.
Whichever type you choose, pay attention to your space, sun, and season to get the best results—and don’t be afraid to try two or three kinds to see which one wins your taste test.
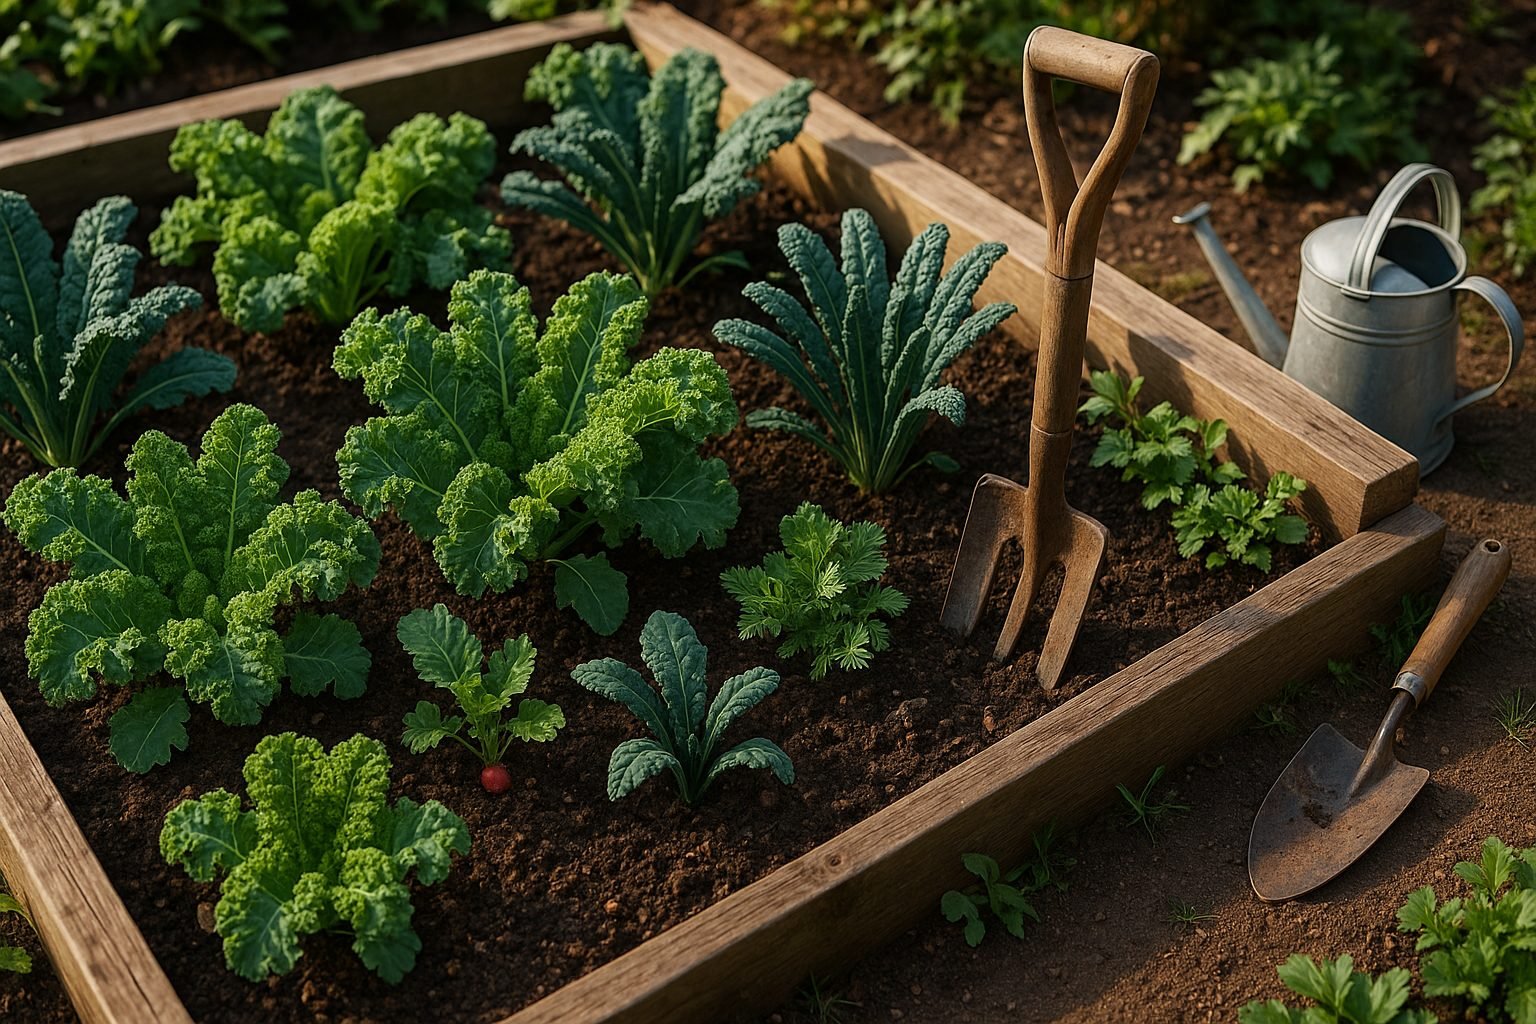
Preparing Your Garden for Kale
Getting your garden ready for kale means paying attention to soil, location, and how you plan to grow. Kale thrives in well-draining soil that’s neither soggy nor prone to drying out. Heavy clay or waterlogged beds can stunt growth and encourage root rot, so loosen your beds with a garden fork if needed.
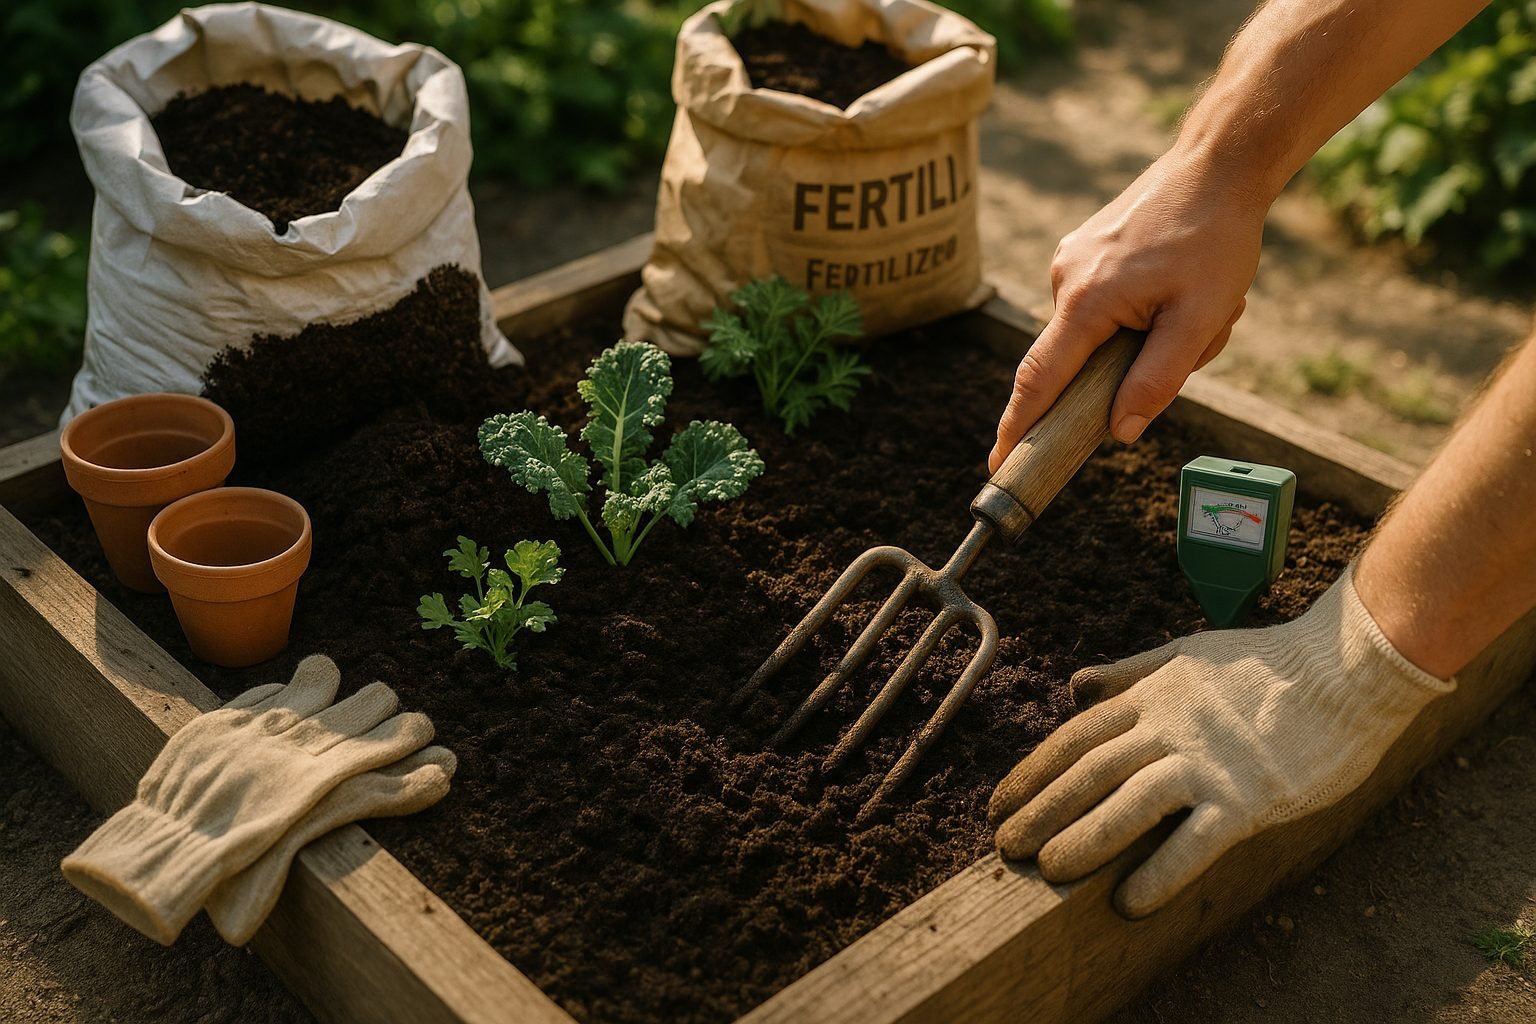
Aim for a soil pH between 6.0 and 7.0, as kale prefers slightly acidic to neutral conditions—test kits are affordable and available at most garden centers. To boost organic matter, work 2-3 inches of compost or well-rotted manure into the top 6-8 inches of soil, which helps both with drainage and provides a steady supply of nutrients.
Kale is a heavy feeder, so sprinkle in a balanced fertilizer (such as 10-10-10) before planting, and consider side-dressing with more compost throughout the season.
Choose a bed that gets at least 6 hours of direct sunlight a day, since kale loves the sun, though it will tolerate some light shade. Direct seeding or transplanting seedlings are both good options, but wait until soil temperatures stay above 45°F for the best germination.
For those short on space or with poor native soil, containers can be a great alternative—pick pots at least 12 inches deep, fill with high-quality container mix rich in organic matter, and ensure good drainage holes. Containers tend to dry out faster, so check moisture more frequently and fertilize every few weeks.
Whether you opt for raised beds, in-ground plots, or containers, starting your kale off in rich, well-prepared soil and the right location sets the stage for a healthy, productive crop all season long.
Sowing, Transplanting, and Early Growth
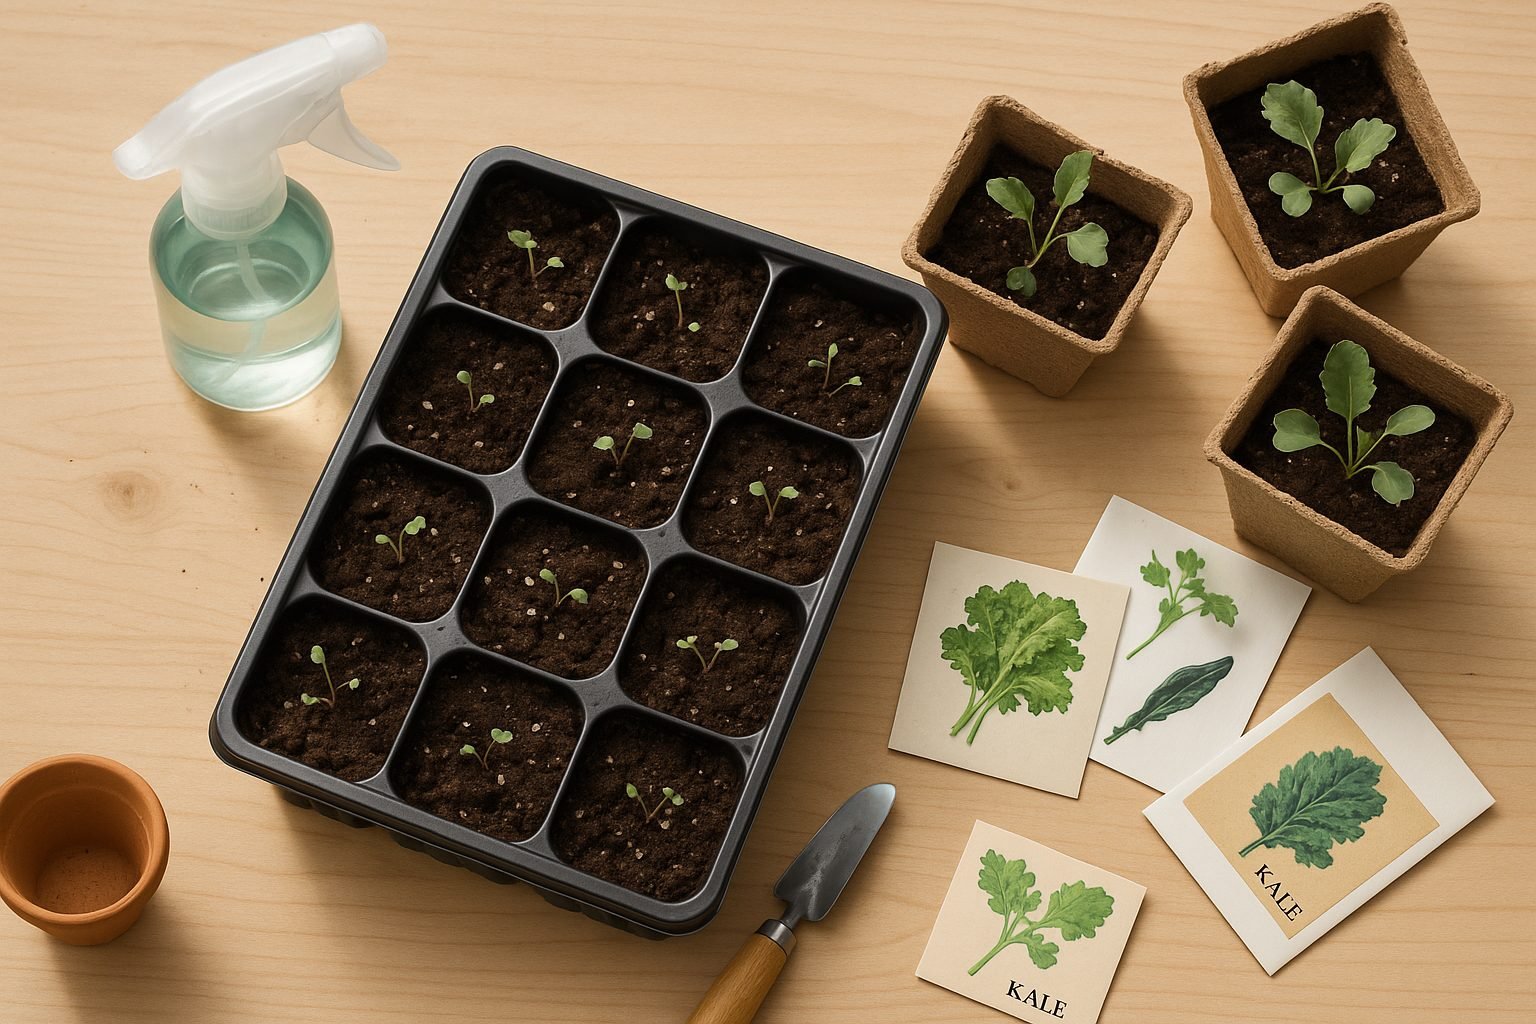
Starting kale from seed can be done either indoors or by direct sowing outdoors, offering flexibility depending on your climate and preference.
For indoor starting, fill seed trays or small pots with quality seed-starting mix about 6 to 8 weeks before your area’s last expected frost. Sow seeds ¼ inch deep, mist with water, and place in a warm spot (ideally 65–75°F). Keep the soil consistently moist but not soggy. When seedlings develop their first true leaves and reach 3–4 inches tall, begin hardening them off a week before transplanting by gradually introducing them to outdoor conditions.
For direct sowing outdoors, wait until the soil temperature reaches at least 45°F (typically 2–4 weeks before the last frost for a spring crop or in late summer for a fall harvest). Create shallow furrows ¼–½ inch deep, space seeds an inch apart, and cover lightly with soil. Once seedlings have two sets of leaves, thin them to 12–18 inches apart to give each plant ample room; good airflow helps prevent diseases.
If transplanting started seedlings, plant them slightly deeper than they were in their pots, spacing them as you would for direct seeding. In hotter climates, partial afternoon shade and closer spacing (10–12 inches) can help reduce heat stress and improve leaf quality, while in cooler northern regions, leaving a bit more space (up to 18 inches) between plants encourages robust growth.
During the first weeks after sowing or transplanting, water consistently to keep soil evenly moist—kale prefers steady moisture but dislikes soggy feet. Mulching with straw or compost helps retain soil moisture and suppress weeds. Monitor for pests like flea beetles and aphids, removing them by hand or using row covers if needed.
A light, balanced fertilizer or compost tea applied around two weeks after planting can encourage vigorous early growth, setting your kale crop up for sustained health and productivity.
Essential Kale Care: Watering, Light, and Feeding
Kale thrives with around six hours of sunlight per day, so pick a sunny spot in your garden or position containers in a south-facing window if growing indoors. It’s hardy and can tolerate some shade, but lack of light leads to leggier, less flavorful leaves.
When it comes to watering, kale prefers consistently moist but not soggy soil. Water deeply once or twice per week, aiming for about 1 to 1.5 inches of water total, and adjust if rain takes care of it for you. Watch for signs of water stress—yellow, wilting, or droopy leaves can mean it’s too dry, while limp, dark leaves might signal overwatering.
For feeding, organic fertilizers are ideal; side-dress plants with compost or apply a balanced slow-release organic fertilizer every 4 to 6 weeks as recommended on the package. If you want even better results, combine feeding with a monthly top-dressing of aged manure or worm castings for steady nutrients.
To help conserve moisture and keep soil cool, mulch around the base of each plant with straw, shredded leaves, or untreated grass clippings. This also helps suppress pesky weeds, which compete with kale for nutrients and water. Keep beds weed-free by hand-pulling or using a hoe early and often, being careful not to disturb kale’s roots. A 2-inch thick mulch layer does most of the weed-blocking work for you, letting your kale get the attention—and resources—it deserves.
Kale Pests and Problems: Prevention and Solutions
Keeping your kale healthy starts with recognizing and tackling a few persistent pests and diseases.
Aphids often gather under kale leaves, leaving behind sticky residue and curled foliage. Spraying a gentle stream of water can dislodge them, or you can introduce beneficial insects like ladybugs.
Cabbage worms—fast eaters that chew large, ragged holes—are best managed by handpicking or covering crops early with row covers to prevent moths from laying eggs.
Flea beetles, which create tiny round holes in leaves, are deterred by using floating row covers and maintaining healthy soil with organic compost.
Diseases like downy mildew show as yellow, patchy spots with fuzzy gray undersides. To manage this, improve air circulation, avoid overhead watering, and remove affected leaves promptly.
Root rot, often caused by soggy soil, leads to wilting and stunted growth. Prevent it by ensuring well-drained beds and rotating crops each year to disrupt disease cycles.
Watch for warning signs such as stunted growth, yellowing, or limp leaves—these often indicate stress from pests, water issues, or nutrient deficiencies.
Use organic solutions like neem oil sprays for pests and manual removal to control infestations before they spread. Practicing crop rotation yearly helps reduce the buildup of harmful insects and disease organisms.
Keeping kale beds weed-free and removing plant debris at the end of the season further cuts down on hiding places for pests and pathogens, setting your plants up for a robust, productive season.
Harvesting and Ensuring Ongoing Yields
To get the most out of your kale plants, harvest the outer leaves once they reach the size of your hand—ideally in the morning when their flavor is sweetest and the leaves are crisp. Use a clean pair of scissors or garden shears to snip the leaves about an inch above the stem, taking only what you need and leaving at least four inner leaves to ensure healthy regrowth. This selective picking can extend your harvesting window for weeks or even months.
Consistently harvesting mature leaves—rather than waiting for the whole plant to mature—encourages the plant to keep producing new foliage, rewarding you with a continuous supply. In mild climates, kale can be harvested year-round, especially from varieties that tolerate light frost, which can actually sweeten the flavor.
If you live in an area with cold winters, protect your kale with row covers or mulch to keep the roots snug and help the plants survive chilly temperatures; some gardeners even find kale can be harvested from under a blanket of snow. Indoors, a few potted kale plants on a sunny windowsill can provide fresh leaves throughout the winter months.
For storage, freshly picked kale keeps in the fridge for up to a week when stored in a damp paper towel inside a plastic bag. If you have a bumper crop, blanch kale leaves in boiling water for a couple of minutes, then freeze them for smoothies or cooked dishes later on. By following these simple harvesting and preservation practices, you can enjoy flavorful kale nearly all year, straight from your own garden.
Final Tips for Abundant, Healthy Kale Crops
As you wrap up your kale gardening efforts, remember that a thriving crop often comes down to a few key strategies and troubleshooting know-how. If you notice your kale bolting—shooting up flower stalks prematurely—it’s usually a sign of rising temperatures or plant stress. Try planting earlier in spring or providing shade during hot spells to prevent this.
For poor growth, double-check your soil fertility and ensure your plants aren’t crowded. Kale thrives in rich, well-drained soil and loves a boost of compost. Pest pressures like aphids and cabbage worms can be tackled with floating row covers, hand-picking, or an occasional blast of water.
Don’t be afraid to branch out—experimenting with varieties like Lacinato or Red Russian can add flavor and pest resistance to your patch, while succession planting every few weeks keeps leaves coming well into fall.
Once harvested, kale is versatile: toss young leaves raw in salads, bake them as crispy chips, or sauté with garlic and lemon for a hearty side.
Recapping the essentials, remember to:
- Space your plants properly
- Feed the soil regularly
- Watch for pests
- Harvest regularly for the best results
Above all, keep experimenting—gardening is part science, part art, and every season teaches something new. With a little attention and creativity, you’ll enjoy an endless supply of fresh, homegrown kale and discover just how rewarding it can be—both on your plate and in your garden.