Introduction to Fertilizing Tomatoes
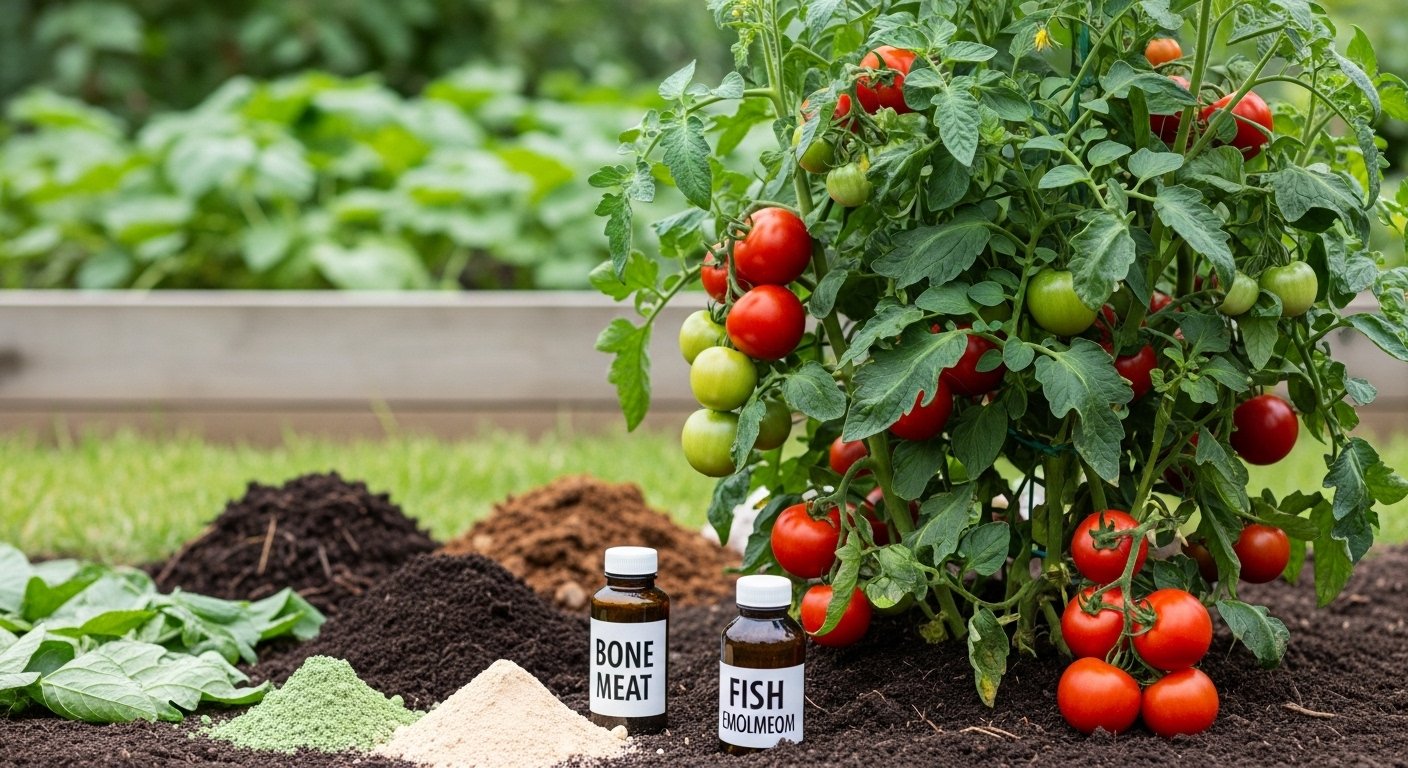
If you want juicy, flavorful tomatoes straight from your garden, using organic fertilizer for tomatoes is essential. Tomato plants are heavy feeders, meaning they need a steady supply of nutrients to produce plump, vibrant fruit all season long. Without the right fertilization, you might notice pale leaves, slow growth, or disappointing harvests with small or bland tomatoes. Over-fertilizing can be just as damaging, leading to leafy plants with few fruits or increased vulnerability to diseases. Many gardeners struggle to find the sweet spot—balancing plant health, soil quality, and eco-friendly methods.
Whether you’re a beginner confused by all the fertilizer options at your garden center or an experienced grower aiming to boost your tomato crop, this blog post is packed with practical tips. You’ll learn how and why organic fertilizers support strong growth, what a good organic tomato fertilizer recipe should include, and which natural amendments—like compost, bone meal, or fish emulsion—work best at different plant stages. We’ll also discuss timing and application, helping you avoid common pitfalls that lead to lackluster results. With these tried-and-true organic methods, your tomato bed can become a powerhouse of healthy, delicious fruit, all while nourishing your soil for seasons to come.
Understanding Tomato Nutrient Needs
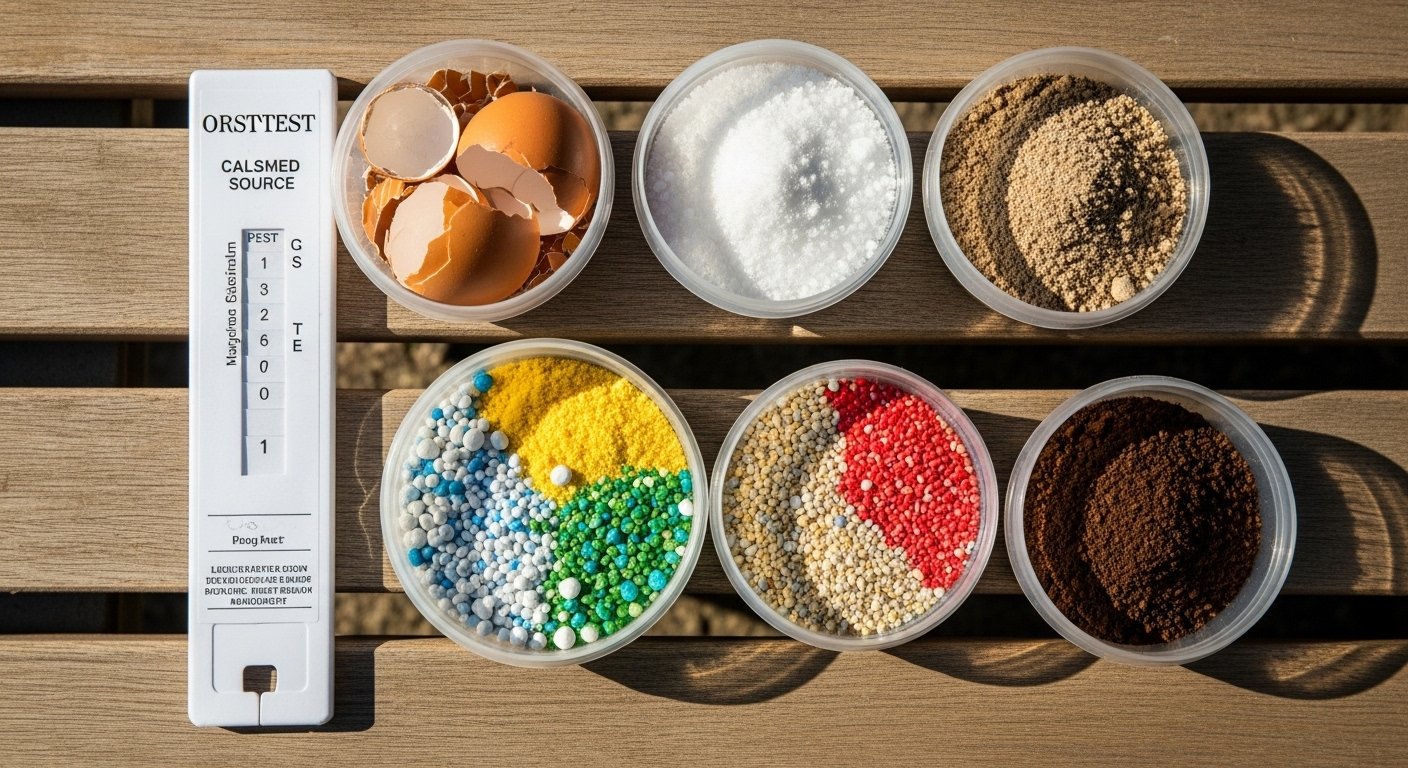
Tomatoes thrive when they receive a balanced mix of key nutrients, especially nitrogen, phosphorus, and potassium. Nitrogen fuels leafy green growth, making the plant lush and vibrant, while phosphorus encourages robust root development and flower or fruit production. Potassium supports overall plant health and helps resist disease.
Tomatoes also need smaller amounts of micronutrients, like calcium (to prevent blossom end rot), magnesium (for healthy leaves), and iron (for deep green coloration). When nutrients are lacking or over-applied, tomatoes show telltale signs:
- Yellowing leaves often point to nitrogen deficiency.
- Purple-tinged leaves can indicate low phosphorus.
- Brown leaf edges may reveal a potassium shortfall.
- Curled or yellowed leaves might also suggest an excess of fertilizer, which can burn roots or stunt growth.
To avoid guesswork, always start by testing your garden soil—home test kits, available at garden centers, give you a snapshot of your soil’s nutrient levels. This makes it easier to choose the right fertilizer and avoid costly mistakes. This simple step saves time and money, ensuring your tomato plants get exactly what they need to yield a healthy, flavorful harvest.
Choosing the Best Fertilizer for Tomatoes
When choosing the best fertilizer for tomatoes, you’ll need to consider both the type of nutrients your plants need and how those nutrients are delivered. Organic fertilizers, like compost or fish emulsion, improve soil health over time and are great for gardeners aiming for all-natural produce, but their nutrient content can be variable and they usually act more slowly.
Synthetic fertilizers, on the other hand, provide quickly available nutrients in precise amounts—perfect for giving tomato plants an immediate boost—but overuse can lead to salt build-up and harm beneficial soil life.
Granular fertilizers are convenient to sprinkle around roots and offer steady feeding, though you’ll need to water them in well to dissolve the nutrients. Liquid fertilizers work fast and are ideal for young transplants or to address specific nutrient deficiencies, but they may require frequent reapplication.
Slow-release formulas are a win for busy gardeners, delivering nutrients steadily over weeks and reducing the need for frequent feeding, though they cost a bit more upfront.
No matter which type you choose, always check the label for an N-P-K ratio suited to tomatoes—something close to 5-10-10 is common since tomatoes crave more phosphorus for healthy fruiting. Look for formulas that include essential micronutrients like calcium and magnesium to prevent common problems like blossom-end rot.
Brands that specify they’re tailored for “fruiting vegetables” or “tomatoes” usually contain the right nutrient mix and helpful additives for strong, productive plants.
Fertilizing Tomatoes at Different Growth Stages
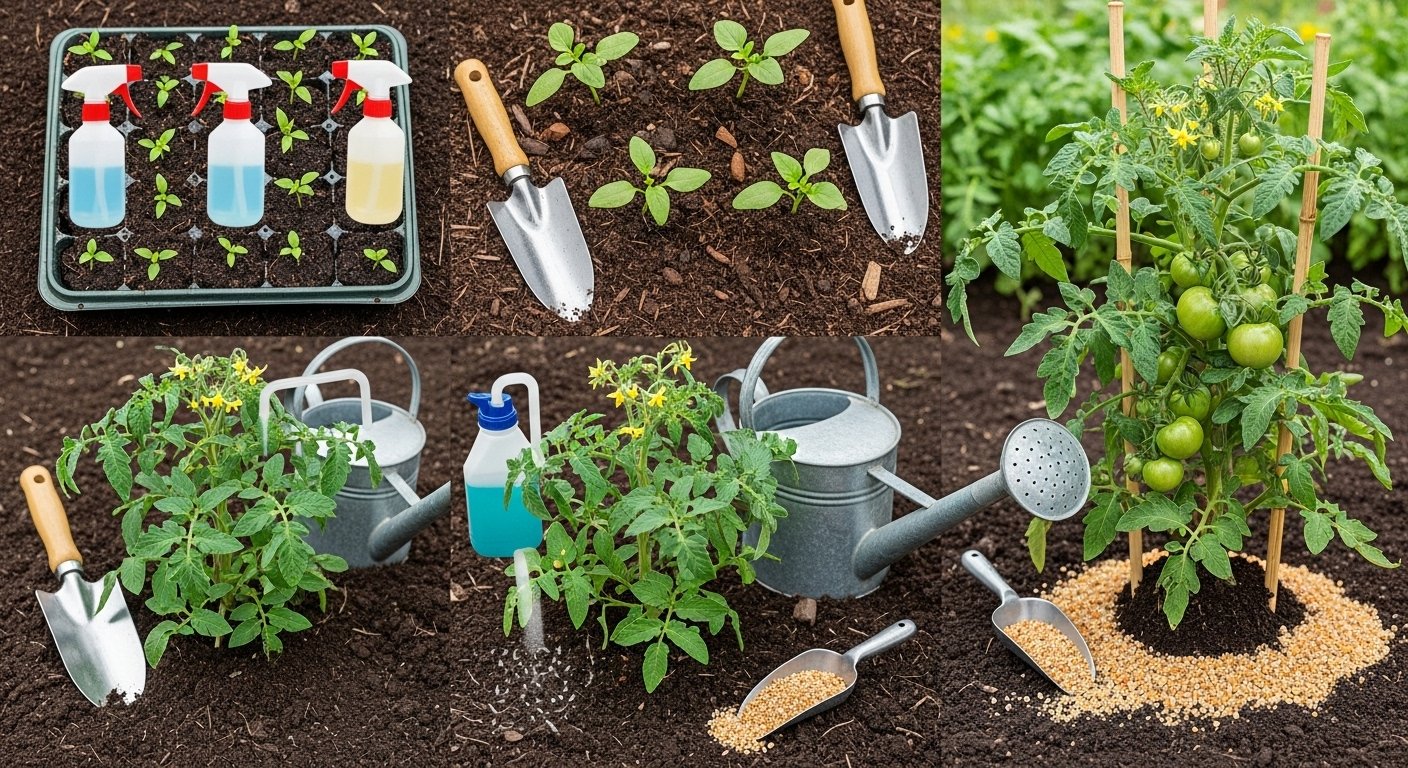
Fertilizing tomatoes properly at each growth stage can make a big difference in your harvest. When starting seeds, go easy—use a diluted, balanced fertilizer (like 10-10-10) once seedlings show their first true leaves, applying it every 10-14 days to avoid burning tender roots.
As you transplant young plants, mix a handful of compost or a slow-release fertilizer into the soil to help them settle in. This encourages strong root development without overloading nitrogen, which can cause weak, spindly growth.
Once your tomatoes reach the flowering stage, shift your focus to phosphorus and potassium. Look for fertilizer blends higher in these nutrients, as they help support blossom formation and root health. Applying a liquid fertilizer every two weeks can yield sturdy flowers and set the stage for plentiful fruit.
When fruiting begins, ramp up potassium even more (a 5-10-10 or tomato-specific blend works well) and feed every 2-3 weeks. This supports fruit size, flavor, and disease resistance.
Throughout the season, always water deeply after fertilizing to prevent root burn, and watch for yellowing leaves or poor fruit set, which could indicate nutrient imbalances. Adjust feeding based on plant performance and soil test results—over-fertilizing can be just as harmful as neglect, so less is often more as your tomatoes mature.
With the right timing and nutrients at every stage, you’ll be rewarded with lush, productive plants and a bountiful harvest.
Fertilizer Application Methods & Tips
Applying fertilizer effectively starts with using the right amount—too much can cause fertilizer burn, where salts from the fertilizer draw moisture from plant roots and damage them. To avoid this, always follow product label instructions and consider starting with a lower dose, especially for young or sensitive plants.
Different application techniques suit different needs:
- Side-dressing: This involves sprinkling granular fertilizer in a band alongside growing plants, supplying nutrients directly to the root zone without touching the stems or leaves. It’s perfect for row crops or vegetables like tomatoes and beans.
- Foliar feeding: Spraying a diluted liquid fertilizer directly onto leaves offers a quick nutrient boost if you notice signs of deficiency. Do this during cooler parts of the day to prevent leaf burn, and only use it as a supplement—not a replacement for soil feeding.
- Soil incorporation: Mixing fertilizer into the soil before planting helps distribute nutrients evenly and reduces the risk of localized burn. Just be sure to water thoroughly afterward so nutrients are accessible to roots.
Speaking of water, it’s a key partner in fertilizing: always water after application to help carry nutrients down to plant roots and reduce the risk of burning. Mulching after fertilizing can further enhance results by keeping soil moisture stable and preventing nutrients from leaching away during heavy rains. Use organic mulch like straw or bark chips to slowly break down and contribute nutrients over time.
Real-world gardeners often combine methods, such as side-dressing veggies mid-season, using liquid feeds on leafy greens, and topping with a layer of mulch to ensure steady, balanced growth all season long. By matching your fertilizer approach to your plants’ needs and maintaining good watering and mulching habits, you’ll avoid common pitfalls like overfeeding and help your garden thrive.
Tomato Fertilizer Solutions for Containers and Poor Soil
Growing tomatoes in containers or poor-quality soil can be challenging, but with the right fertilizer strategies, you can still enjoy a bountiful harvest. Unlike garden beds, container soil loses nutrients quickly due to frequent watering and limited volume, making consistent fertilization essential.
Start by using a high-quality potting mix blended with compost to kickstart healthy growth. Add organic amendments like worm castings or well-rotted manure for sustained nutrition. For depleted or low-fertility soils, mix in aged compost, peat moss, or coconut coir to improve soil structure and water retention before planting.
When it comes to fertilizers, tomatoes thrive on blends that supply balanced nutrients. Look for slow-release options or create your own by combining a general-purpose fertilizer with a handful of crushed eggshells for calcium and a tablespoon of Epsom salt for added magnesium.
During the flowering and fruiting stages, switch to a tomato-specific fertilizer that is higher in phosphorus and potassium to support fruit development. To prevent over-fertilizing—which can harm roots in containers—feed small amounts every two weeks or use a diluted liquid feed for consistent nutrition.
Testing your soil before planting and periodically during the season can help you fine-tune your approach and catch deficiencies early. Lastly, mulching the surface of your containers or poor garden beds with straw or shredded leaves helps retain moisture and adds organic matter as it breaks down, creating a healthier environment for your tomatoes to thrive.
Final Tips for Tomato Fertilizer Success
For healthy, productive tomato plants, focus on feeding with a balanced fertilizer that includes nitrogen, phosphorus, and potassium to support growth, flowering, and fruit development. Start with rich, compost-enriched soil, and apply fertilizer at planting and again as fruit sets, following package directions to avoid overfeeding.
Watch for signs like yellowing leaves or slow growth, which may signal a nitrogen deficiency; purple-tinged leaves could mean a lack of phosphorus, while brown edges often point to potassium issues. If problems appear, adjust your feeding schedule or try a foliar spray to give plants a quick nutrient boost.
Remember, tomatoes thrive best with consistent observation—check your plants weekly, note any changes, and tailor your care accordingly. With a responsive approach and careful attention, you’ll enjoy a strong, vibrant harvest all season long.