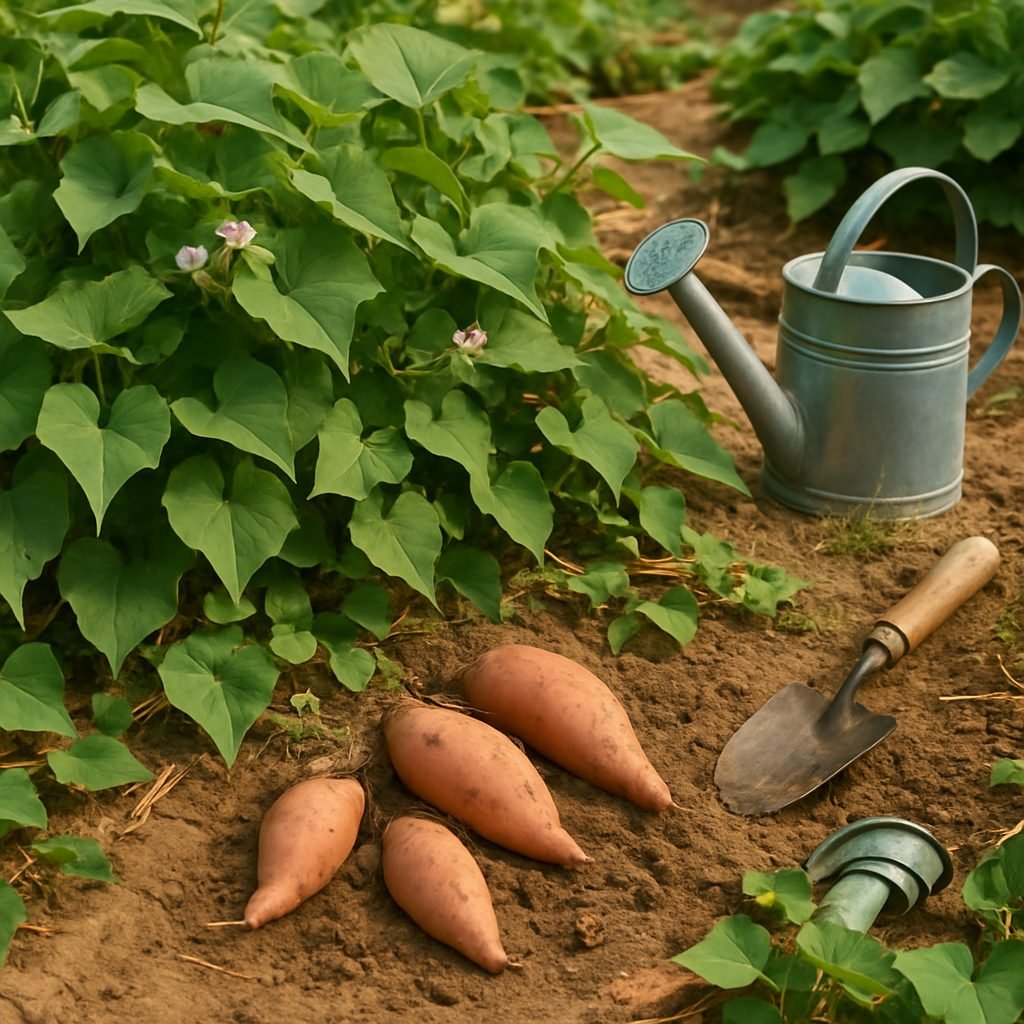
Getting Started
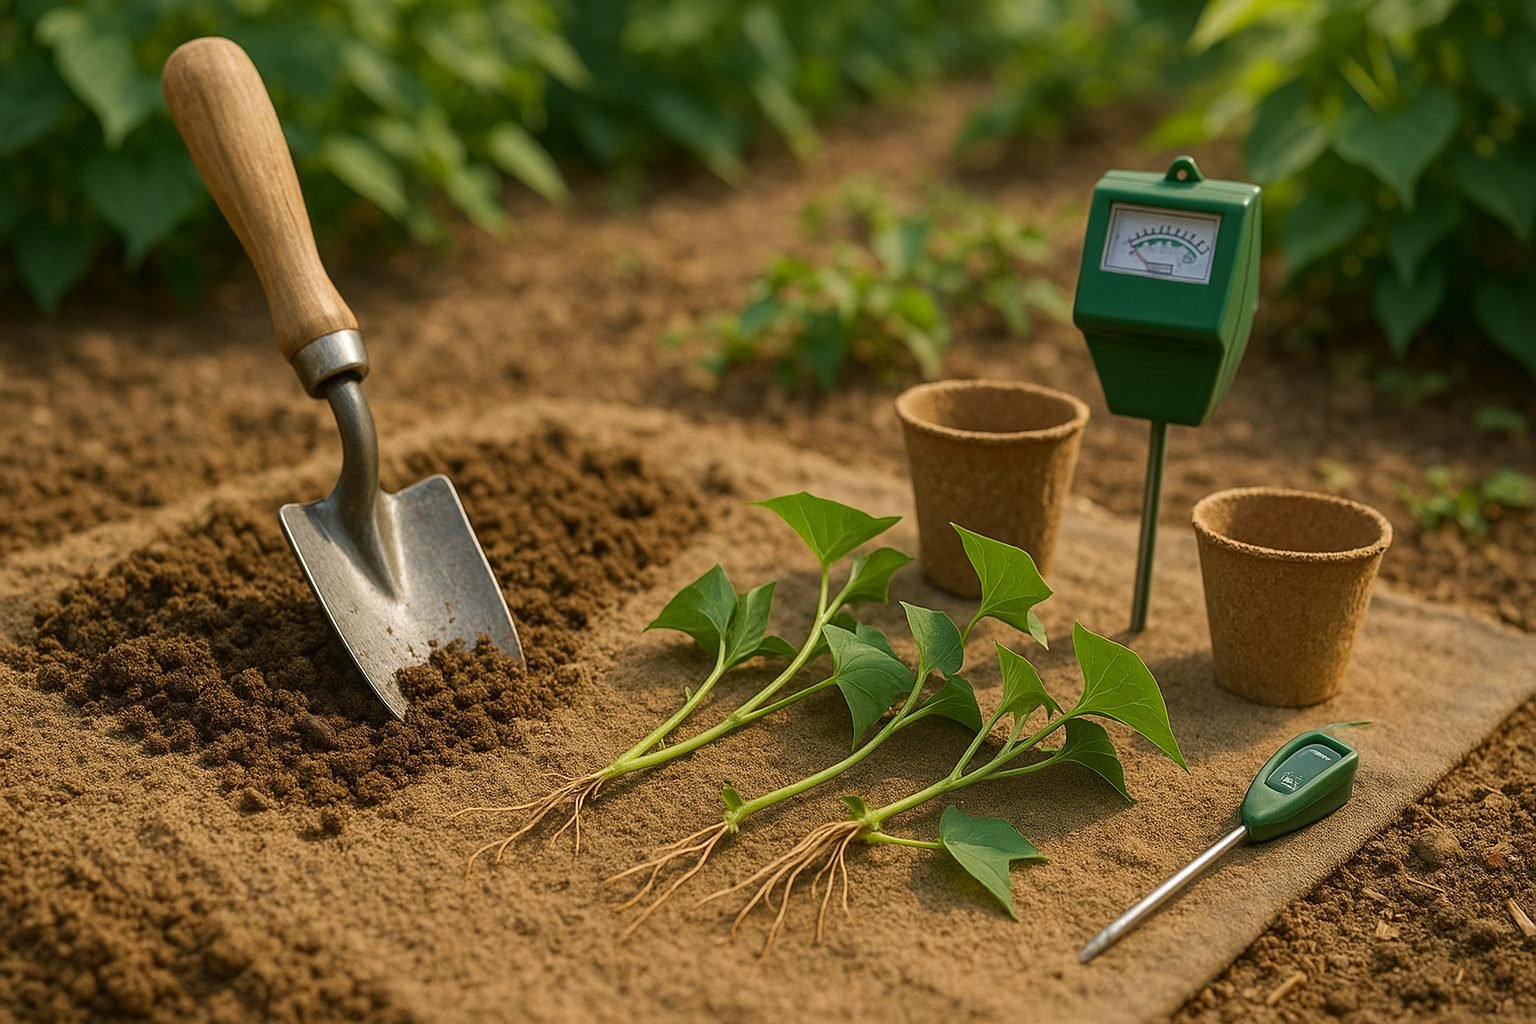
If you’re eager to grow a productive and delicious crop, getting sweet potato spacing right is one of the most important steps when planting. Sweet potatoes are a warm-weather staple in home gardens, valued for their rich flavor, nutritional punch, and vibrant pastel-orange flesh.
Unlike regular potatoes, which are botanically classified as tubers from the nightshade family, sweet potatoes come from a completely different plant family (Convolvulaceae) and grow as sprawling vines that form edible roots. They’re naturally sweeter, and their flavor works beautifully in both savory and dessert dishes—think roasted wedges, creamy casseroles, or even pies.
Sweet potatoes also have nutritional benefits: they are high in fiber, vitamins A and C, and have a lower glycemic index compared to standard potatoes. For both beginners testing out raised beds and seasoned gardeners seeking a reliable harvest, sweet potatoes deliver prolific yields with relatively low maintenance, as long as you give them enough space to stretch out and thrive.
Learning the essentials about sweet potato spacing and variety selection can quickly reward you with baskets of nutritious roots at the end of the growing season, making them a favorite crop for home gardens big and small.
Choosing and Preparing the Right Location
Sweet potatoes thrive in warm, sunny climates where temperatures consistently stay above 60°F, making late spring through early summer the best time for planting in most regions. They need at least six hours of full sunlight each day, so choose a spot that isn’t shaded by trees or buildings.
The ideal soil is loose, sandy, and well-drained, allowing the sweet potato tubers to expand without obstruction. Heavy clay or waterlogged soils can stunt growth or cause rot. Before planting, test your soil’s pH—it should fall between 5.5 and 6.5. If your soil is too acidic or alkaline, adjust it by mixing in lime or sulfur as needed.
To improve fertility and texture, dig in plenty of finished compost or well-rotted manure. If your garden tends to hold water or is compacted, consider raising your beds six to twelve inches to boost drainage and maintain consistent moisture levels.
In cooler climates, look for the sunniest, warmest microclimate around your property—like the south side of a building—or use black plastic mulch to warm the soil before planting slips.
Taking the time to build healthy, loose, and nutrient-rich soil will give your sweet potatoes the best chance for a bountiful harvest at the end of the growing season.
Planting Sweet Potatoes
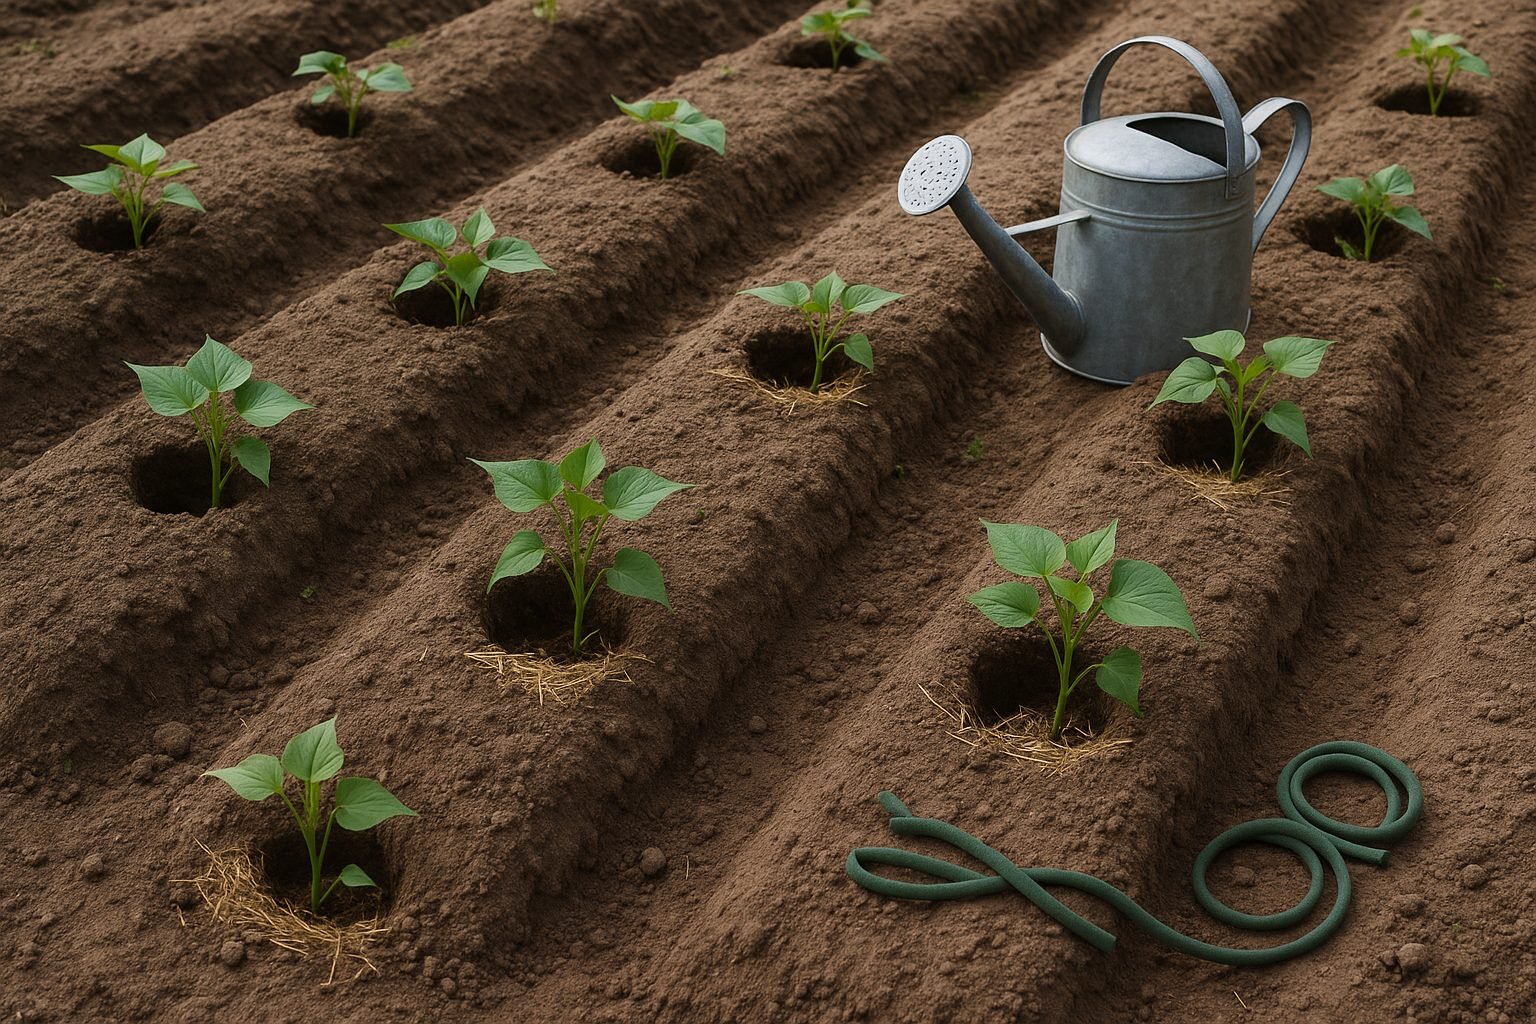
Growing sweet potatoes starts with slips—sprouts that grow from mature sweet potatoes—which are essential since planting raw sweet potatoes directly into the ground won’t produce results. To source slips, you can buy them from a reputable nursery or grow your own by placing a healthy sweet potato halfway in water or moist soil, using toothpicks to keep it upright.
In a few weeks, shoots will appear; once they reach about 6 inches long and have several leaves, gently twist them off, remove the lower leaves, and your slips are ready for planting.
For planting, choose a sunny spot with well-draining, loose soil. Create ridges or mounds about 8 inches tall, leaving 12–18 inches between plants and 3 feet between rows to give the vines room to sprawl.
Use a hand trowel to make holes about 4–6 inches deep, then plant each slip so the lower two-thirds is buried while the top leaves stay above ground. Press soil gently around the stem for stability.
Immediately after planting, water the slips well to help them establish roots, making sure the soil stays consistently moist but not soggy during the first few weeks. To reduce transplant shock, plant on an overcast day or during the cooler part of the day, and consider using mulch to conserve moisture.
With these steps, your sweet potatoes will get the strong start they need for a bountiful harvest.
Growing and Caring for Your Plants
Caring for your sweet potato plants doesn’t have to be complicated, but sticking to a simple routine ensures healthy, abundant growth. Set a consistent watering schedule—aim for about an inch of water a week, especially during hot, dry spells. Avoid soggy soil to prevent rot.
Mulching around your plants with straw or shredded leaves helps retain moisture, keeps roots cool, and blocks out weeds. As your vines begin to sprawl, gently train them to grow in the direction you want, using soft garden ties if necessary. This not only keeps your patch tidy but also reduces the risk of pest infestations and makes harvesting easier.
Pruning isn’t usually necessary, but if your vines overtake walkways or neighboring crops, snip them back just above a leaf node. Once your sweet potatoes start vining vigorously, begin fertilizing every 4-6 weeks with a balanced, slow-release fertilizer. Avoid high-nitrogen types, which encourage lots of leaves at the expense of tuber development.
Keep weeds in check by hand-pulling or laying down more mulch, as competition can stunt sweet potato growth. Healthy plants will have robust, deep-green foliage and sturdy stems, and you might spot clusters of small, trumpet-shaped flowers as the season progresses.
Watch for any yellowing or wilting leaves, which could indicate watering issues or pests. Address these problems quickly for the best harvest.
Common Sweet Potato Problems and Solutions
Growing sweet potatoes can be highly rewarding, but they’re sometimes susceptible to pests and diseases that threaten your harvest. Common insect pests include wireworms, which burrow into tubers, and sweet potato weevils—small, dark bugs that lay eggs in stems and roots, causing tunnels and rot.
To minimize these threats, rotate your crops yearly since pests often overwinter in the soil. Also, avoid planting sweet potatoes in the same spot where similar crops like morning glories or potatoes were grown. For organic pest control, try using beneficial nematodes in the soil or applying neem oil as a natural deterrent.
Fungal diseases such as black rot or Fusarium wilt often appear as discolored spots on leaves or tubers and thrive in overly wet soils. Prevent these by planting sweet potatoes in well-drained, loose soil, spacing plants well for good airflow, and mulching to reduce soil splash onto leaves. Remove and destroy any infected plants promptly to protect the rest of your crop.
Lastly, monitor your sweet potato patch weekly—look for wilting, holes in tubers, or discoloration, and act quickly at the first sign of trouble. Early intervention and routine observation are key to a healthy, abundant harvest.
Harvesting and Storing Sweet Potatoes
Knowing when to harvest sweet potatoes is key to enjoying their best flavor and texture. Look for yellowing leaves as a sign they’re ready—usually about four months after planting. Avoid waiting too long, as cold soil can damage the tubers.
When it’s time, choose a dry day and use a garden fork to gently loosen the soil, being careful not to bruise or cut the sweet potatoes, as this can lead to spoilage. Lift the tubers with your hands, brushing off excess dirt rather than washing them right away, which helps prevent rot.
After digging, curing is essential: it sweetens the flavor and improves storage life. Simply lay the sweet potatoes in a single layer in a warm (80-85°F/27-29°C), humid place—like an enclosed porch or a wire rack in a spare bathroom—for about 7–10 days. If a warm room isn’t available, create a curing box with a heater and a shallow pan of water to maintain humidity.
Once cured, store sweet potatoes in a cool, dark, and well-ventilated spot like a basement or pantry, ideally at 55-60°F (13-16°C). Never refrigerate them, as cold temperatures diminish their flavor and can cause hard centers when cooked.
For surplus sweet potatoes, consider these options:
- Pressure canning
- Making mashed sweet potato for the freezer
- Dehydrating slices for chips or soups
With the right care, your sweet potato harvest will stay sweet and delicious for months to come.