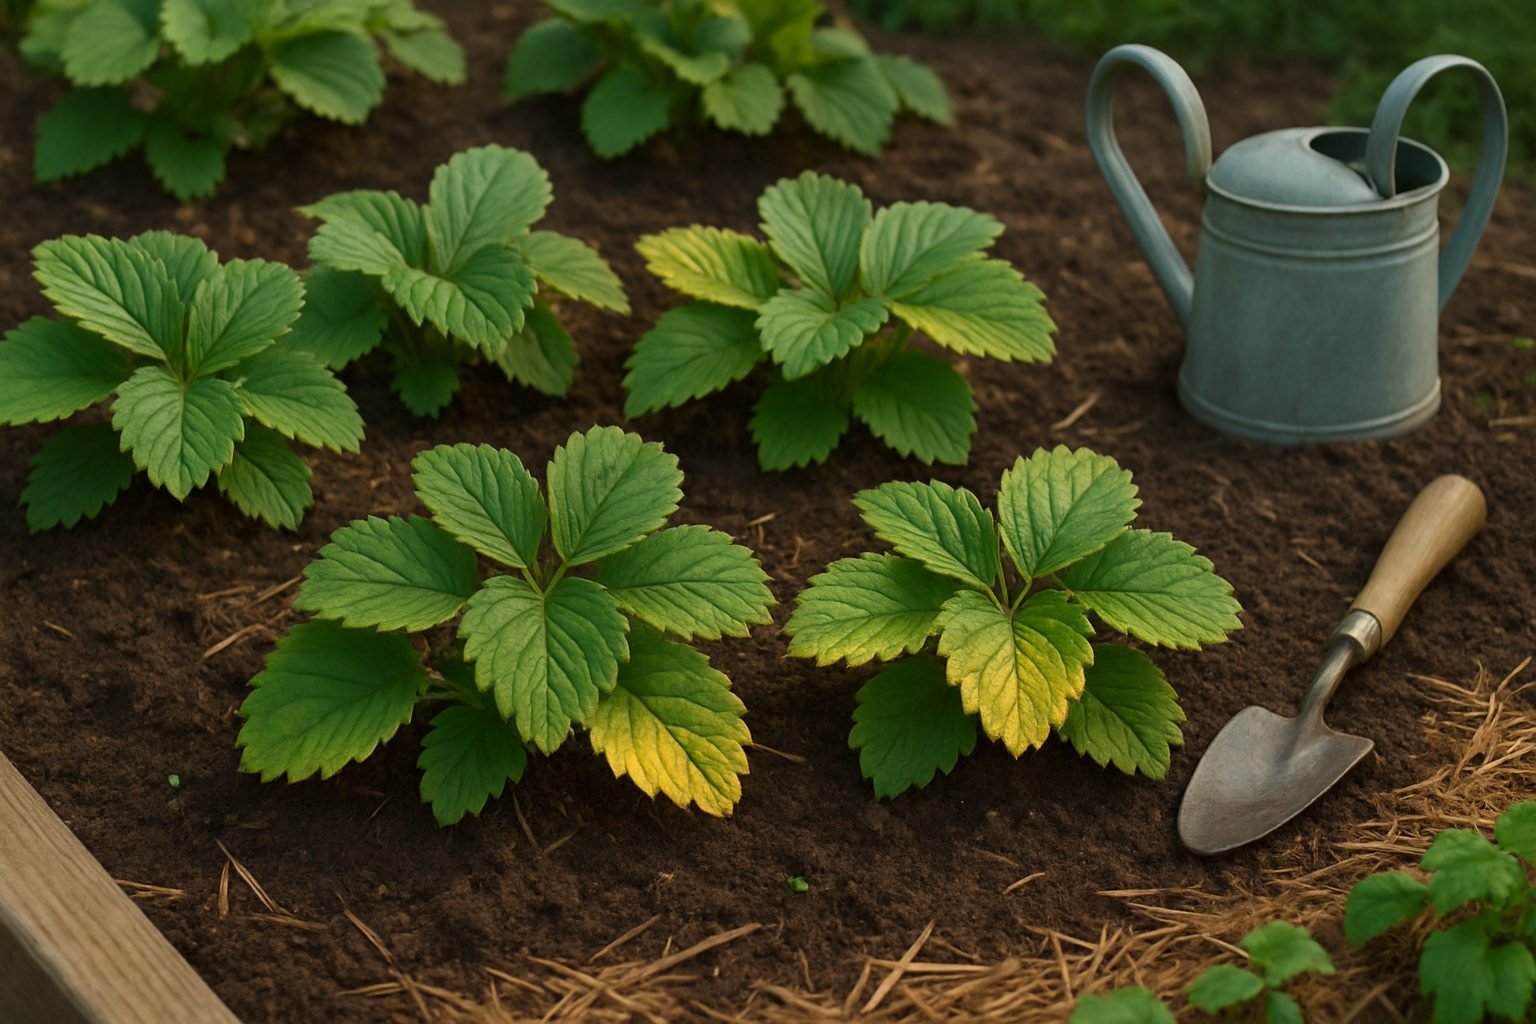
Common Reasons Strawberry Leaves Turn Yellow
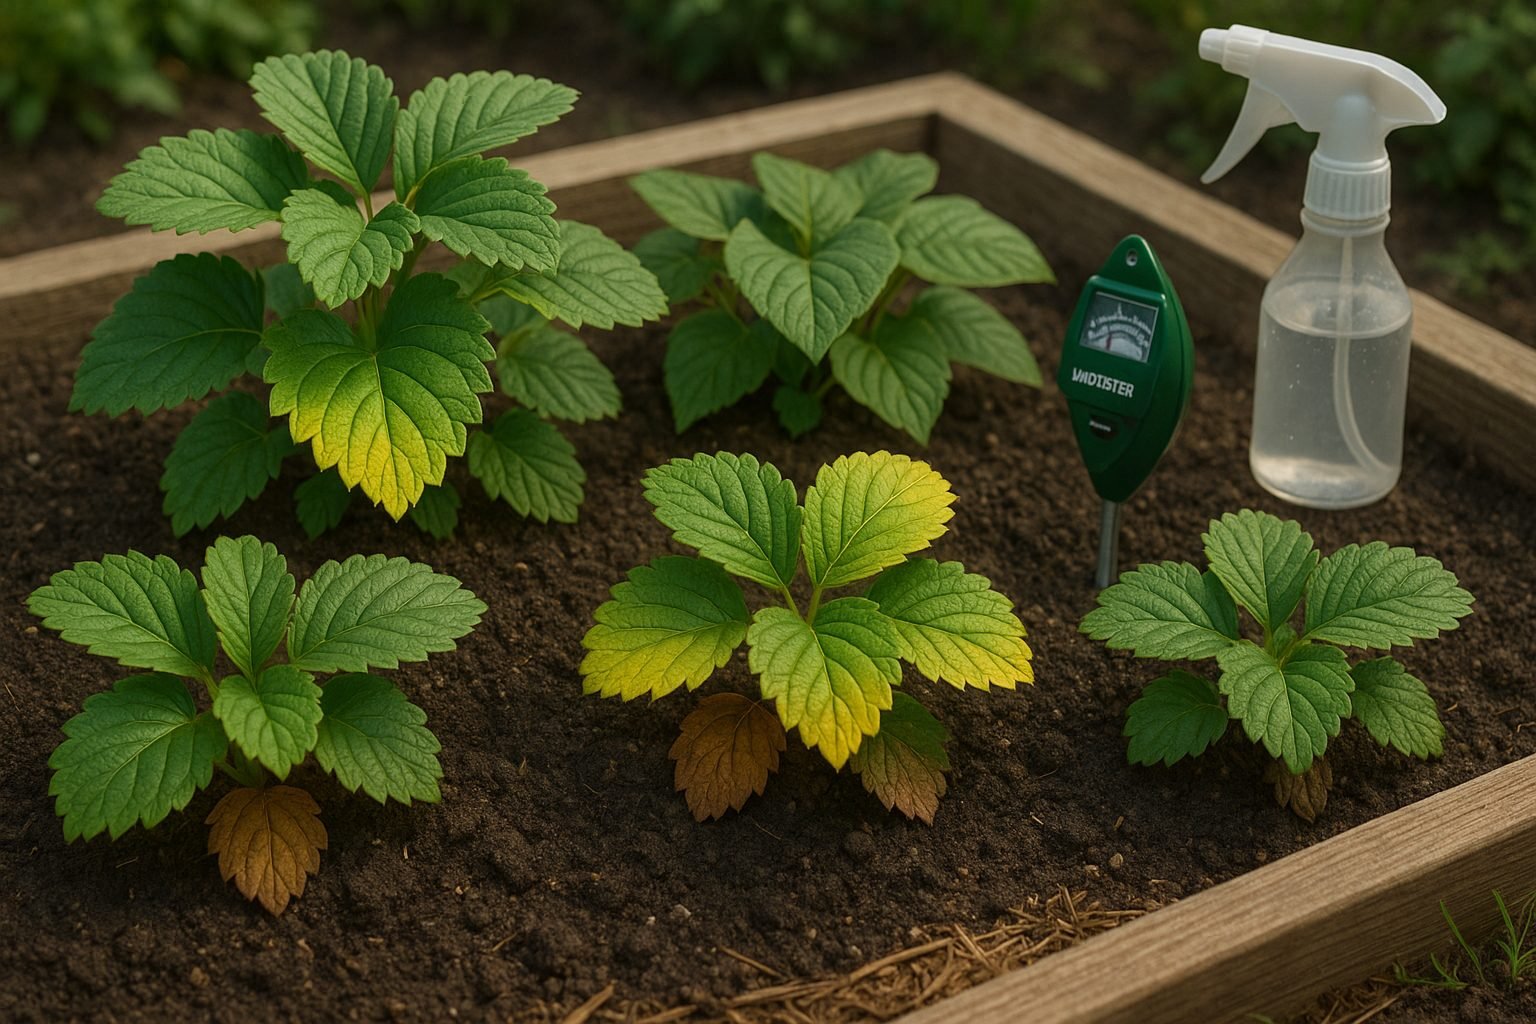
If you’re noticing yellow strawberry leaves in your garden beds or containers, you’re not alone. Yellow leaves are a common concern for strawberry growers, and they can signal anything from normal aging to more serious issues like overwatering, poor drainage, or environmental stress. Before you reach for fertilizer or start to worry, it’s helpful to understand what’s causing your strawberry leaves to turn from vibrant green to pale yellow.
Watering Issues
Often, the biggest culprit behind yellow strawberry leaves is watering problems. Too much water can suffocate roots and limit oxygen, while too little leaves your plant thirsty and unable to transport nutrients properly. Soggy or compacted soil that doesn’t drain well is another red flag—roots need both water and air, and sitting in waterlogged soil quickly leads to unhappy, yellowing foliage.
Environmental Stress
On the flip side, if the weather has been unusually hot or windy, strawberries can experience environmental stress, causing their leaves to yellow as the plant struggles to cope.
Natural Aging
Not all yellow leaves signal trouble. Like many plants, strawberries naturally shed older leaves as new ones emerge. If you only notice a few yellow leaves near the base of the plant, especially older, lower ones, this could simply be part of the plant’s life cycle.
Warning Signs
However, widespread yellowing—especially if new leaves are affected or if you see browning, curling, or stunted growth—is a warning to look deeper.
How to Diagnose the Problem
To confidently identify what’s happening, try these simple observation tips:
- Check the soil moisture with your finger—if it’s soggy, cut back on watering and ensure pots have drainage holes.
- If the soil is dry and crumbly, water more consistently.
- Examine the pattern of yellowing: are just old leaves affected, or new ones too?
- Inspect for pests, odd spots, or root rot smells, which could indicate disease.
By paying attention to these signals, you can help your strawberries recover and keep their leaves green and thriving.
Identifying Nutrient Deficiencies and Imbalances
Yellowing leaves are often an early sign that your plant is struggling with a nutrient deficiency, and pinpointing the cause is crucial for a healthy recovery.
Nitrogen deficiency commonly causes older, lower leaves to turn pale yellow before the color slowly spreads upward; plants may also show stunted growth. Iron deficiency, in contrast, usually affects new, young leaves first, making them turn yellow while the veins remain green—a symptom called chlorosis. Magnesium deficiency shows up as yellowing between the veins of older leaves, often with a green “web” effect and sometimes even brown spotting at the leaf edges.
The first step in confirming a nutrient deficiency is a careful assessment: observe which leaves are yellowing, where the pattern appears, and whether the veins remain green. Take note of overall plant health and any other visible changes.
While visual clues are helpful, the best way to confirm deficiencies is with a soil test, which you can order through garden centers or local extension offices—these tests tell you exactly which nutrients your soil might lack.
Once you’ve identified the issue, practical solutions include using a balanced, slow-release fertilizer. Pay attention to labels to make sure it has the nutrients your plants need. For specific deficiencies, you can add targeted amendments, such as:
- Blood meal for nitrogen
- Epsom salt for magnesium
- Chelated iron for iron
Always follow recommended application rates and water the soil afterward to help nutrients reach the roots. Remember that over-fertilizing can harm your plants, so consistency and moderation are key.
Regular monitoring and occasional soil testing will help catch any imbalances early, keeping your plants green and healthy throughout the season.
Watering Mistakes and How to Fix Them
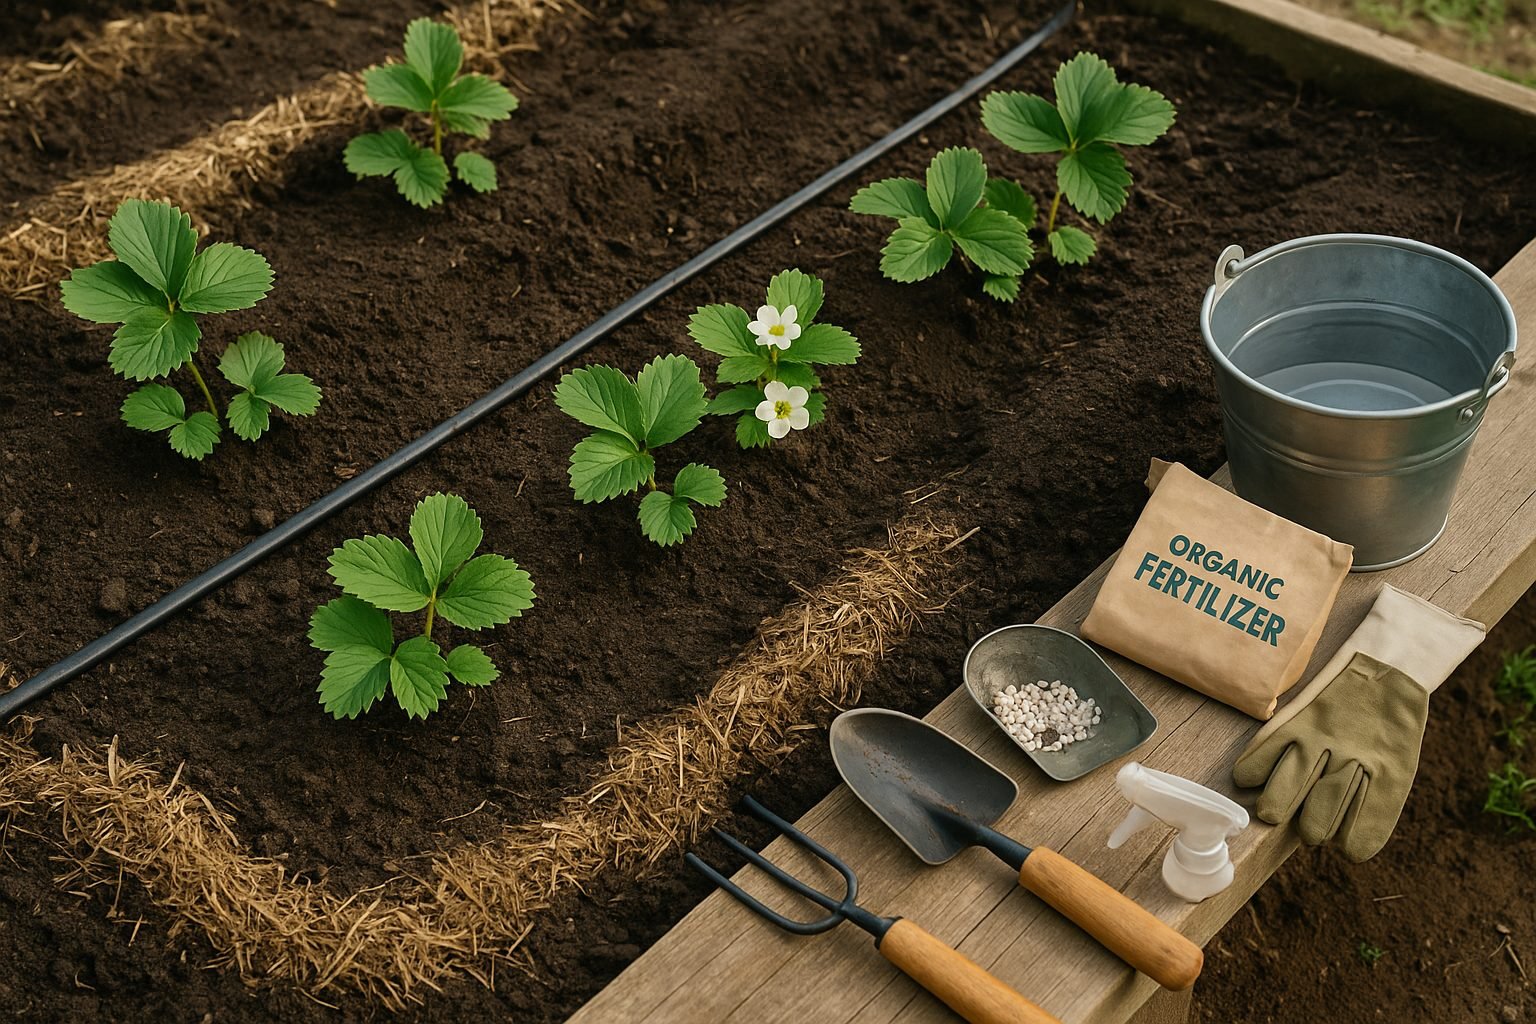
Many gardeners make the mistake of overwatering strawberry plants, which leads to yellowing leaves, mushy fruit, and root rot—issues that can quickly devastate an otherwise healthy patch. Overwatering deprives roots of the oxygen they need, often causing the plant to wilt despite the damp soil.
In contrast, underwatering is just as harmful: strawberry plants subjected to dry conditions will show drooping leaves, stunted growth, and dry, brown edges on their foliage. Both extremes stress the plant and reduce fruit production, so finding the right balance is key.
Proper Drainage and Soil Preparation
Proper drainage is essential—strawberries hate “wet feet,” so use raised beds or well-amended, loose soil to keep water from pooling around the roots. Incorporate organic matter like compost to improve both drainage and soil aeration, encouraging robust root systems that can efficiently access water and nutrients.
Watering Techniques for Healthy Strawberries
For best results, water strawberries deeply but less frequently; aim for about one inch of water per week, adjusting for rainfall and hot weather. Water early in the morning to minimize evaporation and discourage disease, making sure to moisten the soil rather than soaking the leaves.
Signs of Water Stress
Watch your plants closely—wilting, discolored leaves, or fruit that fails to ripen are early signs of water stress. By paying attention to your strawberries’ needs and avoiding common watering mistakes, you’ll be on the path to a more productive and healthy harvest.
Pests, Diseases, and Yellowing Leaves
Yellowing leaves can be a sign that your plant is struggling with pests or disease. Common insect pests like spider mites, aphids, and whiteflies often cluster under leaves, sucking sap and leaving behind sticky residue or tiny webbing.
Fungal diseases such as leaf spot, which appears as brown or black flecks, and root rot, identifiable by mushy roots and stunted growth, are also frequent culprits. Wilting—especially when the soil is moist—can hint at root rot, while random holes or visible insects suggest a pest problem.
Early detection is key: regularly inspect your plants by looking under leaves, checking for speckles or sticky spots, and gently tugging on yellowing leaves to see if they come away easily (a sign of root issues).
Prevent pests and diseases by ensuring good airflow, avoiding splashing water on leaves, and not overcrowding your plants. Quarantine any new or sick-looking plant before it joins your group.
If pests appear, spray the leaves with a mix of water and mild soap, or try neem oil for serious infestations. Trim off badly affected or yellowing leaves to keep problems from spreading, and repot with fresh soil if you suspect root rot.
Keeping your plant’s environment stable—with the right light, water, and humidity—can go a long way toward preventing yellow leaves.
Environmental and Seasonal Factors
Environmental changes can cause your plants’ leaves to turn temporarily yellow, but knowing the difference between normal shifts and warning signs can help you respond effectively. Sudden temperature drops or spikes—such as a cold snap in spring or a heatwave in summer—often stress plants, leading to yellowing (chlorosis) as their roots struggle to absorb nutrients.
This is especially common after repotting or moving plants, since transplant shock disrupts their established root systems. Keeping roots moist and avoiding excessive handling can help reduce this stress.
Light exposure is another key factor: plants moved from shade to direct sun may exhibit leaf yellowing as they acclimate, while those not receiving enough light might show overall paleness and slow growth.
Some yellowing is perfectly normal, though—deciduous trees, for example, shed leaves every autumn as part of their normal life cycle, and older houseplant leaves naturally yellow and drop off as new growth appears.
However, widespread or sudden yellowing outside of these expected patterns can signal trouble, such as root damage, overwatering, or pest issues, and should prompt investigation.
During extreme weather, protect sensitive plants with row covers, shade cloths, or by bringing potted specimens indoors to buffer against harsh cold, wind, or heat. Mulching can insulate roots, help retain soil moisture, and minimize temperature swings.
By understanding and anticipating these environmental factors, you can better protect your plants and keep temporary yellowing from turning into a more serious problem.
Preventative Care for Vibrant, Healthy Leaves
Consistent preventative care is key to keeping your plants’ leaves vibrant and healthy all season long. Start by practicing crop rotation—moving different plant families to new spots each year prevents soil-borne diseases from taking hold and spreading to your leaves.
Mulching is another powerful tool: lay a two- to three-inch layer of organic mulch around your plants to lock in moisture, block weeds, and regulate soil temperature, all of which contribute to resilient, green foliage.
Don’t underestimate the value of regular monitoring; take a few minutes each week to inspect for early signs of yellowing or pests. Catching issues early allows you to remove affected leaves or treat only the problem area, stopping further spread before it starts.
Keep up with routine maintenance by watering deeply when the soil feels dry rather than following a strict schedule, as this helps your plants avoid stress that can lead to yellowing. Fertilize with a balanced, slow-release fertilizer according to your plants’ needs, but avoid over-fertilizing, which can do more harm than good.
Finally, remove weeds promptly, as they compete for nutrients and moisture.
By combining these strategies—rotating crops, mulching, staying alert, and maintaining a steady care routine—you’ll cultivate healthy, lush leaves that stay green well into harvest time.