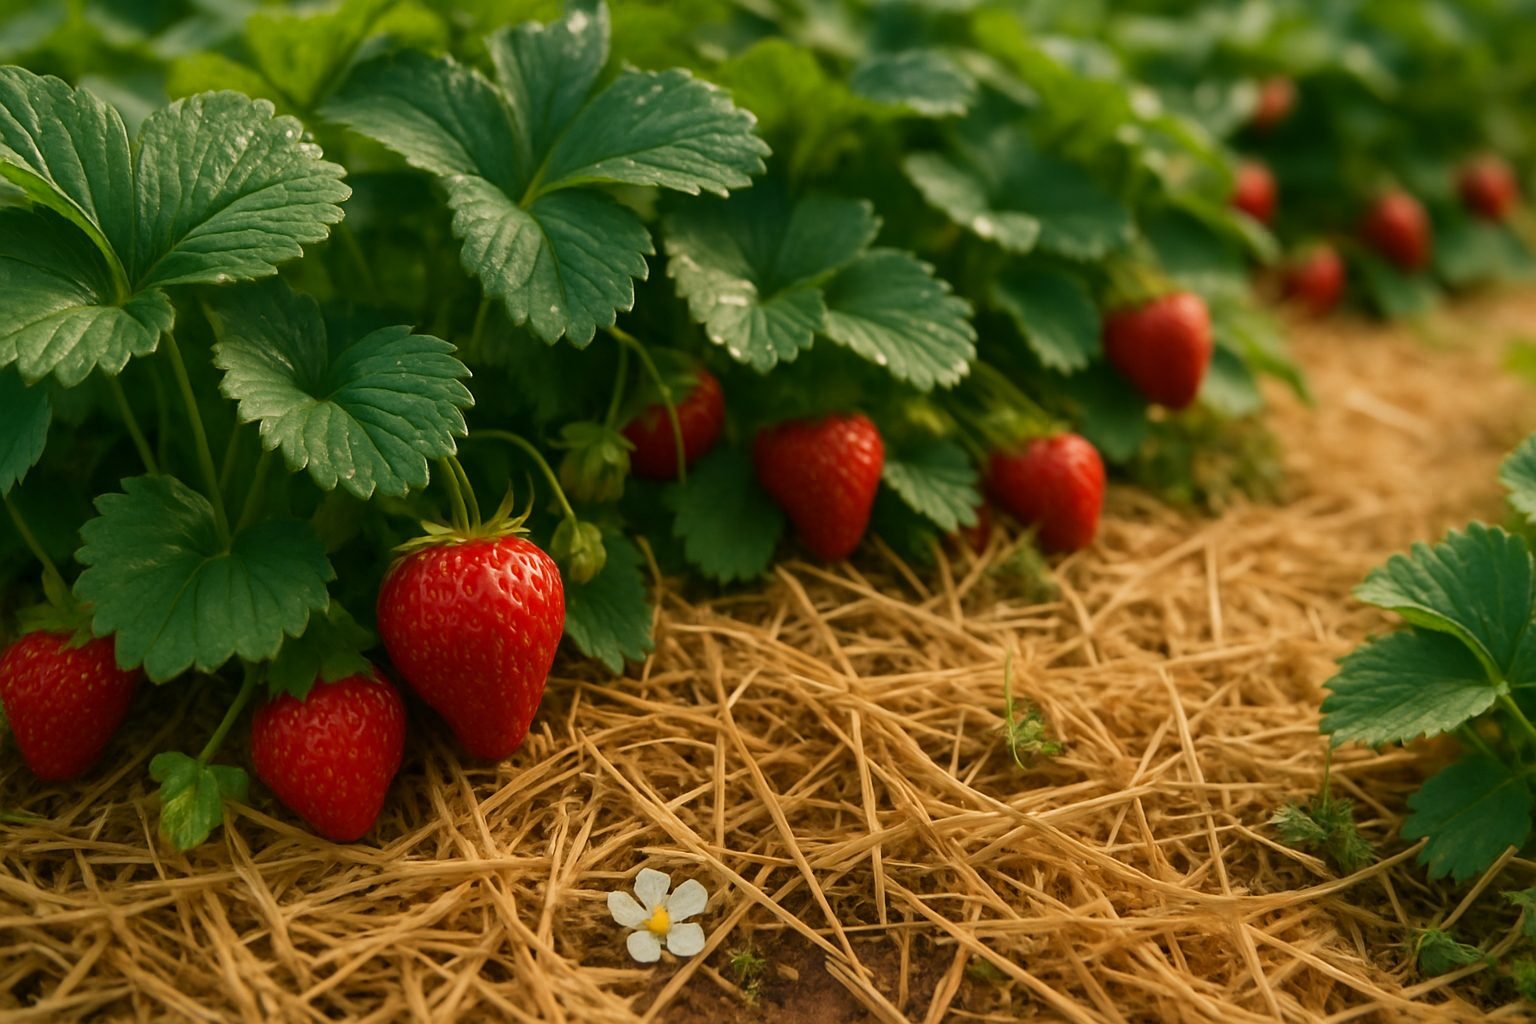
Why Mulching Matters for Strawberries
Choosing the right organic mulch for strawberries isn’t just about appearance—it’s a powerful tool for healthier plants and tastier fruit. If you’ve ever battled weedy strawberry beds or found your berries resting in muddy soil, mulching can be a true game changer.
Organic mulches like straw, pine needles, or shredded leaves create a protective barrier over the soil, locking in precious moisture so you water less often and plants thrive even during dry spells. They also smother pesky weeds, saving you time and backache, while keeping competition away from your ripening berries.
Temperature swings can stress strawberries, but mulch helps insulate roots, keeping soil cooler in summer and warmer when temps dip—think of it as a cozy blanket for your patch! Perhaps best of all, mulch keeps fruit clean and mud-free, so you can pick flawless strawberries straight from the plant.
Healthier plants deal with less stress and disease, meaning tastier, juicier berries at harvest. By adding organic mulch for strawberries, you’re also improving soil texture as it breaks down and adds nutrients, while naturally deterring many pests and fungal problems.
Bonus: beds with a good mulch layer need less work overall and help perennial strawberry crowns persist for years, rewarding you with bountiful harvests season after season. Whether you’re growing a few plants in containers or a backyard berry row, organic mulch is a simple, reliable way to boost your strawberry success with less work and more delicious results.
Best Types of Mulch for Strawberry Beds
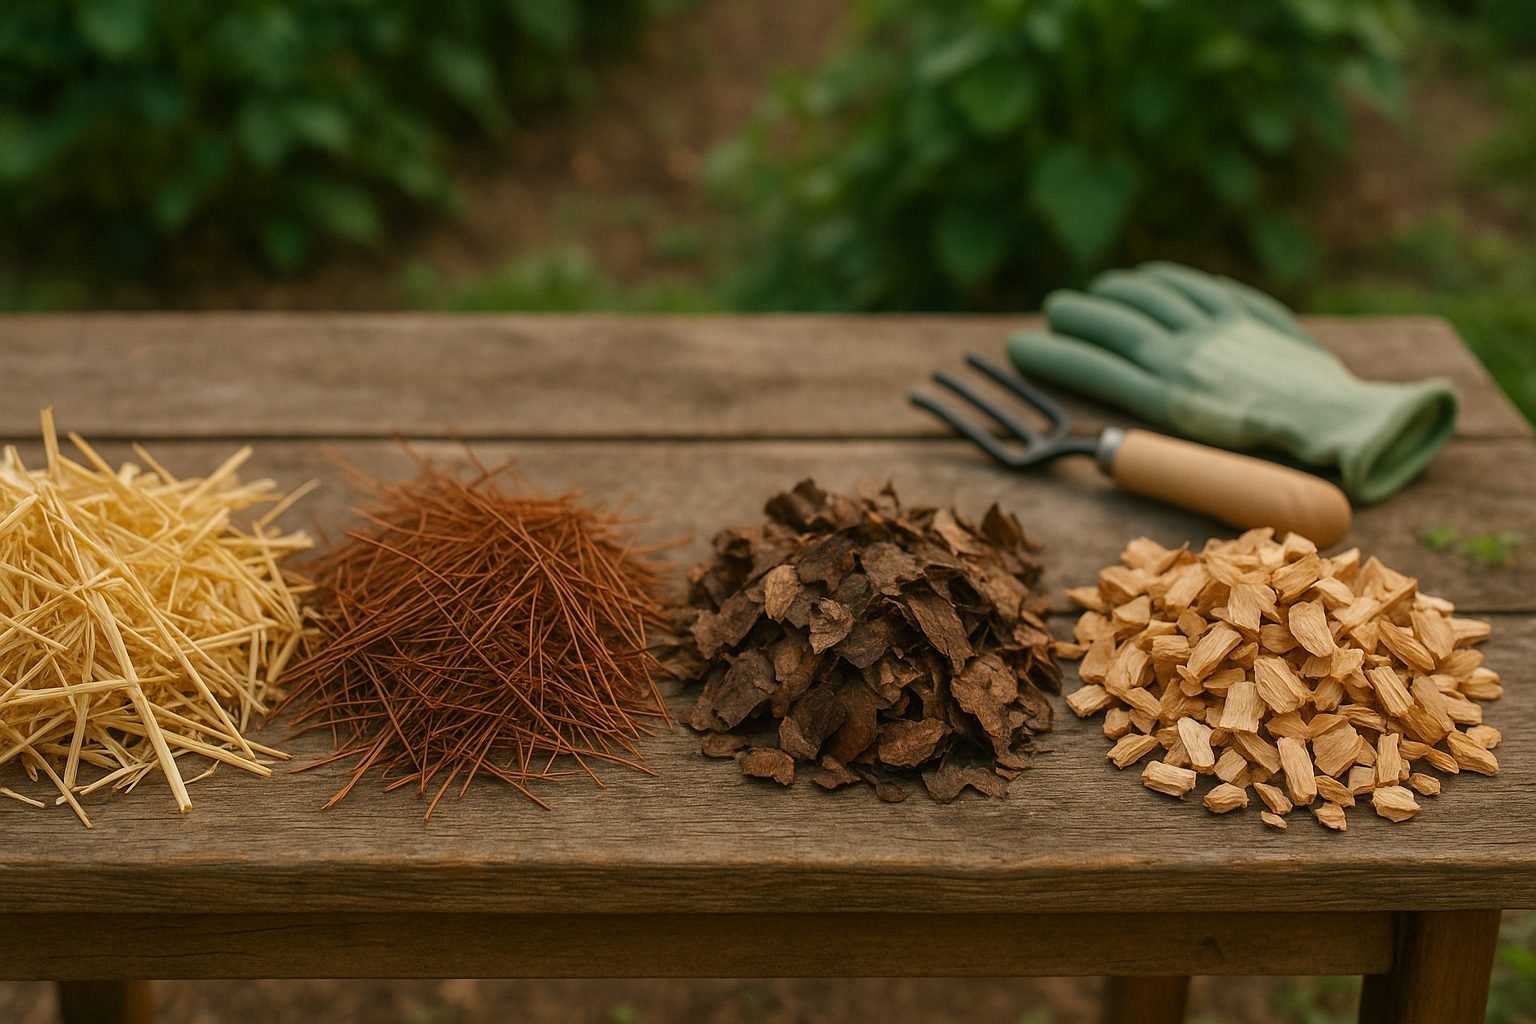
Choosing the right mulch for your strawberry bed can make a big difference in both plant health and berry quality. Straw remains the classic favorite among gardeners because it creates a loose barrier that keeps strawberries dry, clean, and less prone to rot, all while allowing good airflow. Just make sure to use weed-free straw to avoid introducing unwanted seeds into your bed.
Pine needles are another excellent option, especially if your soil tends toward alkaline. They can slightly acidify the soil, which aligns well with strawberries’ preference for mildly acidic conditions. Pine needles also don’t mat down heavily, so airflow isn’t impeded.
Wood chips offer long-lasting coverage and effective weed suppression, but they can absorb nitrogen as they decompose. This may require you to supplement your strawberries with extra fertilizer. Also, wood chips can sometimes harbor slugs hiding beneath the mulch, so use them with caution and monitor your patch regularly.
Black plastic mulch is popular in commercial strawberry operations because it warms the soil, speeds up plant growth, and keeps berries away from dirt—reducing disease risk and promoting earlier harvests. However, it can lead to poor drainage and overheating in hot climates. If you use black plastic, adjust your watering routine accordingly and consider cutting slits for better air movement.
For organic gardeners, materials like shredded leaves or grass clippings (avoid those treated with herbicides) can be convenient and eco-friendly. However, they break down faster and may need refreshing throughout the season.
When choosing among these mulches, consider your region’s climate:
- Cooler areas may benefit from black plastic’s warmth.
- Hotter zones do better with straw or pine needles for cooling insulation.
Also, think about how much time you want to spend maintaining the mulch:
- Straw and pine needles generally need renewing every year.
- Wood chips last longer but come with their own challenges.
Ultimately, the best mulch balances your local soil conditions, weather patterns, and how much effort you’re willing to put in to keep your strawberries thriving and your harvest abundant.
Timing: When to Apply Mulch to Strawberries
Getting the timing right for mulching your strawberries is key to healthy plants and a bountiful harvest. For new strawberry beds, apply mulch soon after planting—usually in early spring or late fall—once the soil has warmed up a bit but before weeds have a chance to take over. This helps hold moisture and suppress unwanted growth around young strawberries.
For established perennial beds, timing depends on your climate:
- In colder regions, wait until after the first hard frost but before consistent snow cover, often late fall, to add a thick winter insulating layer. This protects crowns from freeze-thaw cycles and helps your berries survive harsh winters.
- In warmer climates where winters are mild, mulch as temperatures start to cool in autumn to conserve moisture and keep roots from overheating.
After you finish harvesting strawberries in summer, go ahead and refresh your mulch layer—this reduces disease risks from old foliage, keeps fruit clean, and retains soil moisture during hot months.
Annual beds rely more on initial mulching post-planting and replacement after harvest, while perennial beds benefit from a late fall top-up and spring refresh.
For first-time gardeners, it’s helpful to mark your calendar for two main events: right after planting and just before winter sets in. Don’t be afraid to peek under the mulch in early spring to remove layers if plants start growing early. Experienced gardeners can fine-tune mulching based on past results, soil temperature, and local weather patterns.
No matter your level, remember that a well-timed mulch keeps strawberries healthier, beds tidier, and harvests sweeter.
How to Mulch Strawberries Step-by-Step
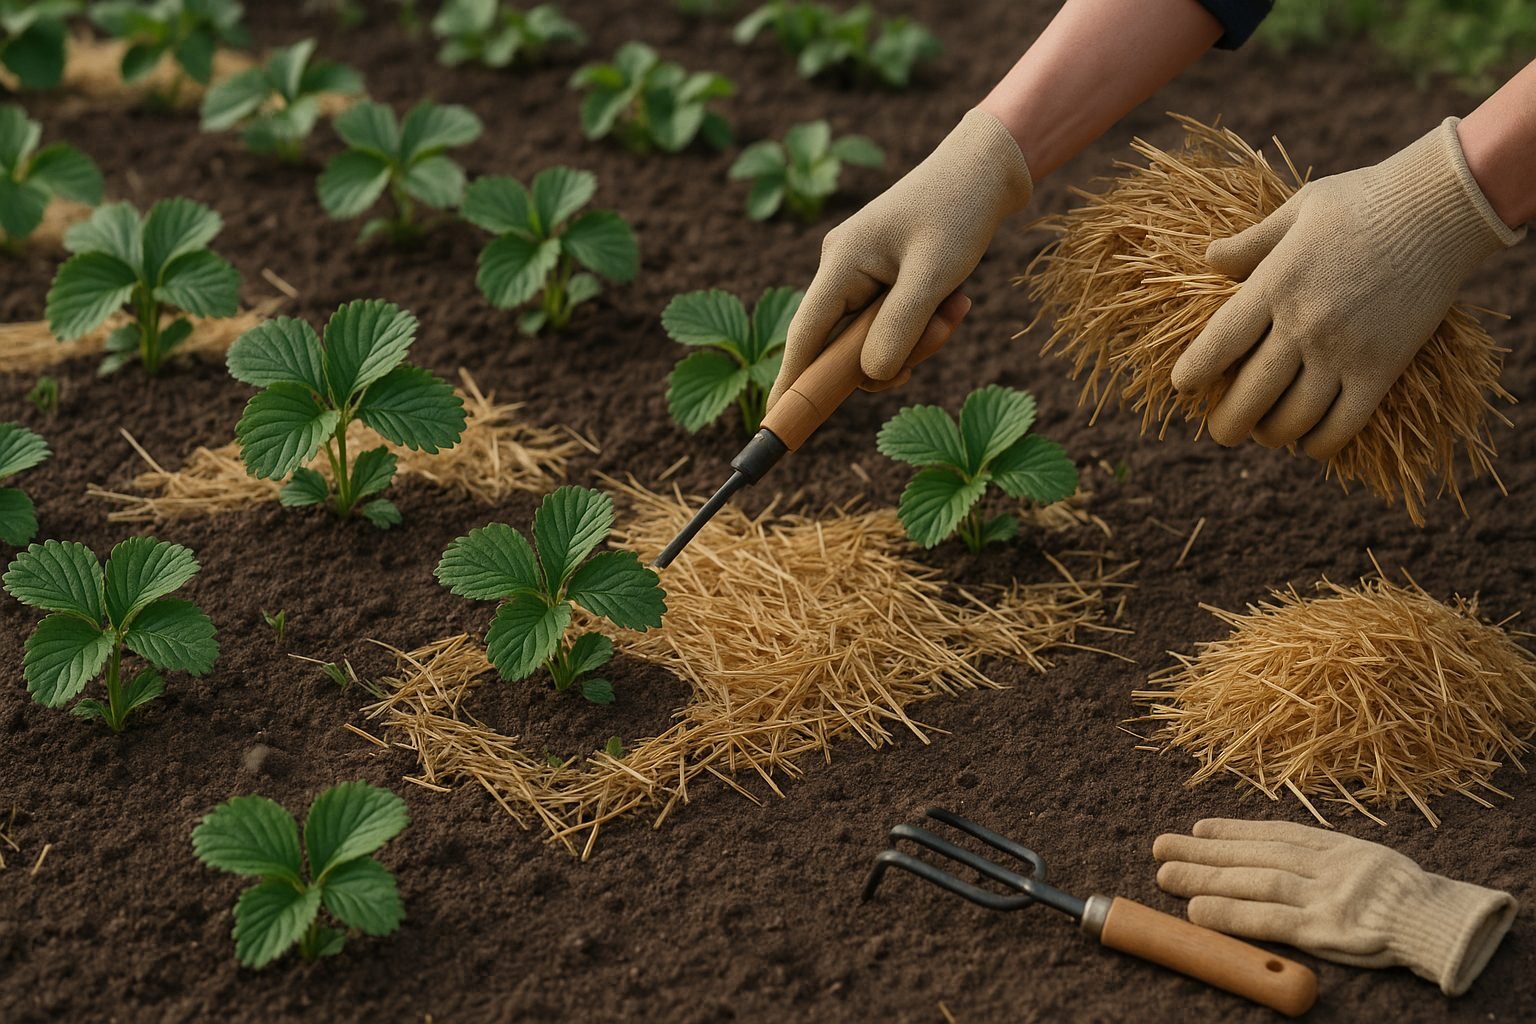
To mulch your strawberries effectively, start by preparing the bed: remove weeds, trim away dead leaves, and gently fluff the soil around your plants for better aeration. Once the area is clean, use clean, seed-free straw—this is ideal because it insulates roots, suppresses weeds, and keeps berries clean and dry.
Spread the straw about 2-3 inches deep between the rows and around the plants, making sure to keep the mulch at least an inch away from the crowns (the part where the leaves emerge). Avoid piling mulch against the crowns, as this can trap moisture and cause them to rot.
For good airflow and to prevent fungal diseases, don’t overpack the straw—fluffy layers help air circulate and allow excess water to evaporate. As the season progresses, check the mulch every few weeks. If you notice bare patches or that the straw is thinning from wind or rain, simply top it up with a fresh layer, but always keep the same care about the crowns.
Refreshing mulch just before the berries begin to ripen is a great trick to keep the fruit cleaner and less prone to rot. Finally, at season’s end or after the last harvest, you can either leave the straw in place as winter protection or remove and compost it if you prefer.
With these careful steps, your strawberry plants will enjoy healthier growth, and you’ll reap a cleaner, sweeter harvest.
Mulching for Winter Protection
Insulating strawberry plants with mulch during winter is essential in cold climates to protect their delicate crowns from freezing temperatures and harsh winds. Without this extra layer, icy conditions can heave the plants out of the ground or cause winter injury, which harms roots and reduces next season’s yield.
The best mulches for winter protection are lightweight yet insulating. Straw—free from seeds—is a top choice because it traps air and provides excellent insulation while allowing some airflow. Pine needles also work well, as they create a loose, breathable blanket that resists matting.
How to Apply Mulch
Wait until late fall after the first hard frost, when plants have entered dormancy. Spread a loose layer—about 3 to 4 inches—over your strawberry beds, being careful not to smother the crowns. Avoid materials like leaves or grass clippings, which can compact and retain too much moisture, increasing the risk of mold.
Removing Mulch in Spring
When spring arrives and the threat of hard frost has mostly passed, gradually remove the mulch. Gently pull it aside as new growth appears, draping it between rows to keep the berries clean. This slow transition helps protect young shoots from any surprise cold snaps and encourages healthy, vigorous growth.
By following these steps, you give your strawberries the best chance to survive winter and thrive once warm weather returns.
Common Mistakes and Troubleshooting Tips
A few common mulching mistakes can cause big headaches if left unchecked, but staying alert and knowing how to fix them will keep your strawberry patch thriving. One typical error is piling mulch too thickly; more than two to three inches can suffocate roots, cause plant rot, and invite pests.
If you see yellowing leaves, drooping plants, or a strong moldy smell, thin out the mulch and leave a small gap around the stems to let them breathe.
Another pitfall is picking the wrong mulch material—skip high-nitrogen grass clippings or black plastic, which can breed fungus or overheat the soil, and instead use clean straw or shredded leaves.
Be wary of mulching too early in spring, as this can trap cold and slow growth; wait until the soil has warmed a bit before adding a fresh layer.
For issues like mulch matting (which blocks water and air), fluff or rake the mulch regularly to break it up.
If you notice slugs or ants making a home in your mulch, try spreading food-grade diatomaceous earth or rough, dry mulch materials that deter pests.
To prevent problems from the start, check your strawberries for signs of stress each week—wilting, discoloration, or a sour smell—and refresh or replace the mulch as needed to keep beds healthy.
A little extra vigilance can make all the difference in protecting your strawberry harvest.
FAQs and Quick Tips for Successful Strawberry Mulching
Wondering how much mulch your strawberry patch needs? A layer about 2–3 inches thick is ideal—enough to suppress weeds and retain moisture without smothering your plants.
As for replacing mulch, plan on refreshing your layer once a year, usually in early spring or late fall, since organic materials like straw or pine needles break down over time.
If your strawberries are in a wet climate, opt for lighter, well-draining mulches to prevent mold and rot.
For sustainability, choose organic, locally sourced materials when possible; avoid dyed or chemically treated mulches that can harm soil and plants.
To boost effectiveness, always clear away old, compacted mulch before adding new layers, and keep mulch a couple of inches away from plant crowns to avoid rot.
Try combining straw with a bit of compost for an extra nutrient kick.
Tips for Different Experience Levels
- Beginner tip: Mulching after fruit set helps keep berries cleaner and reduces pest problems.
- For seasoned gardeners: Experiment with mulching techniques that suit your microclimate—like alternating between straw and shredded leaves depending on the season.
In summary, successful mulching comes down to using the right type and amount, replacing it regularly, and paying attention to moisture and airflow around your plants. These habits will maintain a healthier, more productive strawberry bed year after year.