Introduction
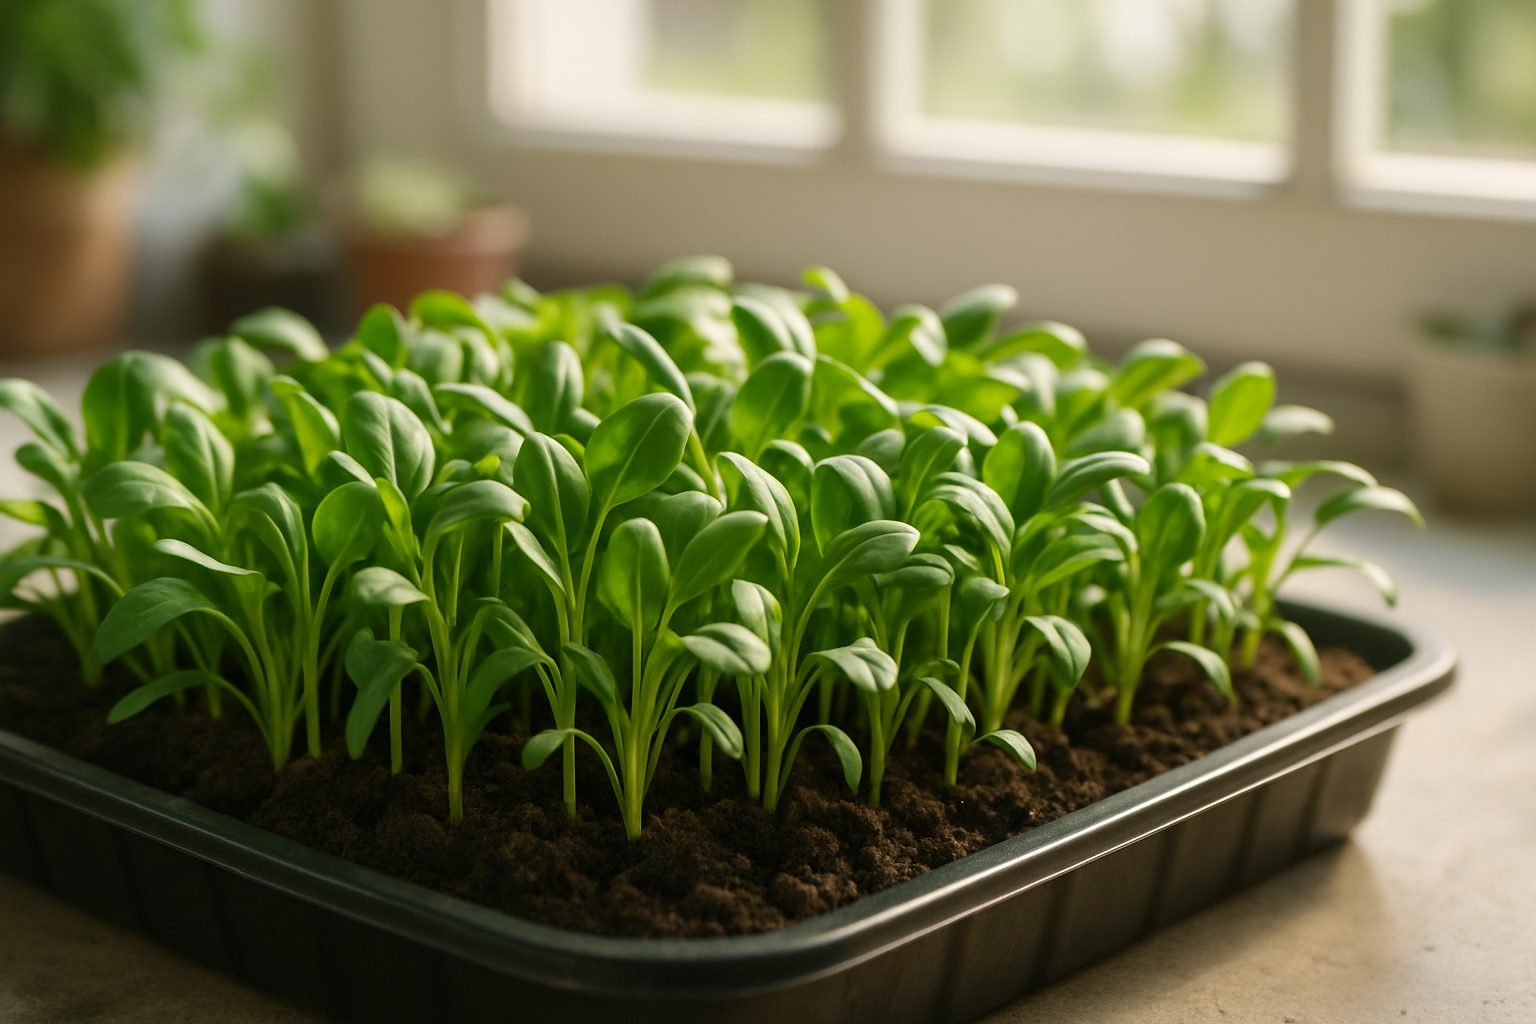
spinach microgreens have quickly become a favorite among home gardeners and health enthusiasts—and it’s easy to see why. These tiny, vibrant greens pack a punch in both flavor and nutrition. Harvested just a couple of weeks after planting, spinach microgreens deliver all the goodness of mature spinach in a fraction of the time. They’re rich in vitamins A, C, and K, loaded with antioxidants, and offer a fresh, earthy taste that elevates everything from salads to sandwiches and smoothies. Plus, growing them requires only minimal space—perfect for a sunny kitchen windowsill or a compact indoor garden setup.
If you’re new to the world of microgreens or looking to expand your homegrown options, spinach microgreens are an easy and rewarding place to start. In this blog post, you’ll discover how to select the right seeds, master the simple growing process, troubleshoot common challenges, and harvest your greens at their flavorful peak. We’ll also explore creative ways to use spinach microgreens in your daily meals, ensuring you get the most from every harvest. Whether you’re a seasoned gardener or a curious beginner, get ready to unlock the potential of this nutritious superfood—right in your own home.
What Makes Spinach Microgreens Special?
Spinach microgreens pack a surprising nutritional punch for their small size, making them a powerhouse addition to your meals. These young greens are loaded with essential vitamins and minerals like vitamin A, C, and K, along with folate, iron, magnesium, and potassium—all critical for energy, cell health, and overall vitality.
What sets spinach microgreens apart from their mature leaf counterparts is their impressive nutrient density. Studies have shown that microgreens can contain up to 40 times more vital nutrients per gram than mature vegetables, meaning a small handful can deliver big nutritional benefits.
For example, spinach microgreens often have higher levels of vitamin C and beta-carotene, both potent antioxidants that help protect cells from damage and strengthen the immune system. Their iron content supports healthy blood, while magnesium aids muscle and nerve function.
Compared to other popular microgreens, like radish or broccoli sprouts, spinach microgreens offer a gentler, sweeter flavor plus a well-rounded profile of vitamins and minerals. This makes them versatile for smoothies, salads, or sandwiches.
Along with powerful antioxidants, these greens support heart health by helping lower blood pressure and cholesterol. Their rich vitamin K also aids in clotting and bone strength.
For anyone seeking an easy way to boost daily nutrition—especially if you’re short on time or space—growing or seeking out spinach microgreens is a smart choice, delivering maximum health support in every tiny leaf.
Essentials for Growing Spinach Microgreens
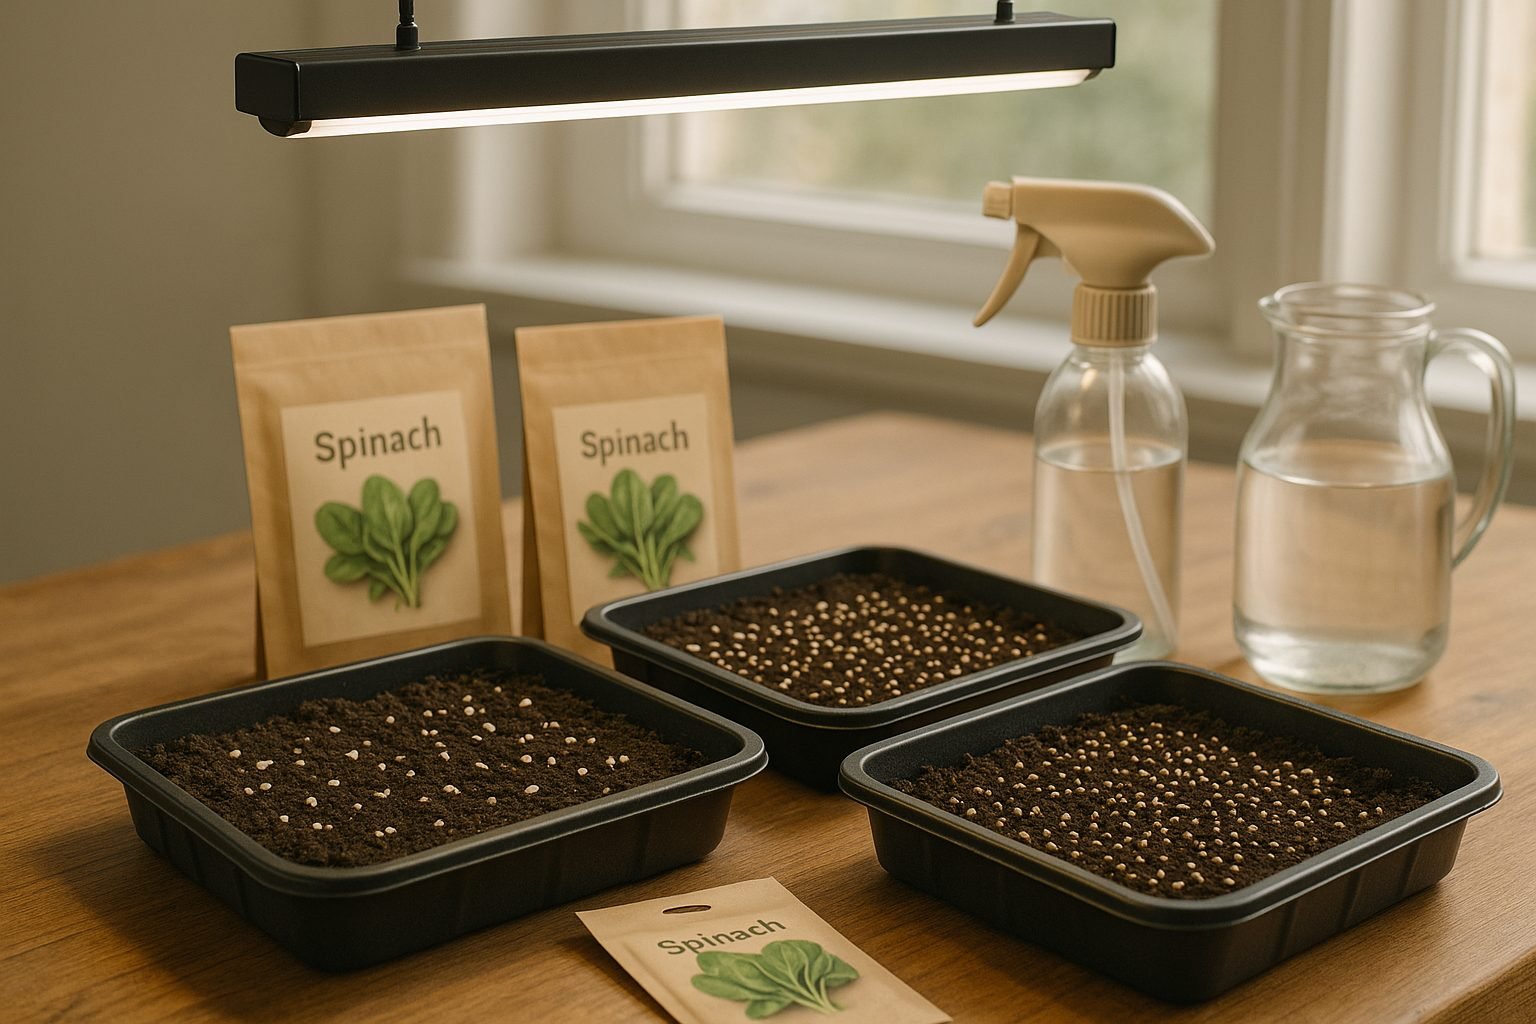
To get started with growing spinach microgreens at home, you’ll need just a few basic tools and materials: shallow trays or containers (recycled takeout boxes work in a pinch), a quality growing medium like seed-starting soil or coconut coir, fresh spinach microgreen seeds (look for organic or untreated ones), a reliable light source, and clean water.
For best results, fill your tray with about an inch of soil or coir, scatter the seeds evenly, and lightly press them into the surface without covering them too much — spinach seeds like some light to germinate. Next, keep your microgreens in a location with plenty of indirect sunlight, such as a bright windowsill. If natural light is limited, a simple LED grow light positioned a few inches above the tray works beautifully, especially during the short days of winter.
Optimal growing conditions include a room temperature between 60–75°F (15–24°C) and moderate humidity, which you can maintain by misting the seeds and young sprouts with water once or twice daily. If space is tight, stackable trays or vertical gardening racks allow you to grow several batches without taking up much counter space.
For city dwellers and apartment gardeners, a dedicated microgreen shelf with adjustable grow lights makes it possible to harvest fresh, homegrown greens even in the middle of winter — no yard or balcony needed. With this setup, you’ll be snipping your own nutrient-packed spinach microgreens in just 10 to 14 days, adding a quick boost of flavor and vitamins to salads, sandwiches, and smoothies anytime.
Step-by-Step Guide: Growing Spinach Microgreens at Home
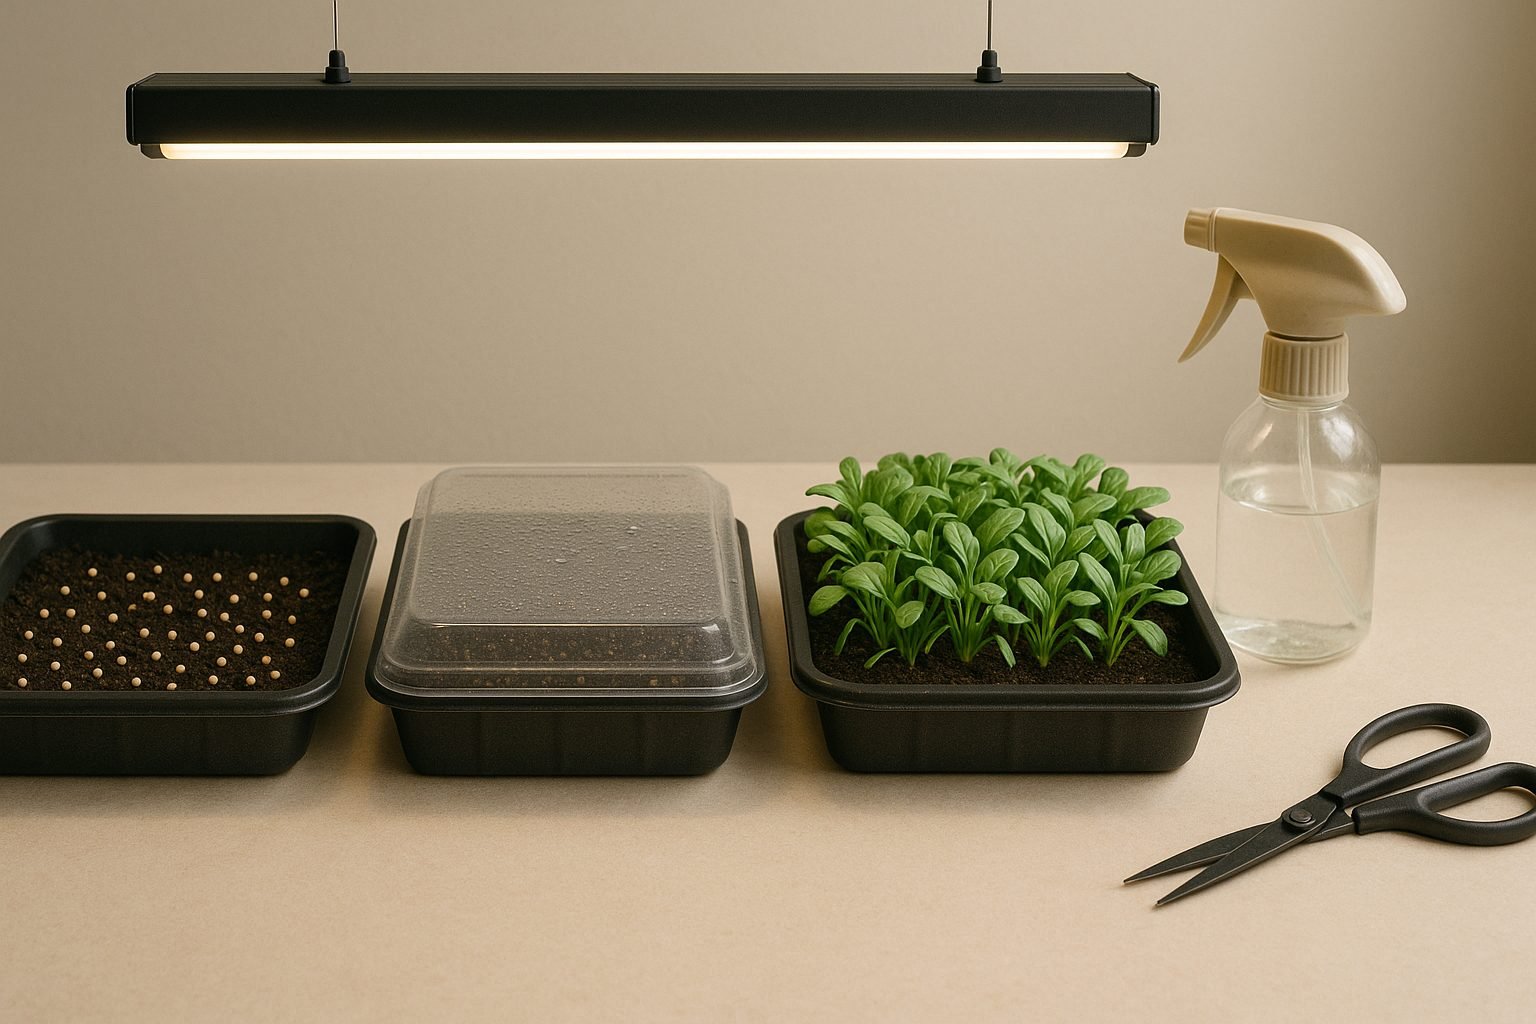
Growing spinach microgreens at home is rewarding and surprisingly simple, as long as you follow a few essential steps. To get started, check your spinach seed packet—some varieties benefit from a brief soak (about 8 hours) to speed up germination, while others can be sown dry.
Spread your seeds evenly across a shallow tray filled with moistened, quality potting mix, aiming for dense coverage but avoiding piles of seeds that can lead to mold. Gently press the seeds into the soil, then cover with a thin layer of soil or a second empty tray to block out light for the first two to three days. This encourages stout, healthy sprouts and helps prevent legginess.
Mist the surface lightly with a spray bottle to keep the seeds moist, not soaked, checking twice daily. As soon as most seeds have sprouted, remove the cover and move your tray to a bright location out of direct sunlight—natural light near a window is usually best, or use a grow light set just a few inches above the greens.
Good airflow is key to stopping mold, so crack a nearby window or use a small fan if your space is humid. Keep watering from the bottom by adding water to the tray beneath (not over the top of the greens), which keeps leaves dry and deters mold growth. Clean hands, tools, and trays thoroughly before each use to avoid introducing contaminants.
You’ll notice your spinach microgreens are ready for harvest in about 10-14 days, though you might see faster growth in warm conditions—harvest with scissors when the first set of true leaves emerge.
If you notice any issues:
- Yellowing: Your sprouts may need more light.
- Stretching or leggy growth: They’re reaching for more sunlight—try increasing light intensity or moving your tray closer to natural light.
- Mold (fuzzy white coating at the base): Ensure you’re not overwatering, thin the seeds if growth is too dense, and always use fresh, quality soil.
With a little care and observation, you’ll have a constant supply of fresh, nutrient-packed spinach microgreens ready to brighten your salads, smoothies, or sandwiches!
Harvesting and Storing Spinach Microgreens
Knowing exactly when to harvest spinach microgreens can make all the difference in their taste and texture. Look for vibrant green leaves and sturdy stems, usually about 1-3 inches tall, roughly 10-14 days after planting. The perfect sign they’re ready is when you see the first set of true leaves forming alongside the original seed leaves.
To harvest, use a clean, sharp pair of scissors or kitchen shears. Gently hold a small bunch of microgreens upright and snip just above the soil line. Be careful not to pull up the roots or soil, as this can bruise the tender greens and make cleaning more difficult.
Once harvested, fill a large bowl with cool water and gently swish the greens to remove any lingering soil. Use a salad spinner or spread the microgreens on a clean kitchen towel to dry thoroughly—excess moisture can cause them to spoil quickly.
For storage, line a food-safe container with a dry paper towel, spread out the greens, and cover them with another paper towel before sealing with a lid. Store the container in the fridge, aiming to enjoy your microgreens within five days for optimal flavor and crispness.
Remember, avoid sealing wet greens, as that accelerates wilting. If you see any condensation, swap the paper towels, and your spinach microgreens will stay fresher, longer.
Creative Ways to Use Spinach Microgreens
Spinach microgreens are a versatile, nutrient-packed ingredient that can instantly elevate everyday meals. Unlike mature spinach, microgreens offer a brighter, slightly sweet taste with a tender, crisp texture—think less earthy and much more delicate.
Try tossing them into salads for a fresh twist; their small leaves and vibrant color add both beauty and a mild, clean flavor that plays well with citrus vinaigrettes or a sprinkle of feta. Upgrade your sandwiches and wraps by replacing lettuce with a handful of spinach microgreens—they won’t wilt as quickly and provide a satisfying crunch.
Omelets become extra special when you sprinkle microgreens over the filling or use them as a finishing garnish right before serving, preserving their light texture. For breakfast on-the-go, blend a small handful into smoothies; their subtle taste won’t overpower your favorite fruits, but they’ll sneak in an extra dose of vitamins and minerals.
Looking to change up your lunch bowl? Use spinach microgreens as a topping for grain bowls—think quinoa, farro, or rice—alongside roasted veggies and a drizzle of tahini sauce. They’re also fantastic blended into homemade pesto or sauces for a nutritional punch without the heaviness of mature greens.
And if you’re hosting, consider using them as an elegant garnish for soups, grilled proteins, or even atop pizza right before serving. With their gentle flavor and crisp bite, spinach microgreens are a simple yet impactful way to add fresh flair (and nutrition) to just about any dish, whether you’re cooking for yourself or entertaining guests.
Tips for Success & Common Mistakes to Avoid
Growing healthy, flavorful microgreens comes down to getting a few key details right. Start by paying attention to seed density—spreading seeds too thickly can cause overcrowding, leading to poor airflow and weak growth, while too few seeds will waste valuable tray space. Aim for an even, single-layer spread so every seed gets enough light and air.
Speaking of light, microgreens thrive under bright, indirect sunlight or with the help of LED grow lights if you’re indoors. Make sure your trays get 12-16 hours of light daily for the best color and flavor.
When watering, use a gentle spray or bottom-watering method to keep soil moist but not soggy. Overwatering is a common rookie mistake and can quickly lead to mold or rot.
Adequate ventilation is crucial, too; stagnant air encourages disease, so position trays near an open window or use a small fan.
Don’t forget about hygiene—always wash your hands and use clean trays and tools, as microgreens are particularly sensitive to contaminants.
Experimentation is key as you develop your green thumb. Try different seeds like sunflower, radish, or pea shoots, and tweak your setup to see what works best in your environment.
By learning from mistakes and being willing to adjust your process, you’ll not only avoid common pitfalls but also discover the most delicious ways to grow microgreens at home.
Conclusion
Growing spinach microgreens at home is a simple and rewarding way to boost your nutrition and enjoy fresh greens year-round. These microgreens not only provide a rich supply of vitamins and minerals but also add a flavorful crunch to salads, sandwiches, and smoothies.
As we’ve covered, all you need is a shallow tray, some good potting mix, seeds, and a sunny windowsill to get started. This makes the project budget-friendly and accessible even for beginners. The quick growth cycle—usually just 10 days—means you see results fast, giving you an immediate sense of accomplishment.
If you’re unsure where to start, there are countless videos and tutorials online to guide you through each step. Local gardening groups or forums can also connect you with fellow enthusiasts for tips and troubleshooting. Platforms like Reddit’s r/microgreens or dedicated Facebook groups are excellent places to learn and share your progress.
Don’t be afraid to experiment and enjoy the process—the rewards in taste, health, and satisfaction are well worth the effort. Give it a try, and you might find that growing your own spinach microgreens becomes a favorite new hobby.