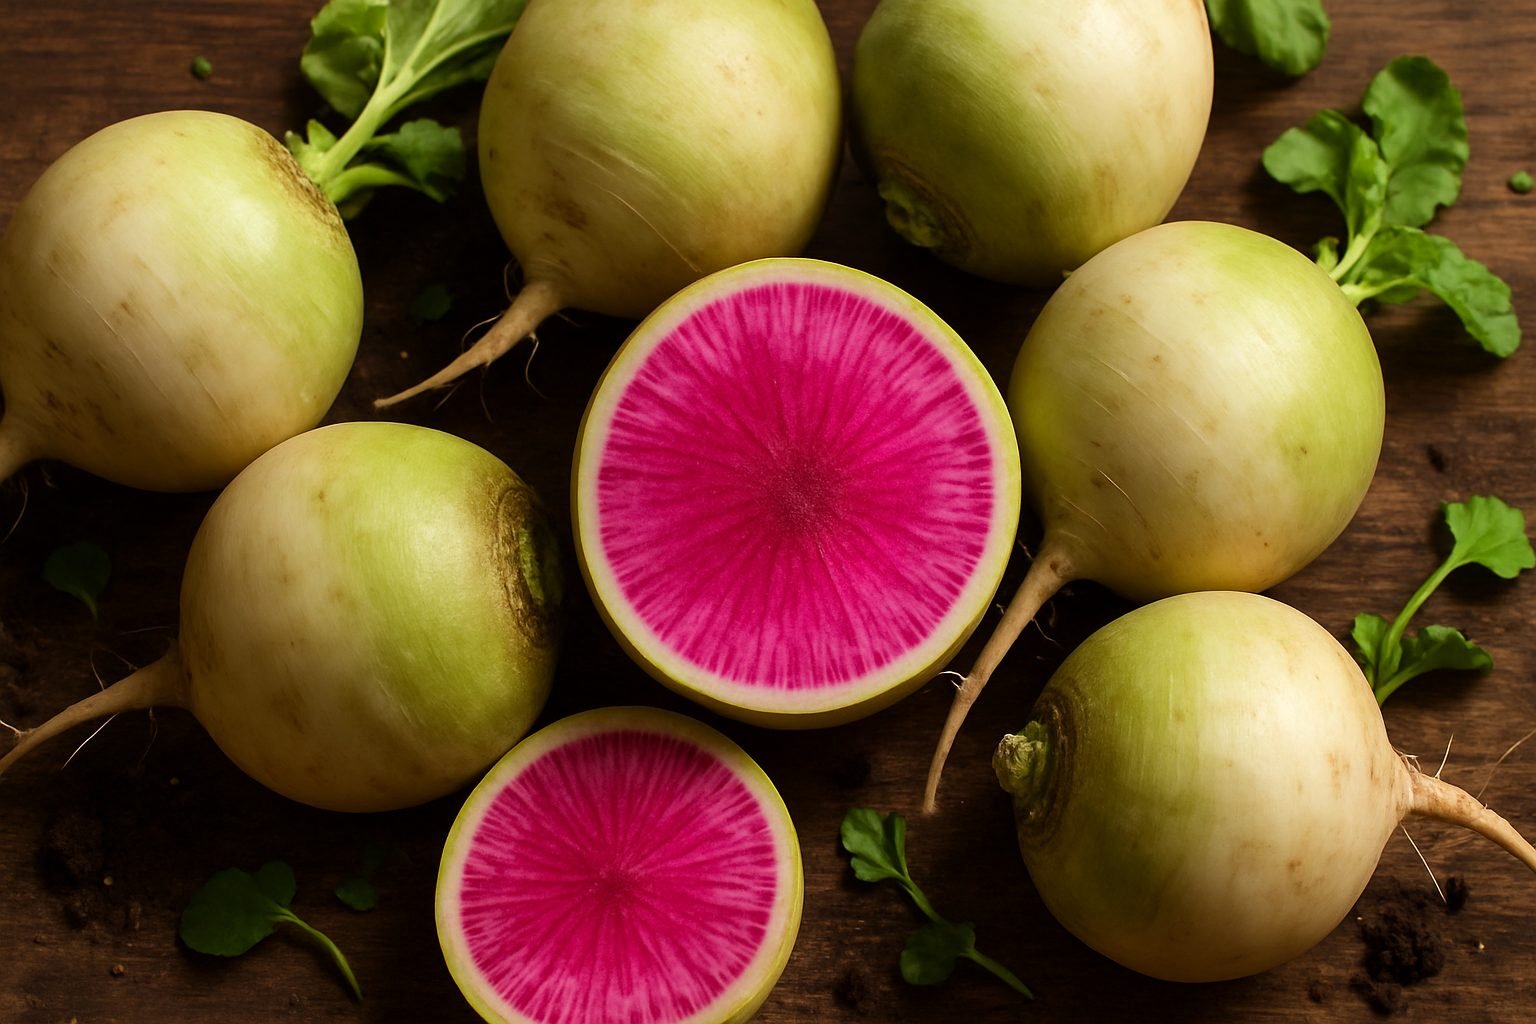
What is a Watermelon Radish?
If you’re looking to try something new in your vegetable patch, learning how watermelon radishes grow could be the refreshing change your garden needs. A member of the Brassicaceae family, watermelon radishes are actually a variety of daikon radish, officially known as Raphanus sativus var. caudatus. Their unique botanical roots make them a cool-season crop, thriving in spring and fall conditions in most home gardens.
What sets watermelon radish apart is its stunning appearance—it sports a creamy white to light green exterior, but when sliced open, it reveals a brilliant, almost neon pink interior that resembles a watermelon, hence the name. This eye-catching contrast instantly elevates any salad or crudité platter.
Taste-wise, watermelon radishes offer a delightful surprise. Unlike the sharp bite found in traditional red radishes, their flavor is milder, with a subtle sweetness and a gentle peppery edge. When harvested at peak maturity, the texture is crisp and juicy, making them enjoyable to eat raw or slightly pickled.
Gardeners love watermelon radishes not only for their beauty and taste but also for their ease of growth and quick harvest time—typically ready in about 60 days. Additionally, they are packed with nutrients: low in calories but high in vitamin C, antioxidants, and fiber. In the kitchen, watermelon radishes are superb when thinly sliced for salads, pickled for a tangy crunch, or even roasted for a mellow, earthy flavor. Experimenting with this vibrant root is a truly rewarding experience for both novice and experienced gardeners alike.
When and Where to Plant Watermelon Radishes
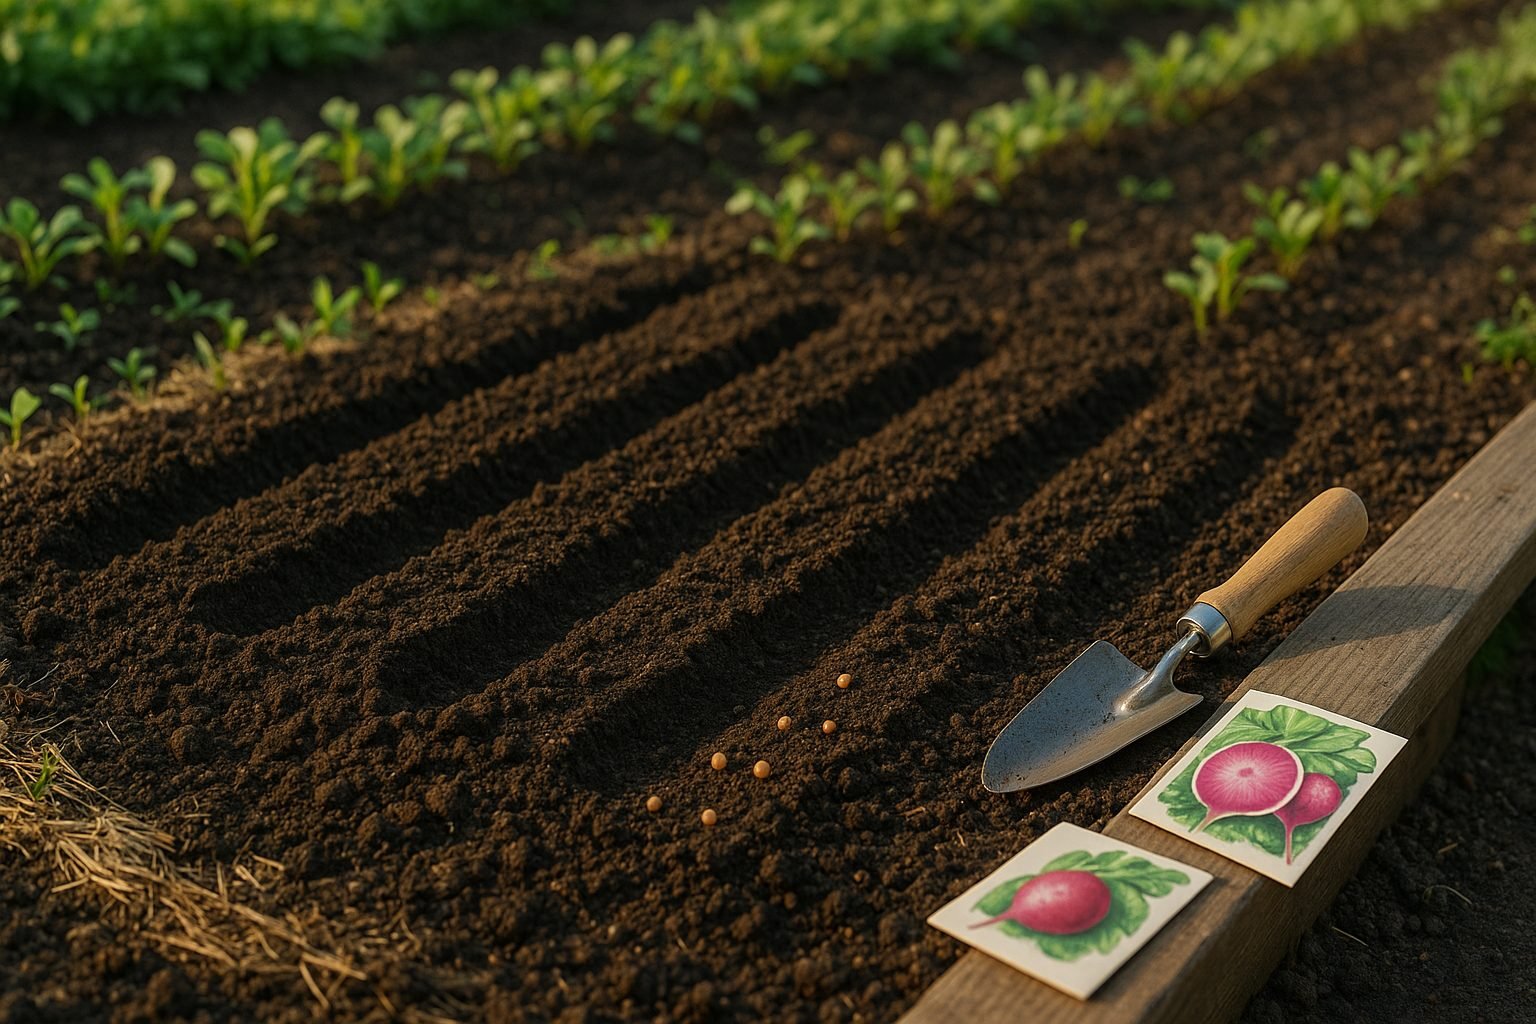
Watermelon radishes thrive when planted in the cool seasons of spring and fall, making them a great choice for gardeners looking to add color and crunch to their harvests beyond the usual summer crops. Aim to sow seeds directly into the garden about four to six weeks before your last expected spring frost or in late summer for a fall crop. These radishes prefer temperatures between 50°F and 70°F for the best root development and milder flavor.
In warmer regions, fall planting is especially reliable since the roots mature as the weather cools, reducing the risk of them turning woody or overly spicy. Choose a spot where your radishes will receive at least six hours of full sun daily—although partial shade can help prevent bolting if you’re gardening in particularly hot climates.
The ideal soil is loose, well-draining, and rich in organic matter, with a slightly acidic to neutral pH (6.0-7.0). Before planting, remove stones and break up clumps to allow the roots to expand easily. Raised beds or deep containers are perfect options if your native soil is heavy clay.
Consistent, moderate watering is crucial to prevent splitting and maintain the vibrant pink centers watermelon radishes are famous for. By taking the time to select the right season, spot, and soil, you’ll set your watermelon radishes up for a crisp and colorful harvest every time.
How to Grow Watermelon Radishes from Seed
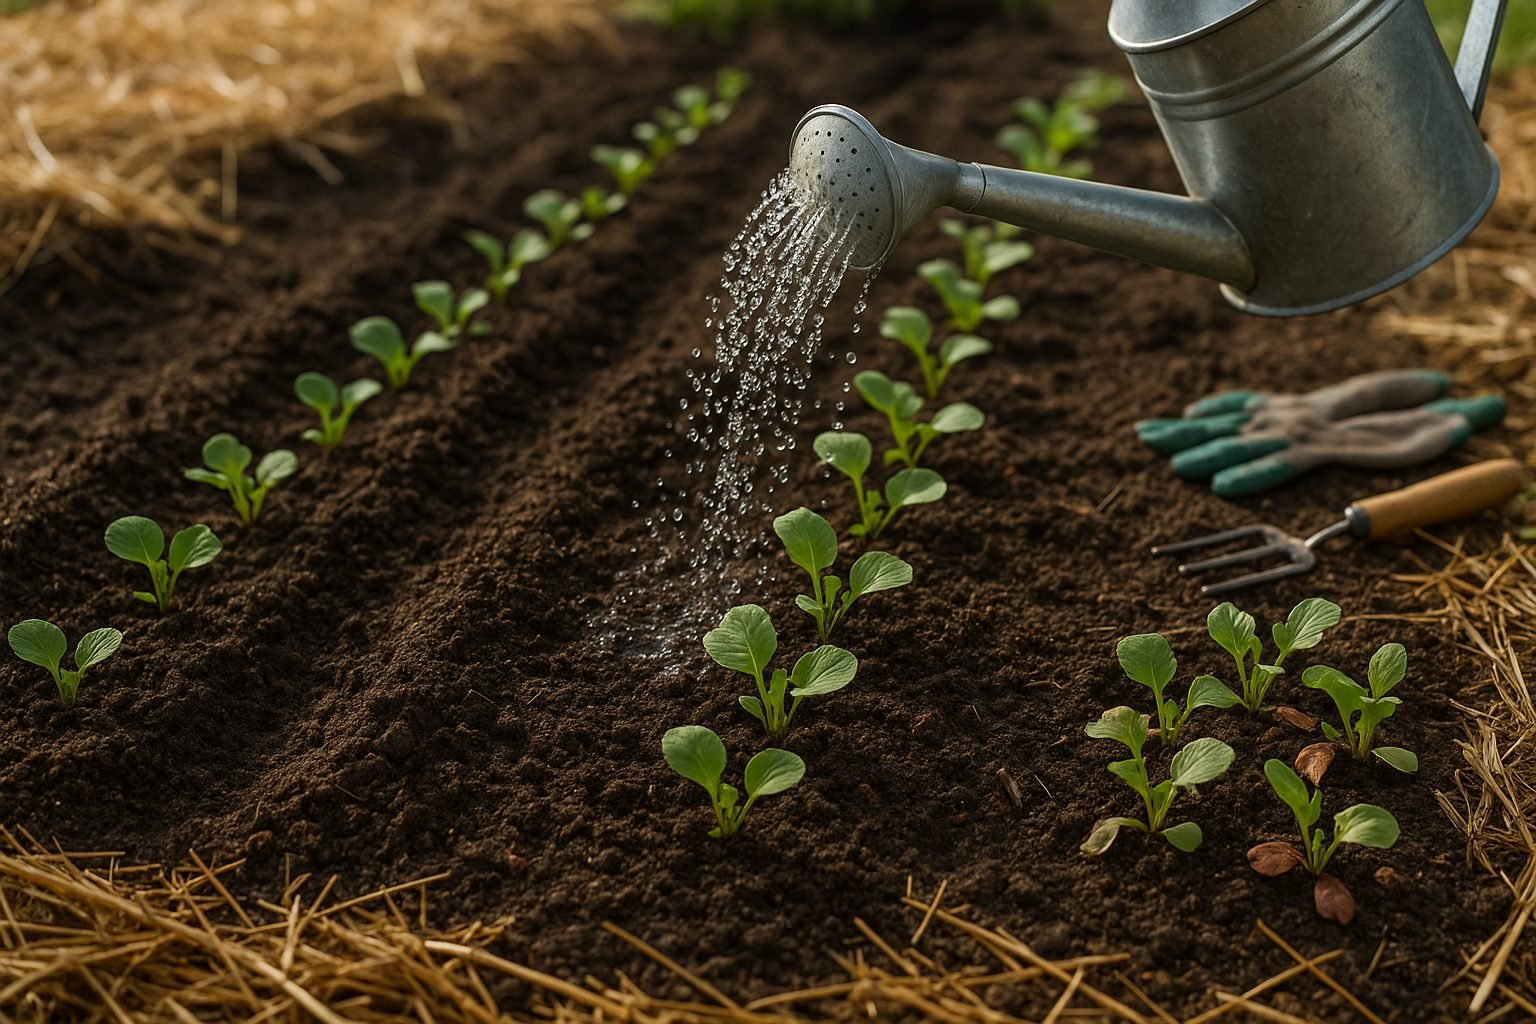
Growing watermelon radishes from seed is rewarding, especially if you follow a few key steps to set your garden up for success. Start by preparing loose, well-draining soil—radishes grow best in soil that’s worked to a depth of 6-8 inches and amended with compost to provide nutrients and encourage root growth. Remove rocks and clumps that could hinder the development of the long, round roots.
Once your soil is ready, sow seeds directly outdoors about 1/2 inch deep and 1 inch apart, leaving at least 8-12 inches between rows for airflow and easy maintenance. Water gently but thoroughly right after planting, and keep the soil consistently moist (but never soggy) throughout germination and early growth—radishes prefer cool, evenly damp conditions.
Expect seedlings to appear in 5-10 days; as soon as they develop true leaves, thin them to one plant every 2-3 inches to give each root room to expand without competition.
Maintaining Healthy Growth
To keep your watermelon radishes thriving, weed the bed regularly so tender seedlings aren’t crowded out. Lay down a thin layer of mulch to conserve moisture and keep the soil cool, which helps prevent bitterness.
Beginners often run into trouble if they overwater or plant too densely, which can lead to root rot or small, misshapen radishes. Watch also for common pests like flea beetles—covering new plantings with row fabric can help protect your crop.
All in all, a little careful preparation and ongoing attention can result in satisfying watermelon radishes with brilliant pink interiors and a crisp, mildly spicy flavor, ready to harvest about 60 days after sowing.
Caring for Your Crop: Watering, Feeding, and Protection
Proper watering is crucial when caring for watermelon radishes; these roots thrive best in consistently moist, but never soggy, soil. Aim to provide about one inch of water per week, adjusting for rainfall. Too little water can cause the leaves to wilt or the roots to crack, while too much can make the roots soften, yellow, or rot. If the soil feels dry an inch below the surface, it’s time to water.
When it comes to feeding, watermelon radishes prefer well-balanced, organic fertilizers. Work some compost into the topsoil before planting, and side-dress with a low-nitrogen fertilizer once the seedlings develop a few true leaves. Over-fertilizing, especially with high-nitrogen products, can lead to lush leaves but undersized roots.
Pests like flea beetles and aphids can be troublesome, and diseases such as downy mildew or root rot may strike, especially in humid or poorly drained areas. For natural protection, use floating row covers to keep pests away and plant radishes in well-drained beds to avoid root diseases. You can also handpick pests or use neem oil sprays for organic control.
As cooler weather approaches in the fall, row covers have the added benefit of extending the growing season by protecting your crop from early frosts and sudden temperature swings. Mulching with straw or compost helps trap moisture and keeps roots cool in the heat, while consistent weeding prevents competition for nutrients.
By tailoring these practices to the growing season and your garden’s needs, you’ll help ensure healthy, flavorful watermelon radishes.
Harvesting Watermelon Radishes
Knowing when to harvest watermelon radishes is key to enjoying their crisp texture and vibrant color. Generally, watermelon radishes reach maturity about 60 days after planting, but always check seed packets for specific timing.
Visually, they’re ready when the roots reach about 2 to 4 inches in diameter—think golf ball to small tennis ball size. Confidently check their progress by gently brushing aside soil around the largest roots; they should feel firm and look bright.
To harvest without damage, use a garden fork or trowel to loosen the surrounding soil, then grasp the radish tops near the base and pull steadily. Avoid yanking, as this can snap the root or greens. Shake off excess dirt and trim the tops to about an inch above the root—the greens draw moisture from the radish if left intact.
For best storage, rinse off soil only if needed, dry thoroughly, and place the radishes in a perforated plastic bag in your refrigerator’s crisper drawer—this will help retain their crispness and flavor for up to two weeks. Remove any remaining greens for longer storage since they hasten spoilage.
Keeping the radishes cool and slightly moist is the secret to maintaining their refreshing crunch.
Serving and Storing Watermelon Radishes
Watermelon radishes are incredibly versatile, adding vibrant pink centers and a mild, slightly peppery flavor to a variety of dishes. For the simplest preparation, slice them thin and enjoy raw in salads, on toast with cream cheese, or as colorful crudités paired with your favorite dip.
Their crisp texture also makes them perfect for quick pickling—just soak slices in a mixture of vinegar, salt, and sugar for a zesty topping on tacos or grain bowls. If you prefer cooked veggies, try roasting radish wedges with olive oil, salt, and pepper for a savory, mellow twist. They also shine when lightly sautéed or added to stir-fries.
To store, keep unwashed radishes in a perforated plastic bag in the crisper drawer of your refrigerator for up to two weeks. Remove the leafy tops first, as they draw out moisture and can cause the bulbs to soften faster.
For a speedy weekday snack, toss sliced watermelon radish with lemon juice and sea salt. Or, for a refreshing side, combine matchstick-cut radish with cucumber, mint, and a drizzle of sesame oil. Embrace the radish’s unique color and taste by letting it star in simple, vibrant plates that make healthy eating exciting.
Troubleshooting: Common Issues and Solutions
Growing your own herbs and vegetables can be incredibly rewarding, but it’s normal to face a few bumps along the way. If you’re dealing with poor germination, make sure you’re using fresh seeds and planting them at the recommended depth—too deep, and they might not sprout at all. Water consistently but avoid soggy soil, as both under- and overwatering can hinder seedling growth.
Another common issue is a woody texture in herbs like basil or parsley, usually caused by waiting too long to harvest. Pick leaves regularly and trim flower buds to keep plants tender and flavorful. Pests, such as aphids or caterpillars, are best handled with a gentle spray of soapy water or by inviting beneficial insects like ladybugs.
When diseases strike—think powdery mildew or yellowing leaves—remove affected parts quickly and space your plants out for better airflow. Remember, every gardener hits a snag now and then. Mistakes are part of the process, and with each challenge, you’ll be better prepared next time. Embrace troubleshooting as a powerful way to learn and grow alongside your garden.