Introduction
Radishes have long been a favorite for home gardeners and market growers alike. Their fast growth, crisp texture, and peppery flavor make them a satisfying addition to salads and snacks, often showing visible results in just a few weeks. But did you know that radish soil pH plays a crucial role in how well your radishes develop underground? The pH level of your soil directly impacts nutrient availability and root formation, so it’s not just about watering and sunlight—getting the soil chemistry right is essential. Too acidic or too alkaline, and you could end up with stunted roots or poor yields.
In this blog post, we’ll explore why soil pH matters so much for radishes, how to test your garden soil, and practical strategies to adjust and maintain the ideal pH. Whether you’re an experienced gardener aiming to perfect your radish crop or just planting your first seeds, understanding the link between soil pH and healthy radish growth is key to harvesting plump, vibrant roots every time.
How Soil pH Affects Radish Growth
Soil pH measures how acidic or alkaline the soil is, on a scale from 0 to 14, with 7 being neutral. For plants like radishes, radish soil pH isn’t just a number—it directly impacts which nutrients are available in the soil. When the soil’s acidity or alkalinity moves outside the ideal range, vital minerals can become locked away, making it harder for radishes to absorb the nutrients they need.
The ideal soil pH for growing healthy, flavorful radishes typically ranges from 6.0 to 7.0, which is slightly acidic to neutral. If the soil pH drops too low (becomes overly acidic), essential nutrients like phosphorus become less accessible, leading to stunted growth and weak, spindly foliage. Conversely, if the pH level rises too high (overly alkaline), micronutrients such as boron and iron may become unavailable, causing issues like yellowed leaves, poor root development, or hollow bulbs.
Radishes grown outside their preferred pH range often produce small, woody, or misshapen roots and become more vulnerable to pests like root maggots and diseases that exploit stressed plants. In home gardens, you might notice bulbs failing to fill out or leaves showing nutrient deficiencies—both classic signs of pH imbalance.
To avoid these problems, regular soil testing combined with small adjustments using lime (to raise pH) or sulfur (to lower pH) can make a big difference. These simple steps help radishes thrive, delivering crisp, tasty bulbs for your table.
Testing and Understanding Your Soil’s pH
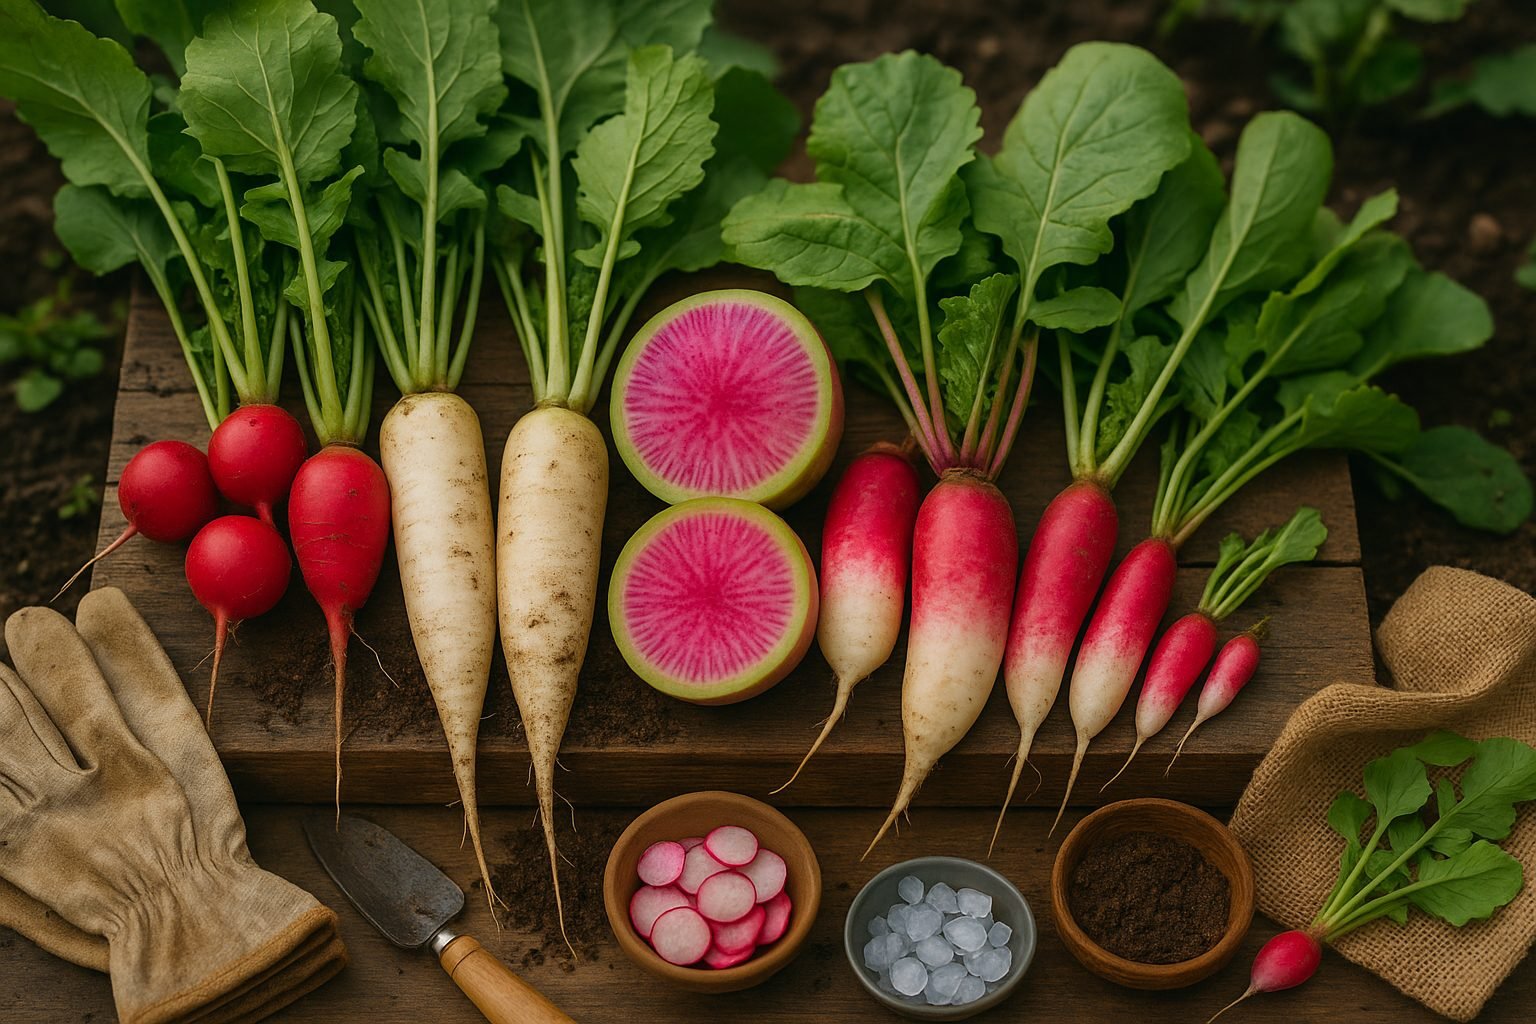
Testing your soil’s pH is a crucial first step before planting radishes, as these root vegetables thrive best in soil with a pH between 6.0 and 7.0. You can easily test your soil at home using affordable DIY soil pH test kits, which are widely available at garden centers and online. These kits usually include test strips or color-changing solutions; simply collect a small soil sample from your garden, add some distilled water, and follow the kit’s instructions for accurate results.
If you want more precise data, especially if you’ve been struggling with crop issues, sending a soil sample to a professional lab is your best bet. Labs provide a comprehensive analysis that not only measures pH but also details nutrient content and offers recommendations for amendments.
Once you get your results, compare your soil’s pH with the ideal range for radishes. If it’s below 6.0 (too acidic), adding garden lime can help raise it. If it’s above 7.0 (too alkaline), incorporating organic matter like compost or peat moss can lower the pH. It’s a good idea to test your soil at least once a year—ideally in early spring before planting—because soil conditions can change over time due to weather, watering, and past amendments.
If you’re trying out new plots or have experienced poor radish growth in past seasons, testing more frequently can help you catch problems early and set the stage for a successful harvest.
Adjusting Soil pH for Radishes
When aiming for the ideal radish soil pH—typically between 6.0 and 7.0—it’s important to take a careful, informed approach to adjusting your garden’s conditions. If your soil is too acidic (pH below 6.0), the most common way to raise the pH is by applying agricultural lime, either calcitic or dolomitic. Lime comes in both powdered and pelletized forms and should be worked evenly into the top 6 inches of soil several weeks before planting. Keep in mind, pH changes don’t happen overnight; the lime needs time to react with the soil. Plan to apply lime at least one to two months before planting radishes to allow the soil pH to stabilize. For a more natural alternative, you can use finely crushed eggshells or ground oyster shells, though these take longer to affect the pH than commercial lime.
If your soil is too alkaline (pH above 7.0), you can add elemental sulfur to lower the pH. Like lime, sulfur should be incorporated weeks ahead of planting since its effect happens gradually through bacterial activity. Organic options for acidifying soil include adding peat moss, composted oak leaves, or pine needles, which gently shift the pH over time without shocking your radish plants. Coffee grounds are mildly acidic and can be used in moderation as a soil amendment, but don’t expect them to dramatically change the soil pH on their own.
Whenever you adjust soil pH for radishes, proceed with caution. Sudden or large changes can harm soil microbes and plant roots, reducing the chances of a healthy harvest. Always retest your soil after amendments and before planting to ensure you’re hitting the sweet spot for radish growth. It’s safer to make gradual adjustments over several seasons rather than trying drastic corrections in one go. This steady approach protects your garden’s ecosystem and supports consistent, healthy radish crops year after year.
Common Soil pH Issues in Radish Gardens
Radish gardens often display clear signs when the radish soil pH isn’t within the ideal range of 6.0 to 7.0. If the soil pH is too low (acidic), you might notice yellowing leaves, slow sprouting, or undersized roots because essential nutrients like calcium and magnesium become less available. On the other hand, soils that are too alkaline can cause poor seed germination and roots that crack or lack their classic crisp texture.
For example, gardeners in regions with heavy rainfall—such as the Pacific Northwest—often struggle with acidic soils, while those in dry, limestone-rich areas may face higher pH levels, making it harder for radishes to absorb key nutrients like iron or manganese. In both cases, radish roots may develop a fibrous texture or patchy coloration. Another clear sign of pH imbalance is when radishes bolt (flower early) or produce misshapen bulbs.
These issues usually trace back to soil pH fluctuations, which can vary seasonally depending on local weather, irrigation practices, and fertilizer use. Regularly monitoring radish soil pH with an affordable test kit and adjusting it with lime or sulfur as needed can make all the difference in growing healthy radish crops, no matter where you’re planting.
Best Practices for Maintaining Ideal Soil pH
Maintaining the ideal radish soil pH—typically between 6.0 and 7.0—requires a proactive approach that blends thoughtful planting strategies with consistent soil care. Start by testing your soil’s pH at the beginning and end of each growing season using an affordable test kit or meter. This helps you track subtle changes and address any imbalances early on.
If your pH levels are off, amend the soil accordingly: add finely ground agricultural lime to raise pH when it’s too acidic, or mix in elemental sulfur to lower pH if the soil is too alkaline. Regularly incorporating organic matter, like composted leaves or well-rotted manure, gently buffers the soil, stabilizes pH, and boosts fertility.
For ongoing maintenance, rotate your radishes with other crops such as beans or peas, which naturally enrich the soil with nitrogen and reduce pathogen buildup that can stress plants. Adding companion plants with compatible soil needs—like lettuce, carrots, and herbs—helps prevent drastic shifts in soil chemistry across planting cycles.
Mulching with materials like straw or untreated grass clippings is another smart move; mulch preserves soil moisture, moderates temperature swings, and slows organic matter breakdown, all of which contribute to steady radish soil pH. Finally, avoid overusing strong synthetic fertilizers, as they can imbalance soil acidity or alkalinity over time.
By combining these practices, you’ll create a balanced foundation for crisp, healthy radish growth season after season.
Conclusion & Quick Tips
Getting the radish soil pH right is essential for growing crisp, healthy radishes. The ideal pH range is typically between 6.0 and 7.0—this sweet spot improves nutrient uptake and helps prevent issues like stunted growth or discoloration.
Start by testing your garden soil with a simple pH testing kit, which you can find at most garden centers. If the pH is off, make small adjustments: add lime to raise the pH or elemental sulfur to lower it. Be sure to mix any amendments thoroughly and retest the soil after a few weeks before planting.
Throughout the season, maintain soil health by adding compost and rotating your crops, which naturally helps keep the pH balanced. Dedicating a little time to regular soil checks and care will reward you with strong root growth and crisp, flavorful radishes at every harvest. Remember, healthy soil means better veggies!