Introduction
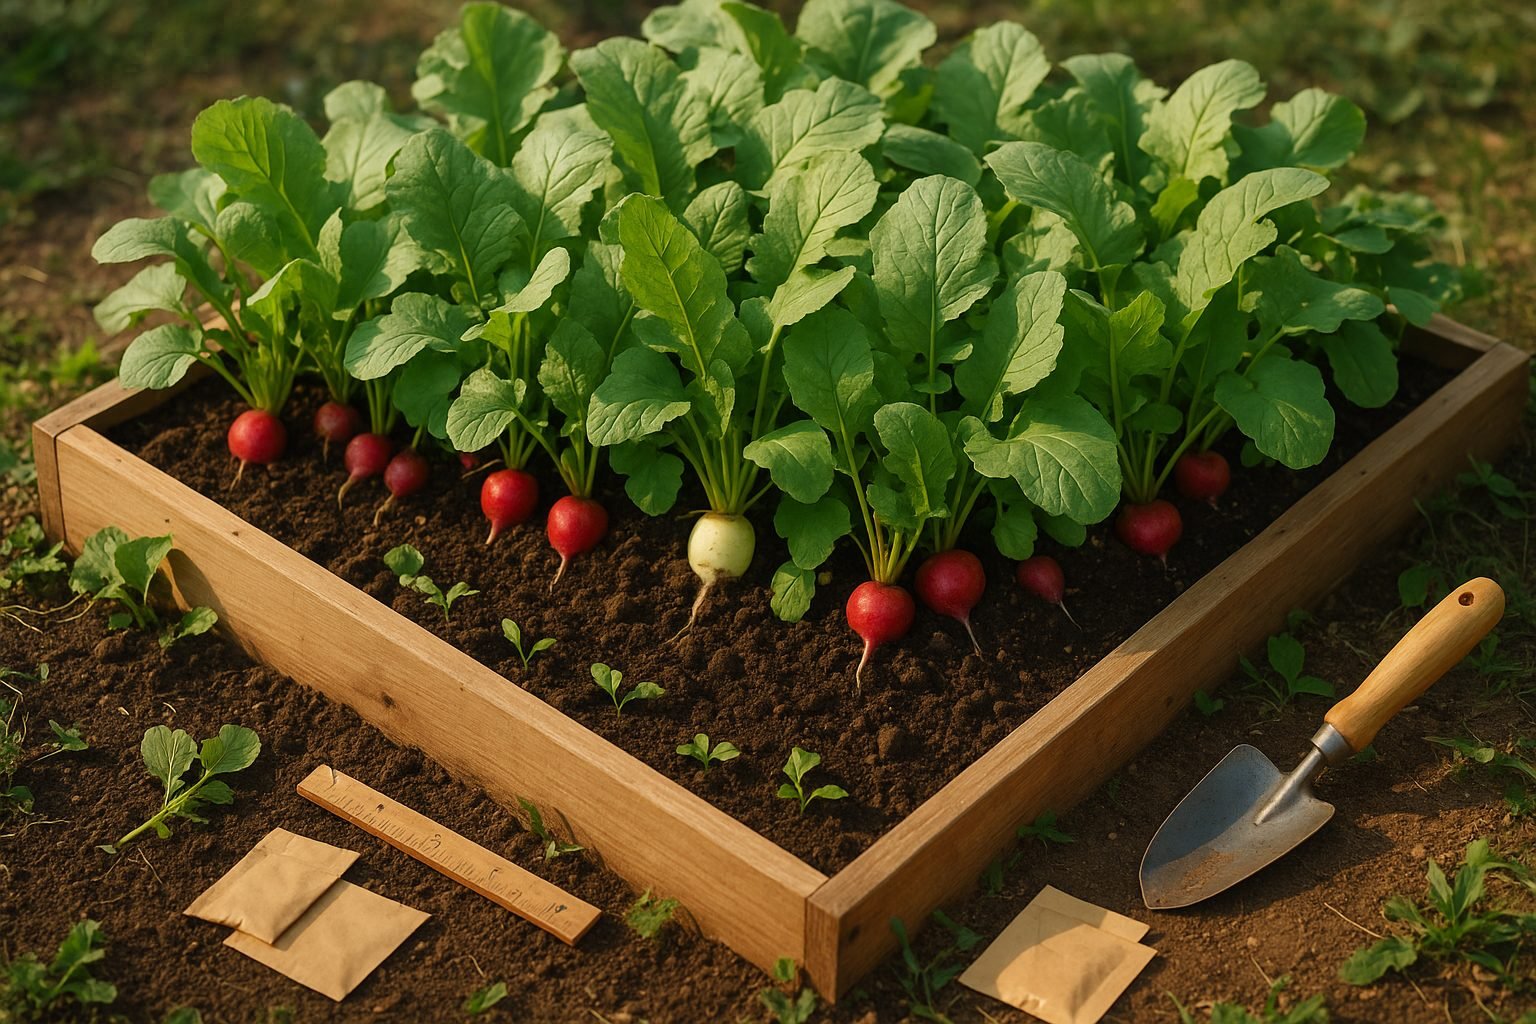
Organic radish growing is becoming increasingly popular among home gardeners, thanks to the radish’s fast growth cycle and crisp, peppery flavor. These humble root veggies not only sprout quickly—sometimes within just three weeks—but also lend themselves to countless culinary uses, from salads to pickling. Plus, radishes help break up compacted soil and are fantastic for companion planting. In this post, you’ll find step-by-step tips for growing radishes organically, ways to keep them pest-free without chemicals, and creative ideas for enjoying your fresh garden harvest. Let’s get started on your path to delicious, homegrown radishes!
A Quick Look at Radish Types
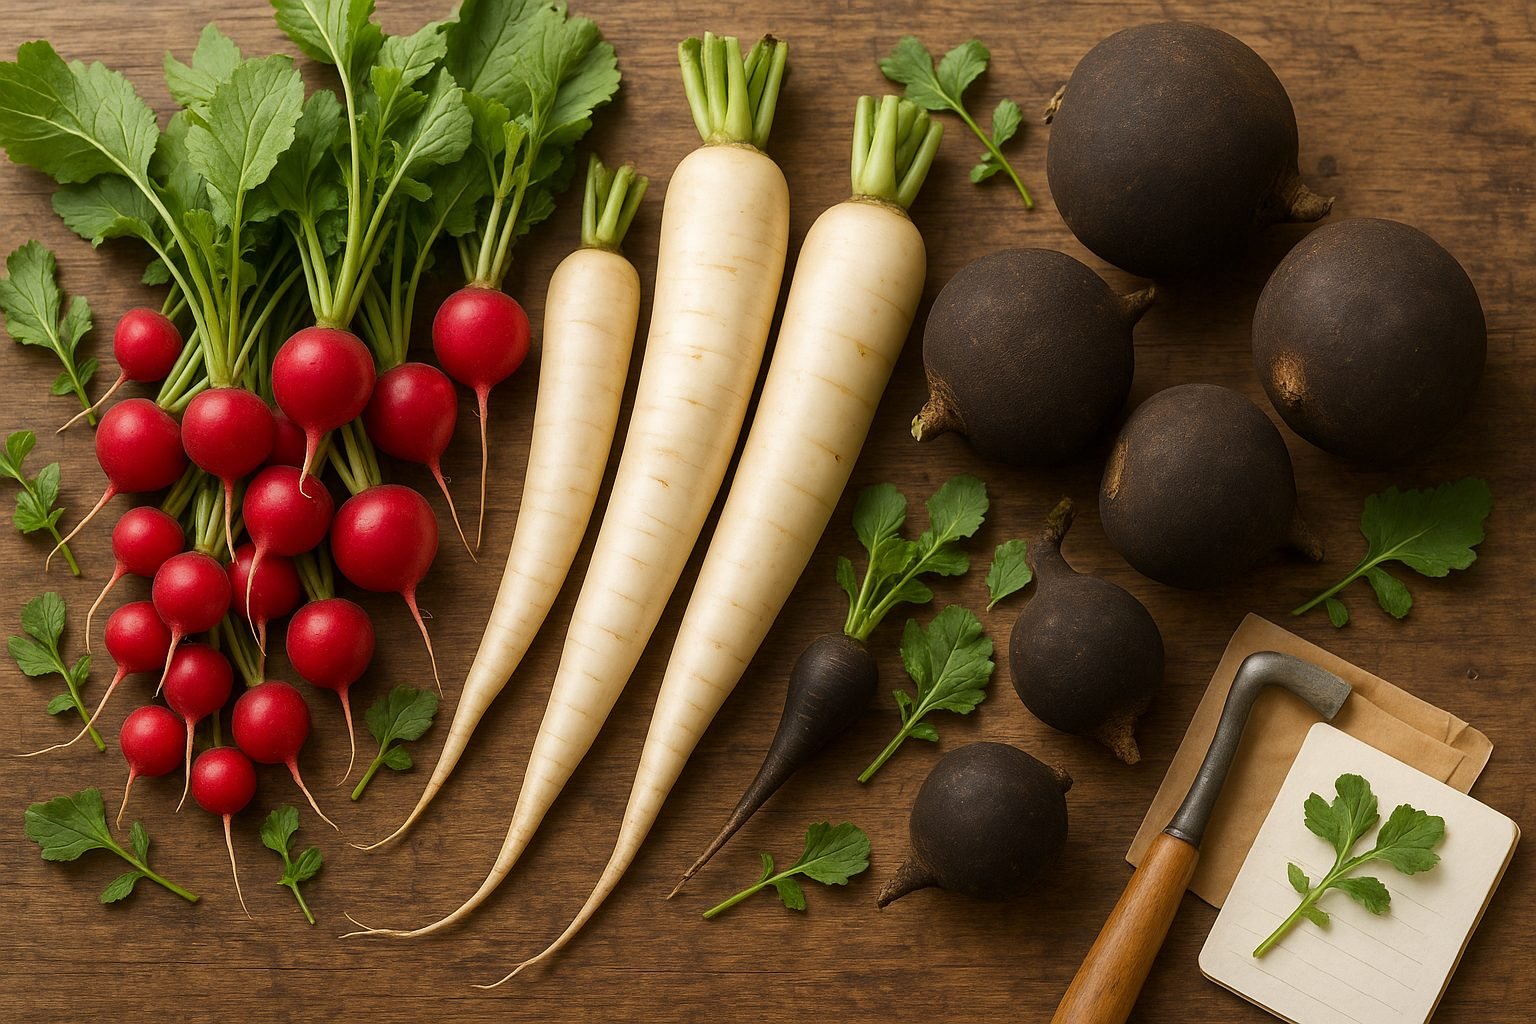
Radishes come in two main types: spring and winter. Spring radishes, like the popular ‘Saxa’, are small, round, and crisp with a bright, peppery bite—perfect for salads or quick snacks. These fast-growers are typically ready to harvest in under a month and do best in cool, early-season weather.
Winter radishes, on the other hand, are much larger and have a milder, sometimes sweet flavor. Well-known varieties such as Daikon or Black Spanish radishes can grow several inches long or wide and are great for pickling, roasting, or slicing into slaws. Unlike their spring cousins, winter radishes are sown later in the year and take longer to mature, making them a heartier option for cold-season dishes.
Whether you want quick crunch or depth of flavor in your kitchen, there’s a radish type to fit every need.
Getting Started: Planting and Growing Radishes
Radishes are one of the easiest and quickest vegetables to grow, making them perfect for beginners and busy gardeners. Start by choosing a sunny spot that gets at least six hours of light each day. While radishes will tolerate partial shade, full sun encourages the best root development. The soil should be loose, well-drained, and free of stones—mix in compost if your soil is heavy or clay-like. Aim for a pH between 6.0 and 7.0.
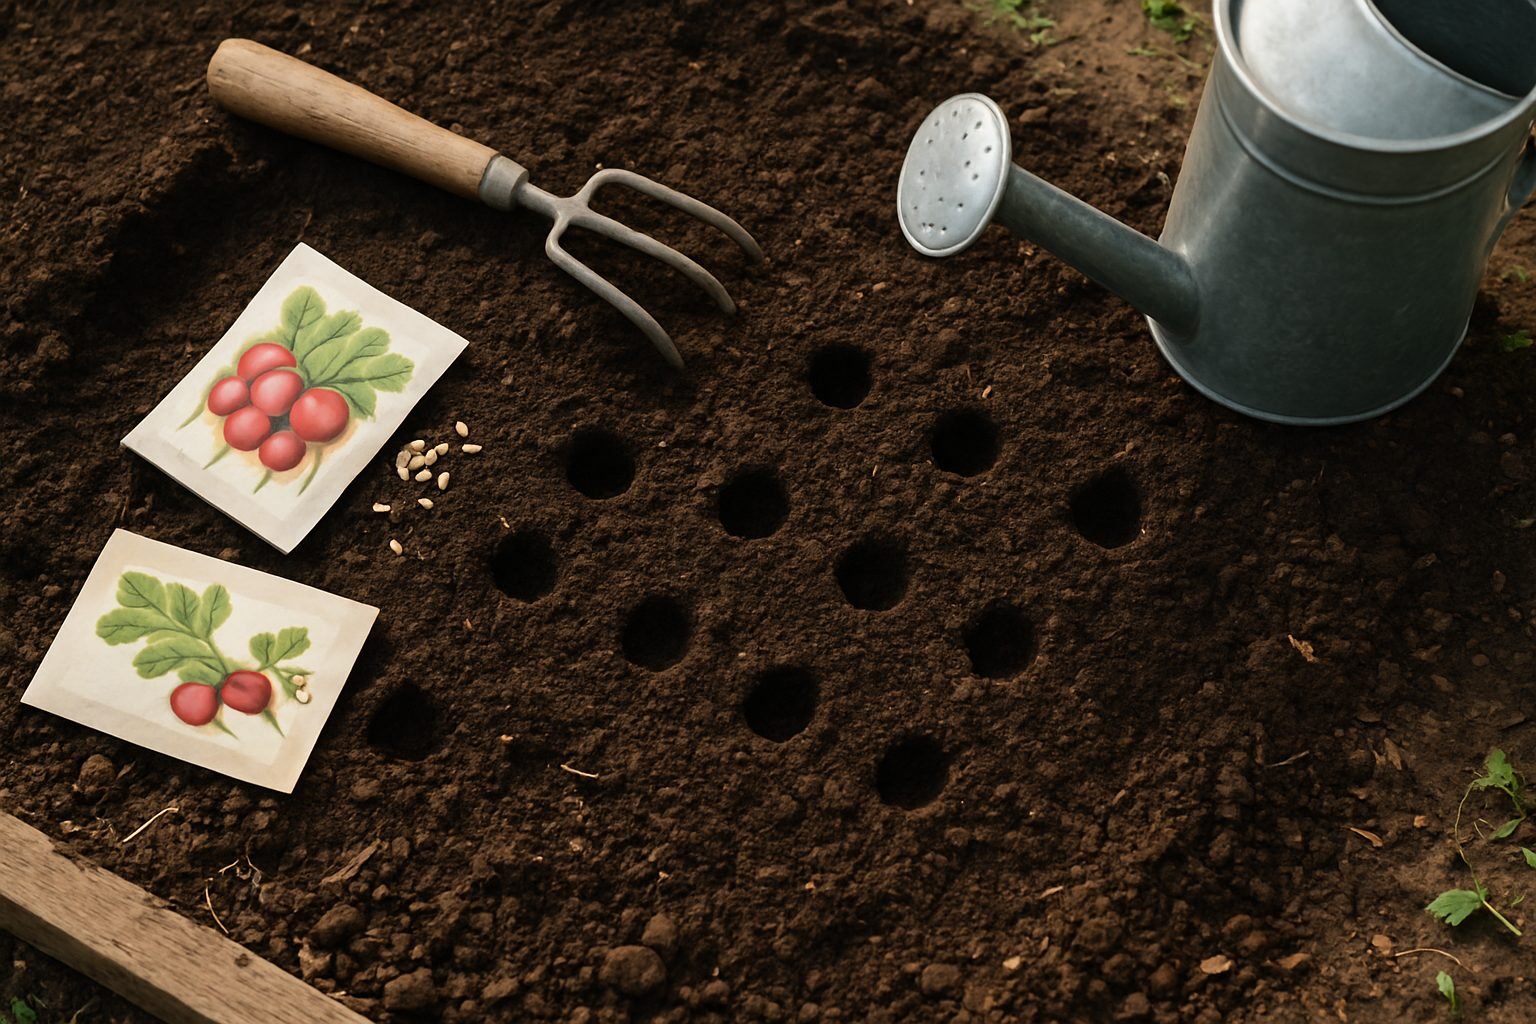
Sow radish seeds directly into the ground once the soil is workable in early spring, planting them about half an inch deep and one inch apart. For more tender roots, keep the soil consistently moist but not waterlogged. Thin seedlings when they’re about an inch tall to avoid overcrowding, as this can cause misshapen radishes.
Watch out for common pests like flea beetles. Using floating row covers and checking your plants regularly can help keep the leaves healthy. If you notice slow growth or woody roots, it’s often due to too little water, overcrowding, or excessive heat.
To keep enjoying fresh radishes, try succession planting: sow a small patch every 10–14 days through late spring and again in late summer for a fall harvest. This simple strategy keeps your table stocked with crisp, spicy radishes all season long.
Using Radishes as Cover Crops
Cover crops are non-harvested plants grown mainly to protect and enrich soil between periods of regular crop production. Radishes, especially daikon or oilseed radish, are becoming a popular choice for this purpose.
Radishes are effective because their fast-growing, deep roots break up compacted soil, improve water infiltration, and bring nutrients closer to the surface for future crops. As the plants decompose, they add organic matter and boost soil fertility. They also suppress weeds by outcompeting them for space and sunlight.
To use radishes as a cover crop, sow seeds in late summer or early fall after your main crop is harvested, making sure the soil is moist and lightly tilled. Allow the radishes to grow until a hard frost kills them, then either lightly till them into the soil or let them winterkill—the roots will naturally decompose, leaving behind healthier, more productive ground for spring planting.
Harvesting and Storing Radishes
Knowing when to harvest radishes makes all the difference in their taste and texture. Look for radishes peeking out of the soil—most are ready when their shoulders are about one inch across. If left in the ground too long, radishes can turn woody or pithy, so check them often after 3–4 weeks from planting.
To harvest, grasp the foliage near the root and gently pull upwards; if the soil is compacted, loosen it first with a small trowel to avoid breaking the roots.
For storage, trim off the leaves to prevent moisture loss and place clean, dry radishes in a perforated plastic bag in the fridge—they’ll stay crisp for up to two weeks.
If you accidentally miss your window and the radishes become tough, don’t toss them; try grating them into salads or stir-fries, or use the greens in pesto or soups for a tasty zero-waste option.
Radishes in the Kitchen: Ideas & Simple Recipes
Radishes are a versatile and underrated veggie that can bring a pop of color and flavor to your kitchen. When shopping, look for radishes that feel firm and have crisp, vibrant greens—wilted tops are a sign they’ve been sitting out too long. At home, give them a good scrub and trim off the tops and root ends.
For crisp salads, slice them thin and toss with lemon juice, olive oil, and a pinch of salt. Roasting radishes is a game changer—just halve or quarter, season, and roast at 400°F for about 20 minutes. They become milder and almost sweet, pairing well with roasted chicken or tofu.
If you’re into tangy flavors, try quick pickling: soak sliced radishes in a mix of vinegar, sugar, and salt for an hour before topping sandwiches or tacos.
Don’t toss those leafy greens! Sauté them with garlic for a peppery side or blend them into pesto to reduce food waste and boost your nutrient intake.
Radishes pack a punch of vitamin C and fiber, are easy to grow locally, and their whole-plant edibility makes them a sustainable choice for eco-conscious cooks looking to reduce waste while enjoying fresh, healthy food.
Conclusion & Next Steps
Radishes are an easy-to-grow, nutritious, and versatile addition to any garden. Give them a try—plant a few seeds, explore new recipes, and enjoy their crisp flavor.
For more tips and to buy seeds, check out gardening blogs, YouTube tutorials, or visit your local nursery to get started.