Introduction to Onion Preservation
Preserving onions is a smart kitchen strategy that saves money, prevents unnecessary waste, and makes your cooking life much easier. Anyone who’s ever bought a big bag of onions, only to have them sprout or spoil before using them all, knows the challenge of keeping these pantry staples fresh. That’s where preserving onions comes in, offering a way to keep their flavor and nutrients available to you year-round.
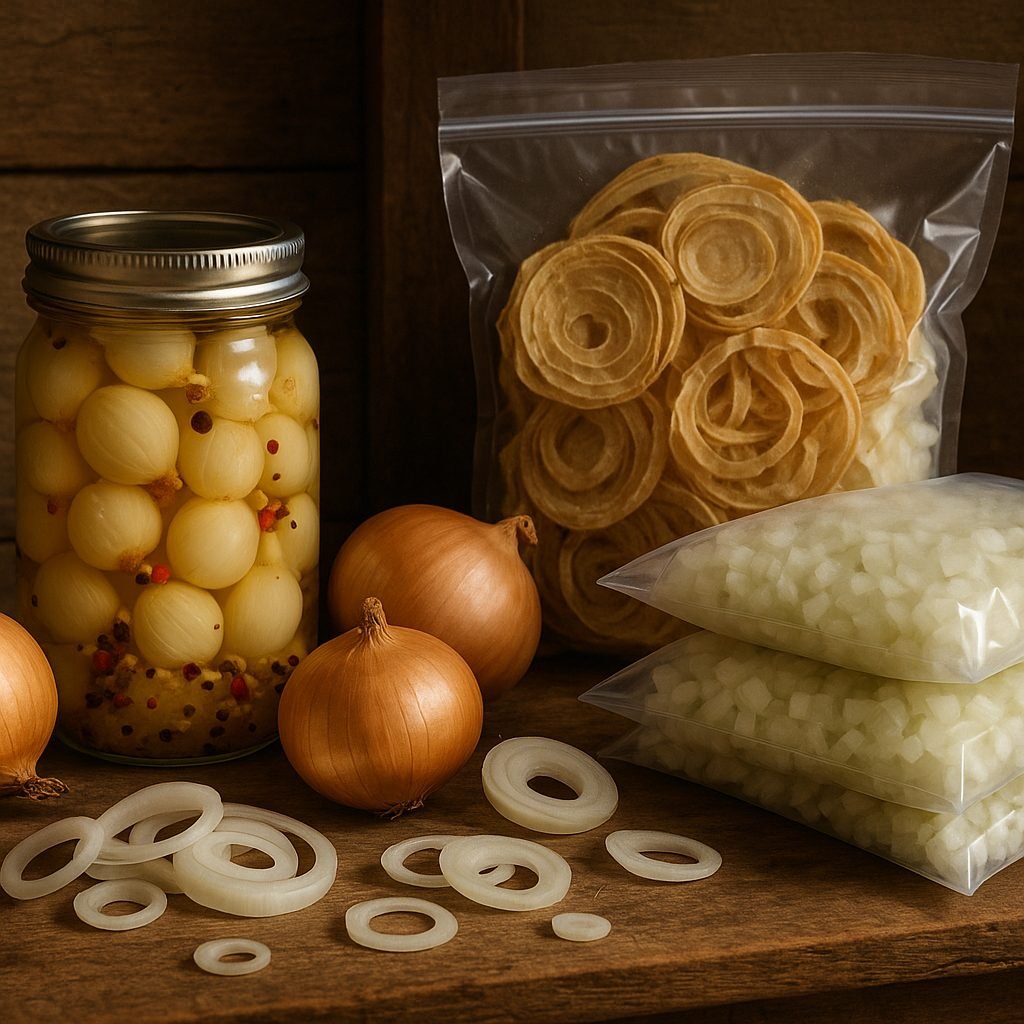
Whether you’re batch-cooking, stocking up from a seasonal harvest, or just want to avoid last-minute grocery runs, having preserved onions on hand ensures you’re always ready to add depth and savor to your meals. There are several tried-and-true methods for preserving onions, including freezing, drying (dehydrating), pickling, and canning.
Each approach has its own advantages:
- Freezing keeps things convenient for quick meals;
- Dehydrated onions are perfect for soups and spice blends;
- Pickled onions provide a tangy crunch for salads and sandwiches;
- Canned onions can become a tasty pantry treasure.
Onions are a culinary chameleon—they’re essential in stews, stir-fries, salads, and sauces—and with preserved onions, you’ll waste less, stretch your grocery budget, and always have that essential sharp-sweet flavor within reach, no matter the season.
Freezing Onions: The Quick & Easy Method
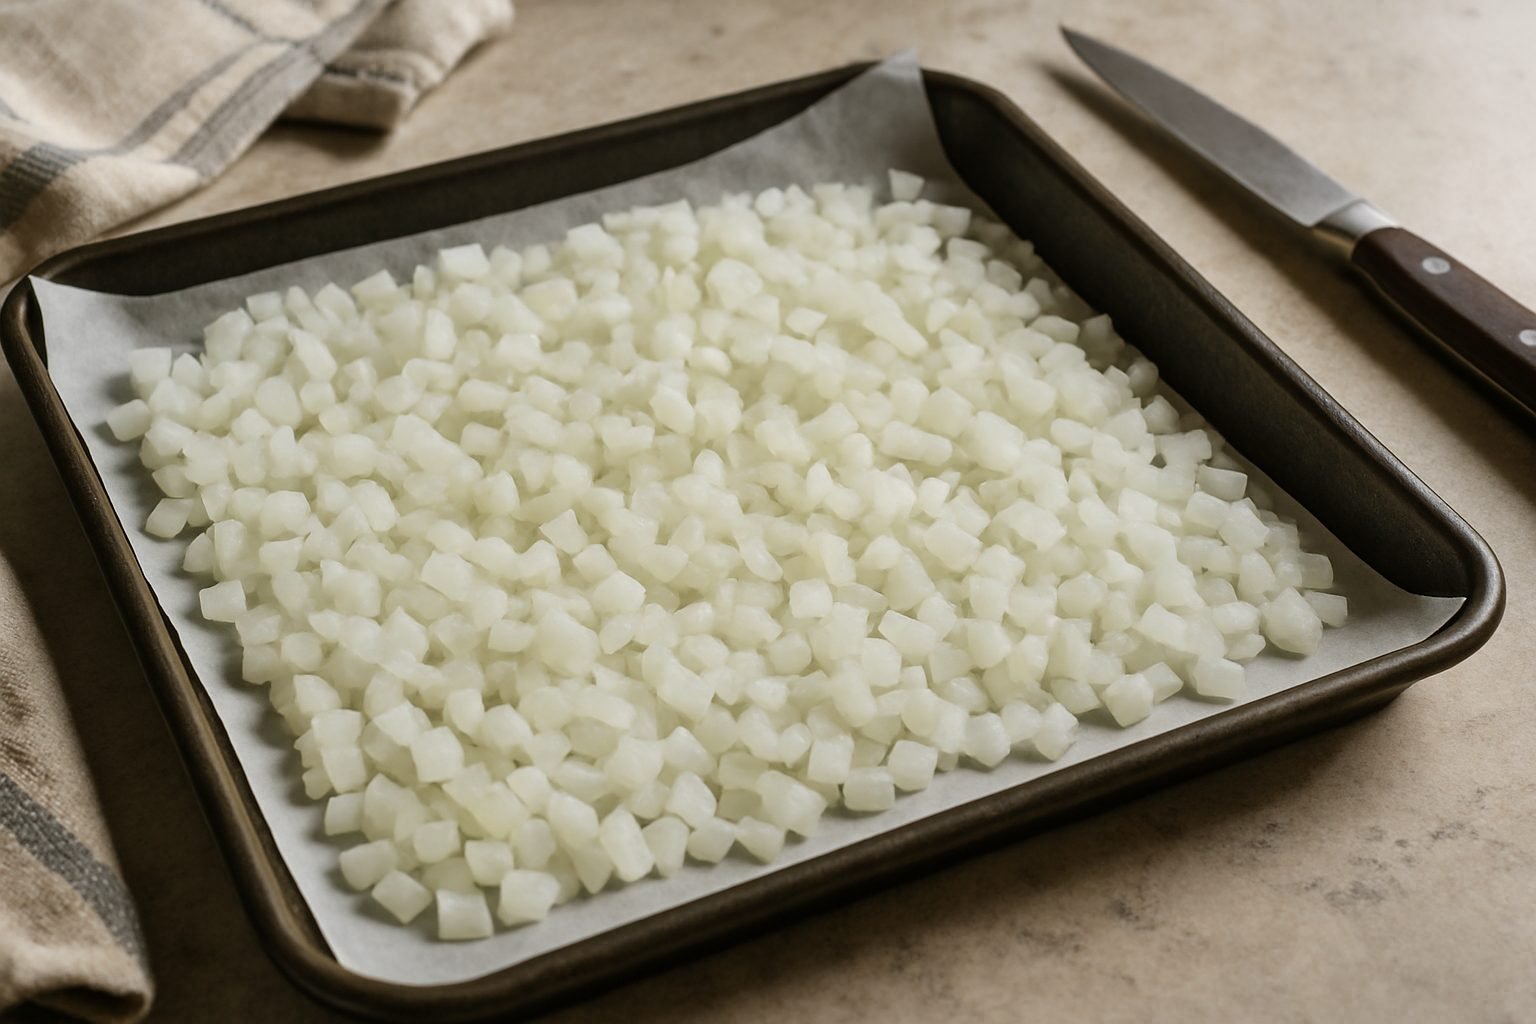
Freezing onions is a smart way to save time and reduce food waste, especially if you regularly cook meals that start with diced onions. To begin, peel away the papery layers and trim the ends. Chop the onions to your desired size—whether finely diced for soups or chopped larger for stews.
Some people choose to blanch the onions first by boiling them for a minute and plunging them into ice water. This step can help preserve flavor and minimize pungency, but it’s totally optional.
Next, spread the chopped onions in a single layer on a baking sheet lined with parchment paper and pop it in the freezer for a few hours. This prevents the pieces from clumping together.
Once frozen, transfer the onions to airtight containers or heavy-duty freezer bags. Portion them into commonly used quantities (like one cup or half-cup) before sealing. Make sure to label each bag with the date and amount for easy access later.
When cooking, you can toss frozen onions straight into your recipes—no thawing required—which is perfect for time-strapped weeknight dinners. However, keep in mind that freezing changes onion texture, making them a bit softer and wetter once defrosted. As a result, frozen onions shine in cooked dishes such as casseroles, stir-fries, or sauces rather than fresh salads or salsas.
Ultimately, freezing onions is a convenient hack that makes meal prep easier while ensuring you always have this kitchen staple on hand.
Drying and Dehydrating Onions for Long-term Storage
Drying onions is a smart way to preserve their flavor for months, and you have two main options: air drying and using a dehydrator. While air drying is the traditional, no-cost method—simply stringing up onion halves in a ventilated place—it’s slow and depends on weather conditions; moisture, humidity, or pests can spoil your efforts. A food dehydrator, by contrast, is much quicker and gives you more control over temperature and airflow, drying onions in about 6–12 hours versus several days for air drying.
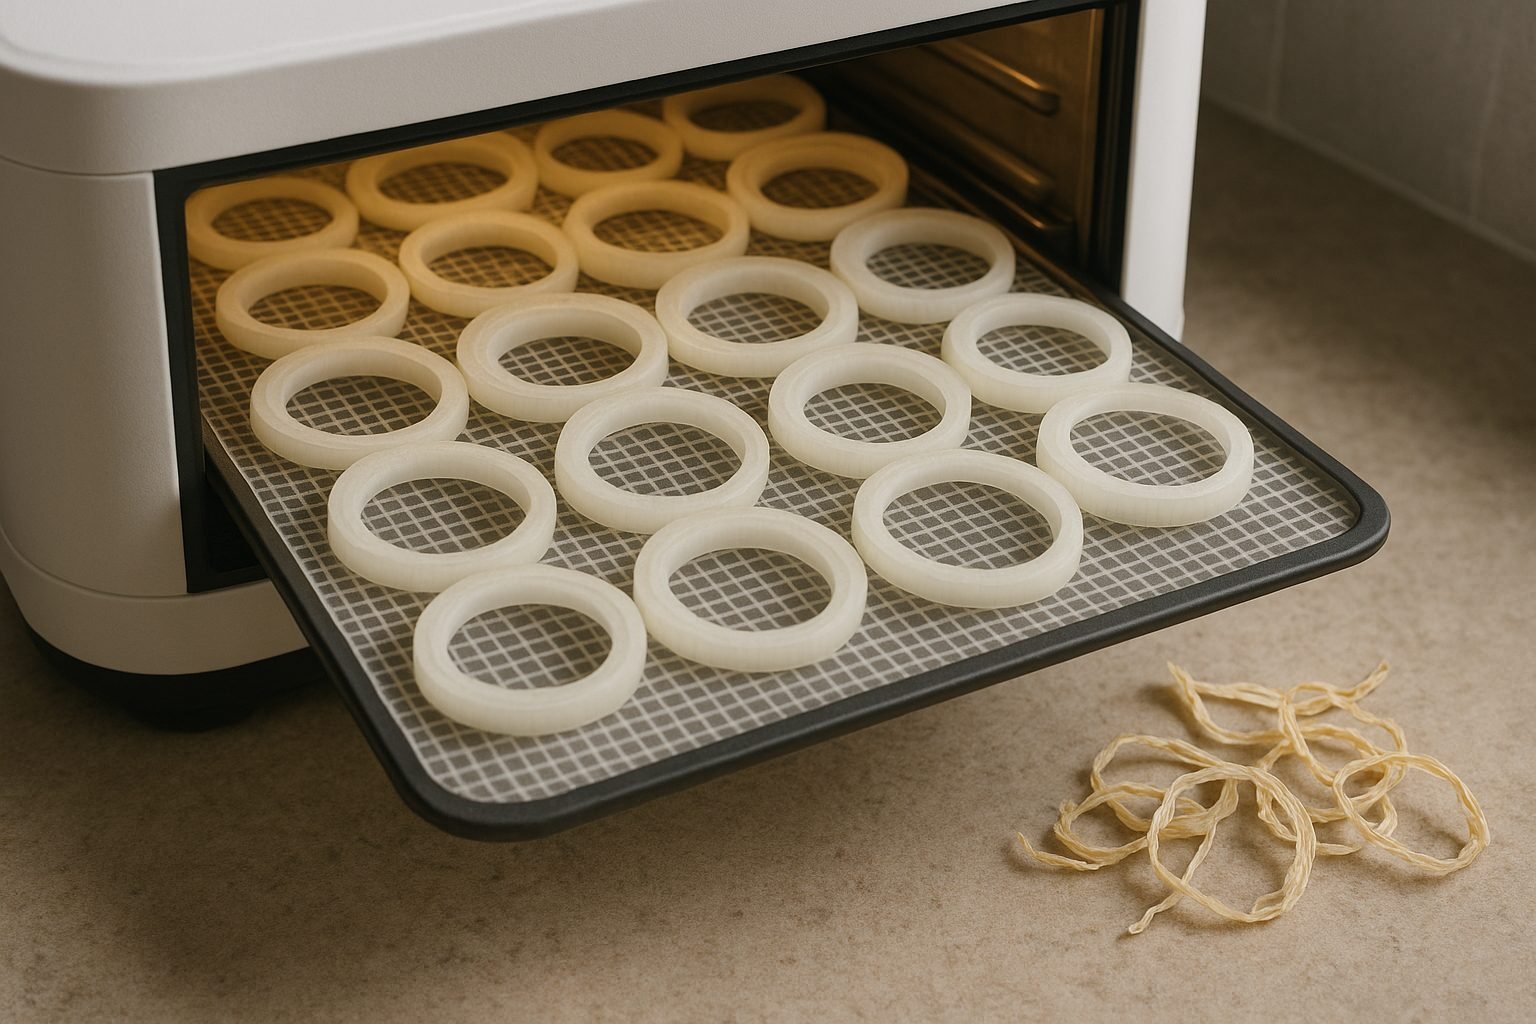
Most home cooks prefer dehydrators for their convenience and reliability, especially if you want consistent results and minimal hands-on time. To dry onions with either method, start by peeling and slicing them into uniform rings or dice, about 1/8 inch thick. Uniform slices ensure even drying so you don’t end up with some pieces too crisp and others still damp.
For air drying, lay the slices out on racks in a single layer, making sure they’re not touching. If using a dehydrator, arrange the slices on trays and set the temperature to about 125°F (52°C), checking periodically for dryness—they’re done when they’re brittle and snap easily.
Store completely dried onions in airtight glass jars or vacuum-sealed bags, and keep them in a cool, dark place to prevent moisture and light from ruining your hard work. When you’re ready to use them, you can toss dried onions directly into soups or stews, or soak them in warm water for 15–20 minutes to rehydrate for recipes that call for fresh onions.
With these methods, you’ll always have onions on hand, ready to boost flavor in a pinch.
Pickling Onions: Flavorful & Versatile Preservation
Pickling onions is one of the easiest and most flavorful ways to preserve them, and you don’t need fancy equipment or months of patience to get started. At its simplest, the pickling process involves submerging sliced onions in a brine made from vinegar, water, and salt—white or apple cider vinegar works best for a tangy, balanced flavor.
For quick pickling, simply combine equal parts vinegar and water, add a tablespoon of salt and a touch of sugar to soften the sharpness, then pour the hot mixture over your onions along with spices like black peppercorns, whole coriander, mustard seeds, and a bay leaf. Fresh herbs such as dill or thyme can lend a garden-bright finish.
Quick pickled onions are ready in as little as an hour and keep for up to two weeks in the fridge, making them perfect for spontaneous burger nights or salads. In contrast, traditional pickling for long-term storage uses a more concentrated, often sterilized brine, and the jars are processed in a hot water bath to ensure they’re shelf-stable for several months.
Whichever method you choose, pickled onions add a zesty punch to a huge range of dishes—try them on tacos for a crisp-tart bite, swirl them through potato salads for added brightness, or use them to top grain bowls and avocado toast.
Store your pickled onions in a glass jar with a tight-fitting lid; always use clean utensils to remove them, which helps keep them fresher longer. Whether you need a last-minute garnish or a pantry staple, these tangy onions are sure to become a kitchen favorite.
Canning Onions: Storing for the Long Haul
When it comes to canning onions for long-term storage, safety is key. Onions are a low-acid vegetable, which means water bath canning isn’t safe on its own, even with added vinegar—you’ll need to use a pressure canner to prevent bacteria like botulism.
For products like sweet onion relish or pickled onions, where a tested recipe lowers the pH with enough vinegar, water bath canning becomes acceptable. Always choose recipes from trusted sources like the USDA or university extensions to ensure proper acidity and processing times.
When canning, thoroughly clean your jars, lids, and equipment, and follow guidelines precisely. Once sealed jars have cooled, label them with the date and contents, making sure not to stack jars directly on top of each other to avoid breaking seals.
Store your jars in a cool, dark place—like a basement or pantry—where they can last up to twelve months at peak quality. Regularly check for signs of spoilage such as leaks, bulging lids, cloudy brine, or any off smells before use. If in doubt, always err on the side of caution and discard questionable jars.
Taking these steps ensures your home-canned onions stay delicious and safe to enjoy all year round.
Tips for Storing Fresh Garden Onions
After harvesting fresh onions from your garden, curing them is the first crucial step for long-term storage. Lay the onions out in a single layer on a clean, dry surface in a well-ventilated space—such as a covered porch, garage, or shed—for two to three weeks. Make sure they’re protected from direct sunlight and rain.
During this time, the outer skins will become papery, and the necks will dry out completely, which helps prevent rot. Once cured, trim the dried stems to about an inch above the bulb and snip the roots close to the base. Brush off any loose soil—avoid washing them with water.
For ideal storage, onions prefer a cool (around 40–50°F), dry, dark location with good airflow, such as a basement, cellar, or pantry. Mesh bags, baskets, or even old pantyhose with knots between bulbs work well to keep onions ventilated and separated. Avoid plastic bags, as they trap moisture and encourage mold.
Every few weeks, check your stored onions for signs of spoilage, especially soft spots or moldy patches, and promptly remove any affected bulbs to protect the rest. Make it a habit to rotate your stock—use the older onions first and add new ones to the back—so you always enjoy the freshest produce.
By following these practical steps, you can keep your garden onions flavorful and ready to use for months.
Choosing the Right Onion Variety for Preservation
When it comes to preserving onions for the long haul, choosing the right variety is key. Storage onions, such as Yellow Globe, Copra, and Redwing, are bred specifically for longevity thanks to their thick, papery skins and higher sulfur content. These types hold up well in cool, dry storage for months, unlike sweet onions like Vidalia or Walla Walla, which have thinner skins and higher moisture—delicious fresh but quick to spoil.
For the best results, pick onions that are firm, blemish-free, and have tightly closed necks; any signs of softness, sprouting, or moisture can lead to spoilage during storage.
If you’re growing your own, opt for long-day onion varieties if you live in northern regions, as they develop proper storage qualities when exposed to lots of summer daylight. Also, let onions mature fully in the ground—wait until the tops naturally fall over before pulling them, and always cure them for two to three weeks in a warm, well-ventilated spot before storing.
Whether buying or growing, investing a little care in your onion selection pays off with flavorful, long-lasting pantry staples all winter.
Conclusion: Keep the Flavor All Year
Whether you prefer freezing, drying, pickling, or storing onions in a cool, dry place, each method lets you capture that garden-fresh flavor all year round. Choose the technique that fits your kitchen routine and the amount you have—maybe freezing diced onions for quick weeknight meals or pickling to add zest to salads.
Don’t be afraid to experiment; preserving onions is simple and doesn’t require fancy tools. By trying these methods, you can always have onions on hand, save money, and cut down on food waste. Start small, find what works for you, and enjoy the taste of your harvest anytime.