Introduction to Growing Cauliflower
If you’re wondering how many cauliflower plants you can fit per square foot in your garden, you’re not alone. Cauliflower is a highly nutritious, cool-season vegetable that’s packed with vitamins and incredibly versatile, making it a favorite among home gardeners who want to eat healthy and get creative in the kitchen.
While growing broccoli or cabbage often seems straightforward, cauliflower can be a bit more challenging—even for experienced gardeners. Unlike its sturdier cousins, cauliflower is sensitive to temperature changes, requires consistent moisture, and demands precise spacing to develop big, creamy heads. When plants are crowded or stressed, they may bolt or produce underdeveloped curds.
Don’t let that intimidate you—success begins with a few essential steps. From knowing the right number of cauliflower plants per square foot to transplanting at the ideal time and protecting them from sudden heat, you can grow beautiful, healthy heads right at home.
In this post, you’ll discover simple yet effective strategies for spacing, watering, and caring for your cauliflower, so you’ll be ready to harvest perfect, flavorful heads when the time comes.
Choosing the Right Cauliflower Varieties
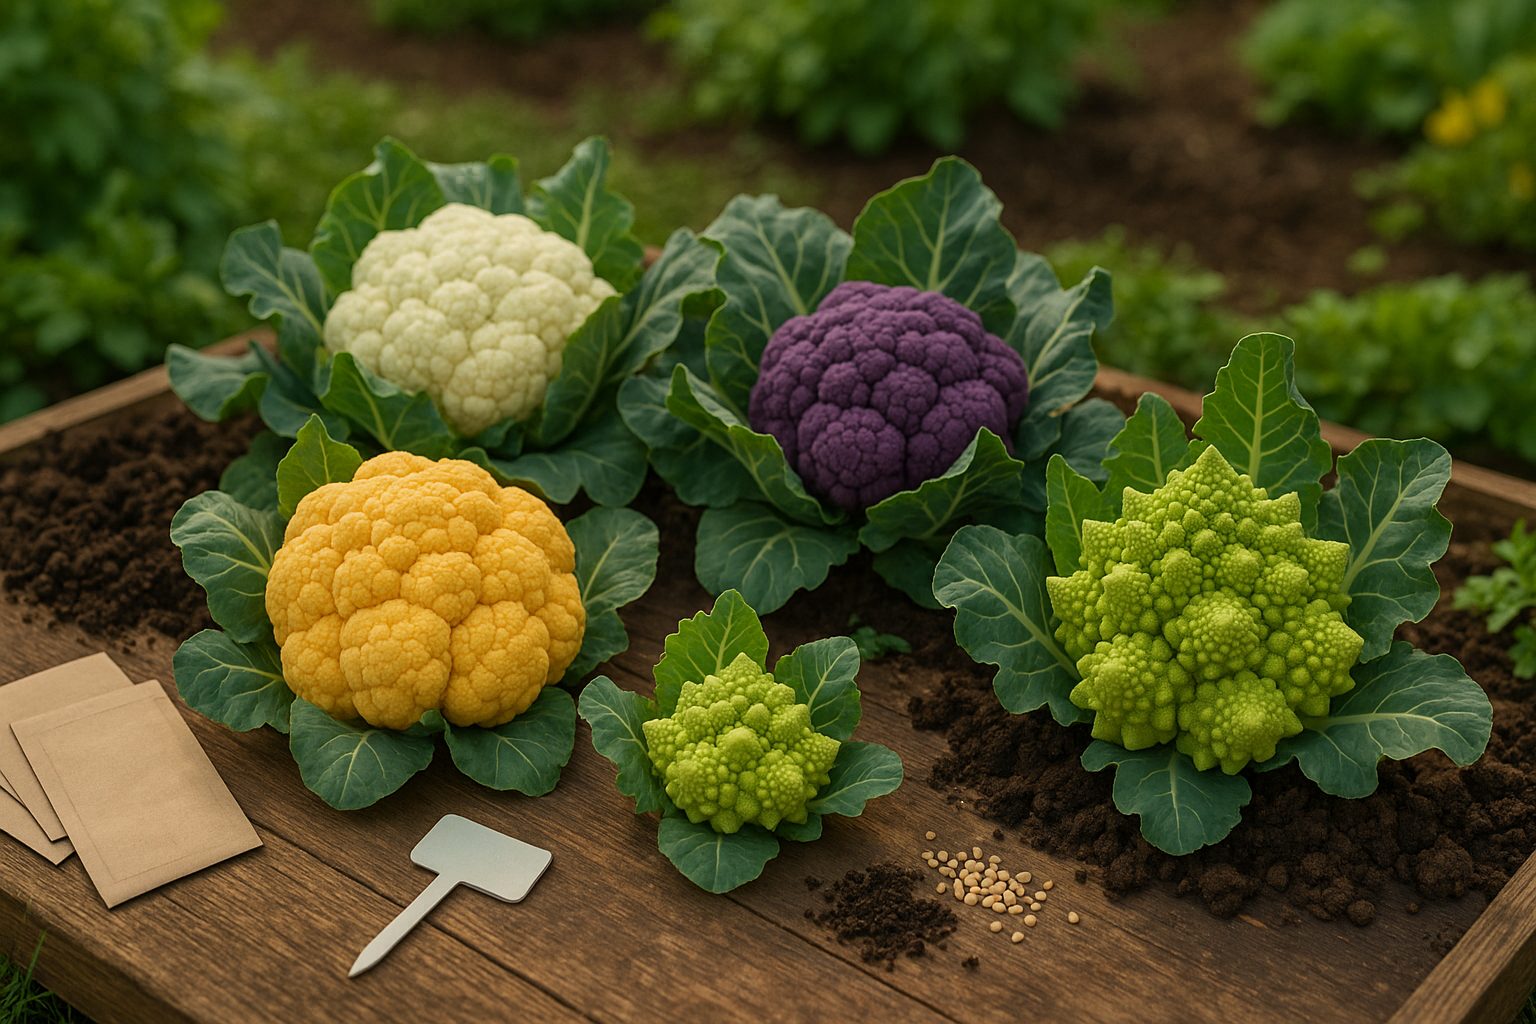
When choosing the right cauliflower varieties for your garden, start by considering your local climate and growing season. Some types are bred to thrive in cool, mild weather, while others—like Snowball and Early White—tolerate warmer climates or variable spring temperatures and mature quickly, making them great for short growing seasons.
If you have a longer, cooler season, tried-and-true favorites like Cheddar (a striking orange) or Graffiti (vivid purple) not only add color to your plate but also handle extended growing periods.
Pay attention to the days to maturity listed on seed packets; early varieties such as Amazing can be ready in just 55–70 days, perfect if you’re eager for a quick harvest or want to avoid early frost risks.
Disease resistance is another essential factor—look for varieties labeled as tolerant to common issues like clubroot or downy mildew, which helps reduce maintenance and increases your chances of success.
Lastly, give your chosen variety enough room to flourish; compact types like Mini White are ideal if you’re container gardening or have limited space, while larger heads like Romanesco need ample spacing to grow properly.
Considering these factors, review local extension agency recommendations or ask nearby gardeners for their favorites—they’ll have valuable insights on what grows best in your region.
When and Where to Plant Cauliflower
Cauliflower thrives best in cool weather, so timing is crucial for a successful harvest. For spring crops, start seeds indoors four to six weeks before your region’s last expected frost date, then transplant seedlings outdoors two to four weeks before the final frost. For fall crops, sow seeds directly outdoors in midsummer, typically 12 to 14 weeks before the first autumn frost.
In cooler USDA zones (3–5), plant in early spring and late summer to take advantage of mild temperatures before summer heat or early frosts arrive. If you live in zones 6–7, late winter sowing for spring crops and mid- to late summer planting for fall crops work best. In milder zones 8–10, plant in late summer or early fall for a robust winter harvest.
Always choose a spot with at least six hours of direct sunlight daily—partial shade can stunt growth and reduce yields. The soil should be rich, loose, and well-draining, with a pH between 6.0 and 7.0. Adding compost or aged manure improves fertility and soil structure.
Plant your cauliflower beds close to a water source to save time, as consistent moisture is key for tight, healthy heads. Raised beds or well-amended garden plots in areas protected from strong winds are ideal. By syncing your planting calendar with your climate zone and choosing the best garden spots, you’ll set your cauliflower up for a crisp, flavorful success.
Starting Cauliflower Plants: Sowing, Transplanting, and Spacing
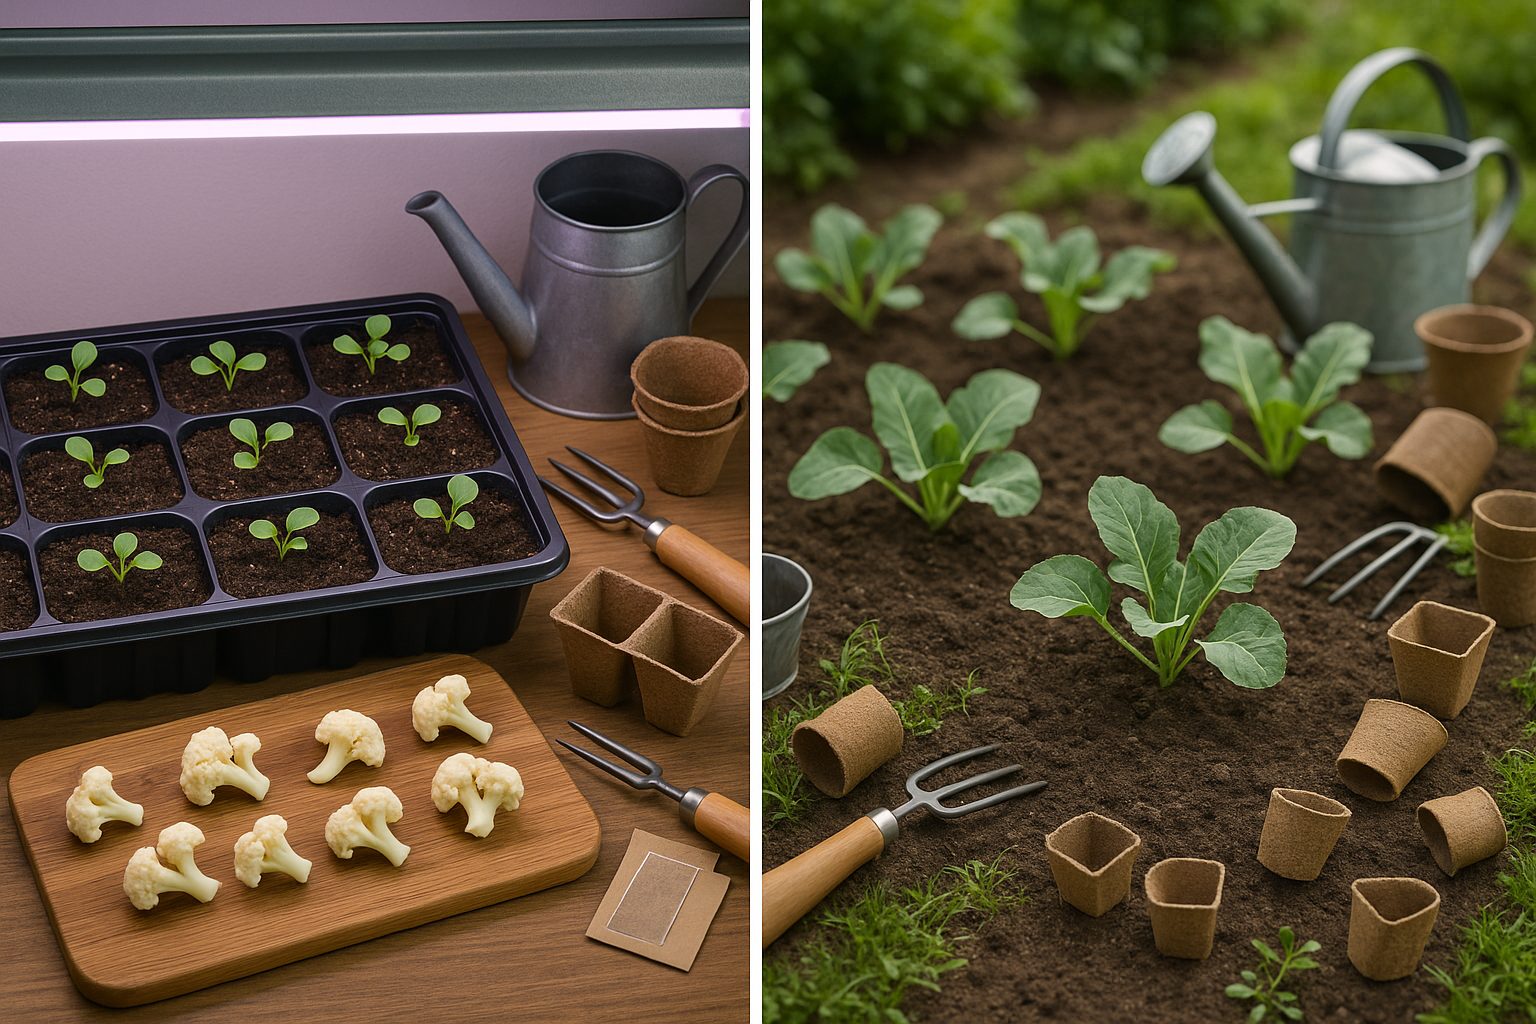
When growing cauliflower, you have two main options: direct sowing seeds outdoors or starting seedlings indoors. Direct sowing is simple and saves time, but cauliflower seeds need cool, stable temperatures and are sensitive to unpredictable spring weather, which can hinder germination and cause inconsistent growth. Starting seeds indoors, on the other hand, offers better control over temperature and moisture, producing stronger, more uniform seedlings—though it does require extra space and effort.
If you start indoors, sow seeds in trays or small pots ¼ to ½ inch deep about 6–8 weeks before your last expected frost. Keep the soil consistently moist and place trays in a sunny window or under grow lights for at least 6 hours daily. When seedlings have at least two sets of true leaves and outdoor temperatures reliably stay above 50°F (10°C), start hardening off seedlings about a week before transplanting. To do this, move plants outside for a few hours each day, gradually increasing their time outdoors to acclimate them to sunlight and wind.
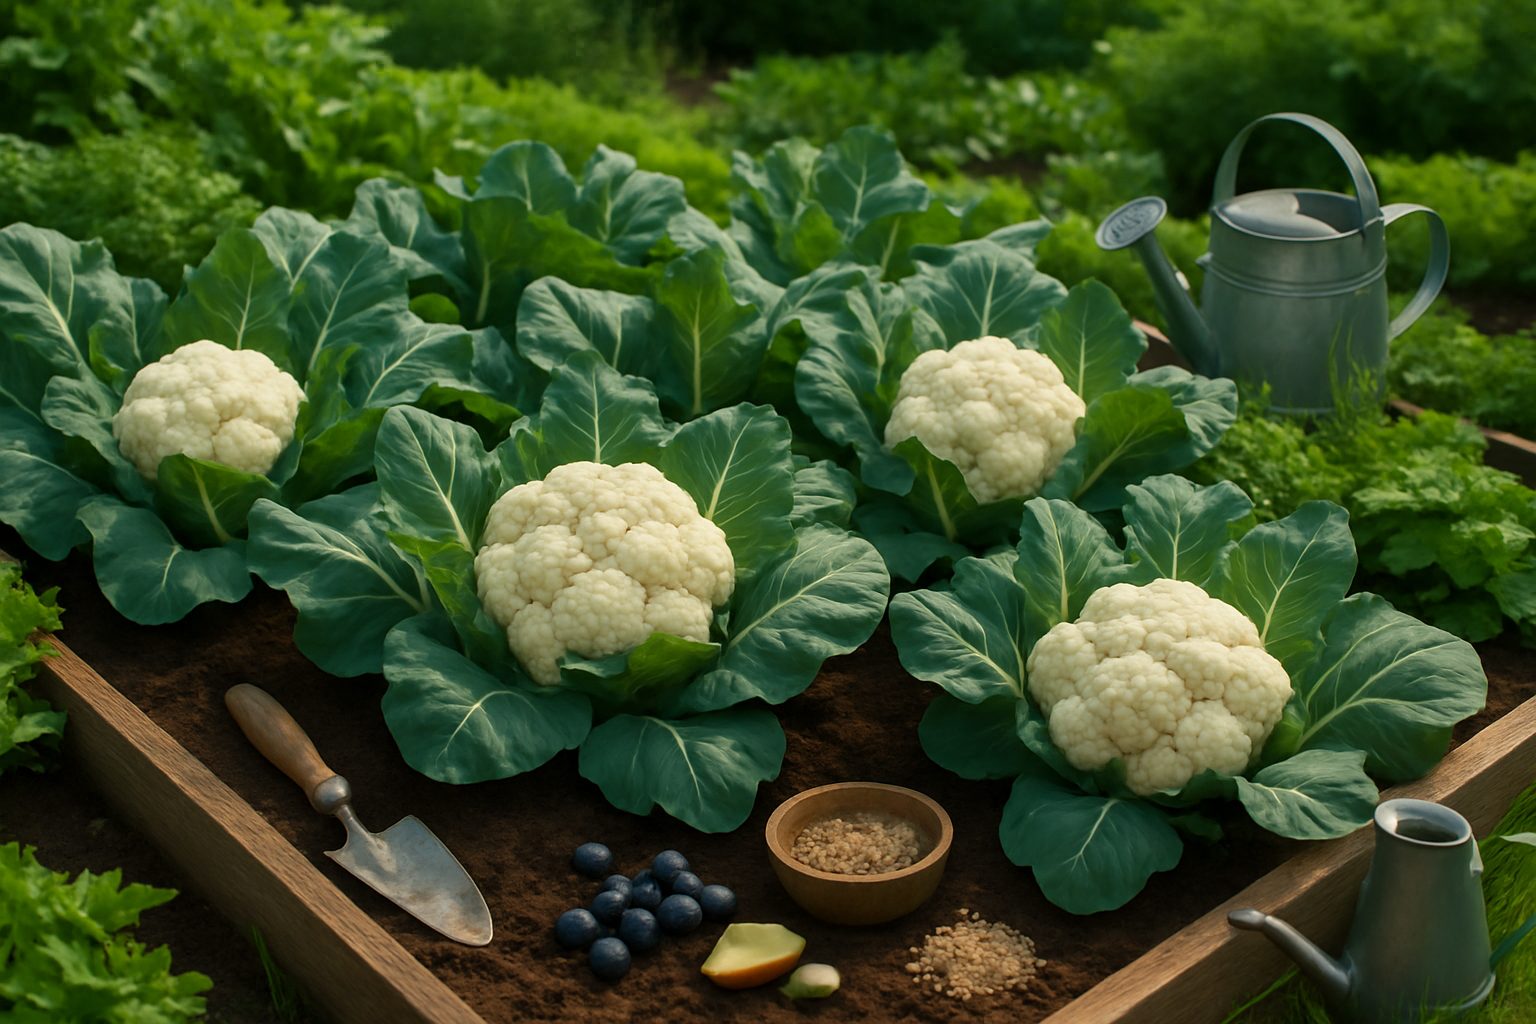
For both direct sowing and transplanting, plant cauliflower 18–24 inches apart in rows spaced 24–36 inches apart—this ensures good air circulation and gives large heads plenty of room to form. Set each seed or transplant at the same depth as it grew in its container, taking care not to bury the central crown to avoid rot. These steps help ensure healthy, robust cauliflower plants, ready to thrive in your garden.
Ongoing Care: Water, Feeding, and Maintenance
Keeping your plants healthy throughout the growing season means paying close attention to daily care. Consistent watering is crucial—aim for about one inch of water per week, whether from rainfall or irrigation. Try to water early in the day to minimize evaporation and reduce the risk of disease. Using a soaker hose or drip system to target the roots and avoid wetting the leaves helps prevent fungal problems.
Letting the soil dry out or allowing plants to wilt can lead to stress and premature bolting, so check moisture regularly—especially during hot, dry spells. When it comes to feeding, start with a balanced, slow-release fertilizer at planting, and side-dress with a nitrogen-rich fertilizer midway through the season to boost growth. Avoid over-fertilizing, as too much nitrogen encourages leafy growth at the expense of the heads.
Maintenance pays off too: applying a two- to three-inch layer of mulch helps hold in moisture, keeps soil cool, and blocks weeds—meaning less work for you and healthier plants overall. Regular weeding is important since weeds compete for water and nutrients. For crops like cauliflower or celery, consider blanching to protect the heads from sun exposure—loosely tie the outer leaves over the developing head to keep it pale and tender.
Keeping up with these simple routines can make a big difference in both the yield and flavor of your harvest, resulting in crisper, more flavorful vegetables that are a pleasure to pick and eat.
Common Cauliflower Problems and How to Prevent Them
Growing healthy cauliflower can be challenging due to pests and diseases like aphids, cabbage worms, clubroot, and downy mildew. Aphids cluster under leaves, sucking sap and causing plants to wilt, while cabbage worms chew holes in leaves and can decimate small plants.
Combat these pests by regularly inspecting your plants and using organic solutions such as neem oil spray, insecticidal soap, or introducing beneficial insects like ladybugs and lacewings. For cabbage worms, floating row covers can be especially effective to prevent moths from laying eggs, and handpicking caterpillars can further reduce damage.
Diseases like clubroot, which causes swollen roots and stunted growth, thrive in acidic, poorly drained soil, while downy mildew appears as yellow leaf spots with fuzzy undersides, especially in damp weather. To prevent these diseases, rotate crops each year, ensure good drainage, and avoid overhead watering. Test your soil pH and aim for a range of 6.5–7.0 to keep clubroot at bay, and remove infected plants promptly to reduce spread.
If your cauliflower isn’t forming heads or is bolting prematurely, it may be due to temperature stress or inconsistent watering. Cauliflower prefers cool, steady temperatures—plant at the right time for your region, mulch plants to keep soil temperatures stable, and water consistently to avoid stress. Choose bolt-resistant varieties if you live in a warmer climate.
Attention to these preventative steps and quick action at the first sign of trouble will help you enjoy a reliable cauliflower harvest.
Harvesting and Storing Cauliflower
Knowing when to harvest cauliflower is key for the best flavor and texture. Look for heads that are compact, white (or the correct color for the variety), and about 6–8 inches across. The curds should be tight and firm—once they start to loosen or turn yellow, it’s past their peak.
To harvest, use a sharp knife and cut the head off at the base, leaving several outer leaves to protect it.
For immediate freshness, refrigerate unwashed heads in a perforated plastic bag; they’ll stay crisp for about a week. If you need to store it longer, blanch the florets in boiling water for a few minutes, then quickly cool them in ice water before freezing in airtight containers. This step prevents mushiness and preserves flavor.
For homegrown cauliflower with maximum taste, try to harvest in the cool hours of the morning, and avoid storing near produce like apples or tomatoes, which can speed spoilage. Use cut heads quickly for the best sweetness, and consider roasting or grilling to bring out their natural sugars for a delicious addition to any meal.
Cauliflower Nutrition & Kitchen Tips
Cauliflower is a powerhouse vegetable packed with vitamins C, K, and several B vitamins, making it a valuable addition to any healthy diet. It’s low in calories but high in fiber, supporting digestion and helping you feel full longer—great for weight management.
Its mild flavor makes it incredibly versatile in the kitchen. Roasting cauliflower florets with a drizzle of olive oil brings out their natural sweetness and gives them a satisfying crunch. For a low-carb alternative to grains, pulse raw florets in a food processor to create cauliflower rice; then quickly sauté it for a tasty side dish.
You can also steam and mash cauliflower with a bit of garlic and Greek yogurt for a creamy, guilt-free mash. To boost flavor, toss florets with smoked paprika, curry powder, or parmesan before cooking.
For longer shelf life, store freshly harvested cauliflower in a loosely sealed plastic bag in the crisper drawer—don’t wash it until you’re ready to use it, as excess moisture can cause spoilage. If you have extra, blanching and freezing is a great way to preserve its freshness for soups or stir-fries down the line.
With a few smart kitchen strategies, you can enjoy cauliflower’s nutritional perks and taste all year long.