Why Choose Brussels Sprouts on the Stalk?
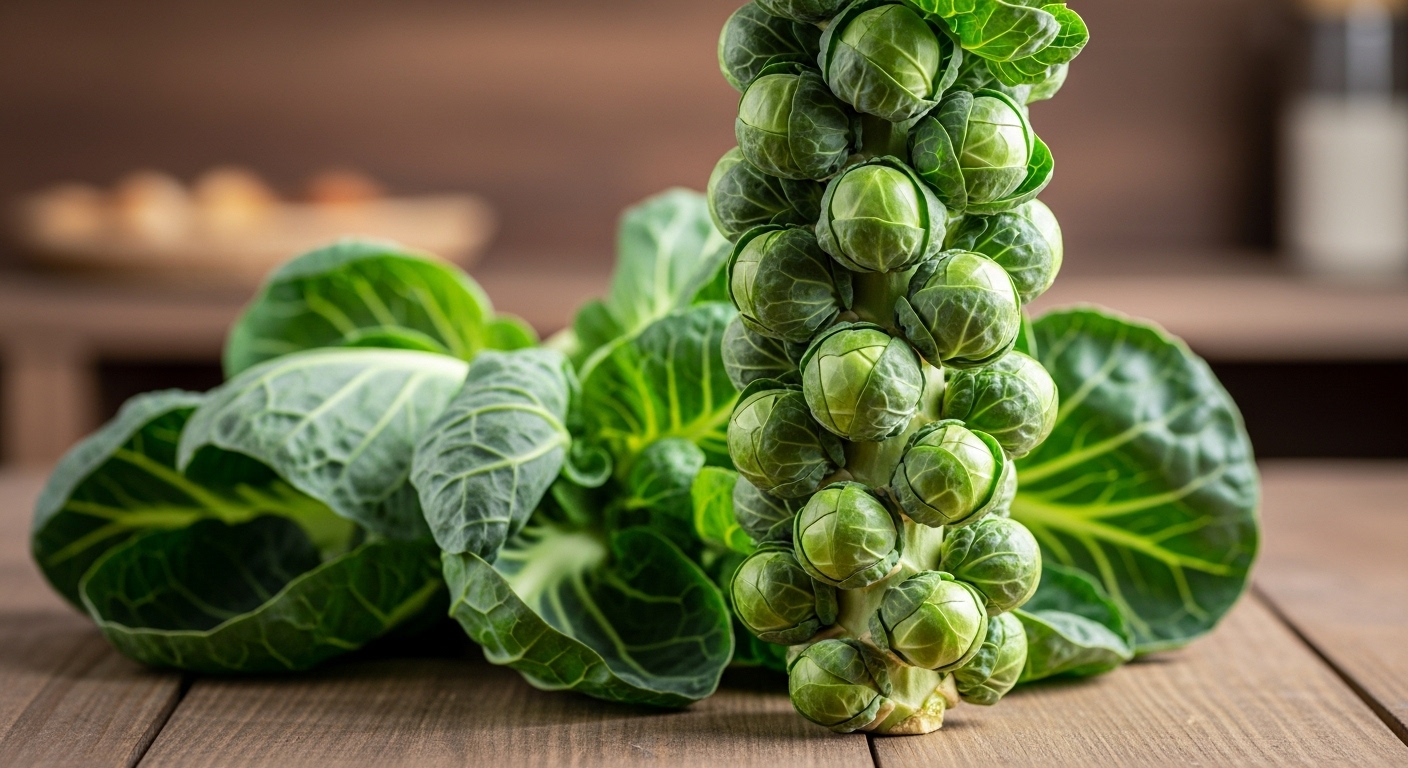
When you’re eyeing those impressive stalks at the farmers market, you might wonder about edible brussels sprouts leaves and why Brussels sprouts are often sold attached to their stem. Keeping them on the stalk isn’t just for show—it actually preserves the freshness of both the sprouts and their large, leafy greens. The stalk acts as a natural source of moisture, keeping the sprouts plump and crisp for weeks—far longer than pre-cut options you’ll find bagged at the grocery store. For home cooks, this means less waste and more time to enjoy your produce without worrying about spoilage.
The visual impact of Brussels sprouts on the stalk is hard to beat. Whether you’re setting out a stunning centerpiece for a holiday table or hoping to catch a customer’s attention at a farmers market, those standing stalks turn heads and hint at field-to-table freshness. Imagine serving roasted sprouts with their edible, wilted leaves, adding a tender, earthy touch to your meal and an undeniably vibrant look to your spread.
Taste-wise, sprouts picked fresh from the stalk can be sweeter and nuttier in flavor, with a firmer texture that holds up beautifully in roasting and sautéing. Their leaves, often discarded, are milder than the sprouts themselves—perfect for quickly sautéing or adding to soups and stir-fries. Buying Brussels sprouts on the stalk also means you’re getting both a main and a bonus ingredient, giving curious cooks even more ways to experiment with seasonal produce in the kitchen.
How to Cut and Prepare Brussels Sprouts from the Stalk
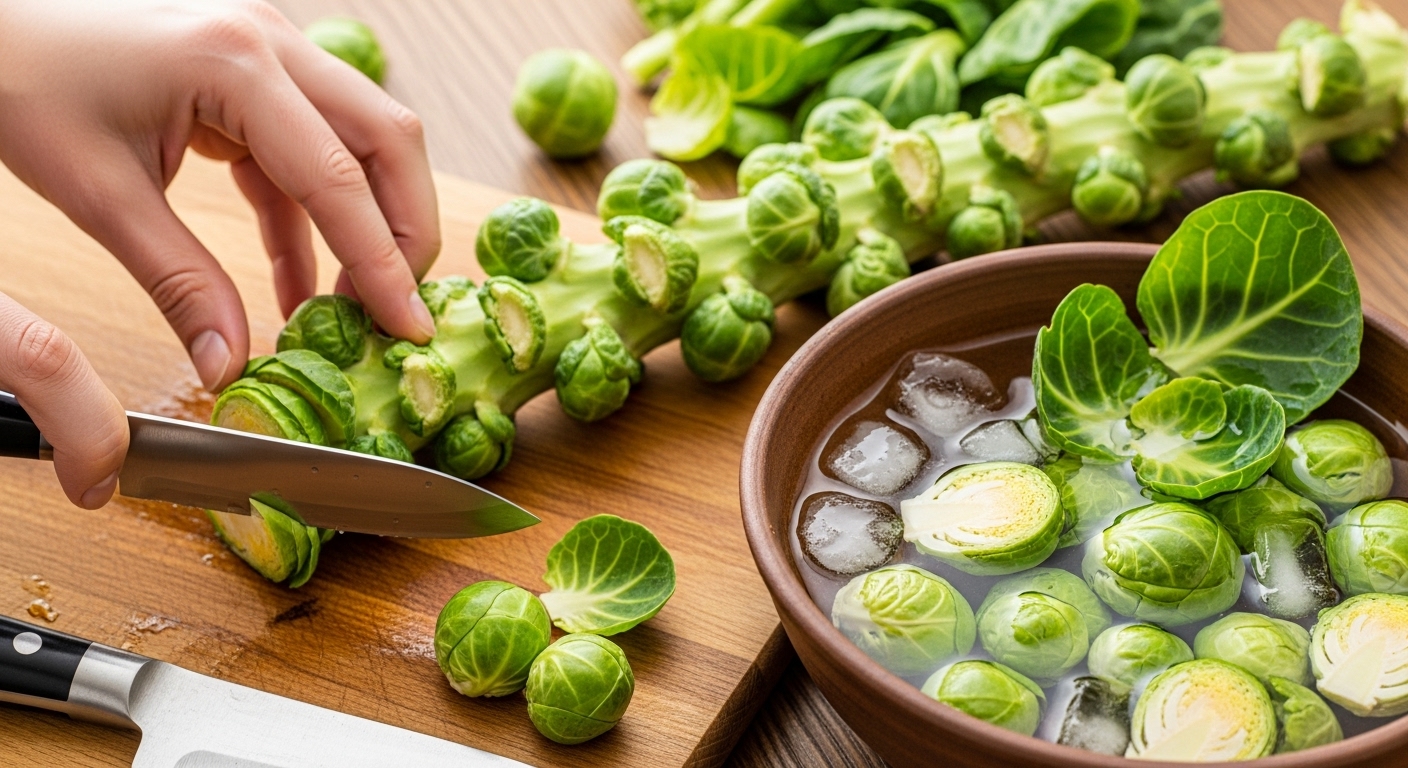
Start by placing the thick stalk of Brussels sprouts on a sturdy cutting board. Using a sharp chef’s knife, slice off the bottom of the stalk—it’s tough and not ideal for eating.
Working your way from the base up, gently snap or cut each sprout from the stalk; they usually pop off with a bit of pressure. If your stalk has leafy tops or large side leaves, these can also be edible.
Tear off any loose, yellowing, or damaged leaves from each sprout and set aside the vibrant green tops. For cleaning, put the sprouts and leaves in a large bowl of cold water, swish them around, and let any grit settle at the bottom before draining.
When trimming, cut off a thin slice from the base of each sprout to remove any woody parts. Inspect the outer leaves and peel away any that are wilted or blemished.
For cooking, halve or quarter large sprouts for even roasting or sautéing; smaller ones can be left whole. The leafy tops are great too—chop or tear them into bite-sized pieces and use them like kale or spinach. They’re perfect for a quick sauté, addition to soups, or as a salad green.
If you plan to enjoy them raw, give both sprouts and leaves a little extra rinse and pat them dry before slicing thin for slaws or salads.
These tips help you make the most of every part, reducing waste and boosting flavor.
Storing Brussels Sprouts (On and Off the Stalk)
To keep your Brussels sprouts fresh and flavorful, it’s important to store them properly, whether they’re still on the stalk or already trimmed.
If you have a whole stalk, leave the sprouts attached and wrap the stalk loosely in a plastic bag or a damp kitchen towel. Place it in the vegetable crisper drawer of your refrigerator, where it can stay fresh for up to two weeks. Keeping the stalk slightly moist but not wet helps prevent the sprouts from drying out. Avoid sealing them tightly—trapped moisture can promote mold.
For loose sprouts, remove any yellowed or loose outer leaves, then place the unwashed sprouts in a breathable bag or a container lined with a paper towel to absorb excess moisture. Store these in your fridge’s crisper and use within a week for the best taste and texture.
If you have leafy tops from the stalk, treat them like hearty greens: trim the stem ends and place the leaves in a loose bag with a paper towel, then store them in the fridge for up to three days.
Avoid washing sprouts or tops before storing, as dampness accelerates spoilage. Don’t leave sprouts at room temperature or in tightly closed bags, as both can lead to wilting and rotten spots.
Whether on or off the stalk, proper ventilation and moisture control are keys to long-lasting, crisp Brussels sprouts—so skip the plastic wrap and sealed containers unless they include airflow. With these tips, you’ll keep your sprouts crisp and ready for roasting, sautéing, or snacking.
Creative Ways to Cook Brussels Sprouts and Their Leaves
Brussels sprouts are surprisingly versatile, and experimenting with different cooking methods can completely transform their flavor and texture.
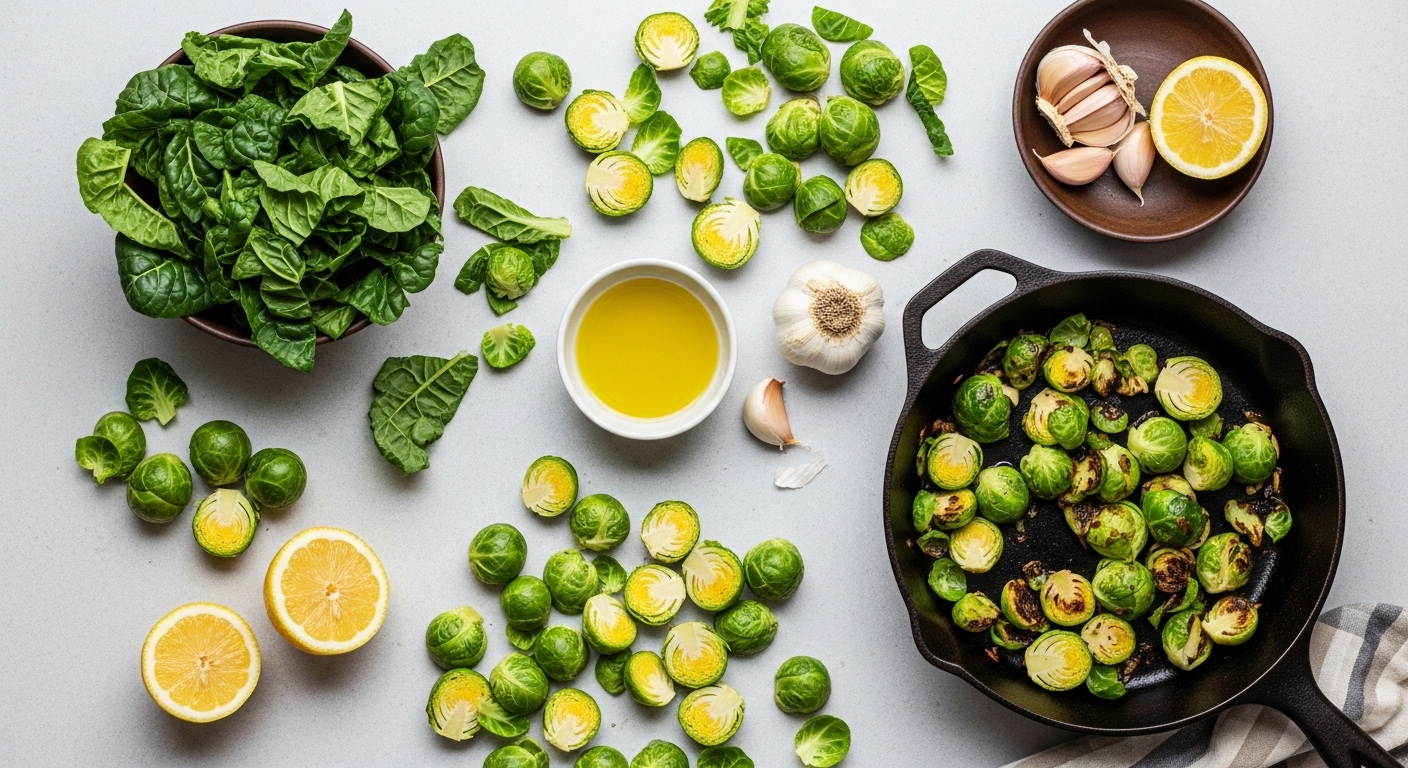
Roasting the sprouts in a hot oven until the edges are crispy brings out a natural sweetness—toss them in olive oil, salt, and pepper, then try adding a honey-balsamic glaze or a sprinkle of smoked paprika before serving.
Sautéing sliced sprouts in a pan with garlic and a splash of lemon juice is quick and delicious, especially when finished with a pinch of chili flakes for heat.
Steaming keeps them tender and is a great base for topping with sesame oil, soy sauce, and a squeeze of lime for an Asian-inspired twist.
Grilling halved sprouts until charred gives them a satisfying smoky edge; serve with a dusting of parmesan or a drizzle of sriracha mayo.
Don’t overlook the leafy tops and any larger outer leaves—these can be quickly braised with a bit of broth and onion for a nutritious side, or tossed into stir-fries for extra greens.
For a fun snack, roast the leaves separately with a little oil and your favorite seasoning (think garlic powder, cumin, or sea salt) to make crispy chips that rival kale chips.
By combining both the sprouts and their leaves in your dishes, you not only boost nutrition but also reduce kitchen waste—toss leftover bits into salads or omelets for added crunch and flavor.
Experiment with spices like turmeric, ginger, or herbes de Provence, or brighten things up with citrus zest or a splash of vinegar right before serving.
Mixing up your techniques and seasonings keeps Brussels sprouts exciting and turns them into a star ingredient you’ll reach for time and again.
Unique Recipes: From Raw Salads to Roasted Sides
Creative cooking with sprouts and leafy tops opens up a world of vibrant flavors and nourishment while helping reduce kitchen waste. For a zesty starter, try a shaved raw Brussels sprouts salad: thinly slice the sprouts and their tender tops, then toss with lemon juice, olive oil, shaved Parmesan, toasted almonds, and a pinch of sea salt. It’s crisp, refreshing, and perfect for a light lunch or as a palate-cleansing side at a holiday meal.
For something warmer, roast whole Brussels sprouts and their greens in the oven until caramelized. Then drizzle with a sweet-tart pomegranate glaze and finish with toasted hazelnuts—a show-stopping side for festive gatherings.
Don’t toss those greens! Sauté Brussels or broccoli leaves with garlic and chili flakes for a quick side, or mix them into soups and frittatas. If you’re packing lunches, add roasted sprouts and chopped leaves to grain bowls with feta and fresh herbs for an easy, wholesome meal.
Get creative with flavor pairings—think citrus, pomegranate, nuts, and robust cheeses—which all bring out the earthy sweetness of these vegetables. By using the whole plant, you’re not only minimizing waste but also maximizing nutritional value and variety in your meals.
Where (and When) to Buy Brussels Sprouts on the Stalk
Brussels sprouts on the stalk are typically available in late fall and early winter, from October through January, when they’re freshly harvested and at their best flavor. You’ll often find them at farmers markets during this season, especially in regions with cooler climates, as many local growers bring sturdy, green stalks straight from the field.
Specialty grocery stores and larger supermarkets usually stock them around major holidays like Thanksgiving and Christmas, making them a festive addition to your holiday meals.
When shopping, look for stalks with tightly closed, vibrant green sprouts that feel firm to the touch. Avoid stalks with yellowing leaves, black spots, or limp, wilted sprouts, as these are signs of age and declining freshness.
To keep your stalk in top condition before cooking:
- Transport it upright in a tote bag to prevent bruising.
- Store it in the fridge, loosely wrapped in a plastic bag or damp dish towel to help retain moisture and crispness for up to a week.
- If fridge space is limited, stand the stalk in a shallow container of water (like fresh-cut flowers) to keep the sprouts hydrated until you’re ready to use them.
FAQs About Brussels Sprouts on the Stalk
Brussels sprouts on the stalk often spark questions, especially about which parts are edible. While the sprouts themselves are the star, you might be surprised to learn that the large outer leaves are also edible—just treat them like collard greens or kale by removing any tough stems and using them in soups, sautés, or stir-fries.
The thick stalk, however, is usually too fibrous to eat raw and rarely turns tender even when cooked; most people discard it or use it as compost.
If you’re sensitive to cruciferous veggies, keep in mind that Brussels sprouts and their leaves can sometimes cause bloating or gas. Steaming them rather than boiling can help make them easier to digest.
Taste-wise, the sprouts are nutty and slightly sweet when roasted, while the leaves have a mildly bitter, earthy flavor that mellows with cooking. For those who find the sprouts too bitter, try tossing them with olive oil, a splash of maple syrup, or roasting them at high heat for caramelization.
If you’re missing either the stalk or the leaves, you can substitute with similar greens like Swiss chard or replace the stalk’s support role in presentation with skewers or roasting racks.
To combat toughness—especially in larger, late-season sprouts—cut them in half before cooking or blanch them briefly. Don’t hesitate to remove any yellowing leaves or cut off woody ends to ensure a tender bite every time.