Understanding the Nutrient Needs of Bell Pepper Plants
Fertilizing bell peppers is essential for growing healthy, productive plants, but knowing exactly what nutrients your peppers need—and when—is the real secret to bumper crops. Whether you’re a beginner growing in containers or an experienced gardener with a backyard patch, understanding how nitrogen (N), phosphorus (P), and potassium (K) impact bell pepper growth can make all the difference.
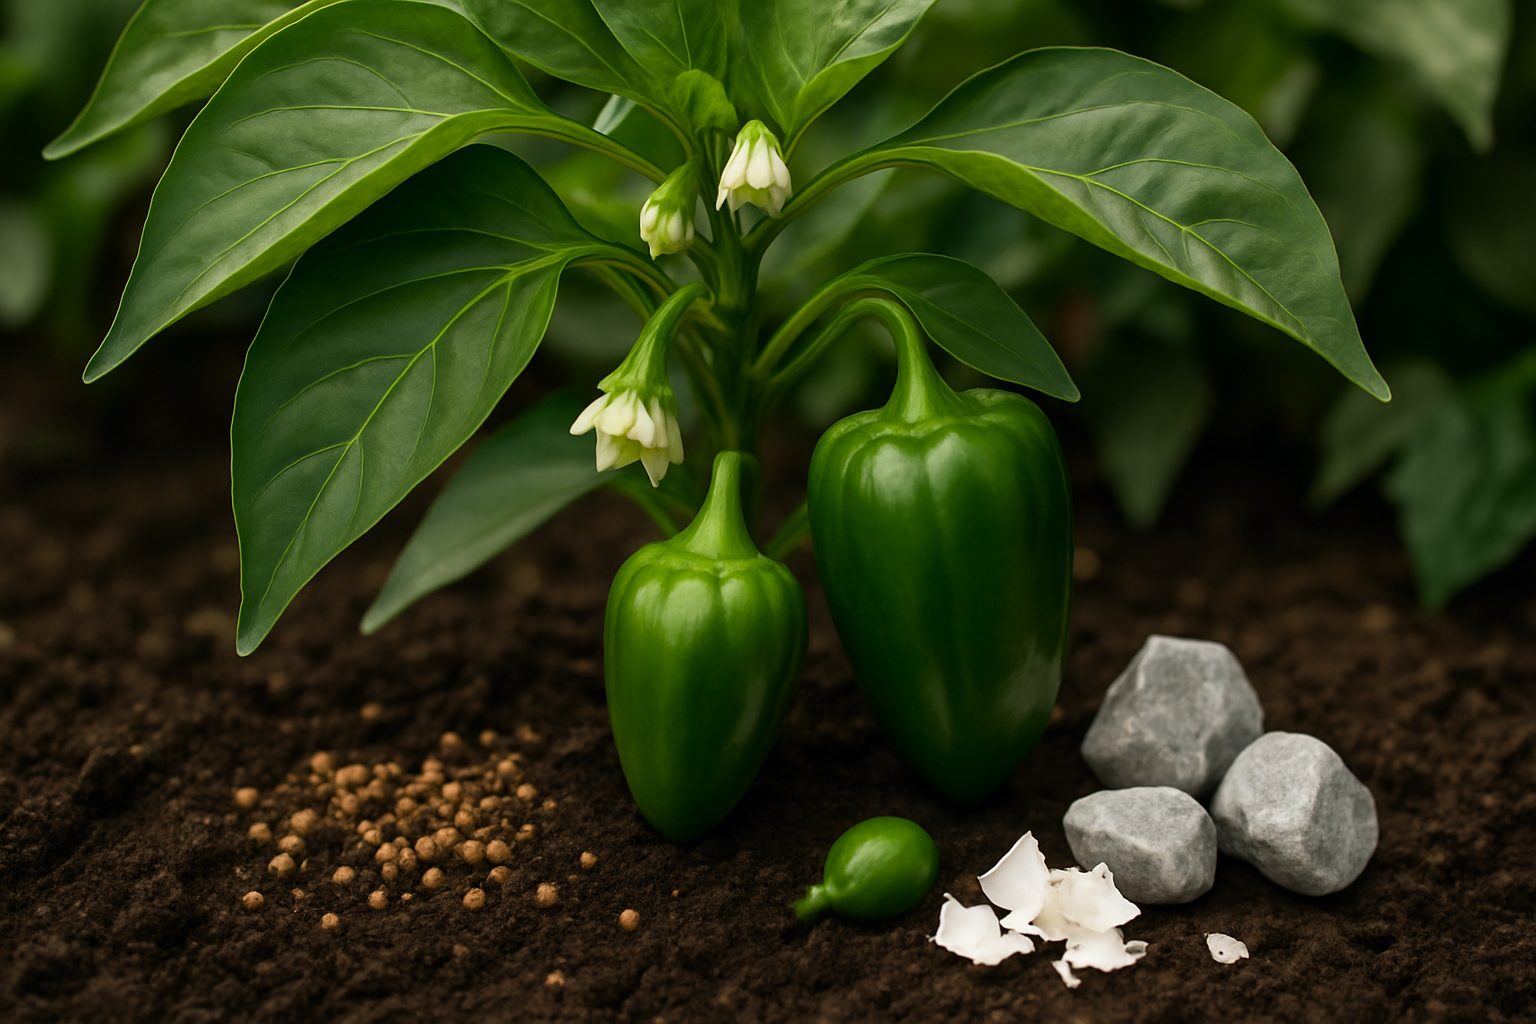
Nitrogen mainly drives leafy growth and overall vigor; bell pepper plants with plenty of N sport lush, green foliage. Phosphorus is critical early on, strengthening roots and helping flowers (and later, peppers) to form. Potassium, meanwhile, boosts fruit quality and disease resistance, ensuring your peppers are vibrant, firm, and flavorful.
But it’s not just about the big three. Secondary nutrients like calcium and magnesium play equally important roles. Calcium fortifies cell walls—helping prevent problems like blossom end rot, a common bell pepper woe marked by dark, sunken spots at the fruit’s bottom. Magnesium supports photosynthesis, the process plants use to turn sunlight into energy, and its deficiency often shows up as yellowing leaves with green veins.
Spotting and Addressing Nutrient Deficiencies
Learning to spot nutrient deficiency symptoms early can save your harvest. Here are some key signs to watch for:
- Pale, stunted growth: Usually a nitrogen shortage.
- Purplish stems and slow root development: May signal a need for more phosphorus.
- Yellow edges on older leaves: Often means your peppers are craving potassium.
- Distorted youngest leaves or watery patches on fruits: Calcium is likely missing from your soil.
By paying close attention to these signs and tailoring your fertilizing routine accordingly, you’ll set your bell peppers up for a healthy season—one with crisp, colorful fruits packed with flavor.
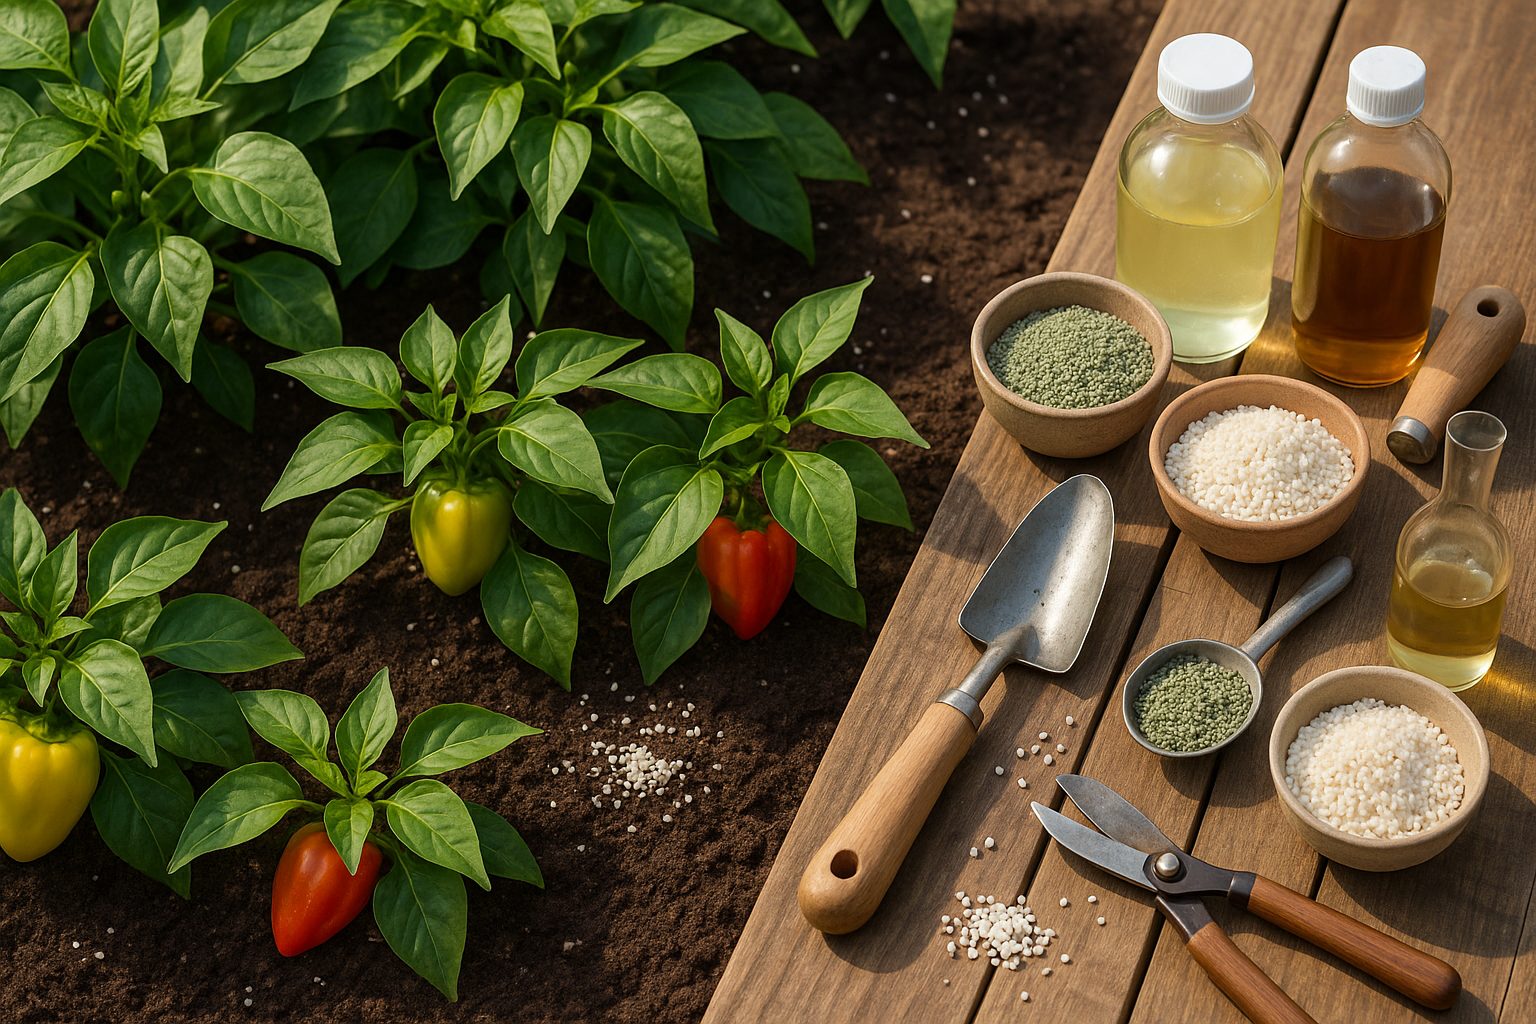
Choosing the Best Fertilizer for Bell Peppers
When picking the best fertilizer for bell peppers, it’s important to weigh the pros and cons of both granular and liquid options. Granular fertilizers are easy to apply and offer slow-release nutrition, making them ideal for busy gardeners who want to feed their peppers consistently over time. Liquid fertilizers, on the other hand, work much faster and are great for giving seedlings or stressed plants a quick nutrient boost—just remember, they may require more frequent applications.
Next, consider whether to use organic or synthetic fertilizers. Organic options like compost, fish emulsion, or worm castings enrich the soil and support beneficial microbes, helping your pepper plants stay healthy long term. Synthetic fertilizers, such as commercial blends, often provide nutrients in forms plants can absorb rapidly, which is helpful if you notice deficiencies and need a quick fix.
No matter which type you choose, always check the label for key nutrients: nitrogen (N) for leafy growth, phosphorus (P) for strong roots and flowers, and potassium (K) for healthy fruit—these are often listed as the N-P-K ratio on packaging.
For bell pepper seedlings, aim for a balanced, gentle formula like 5-5-5 to support early development without burning young roots. During the vegetative stage, as plants grow bigger, shift to a fertilizer with a bit more nitrogen, like 10-5-5, to encourage lush leaf and stem growth. Once flowers appear and peppers start forming, switch to a mix higher in potassium and phosphorus, such as 5-10-10 or 3-5-7—this promotes more blossoms and helps fruits develop firm, flavorful walls.
Remember to follow label instructions for application rates, and always water your plants before and after feeding to avoid root burn and maximize nutrient uptake.
How and When to Fertilize Bell Peppers
Fertilizing bell peppers properly helps ensure strong growth and a bountiful harvest, so it’s important to follow a simple schedule that matches the plant’s needs at each stage.
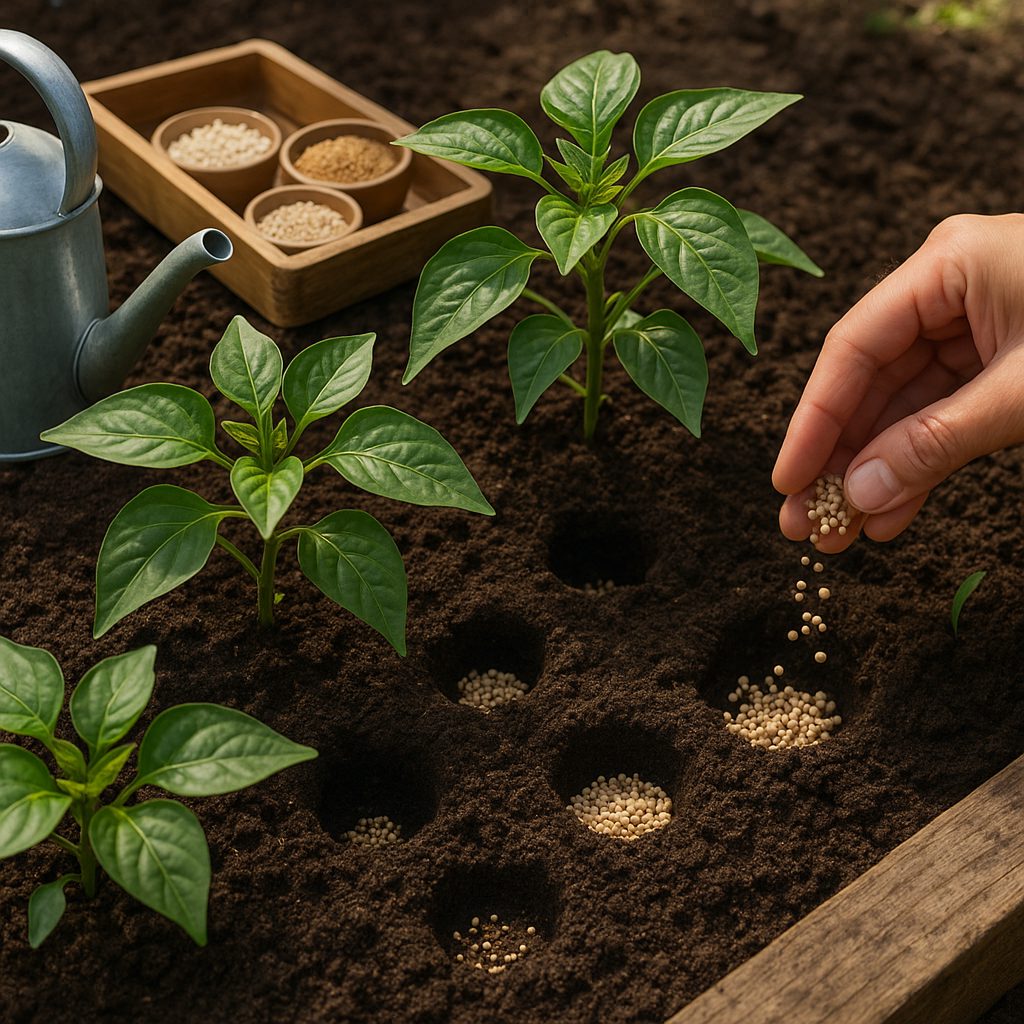
Start by mixing a slow-release, balanced fertilizer (like 10-10-10) into the soil a few days before planting—about two tablespoons per square foot, worked into the top few inches of earth.
About two weeks after transplanting seedlings, side-dress with a nitrogen-rich fertilizer by sprinkling it about six inches away from the base of each plant—use one tablespoon per plant and gently work it into the soil, then water thoroughly.
Repeat side-dressing every four weeks as the peppers grow, but switch to a balanced or low-nitrogen fertilizer once the first flowers appear to support fruit development.
As an alternative or supplement during hot weather, you can apply a foliar feed—dilute a water-soluble fertilizer to half strength and spray it directly onto the leaves, ideally in the early morning or late afternoon to avoid leaf scorch.
Always keep fertilizer granules or sprays off the plant’s stems and leaves to prevent burning, and space applications evenly around the “drip line” (the area under the outer edge of the foliage) to encourage even root uptake.
Remember, more isn’t always better—over-fertilizing causes excess foliage, poor fruiting, or root damage.
For the best results, check your soil before you begin and adjust quantities as needed; healthy peppers thrive with moderate, regular feeding and good watering practices.
Preventing Common Fertilizer Mistakes
Over-fertilizing your plants can do more harm than good, so it’s important to watch for the telltale signs. If you notice yellow or brown leaf tips, crispy edges, wilting despite moist soil, or a white crust forming on the soil surface, your plant might be suffering from nutrient burn—a classic symptom of too much fertilizer.
Another red flag is stunted growth or a general lack of vigor even after feeding. Instead of thriving, your plant might actually be in distress.
One of the sneaky dangers of over-fertilization is nutrient lockout, a condition where excess fertilizer salts build up and prevent roots from absorbing important nutrients. When this happens, your plant may show deficiencies like pale leaves or poor fruit development, even if you’re providing plenty of food.
To prevent these issues, it’s smart to flush the soil occasionally by running plenty of water through the pot to wash away excess salts—especially if you’re using synthetic fertilizers. Additionally, always keep an eye on your soil’s pH: if the pH drifts too far from the optimal range (usually 6.0–7.0 for most plants), critical nutrients can become “locked up” and unavailable, leading to symptoms of deficiency and slow growth.
Use a cheap pH meter or test kit to monitor levels, and adjust with pH up/down solutions as needed. By staying alert for these warning signs and maintaining healthy soil conditions, you’ll avoid the most common fertilizer mistakes and help your plants thrive.
Additional Tips for Maximizing Bell Pepper Yield
To get the most out of your bell pepper plants, think beyond just basic care—adopting a few extra practices can really boost your harvest. Start with mulching around your plants, using materials like straw, dried grass clippings, or shredded leaves. Mulch keeps the soil moist, suppresses weeds, and maintains a steady soil temperature, which peppers love.
Alongside this, be vigilant about watering habits; peppers need consistent moisture, about one to two inches a week, especially during hot spells. Water early in the day to limit evaporation and avoid wetting the foliage to prevent disease.
Adding homemade compost is another powerhouse move, as it naturally enriches the soil and provides a slow-release source of nutrients—simply work it into the soil before planting, and side-dress during the season to keep plants happy.
Don’t overlook regular soil testing; a simple kit helps you check pH and nutrient levels, so you can tailor your fertilizer program instead of guessing—bell peppers prefer slightly acidic to neutral soil (pH 6.0 to 6.8). If soil tests show a deficiency or imbalance, opt for organic fertilizers and make adjustments gradually.
To maintain healthy soil over the years, practice crop rotation by moving your bell pepper patch to a new spot each season, avoiding areas where tomatoes, eggplants, or potatoes grew last year to disrupt potential pest and disease cycles.
Adopting sustainable gardening habits like these not only maximizes your yield but also preserves soil structure and fertility for future harvests. Over time, you’ll see stronger plants, steadier yields, and richer soil—a win-win for both your garden and the environment.
Troubleshooting and Frequently Asked Questions
If you notice your pepper plants developing yellow leaves or slow fruit growth, nutrient imbalances could be the culprit.
Yellowing leaves often signal a nitrogen deficiency—try adding a balanced, water-soluble fertilizer and monitor for improvement within a week.
If new leaves curl or show dark spots, excess fertilizer might be burning the roots; flush the soil with plain water to remove buildup and hold off on feeding for a week.
Slow fruiting can also stem from low phosphorus or potassium, so consider a fertilizer labeled higher in those nutrients (the middle and last numbers on the package).
Container-grown peppers dry out and lose nutrients faster than plants in the ground, so feed them every two weeks with a diluted solution and watch for leaf changes.
In-ground peppers usually need less frequent feeding since their roots have more space to search for food—typically once a month is sufficient.
No matter where your peppers grow, always water them before applying fertilizer to prevent root damage, and avoid fertilizing in the heat of the day.
Regularly check for drainage issues, as soggy roots can mimic nutrient problems.
If in doubt, start slow—it’s better to under-fertilize and adjust up later.
Conclusion: Bringing Out the Best in Bell Peppers
Nurturing healthy bell peppers comes down to giving them the right nutrients at the right time—too much or too little fertilizer can affect their growth and flavor. Regularly check your plants for signs like leaf color or fruit size, and adjust your feeding routine as needed to keep them thriving.
Every garden and climate is a bit different, so don’t be afraid to try new fertilizer blends or schedules to see what works best in your space. With a little observation and a willingness to experiment, you’ll discover how to get the most vibrant and productive bell peppers from your garden.