Introduction
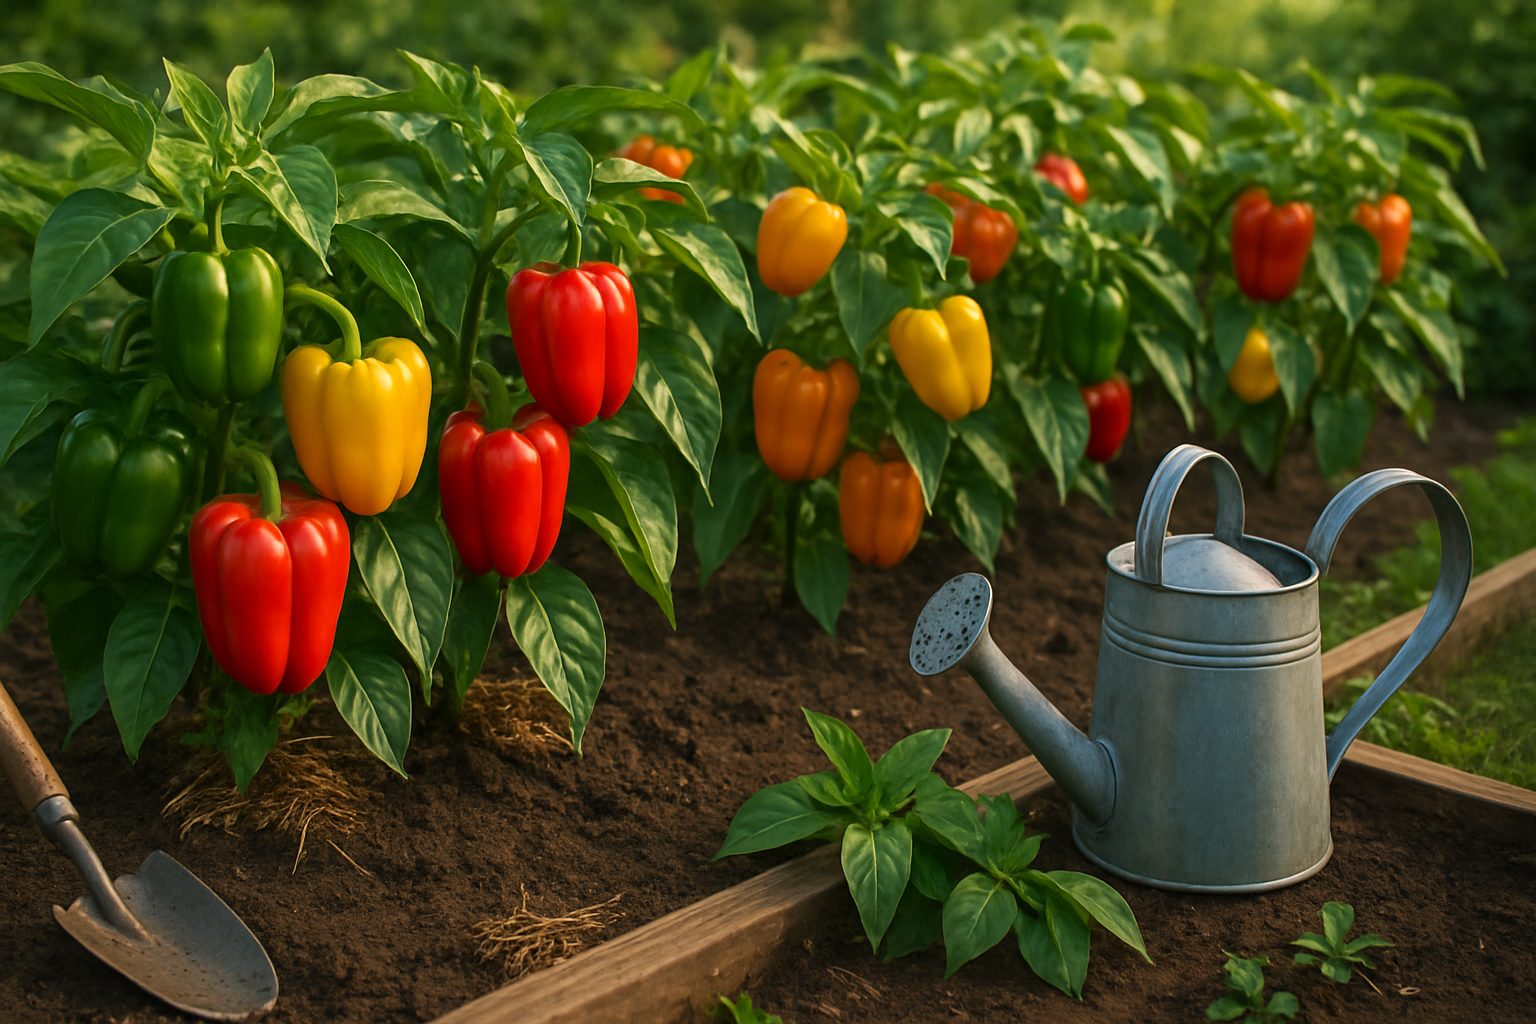
When it comes to watering bell peppers, getting it right can make all the difference between a bountiful harvest and disappointing, droopy plants. Bell peppers are beloved by gardeners everywhere for their vibrant colors and sweet, crisp flavor, making them a perfect addition to salads, stir-fries, or as a healthy snack straight from the vine. Their adaptability and bright hues also make them a favorite for anyone looking to brighten up their home garden. But the key to thriving bell peppers starts with understanding their unique watering needs.
In this article, we’ll guide you step-by-step through everything you need to know to grow strong, healthy, and flavorful bell peppers. You’ll get actionable tips on how often to water your plants, how to choose the right pepper varieties for your climate, and the best times to plant them. We’ll also share proven methods for soil preparation, mulching, and how to spot the subtle signs your peppers give when they’re thirsty (or getting too much water). Plus, we’ll cover smart pest management, ways to boost fruit production, and techniques for harvesting at just the right moment. Whether you’re a first-time grower or a seasoned gardener, you’ll find practical advice that leads to colorful, abundant bell pepper crops you’ll be proud to share.
Choosing and Starting the Right Bell Pepper Varieties

Bell peppers come in a rainbow of colors—green, red, yellow, orange, purple—each hinting at subtle differences in taste and maturity. Green bell peppers are crisp and mildly bitter, becoming sweeter as they ripen to red, yellow, or orange. Red bells are especially sweet and rich, while yellow and orange offer a fruitier twist.
Size-wise, most bell peppers are blocky and fist-sized, but smaller varieties like ‘Mini Belle’ are perfect for tight spaces or snacking.
When choosing varieties, consider your local climate:
- Short-season gardeners should pick quick-maturing types like ‘California Wonder’.
- Longer seasons allow for slower-maturing but sweeter options, such as ‘King of the North’ or ‘Red Knight.’
If space is limited or you’re container gardening, compact or patio varieties thrive in pots, whereas sprawling types do best in garden beds.
Decide whether to start from seeds or buy transplants. Seeds offer more choices and savings but require a longer head start indoors—usually 8–10 weeks before your last frost—and consistent warmth for successful germination. Transplants are convenient and less fussy for beginners but often come in fewer varieties and can carry stress if not handled gently.
To get started, buy seeds or plants from reputable nurseries or seed companies with good reviews. Read seed packets carefully—they reveal days to harvest, true color at ripeness, and growing details. For easier germination, soak seeds overnight and use a heat mat, since bell peppers sprout best at 80–85°F.
Start with just a few types, track your progress, and tweak your choices as you grow more comfortable each season.
Planting and Early Care for Bell Peppers
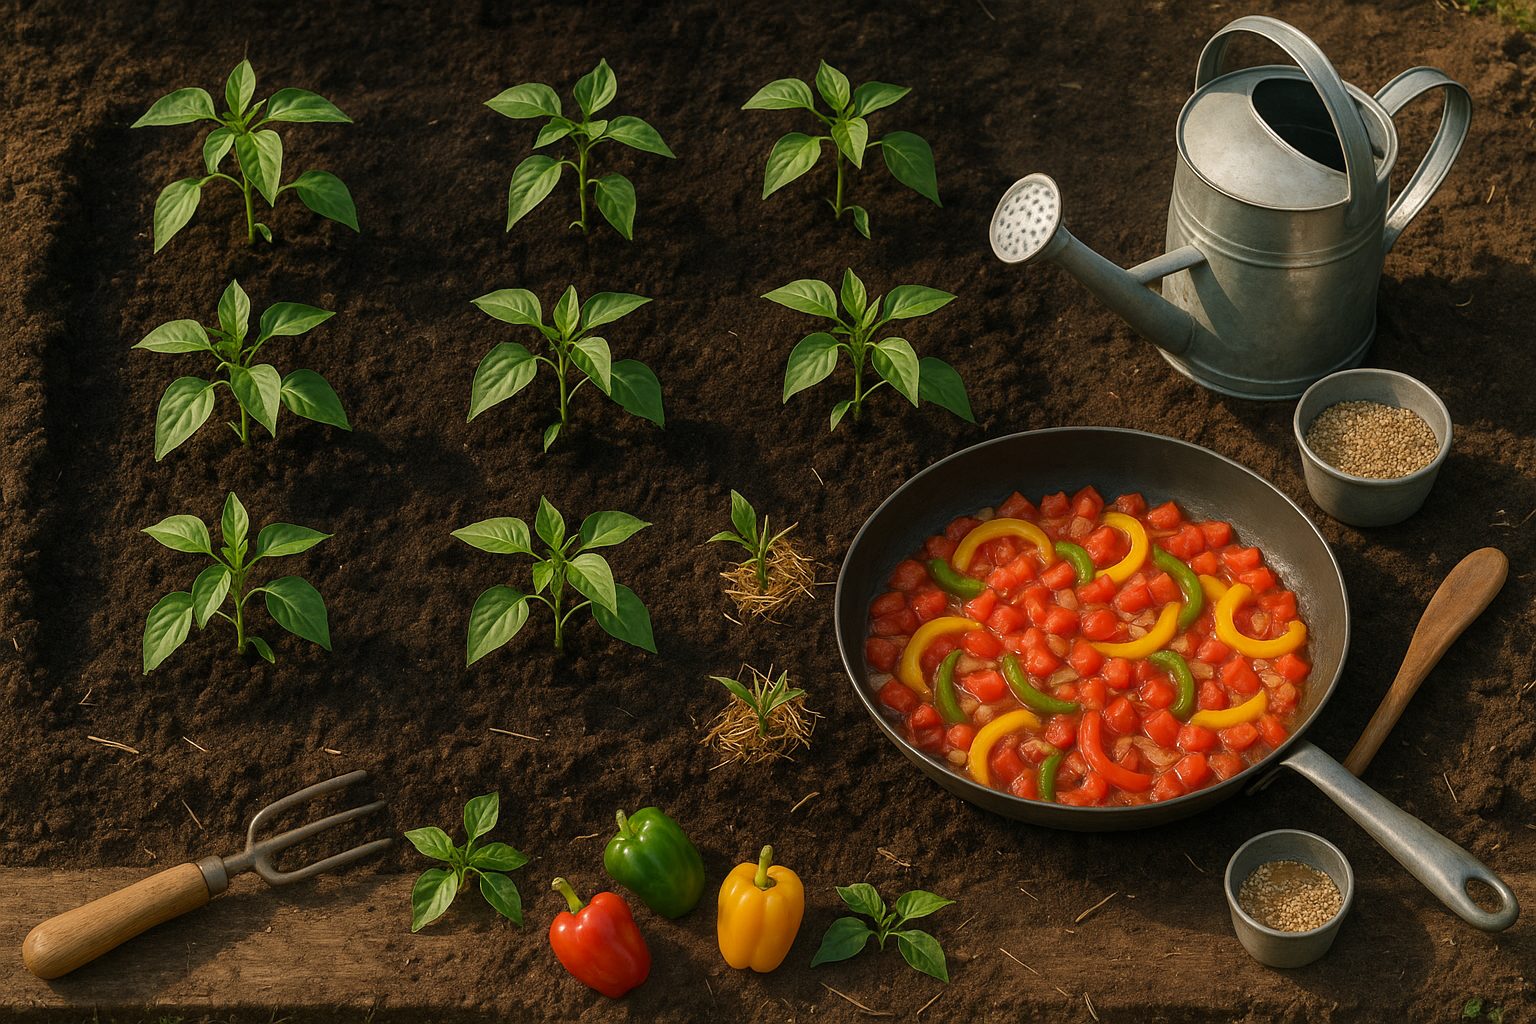
For a healthy bell pepper harvest, timing and preparation are everything. Start by sowing seeds indoors 8-10 weeks before your last expected frost, giving seedlings a head start. Use a loose, well-draining starter mix, and keep pots in a warm, sunny spot—bell peppers thrive with at least 6-8 hours of direct sunlight daily.
When it’s time to move plants outside, the soil should be well-worked, rich with compost, and have a slightly acidic to neutral pH (around 6.2-7.0). Space transplants 18-24 inches apart in rows set 2-3 feet apart to give each plant room for good airflow and growth.
Before planting out, always harden off your seedlings by gradually exposing them to outdoor conditions over 7-10 days. Start with just a couple of hours in protected shade, increasing sun exposure daily. When transplanting, handle roots gently and plant them at the same depth they were in their pots to avoid stem rot.
Bell peppers love warmth, so wait until nighttime temperatures consistently stay above 55°F (13°C). Mix in a balanced fertilizer or aged compost at planting to kickstart growth, but don’t overdo nitrogen or you’ll get more leaves than fruit.
Early on, mulch around each plant with straw or shredded leaves to lock in soil moisture and deter weeds. Keep soil evenly moist but never soggy—deep water once or twice a week rather than frequent light watering. Stay vigilant with early weeding, but avoid disturbing the shallow roots with deep cultivation.
These careful, early steps set the foundation for a productive pepper patch all season long.
Watering and Feeding Bell Peppers for Healthy Growth
Keeping bell peppers healthy starts with understanding their water and nutrient needs at each growth stage. For watering, aim to keep the soil consistently moist but not soggy—about 1 to 1.5 inches of water per week is a good guideline. Adjust this amount in hot or windy weather when the soil dries quickly. Stick your finger about an inch into the soil; if it feels dry at that depth, it’s time to water.
Signs like wilting, yellowing leaves, or fruit drop may mean you’re underwatering, while yellow lower leaves and mushy roots point to overwatering. Water in the morning so the soil has time to dry out during the day, which helps prevent fungal diseases. Mulching around plants with straw or compost helps the soil retain moisture and moderates temperature swings, reducing how often you need to water.
Feeding Bell Peppers
Bell peppers are heavy feeders, needing balanced nutrients to develop strong stems and sweet fruit. Early on, use a fertilizer high in phosphorus (like 5-10-10) to encourage root growth. Then switch to a balanced or slightly higher potassium formula (such as 10-10-20) when flowers appear. Feed bell peppers every 3 to 4 weeks, but avoid over-fertilizing—yellow streaks or curled leaves often mean too much nitrogen.
Pale leaves and slow growth may signal nutrient deficiencies, especially magnesium or calcium. For nutrient boosts, side-dress with compost or use diluted liquid fertilizer during heavy fruiting.
Tips to Avoid Common Mistakes
- Never water on a strict schedule—always check soil moisture first, as weather and plant size change their needs.
- Avoid splashing water on leaves to reduce disease risk.
- Ensure containers drain well to prevent root rot.
- Follow label instructions when feeding to prevent fertilizer burn.
- Rotate between organic options (like compost tea) and slow-release fertilizers for a steady nutrient supply.
With mindful watering and feeding routines, your bell peppers will thrive all season.
Managing Pests and Disease in Bell Pepper Plants
Keeping bell pepper plants healthy means staying proactive against both pests and diseases. Common garden pests like aphids, beetles, and caterpillars often cause curled leaves, holes, or stunted growth on peppers. You can spot aphids clustering on tender stems or the undersides of leaves, while beetles and caterpillars create visible chew damage.
For minor infestations, try knocking pests off with a strong spray of water, handpicking, or using insecticidal soap or neem oil—both safe, organic choices.
When it comes to diseases, peppers are prone to issues like blight, which causes browning or dark spots; wilt, where plants suddenly droop despite moist soil; and various rots that leave stems or fruit soft and discolored. Regularly inspect your plants and quickly remove any affected leaves or fruit to stop the spread.
Preventing Disease
Preventing disease is easier than curing it. Here are some effective strategies:
- Practice crop rotation by not planting peppers in the same spot two years in a row.
- Space plants well apart to allow good air circulation, which helps dry leaves and discourages fungal buildup.
- Mulch with straw or shredded leaves to keep water from splashing soil-borne pathogens onto stems.
- Always water at soil level, not overhead, and avoid working with plants when the foliage is wet.
Dealing with Rapidly Spreading Symptoms
If you notice symptoms spreading quickly, prune more aggressively and remove debris from the area—don’t compost diseased material.
With consistent vigilance, prompt action, and good cultural practices, you’ll give your peppers the best chance at a strong, fruitful season.
Harvesting and Enjoying Your Bell Peppers
Knowing when your bell peppers are ready to pick is key for maximum flavor and crunch. Bell peppers start off green and will gradually change color—red, yellow, orange, or even purple—depending on the variety. You can harvest them while they’re still green for a slightly bitter taste, or wait until they fully change color for a sweeter, more developed flavor.
Look for firm, glossy peppers that feel heavy for their size. They should be about the size you’d expect based on the seed packet or nursery label, usually three to four inches long. To avoid damaging the plant, use sharp garden shears or scissors to cut the pepper from the stem, leaving a small portion of the stem attached; never twist or pull, as this can harm both the fruit and the plant.
For short-term storage, keep peppers unwashed in the vegetable crisper drawer for up to a week. If you want to preserve your harvest longer, slice or chop the peppers and freeze them in airtight bags, or try roasting and preserving pieces in oil or vinegar.
Bell peppers are extremely versatile—slice them raw into salads, stuff them with rice and protein for a hearty baked meal, or toss strips onto homemade pizza or in stir-fries. For a quick snack, slice and dip in hummus, or add roasted peppers to sandwiches and wraps for extra color and crunch.
Bell Pepper Growing Tips for Success
For a thriving bell pepper harvest, consider a few advanced tricks beyond just sunlight and water. Staking your pepper plants early helps support heavy fruit and keeps branches from breaking, especially during storms or strong winds.
Pruning is another often overlooked strategy—remove a few lower leaves and any weak or crowded stems as your plants mature. This improves airflow, lowers disease risk, and directs energy toward producing bigger, healthier peppers.
To enjoy a steady supply all season, try successive planting: start a few seeds every couple of weeks so plants mature at different times, giving you fresh peppers over months rather than all at once.
If you notice low yields or tiny fruits, check for stress factors. Too much nitrogen can create lush leaves but fewer peppers, while inconsistent watering causes blossom end rot and flower drop. Mulching well and watering deeply once or twice a week helps maintain even soil moisture.
For common pests like aphids or spider mites, try blasting plants with water or introducing beneficial insects.
To keep things exciting, experiment with new varieties or try techniques like container growing or vertical trellises. With a little attention and creativity each year, your bell pepper crops will get better and more abundant over time.
Conclusion
Growing bell peppers from seed to harvest is a rewarding process that begins with selecting quality seeds, germinating them indoors, and transplanting sturdy seedlings to a sunny garden spot or container. With regular watering, feeding, and a watchful eye for pests, your plants will soon reward you with vibrant, crisp peppers perfect for your favorite dishes.
Whether you have a spacious backyard or just a few pots on a balcony, bell peppers can thrive almost anywhere with a bit of care. Not only will you enjoy fresher, tastier peppers, but you’ll also gain the satisfaction of growing your own food.
We hope this guide inspires you to add bell peppers to your garden plans. If you have tips, stories, or questions about growing bell peppers, please share them in the comments below. Your experience could help fellow gardeners succeed, too!