Introduction
If you’ve ever wondered about growing arugula in containers, you’re not alone. Arugula is a popular leafy green, celebrated for its peppery flavor and easy care, making it a top choice for salads, sandwiches, or even as a garnish on homemade pizzas. Because arugula matures quickly—sometimes in as little as four weeks—it’s a fantastic option for anyone who wants rapid results right on their windowsill, patio, or balcony.
Plus, using containers gives you the flexibility to control growing conditions and avoid common soil pests, which is ideal if you’re short on space or sunlight. Even beginner gardeners will find arugula forgiving and rewarding, with minimal fuss and maximum flavor.
In this article, we’ll explore why arugula thrives in pots, the best types of containers and soil to choose, how to plant and care for your crop, and some practical tips to keep your harvest going strong all season long. Whether you’re craving fresh greens at your fingertips or simply want to try your hand at homegrown produce, arugula in containers is an easy first step toward a fruitful kitchen garden.
Choosing the Right Variety of Arugula
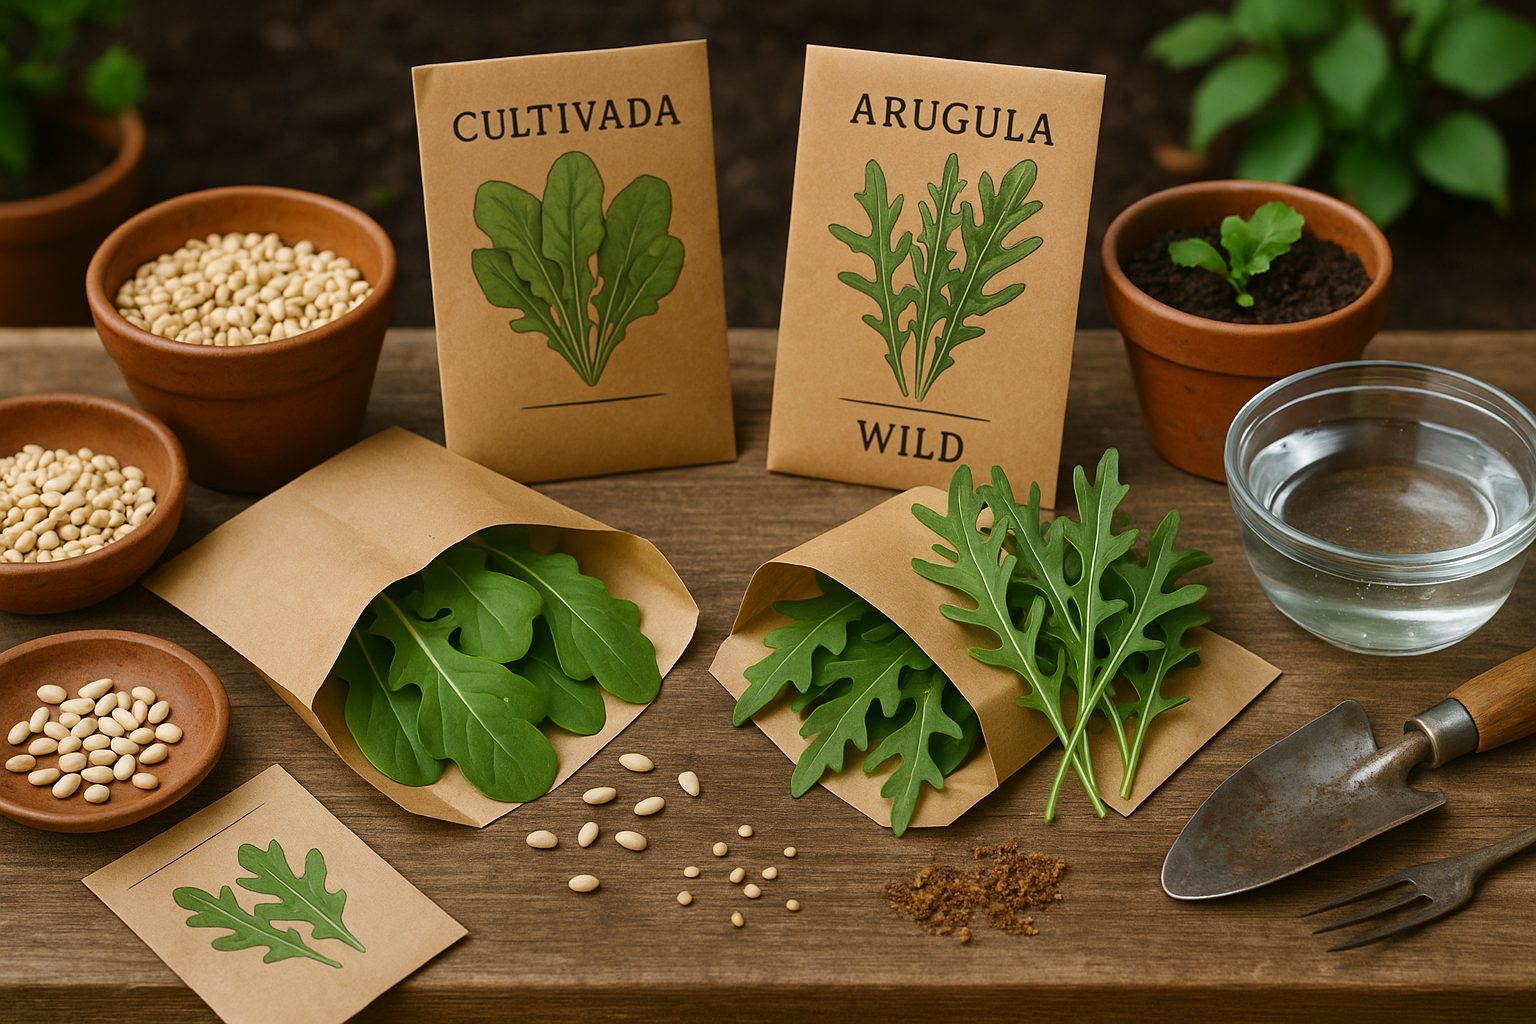
When picking which variety of arugula to grow, it helps to understand the differences between cultivated and wild types. Cultivated arugula (Eruca sativa) is the standard kind you’ll find in grocery stores. It’s known for its mild, peppery flavor and smooth, tender leaves, making it versatile for salads, sandwiches, or adding a subtle kick to pizzas and pastas.
Popular cultivated varieties include:
- Astro: Matures quickly with a mild taste.
- Rocket: Favored for fast growth and reliable yields.
Wild arugula (Diplotaxis species), on the other hand, offers a much spicier punch with deeply lobed, thinner leaves that tolerate heat better—perfect for gardeners in warm climates or anyone craving a bolder flavor. Varieties like Sylvetta are great for perennial gardens because they keep growing back and thrive even in less-than-ideal soils.
When choosing seeds, consider your local climate:
- If you live somewhere hot, wild types are more resistant to bolting (premature flowering).
- Cooler regions can support both types, but cultivated arugula offers faster harvests.
Think about your taste preferences too:
- If you like a stronger, mustardy bite, wild arugula may be for you.
- For those who want something milder, stick with cultivated options.
If arugula isn’t available or you want to experiment, baby kale, watercress, or even young mustard greens can serve as substitutes in most recipes, though each brings its own unique twist.
Remember to check seed packets for specific maturity times and recommended growing conditions to ensure the best match for your garden and palate.
When and Where to Plant Arugula
Arugula thrives best when planted in the cooler temperatures of early spring or late summer for a fall harvest, ideally when daytime temperatures range between 45°F and 65°F (7°C to 18°C). In most regions, you can sow seeds outdoors as soon as the soil can be worked—often two to three weeks before the last expected frost. A late-summer sowing about six weeks before the first expected fall frost ensures a crisp autumn crop.
Since arugula grows quickly and doesn’t like intense heat, avoid planting in midsummer unless you live in a cooler climate or provide afternoon shade. For optimal growth, pick a spot that receives full sun to partial shade. While arugula enjoys plenty of light, too much heat or relentless sunshine can cause it to bolt (flower prematurely) and develop a bitter taste.
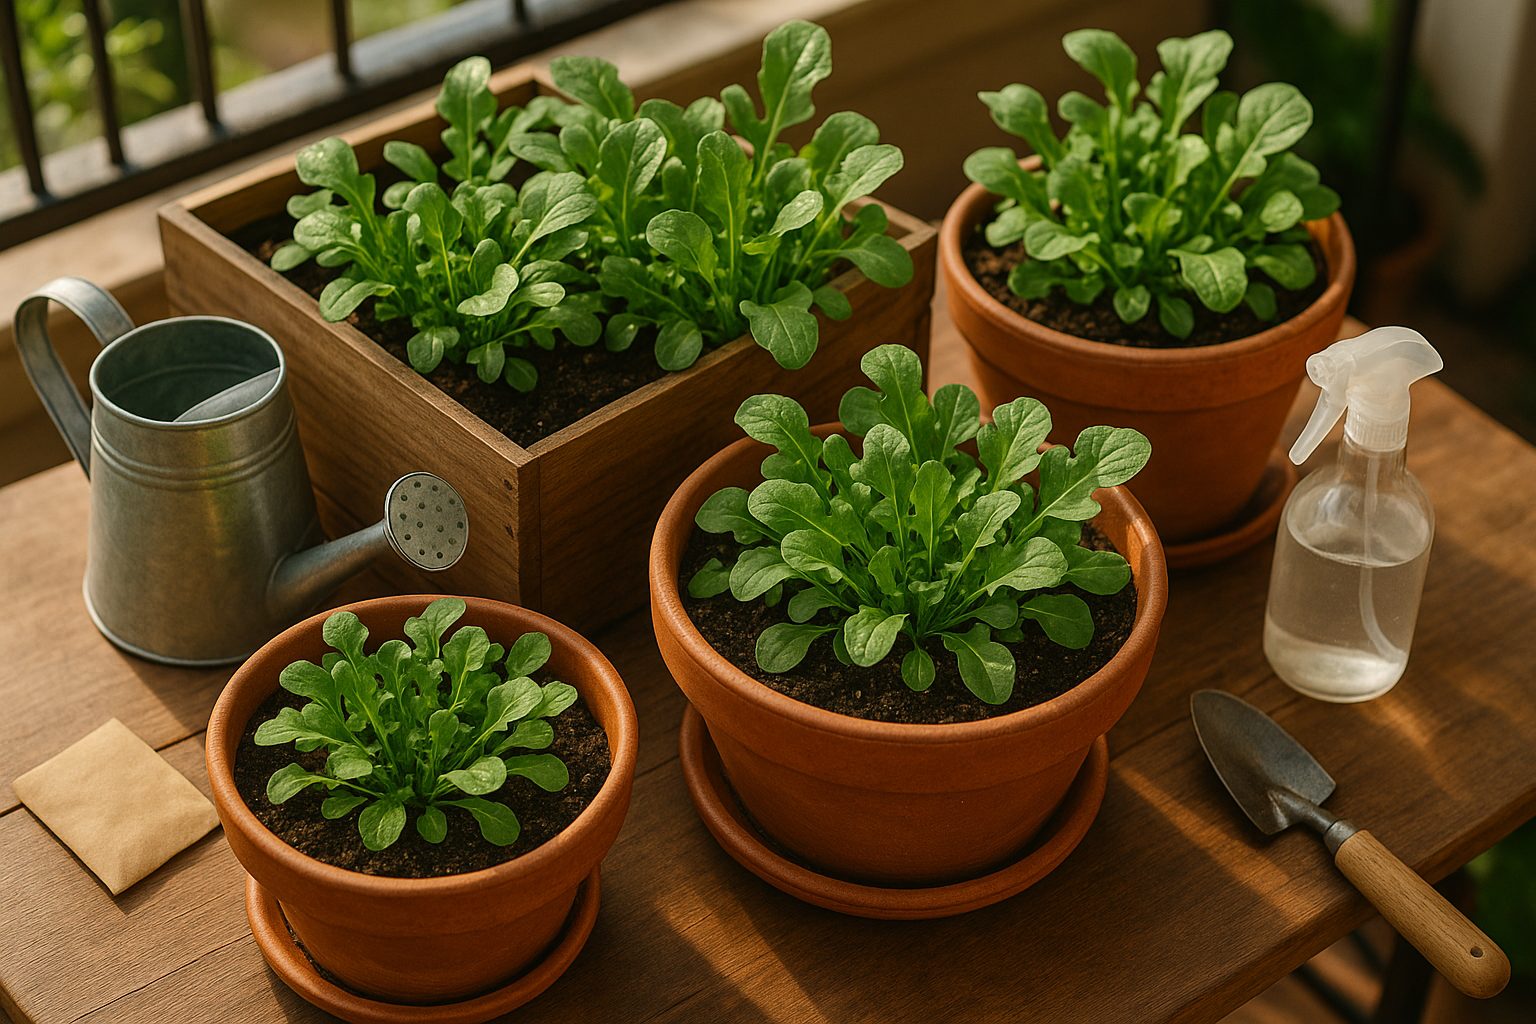
In the garden, choose well-drained, fertile soil and space rows about 10-12 inches apart. Raised beds or containers also work well—just make sure the containers are at least six inches deep and have good drainage. If you’re short on outdoor space, arugula adapts well to indoor growing under a sunny windowsill or with the help of a grow light. Indoors, pay close attention to consistent watering and airflow to prevent mold or pests.
Regardless of where you plant, keep the soil moist but not soggy, and harvest leaves often to encourage continual growth. Whether in a backyard patch, a patio pot, or a kitchen window box, arugula’s adaptability makes it a rewarding, quick-to-harvest green for all kinds of gardeners.
How to Plant and Propagate Arugula
Planting arugula is simple, making it a great choice for both beginners and seasoned gardeners. Start by selecting a sunny spot with well-drained soil, or grab a container that’s at least six inches deep—arugula thrives just as well in pots on a balcony as in garden beds.
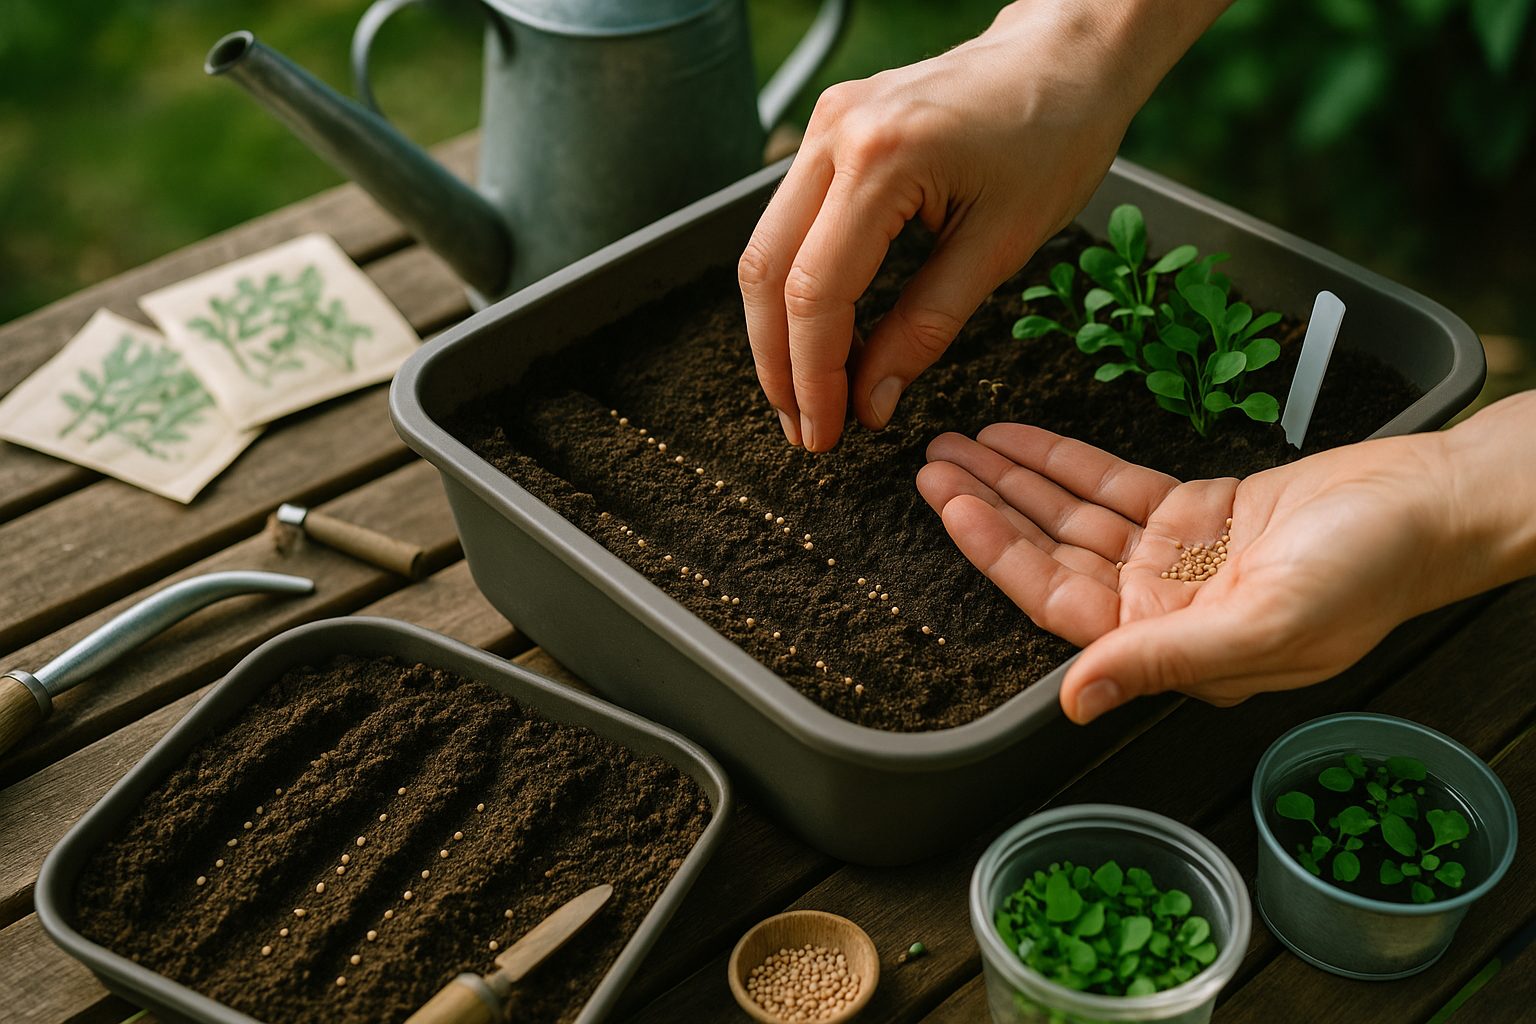
Sow seeds directly where you want them to grow, about a quarter-inch deep, and space them one inch apart in rows that are at least 6 to 12 inches apart. After seedlings emerge and reach a couple of inches tall, thin them out to give about four to six inches of breathing room between plants; this helps their leaves grow large and tender.
Propagation
Arugula typically grows quickly from seeds, but if you want to get more from existing plants, look for volunteer seedlings or gently lift a whole plant and divide clusters for replanting in moist soil.
Succession Planting
To keep a steady supply, practice succession planting: every two weeks, sow a fresh batch of seeds in a new spot or pot. This staggered approach ensures that as older plants become bitter or start to flower, there are always new greens ready to harvest.
Keep soil consistently moist and give containers a little extra attention, as they dry out faster—mulching can help. With these strategies, you can enjoy peppery arugula leaves almost year-round, even with minimal space.
Caring for Your Arugula Crop
Keeping your arugula crop healthy starts with rich, well-draining soil—aim for a pH between 6.0 and 7.0, and mix in compost before planting to boost fertility. Water consistently, providing about an inch each week, but avoid letting the soil become soggy, as arugula hates wet feet. Using a soaker hose or drip irrigation helps target the roots and prevents the leaves from getting wet, which can lower disease risk.
Fertilize lightly with a balanced, slow-release fertilizer if growth seems sluggish, but don’t overdo it—too much nitrogen leads to leggy plants and less flavor.
Watch for common pests like flea beetles, which pepper leaves with tiny holes. Row covers provide a physical barrier and help early in the season, while neem oil or insecticidal soap can treat outbreaks.
Downy mildew and powdery mildew are arugula’s main disease foes, especially in damp, crowded beds. Make sure to space plants 4–6 inches apart for good air flow, avoid overhead watering, and promptly remove any diseased foliage.
Regular thinning is important, too—once seedlings have two sets of leaves, snip or pull extras so the strongest plants have room to grow. This helps prevent disease and encourages robust leaves. Trim any yellowing or damaged outer leaves with clean scissors to keep plants tidy and healthy.
Throughout the season, remove weeds quickly, as they compete for nutrients and can harbor pests. By keeping an eye out for early signs of trouble, watering well, and tending your plants regularly, you’ll enjoy crisp, peppery arugula all season long.
Harvesting and Storing Arugula
Harvesting arugula at the right time is key for the best flavor and a long-lasting crop. The leaves are most tender and tasty when they’re young—usually about four inches long and before the plant starts to flower. Simply use scissors or pinch off the outer leaves, leaving the center intact so your arugula can keep growing.
If you notice flower buds (which look like small clusters), pinch them off right away to keep the plant focused on leaf production and prevent it from turning bitter.
For a longer season, try succession planting: sow new seeds every two to three weeks in spring and fall. This way, you’ll have a steady supply of tender greens even as older plants start to lose their zing.
Once harvested, arugula wilts quickly, so pop it into the fridge as soon as possible. Gently wash the leaves and dry them thoroughly—using a salad spinner works wonders. Store them in a loosely sealed bag with a paper towel to absorb excess moisture. Avoid crushing or packing the leaves too tightly, as this speeds up spoilage.
Well-stored arugula can stay fresh for up to a week, so you can enjoy spicy salads and sandwiches at their best.
Troubleshooting and Common Questions
Growing leafy greens comes with its share of challenges, but most common issues can be quickly addressed with a few simple fixes. For example, bolting—when your plants suddenly shoot up and flower, often during hot weather—can make leaves taste bitter. To prevent this, choose bolt-resistant varieties and provide afternoon shade during the hottest parts of summer.
yellowing leaves often signal overwatering or nutrient deficiencies; check your soil moisture and consider adding a balanced organic fertilizer if necessary. Insect troubles like aphids or caterpillars can be managed by washing leaves with water or introducing beneficial insects like ladybugs.
When it comes to harvesting, many greens are ready once their leaves reach about four to six inches long. You can harvest the outer leaves regularly without pulling up the whole plant, allowing for ongoing regrowth. If you’re wondering about overwintering, hardier varieties such as kale and spinach can survive colder months with the help of row covers or mulch.
For gardeners facing persistent problems or looking for more detailed advice, resources like your local cooperative extension office, trusted gardening blogs, and the comprehensive guides available from university agricultural departments can be extremely helpful. Gardening forums and community groups are also great places to share experiences and get practical tips tailored to your specific climate and soil conditions.