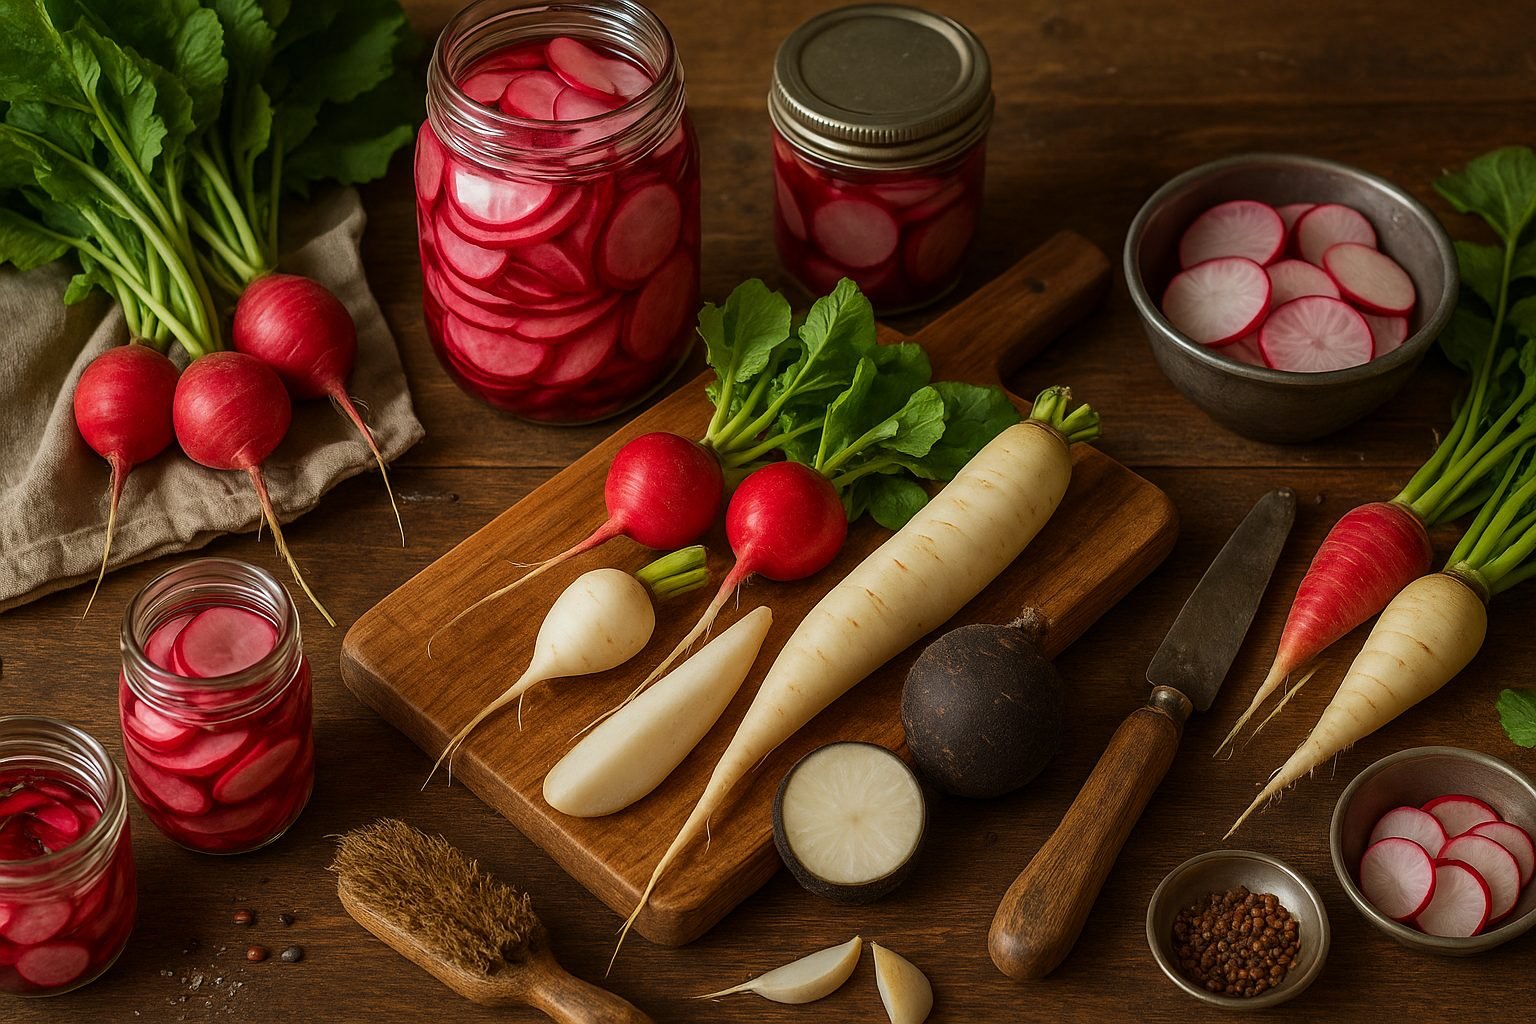
Why Preserve Radishes?
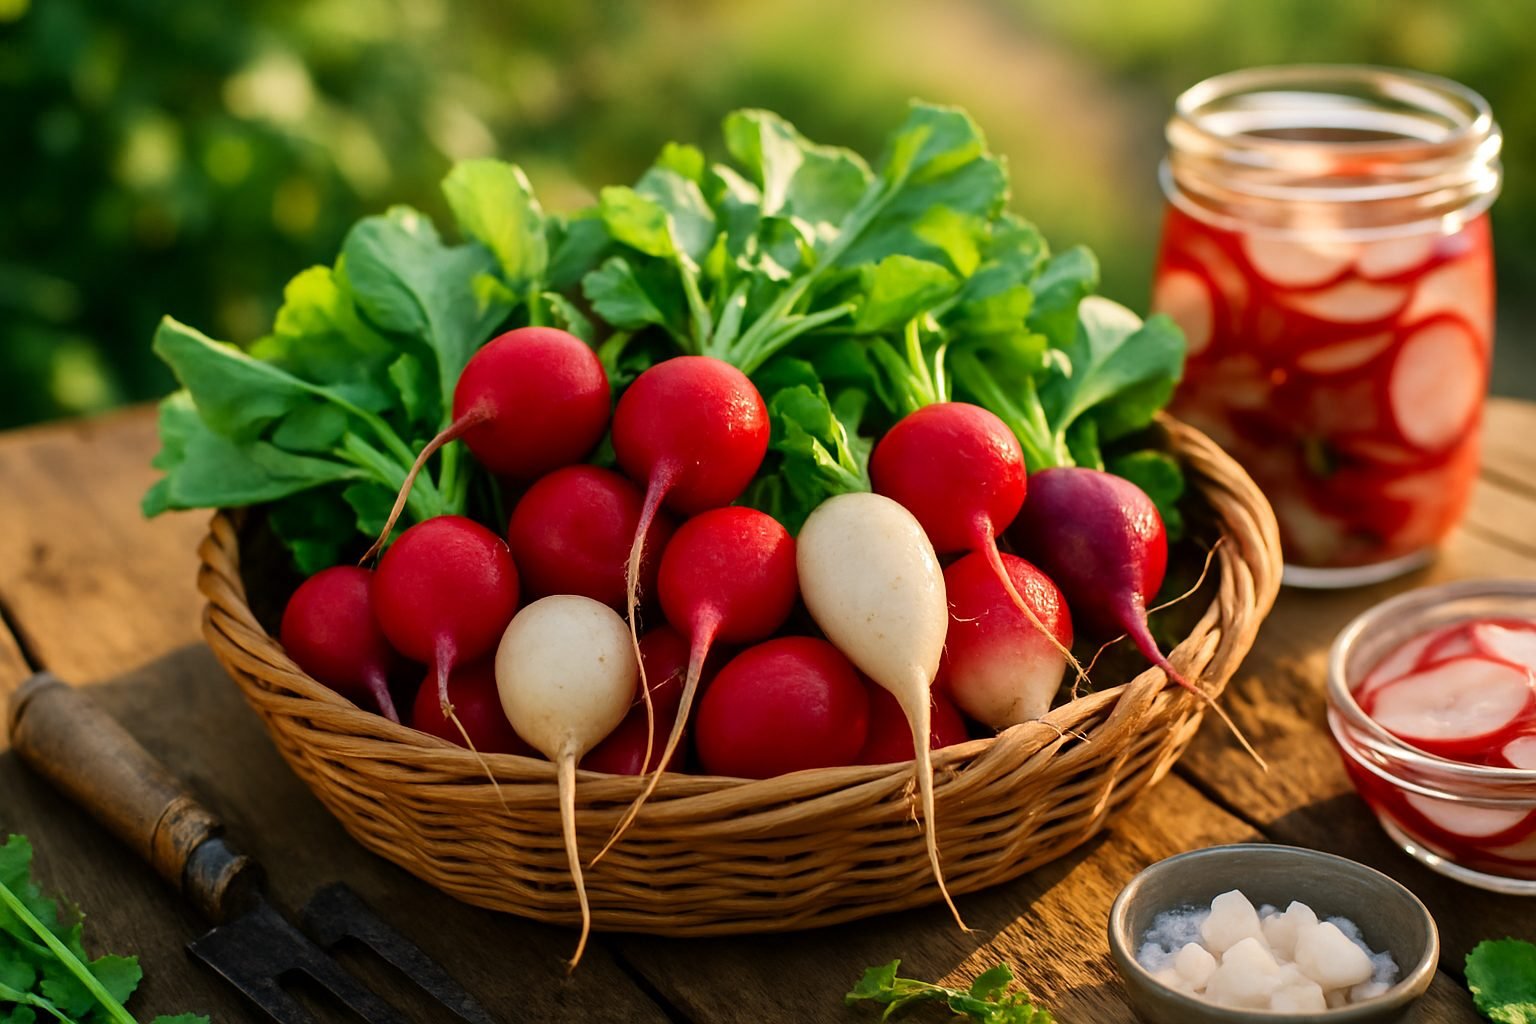
Learning how to preserve radishes can be a game-changer during seasons when these crisp, peppery roots pile up at farmers’ markets or in your garden. If you’ve ever found yourself with more radishes than you can eat before they wilt, you’re not alone—their harvest often peaks all at once.
Preserving radishes not only helps reduce food waste but also ensures you can enjoy their zesty flavor long after their short growing season has ended. Plus, radishes’ firm texture and bold bite make them ideal candidates for a variety of preservation techniques.
From making tangy pickles that brighten up sandwiches and salads, to storing them in the fridge for crunchy snacks, or chopping and freezing them for soups and stir-fries later in the year—there are plenty of options. Dehydrating is another creative choice, turning radishes into crisp chips or seasoning powder to sprinkle over dishes.
Each preservation method brings out a different side of this underrated vegetable. Whether you’re looking to stretch your grocery budget, stock your pantry with homemade flavors, or simply experiment in the kitchen, learning to preserve radishes opens up a world of possibilities.
In this article, we’ll cover the most effective ways to keep your radishes fresh and flavorful—pickling, refrigeration, freezing, and dehydrating—so you can make the most of every harvest and enjoy this humble root vegetable all year round.
Preparing Radishes for Preservation
Selecting the right radishes is the first step to successful preservation. Look for bunches with smooth, unblemished skin and vibrant color—whether you prefer red, white, or black radishes, firmness is key. Avoid radishes that feel soft or show cracks, as these can spoil faster.
Once you’ve chosen the freshest bunch, start by cutting off the leafy green tops about an inch above the root; leaving a bit of stem helps the radish stay crisp in storage. Don’t throw those greens away—they’re edible and full of nutrients! Try adding them to sautés, pestos, or even soups for a zero-waste kitchen.
Next, give the radishes a good rinse under cool running water to remove any dirt or grit. Gently scrub with your fingers or a soft vegetable brush, taking care not to damage the skin. After rinsing, pat the radishes dry with a clean towel.
If you plan to preserve them whole, leave the roots and tails intact; for slicing or pickling, go ahead and trim both ends. By following these simple steps, you’ll set yourself up with perfectly prepped radishes that maintain their crunch and flavor, while making the most of your produce.
Quick Pickling: Tangy and Versatile
Quick pickling is a fast and easy way to add tangy flavor and crunch to your meals, using just a few basic ingredients you probably already have on hand. To get started, thinly slice vegetables like radishes and add them to a clean jar or bowl.
Next, combine equal parts distilled white vinegar and water—about one cup each for a small batch—with one tablespoon of sugar and one teaspoon of salt. Heat the mixture until everything dissolves.
Pour this hot mixture over your veggies, making sure they’re fully submerged. Let them cool before sealing and refrigerating. In about an hour, you’ll have crisp, zesty pickles ready to enjoy.
For a twist on the classic, mix and match spices and herbs like garlic, black peppercorns, mustard seeds, or dill. Try swapping white vinegar for rice vinegar for a subtle sweetness, or apple cider vinegar for fruitier notes. You can even add a dash of chili flakes for heat or fresh ginger for a spicy kick.
Quick-pickled radishes will keep in the fridge for up to two weeks, though their bright crunch is at its best within the first week. Enjoy them piled onto tacos, grain bowls, and sandwiches, scattered over green salads, or tossed into slaws for extra zip. They also make a refreshing snack right from the jar—perfect when you want something crunchy and tangy without the wait.
Quick pickling is simple, adaptable, and a great way to add homemade flair to everyday dishes.
Refrigerator Storage & Re-Crisping Tips
Storing radishes properly in your fridge is the key to keeping them fresh and crisp for as long as possible. First, trim off the green tops if they’re still attached—they draw moisture from the roots, causing radishes to soften quickly. For the best results, rinse the radishes, pat them dry, and place them in an airtight container lined with a paper towel to absorb excess moisture.
If you want maximum crispness, try storing washed and trimmed radishes submerged in a bowl or jar of cold water; just change the water every couple of days to keep them fresh.
For pre-cut or sliced radishes, use a resealable bag or container with a paper towel inside to trap moisture and prevent sogginess.
If your radishes start to lose their crunch, don’t toss them out—there’s an easy fix! Simply place wilted radishes in a bowl of ice water for 30 minutes to an hour. The cold shock helps the cells reabsorb water, reviving their signature snap. Many home cooks swear by this trick for giving tired radishes new life, and it works well for both whole and sliced pieces.
With these simple storage and refreshing tips, you’ll enjoy crisp, flavorful radishes in your salads, snacks, and recipes day after day.
Freezing and Dehydrating Radishes
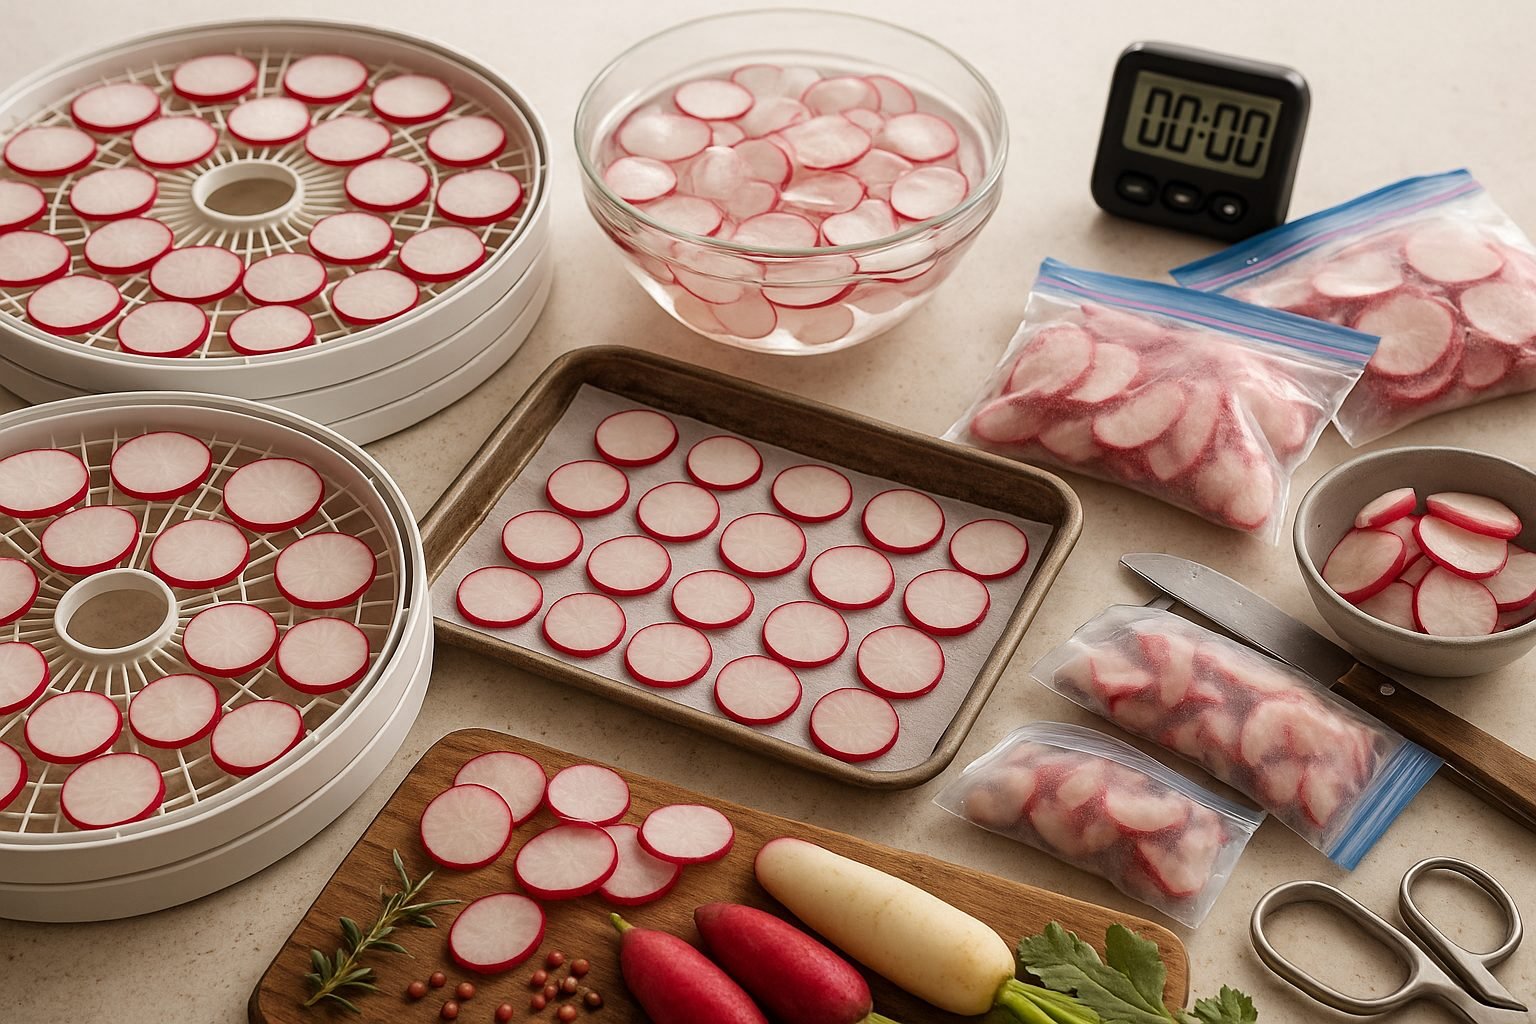
Freezing and dehydrating radishes are two excellent ways to extend their shelf life and reduce food waste.
To freeze radishes, start by washing and trimming the ends. Slice them evenly—about a quarter-inch thick for best results. Blanch the slices in boiling water for 2–3 minutes, then quickly transfer them to an ice bath to stop the cooking process. Drain and pat the radishes dry before spreading them in a single layer on a baking sheet. Freeze until solid (usually a couple of hours), then transfer them to airtight freezer bags or containers, removing as much air as possible. Label and date the bags—they’ll keep in your freezer for up to six months.
For dehydrating, wash and slice the radishes just as you would for freezing. Arrange the slices on dehydrator trays or a wire rack placed over a baking sheet if using an oven. Set your dehydrator to 135°F (57°C) or your oven to its lowest temperature (prop the door open for airflow), and dry for 6–10 hours until the slices are crisp and brittle. Store dried radishes in airtight jars or vacuum-sealed bags out of direct sunlight for up to a year.
Keep in mind, freezing softens radishes and mellows their spicy bite, making them better for cooked dishes like soups or stir-fries rather than salads. Dehydrated radishes shrink and intensify in flavor with a chewy, chip-like texture—great for snacking, tossing into salads, or rehydrating in hot meals.
Experiment with small batches first to see which method works best for your kitchen and favorite dishes!
Creative Ways to Use Preserved Radishes
Preserved radishes are a versatile ingredient that can easily elevate everyday meals. Pickled radishes add a vibrant crunch to grain bowls, tacos, or sandwiches—try layering them on avocado toast or using them to top off a noodle salad for an instant punch of tangy flavor.
Frozen radishes work well in cooked dishes since their texture softens during freezing; simply slice and toss them into stir-fries, soups, or even savory breakfast hash for a subtle peppery kick.
Dehydrated radish chips make a healthy snack straight from the jar or can be crumbled onto summer salads for an extra burst of flavor. You can also blend dehydrated radishes into a homemade seasoning mix to sprinkle on roasted veggies or popcorn.
Don’t forget about the greens! Radish leaves are edible and packed with nutrients—use them in the same way as spinach or arugula. Sauté radish greens with garlic and olive oil for a quick side, add them to pesto, or mix them into omelets and soups for a peppery twist.
For a simple appetizer, top crostini with goat cheese, a few pickled radish slices, and finely chopped radish greens.
When incorporating preserved radishes, think of them as bright, flavorful accents—use them to add contrast in salads and bowls, complementing richer proteins like grilled chicken or tofu.
For meal prep, make a batch of quinoa with sautéed radish greens and scatter with pickled or dehydrated radishes for a lunch that stays fresh throughout the week.
Even quick snacks can benefit: add sliced pickled radish to hummus platters or tuck a few into wraps for crunch and color.
Get creative and experiment—preserved radishes can bring unexpected energy to both classic and modern dishes.
FAQs & Troubleshooting
Preserved radishes are a delicious way to add tang and crunch to meals, but many people have questions about keeping them safe and tasty. Store preserved radishes in clean, airtight containers in the refrigerator. Most quick-pickled varieties last up to two months, while fully fermented radishes can keep for three to six months if submerged in their brine.
Always check for signs of spoilage like cloudiness, sliminess, a rotten smell, or mold—when in doubt, throw it out.
If your radishes turn mushy, it’s usually because the slices were too thin, the brine was too hot, or they were left in salt for too long before pickling. For crisp results, slice radishes thicker, use chilled brine, and add crunchy partners like carrots or daikon.
Off-flavors—like bitterness or a sulfur scent—sometimes pop up if the radishes are over-fermented or under-salted. To avoid this, stick to tested recipes and taste regularly during the process.
Don’t be afraid to personalize your preserved radishes: try adding garlic, ginger, or chili flakes to your brine, or experiment with traditional Korean kimchi and Japanese takuan styles for fun flavor twists.
If your first batch isn’t perfect, make note of what went wrong and adjust next time. Preserving radishes is as much an art as it is a science, so enjoy the learning curve and discover your favorite combinations along the way!