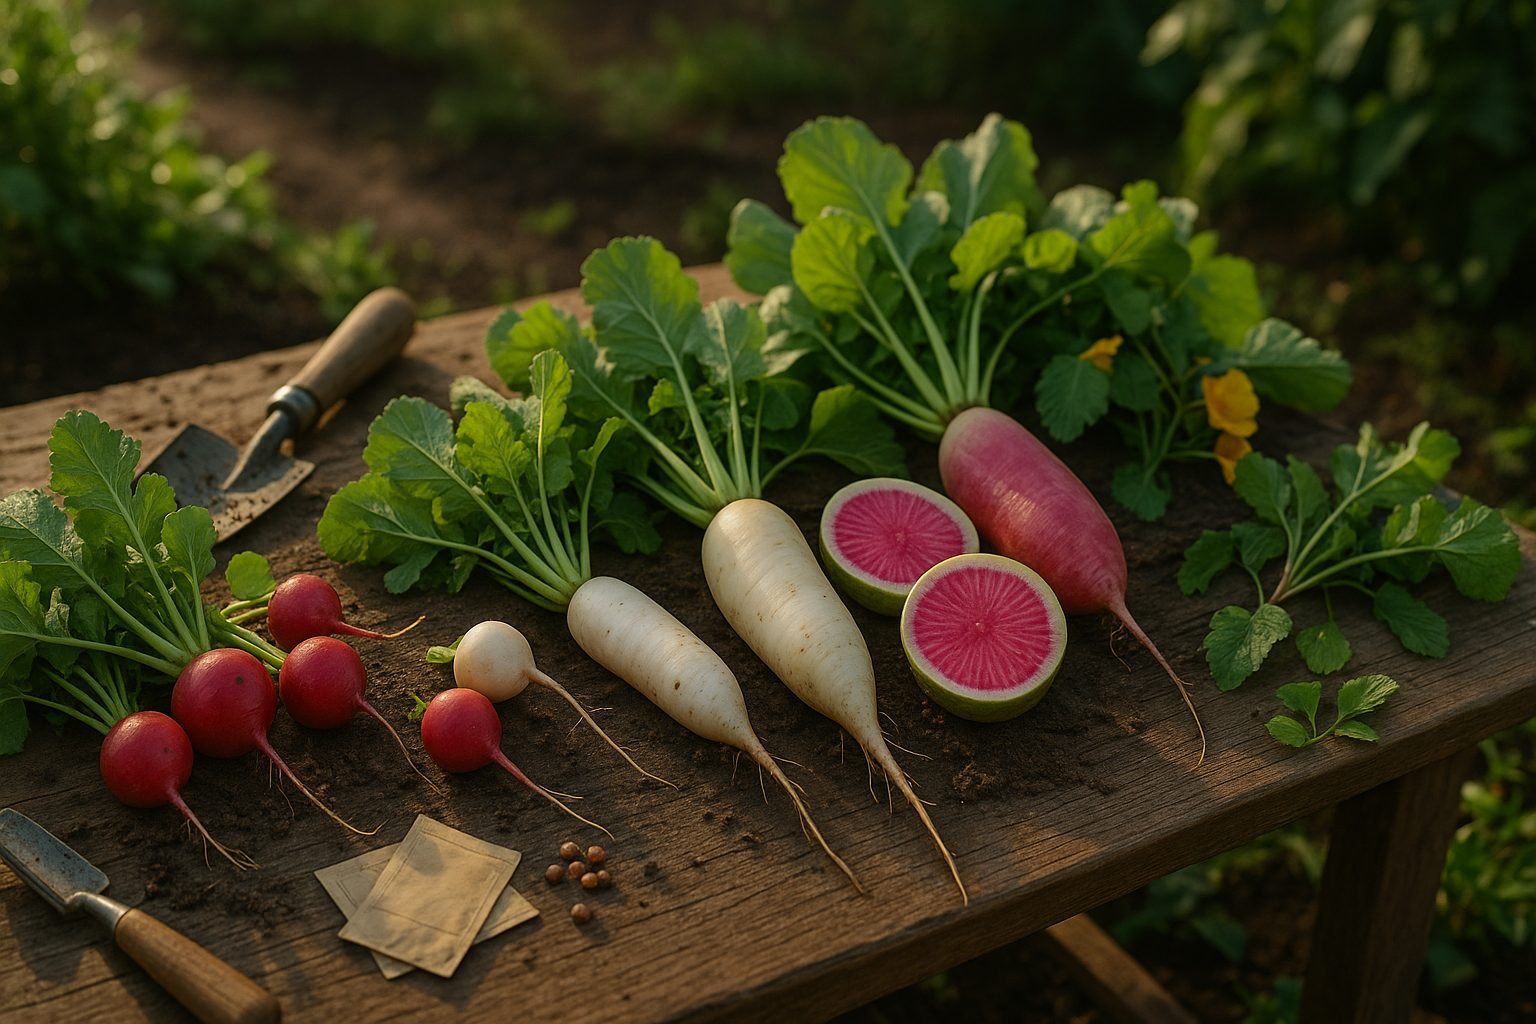
Radish Basics and Varieties
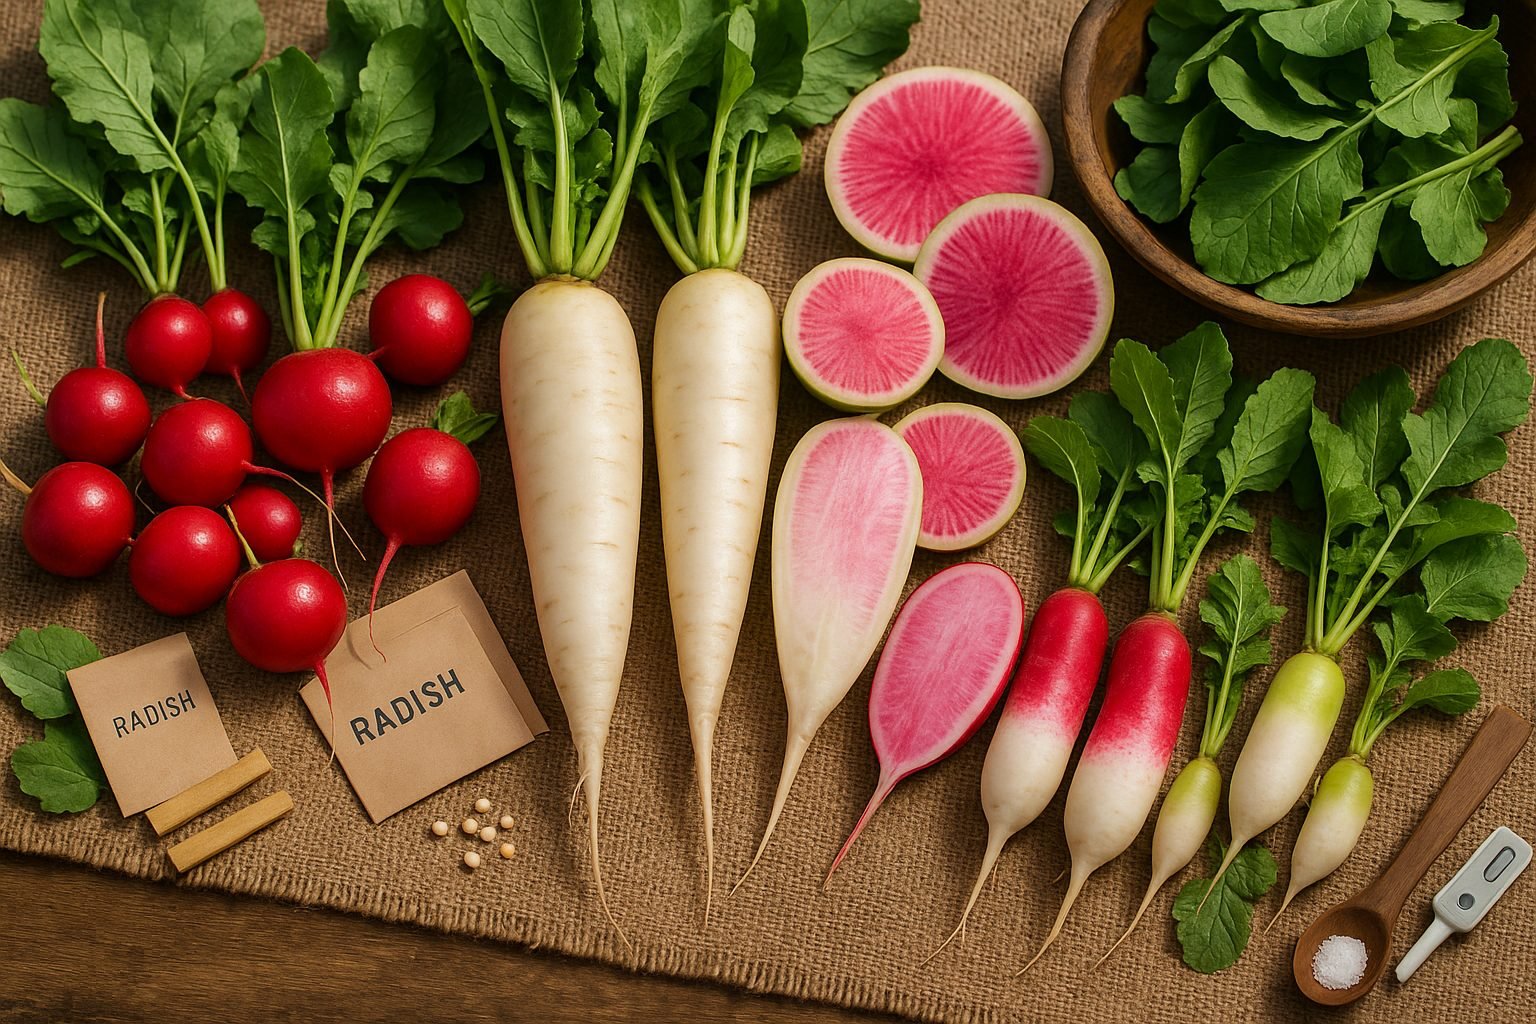
If you want to grow bigger radishes, understanding the basics and exploring different varieties is the first step. Radishes are beloved for their quick turnaround—some garden radishes can sprout and mature in just 3 to 4 weeks!
There are two main types: classic garden radishes, which are the crunchy round roots you’ll see in most supermarket salads, and daikon radishes, the long, white, milder roots often used in Asian cuisine. Within these categories, you’ll find an impressive range of flavors, sizes, and colors.
Popular spring varieties like ‘Cherry Belle’ and ‘French Breakfast’ thrive as soon as cool weather hits, offering crisp, mildly spicy bites. For summer planting, consider heat-tolerant types such as ‘White Icicle’ or ‘Sora’. As you head into fall and winter, daikon varieties like ‘Miyashige White’ or ‘Watermelon Radish’ (with its bright pink flesh) perform well, growing extra-large and sweet when given plenty of space and time.
Beyond slicing them fresh into salads or serving with a sprinkle of salt, radishes can be roasted to mellow their spice or pickled alongside carrots for a crunchy, tangy snack. Some cooks even use radish greens in pestos and sautés—reduce food waste and add peppery flavor to your meal!
Whether you’re after quick harvests or show-stopping giants, starting with the right radish for your season can set you up to grow bigger radishes and bring more variety to your table.
When and Where to Plant Radishes
Radishes are one of the quickest and easiest vegetables to grow, making them a favorite for beginner gardeners and anyone who loves fresh, crunchy harvests. The best time to plant radishes is in early spring or late summer when temperatures are cooler—ideally when soil temperatures hover between 50°F and 70°F. These conditions help seeds sprout quickly (often within 4-10 days) and produce tender roots.
For a continuous harvest, practice succession sowing by planting new batches of seeds every 7 to 10 days; this way, you can pull up fresh radishes over several weeks rather than all at once. Radishes thrive in full sun but will tolerate light shade, especially as temperatures warm up later in the season.
Choose a location with well-draining soil that’s free of rocks—raised beds, in-ground plots, or even containers all work well, as long as the soil is loose and at least six inches deep to allow roots to develop properly. For container gardening, select a pot with good drainage and keep it on a sunny patio or balcony.
When planning your garden, remember that radishes grow fast and don’t take up much space, making them perfect for tucking in between slower-growing veggies like carrots or lettuce. Just be sure to keep their growing area consistently moist and free of weeds for the best results.
By timing your planting right and choosing the right spot, you’ll enjoy crisp, peppery radishes from spring through fall.
Preparing and Sowing: Getting Your Soil Ready
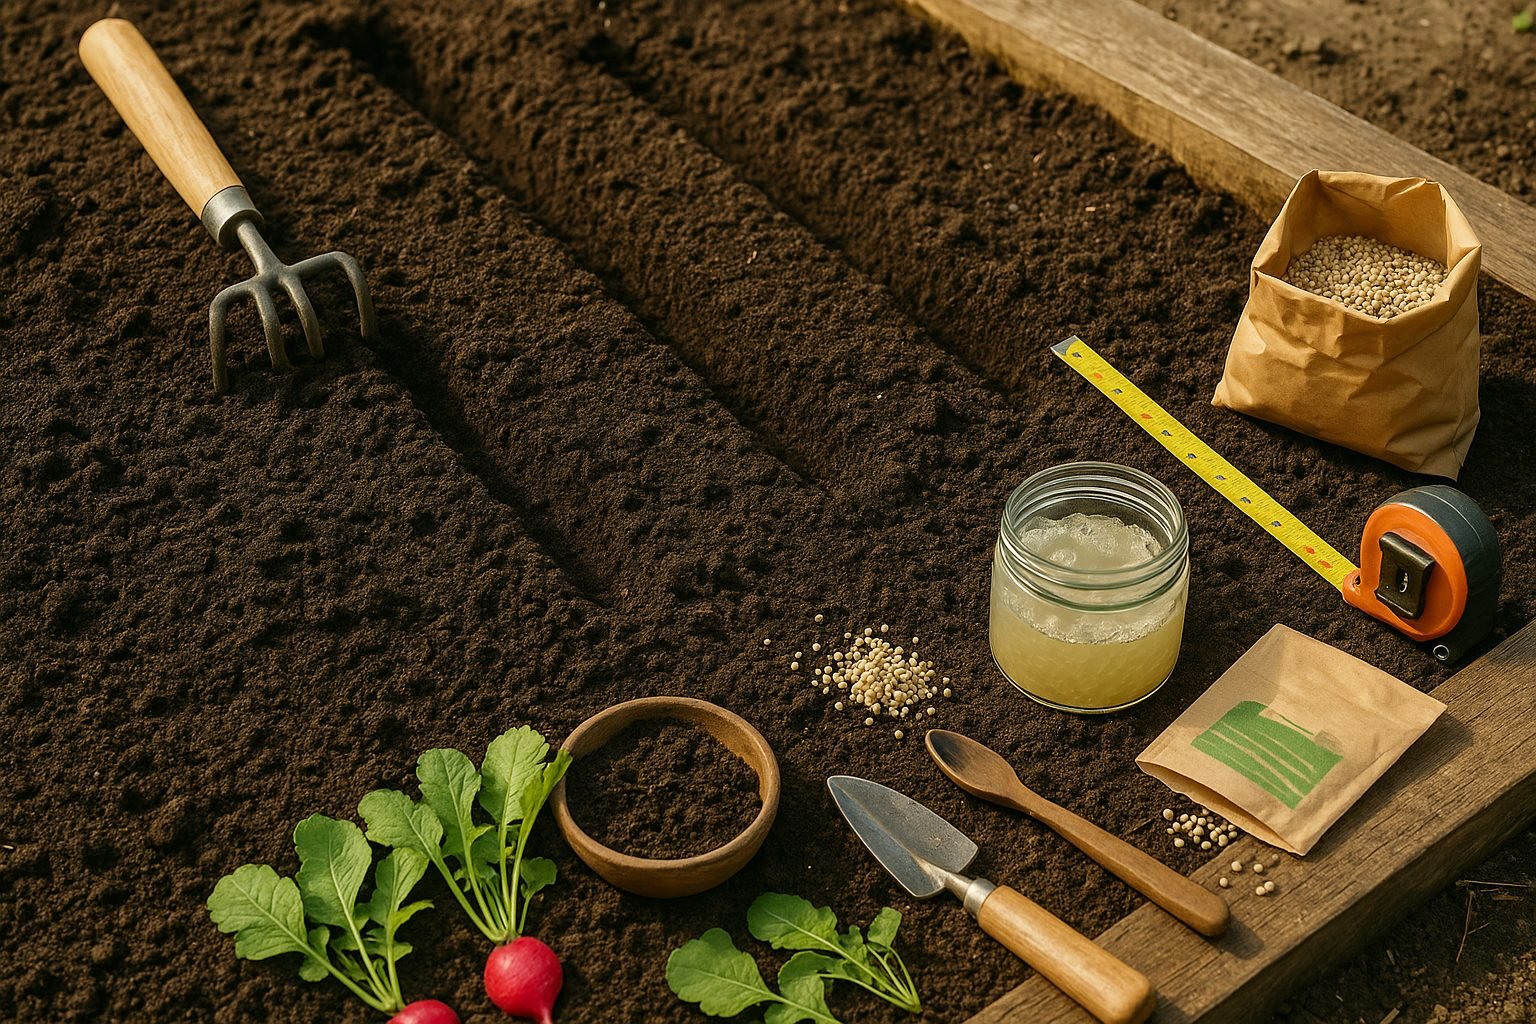
Getting your soil ready is the foundation for healthy, crisp radishes. Start by selecting a sunny spot and breaking up the top 6-8 inches of soil with a garden fork or tiller, removing rocks, clumps, or weeds along the way.
Radishes thrive in loose, well-draining soil—compacted or heavy clay makes roots twist and stunts growth. If you have dense soil, mix in some compost or sand to improve both drainage and fertility. A sprinkle of all-purpose organic fertilizer can also help, but avoid fresh manure, which can lead to misshapen roots.
Once your bed is prepared, make shallow furrows about half an inch deep. Sow radish seeds about one inch apart; tight spacing leads to crowded, undersized roots. If you want perfectly round radishes, keep rows at least six inches apart for plenty of growing space.
After covering the seeds lightly with soil and gently firming it down, water with a soft spray or watering can. The key during germination is to keep the surface evenly moist—not saturated or muddy. Check the bed daily and water lightly if the soil feels dry to the touch. Too much moisture can cause seeds to rot, while too little dries them out and slows germination.
If you’re planting in very hot or windy conditions, consider covering the area temporarily with a light row cover or burlap to hold in moisture until sprouts emerge in about a week.
As soon as you see the first seedling leaves, thin the plants to about two inches apart so each root has space to grow. Keeping the soil consistently moist—but not waterlogged—throughout the growing season will give your radishes the best shot at growing crisp, peppery, and tender.
Growing Healthy Radishes: Care Tips
Caring for radishes in the garden is straightforward, but a few simple habits go a long way toward producing healthy, tasty roots. First, keep the soil consistently moist—radishes grow quickly, and dry spells can cause them to split or turn woody. Aim to water deeply a couple of times per week, increasing frequency during hot, windy weather, ensuring moisture reaches the root zone without leaving the soil soggy.
Mulching is a great trick to lock in soil moisture and suppress weeds. Spread a light layer of straw, grass clippings, or leaf mulch as soon as seedlings emerge. If weeds do appear, pull them promptly by hand—radishes have shallow roots, and competing weeds will slow their progress.
As soon as the seedlings reach a couple of inches tall, thin them to about two inches apart. Overcrowding leads to tiny, misshapen bulbs, so snip or pinch out extras rather than pulling to protect nearby roots.
You might wonder about fertilizing, but generally it’s unnecessary and best avoided. Radishes thrive in moderately rich soil, and too much nitrogen can lead to lush leaves but poorly formed roots. Instead, prepare your garden bed with a bit of compost before sowing seeds and let the plants do the rest.
This approach keeps maintenance minimal and leaves you with crisp, mild radishes ready for harvest just a few weeks after planting. Remember, healthy soil and a light touch are the secrets to a bountiful radish patch.
Troubleshooting: Common Problems and Pests
When growing root vegetables like radishes and turnips, a few persistent pests and problems can crop up. Flea beetles, tiny black insects, often leave small holes in leaves—using floating row covers right after planting and sprinkling diatomaceous earth can help keep them at bay organically.
Root maggots, which tunnel into roots and ruin crops, are best prevented by rotating crops each season and using sticky traps or neem oil sprays. Diseases like clubroot or downy mildew sometimes strike; both thrive in soggy conditions, so plant in well-drained soil and avoid overhead watering to reduce risk.
If you notice your plants bolting (sending up flower stalks instead of forming bulbs), it’s usually due to warm weather or planting too late—sow seeds early in spring or choose bolt-resistant varieties for better results. Poor bulb formation can stem from crowded seedlings or lack of nutrients; thin plants so they stand at least two inches apart and work in compost before planting for richer soil.
Regular weeding and attentive watering round out your defenses, making your patch more resilient to common setbacks. By staying observant and responding quickly, you’ll give your root vegetables the best chance to thrive—organically and sustainably.
Harvesting and Storage
Knowing when to harvest radishes is key to enjoying their trademark crunch and peppery flavor. Most radish varieties are ready to pick about three to five weeks after sowing, once their roots reach about one inch in diameter—roughly the size of a ping pong ball. To check readiness, gently brush away some soil around the base of the plant to feel the root’s size. If it’s too small, give it a few more days, but don’t wait too long. Radishes left in the ground too long become tough, woody, and overly spicy, so prompt picking is important.
When you’re ready to harvest, grasp the base of the leafy tops firmly and pull straight up with a gentle but steady motion to avoid snapping the root. If the ground is compacted or dry, loosen the soil with a hand trowel first.
After harvesting, trim off the leafy tops to prevent moisture loss and rinse the roots under cool water. For short-term storage, place your cleaned radishes in a perforated plastic bag wrapped in a damp paper towel, then store them in the refrigerator’s crisper drawer for up to two weeks.
For longer-term storage, try one of these methods:
- Keep radishes in a bowl of cold water (changed daily) in the fridge.
- For winter varieties, pack them in a box of moist sand in a cool cellar—this keeps them crisp for several weeks.
The key to maintaining freshness is always to keep your radishes cool and slightly moist—never soggy or dried out.
Enjoying Radishes: Uses in the Kitchen
Radishes are much more than a salad garnish—they’re surprisingly versatile and add a crisp, peppery kick to both everyday and adventurous dishes. For a quick, refreshing crunch, slice them thin and toss into green salads or grain bowls, or layer them on buttered bread with a sprinkle of sea salt for a classic French snack.
If you’re feeling creative, try roasting radishes with olive oil and herbs; cooking mellows their bite and brings out subtle sweetness, making them a tasty side for grilled meats or tofu. Pickling is another favorite way to enjoy radishes—quick-pickled slices brighten tacos, burgers, or rice bowls with tang and a pop of color.
Radishes also pair well with creamy dips: simply quarter and serve alongside hummus or tzatziki for a healthy, crunchy snack. Don’t skip the greens; radish tops can be sautéed like spinach or blitzed into pesto to reduce waste and add flavor.
Packed with vitamin C, fiber, and antioxidants, radishes boost nutrition while adding excitement to your meals. Experiment by adding them to slaws, sushi rolls, or even breakfast avocado toast—these little root veggies can easily upgrade almost any dish with their unique taste and vibrant crunch.