Introduction to Pumpkin Planting
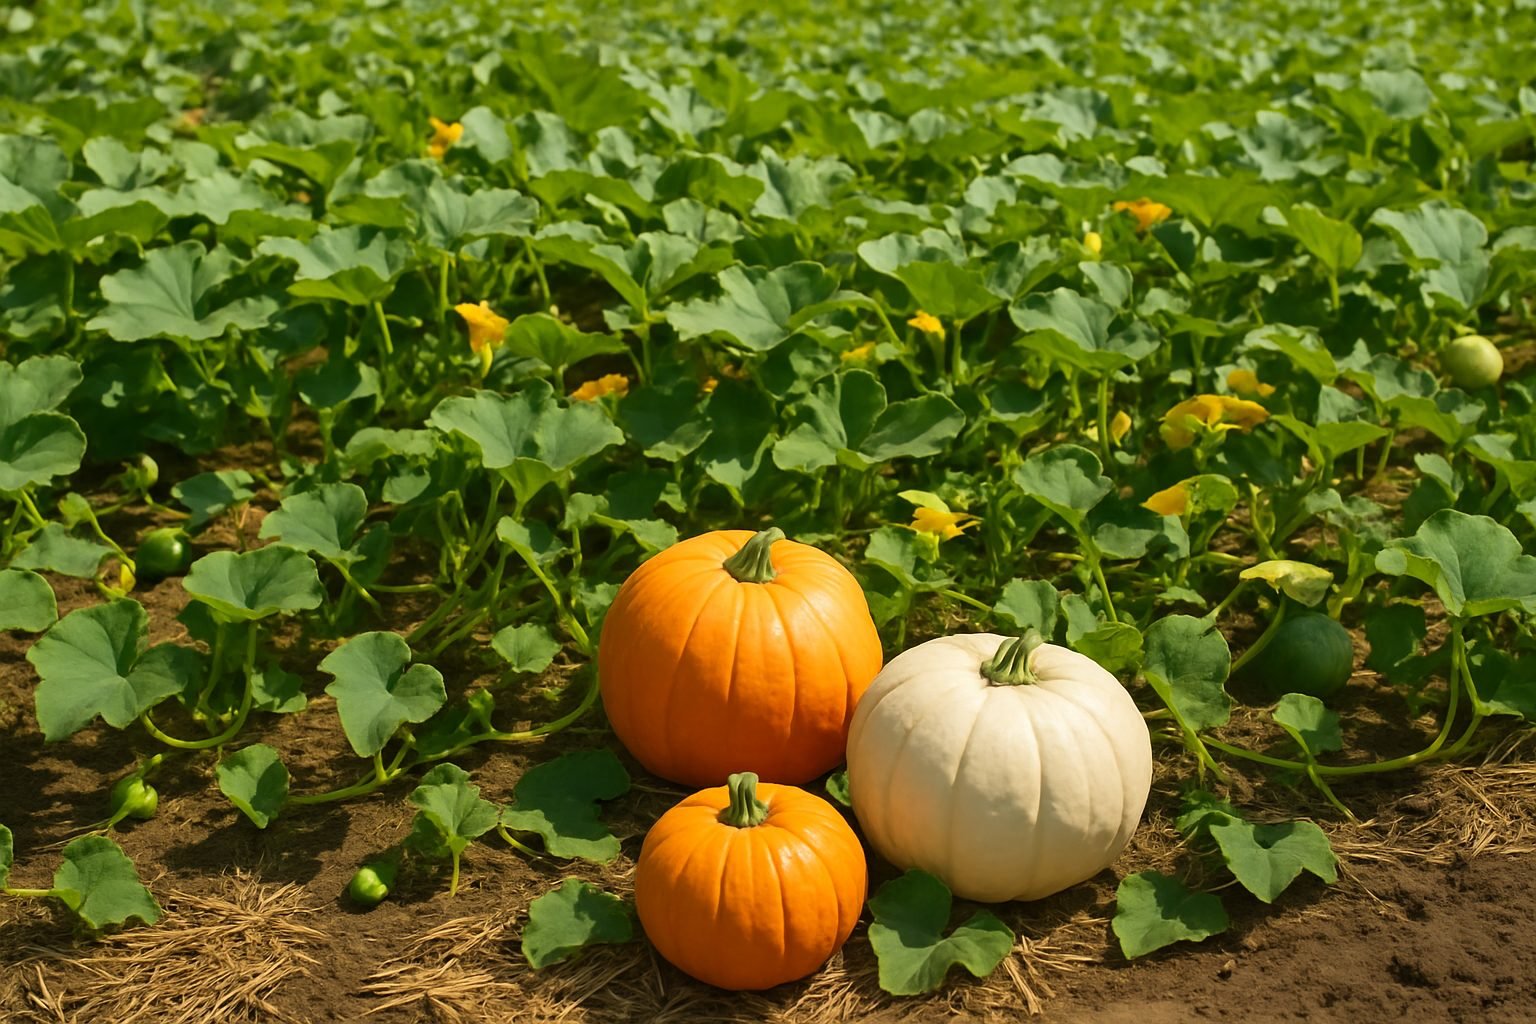
Pumpkins in hot climates present an exciting opportunity for gardeners and home-growers looking to cultivate something both practical and whimsical. Whether you want to carve jack-o’-lanterns for Halloween, enjoy homemade pumpkin pie, or decorate your front porch with colorful gourds, pumpkins offer incredible versatility. Their wide variety of shapes and sizes means you can find the perfect type for your culinary needs or creative projects. Plus, few crops are as satisfying to watch grow — from tiny green sprouts to sprawling vines and finally to robust, cheerful fruits ready for harvest.
But while pumpkins can be rewarding, growing them in hot or dry regions comes with unique challenges. Intense sunlight, high temperatures, and limited rainfall can make traditional pumpkin cultivation tough, but it’s far from impossible with the right approach. In this article, you’ll learn how to select the ideal garden site, perfect your planting timing, and prepare soil for healthy pumpkin growth even in harsh environments. We’ll also tackle essential care steps and tips for overcoming the climate’s toughest hurdles.
Ready to discover how you can harvest a colorful bounty of pumpkins in hot climates? Let’s get started with tips to help your patch flourish all season long.
Choosing the Right Pumpkin Variety
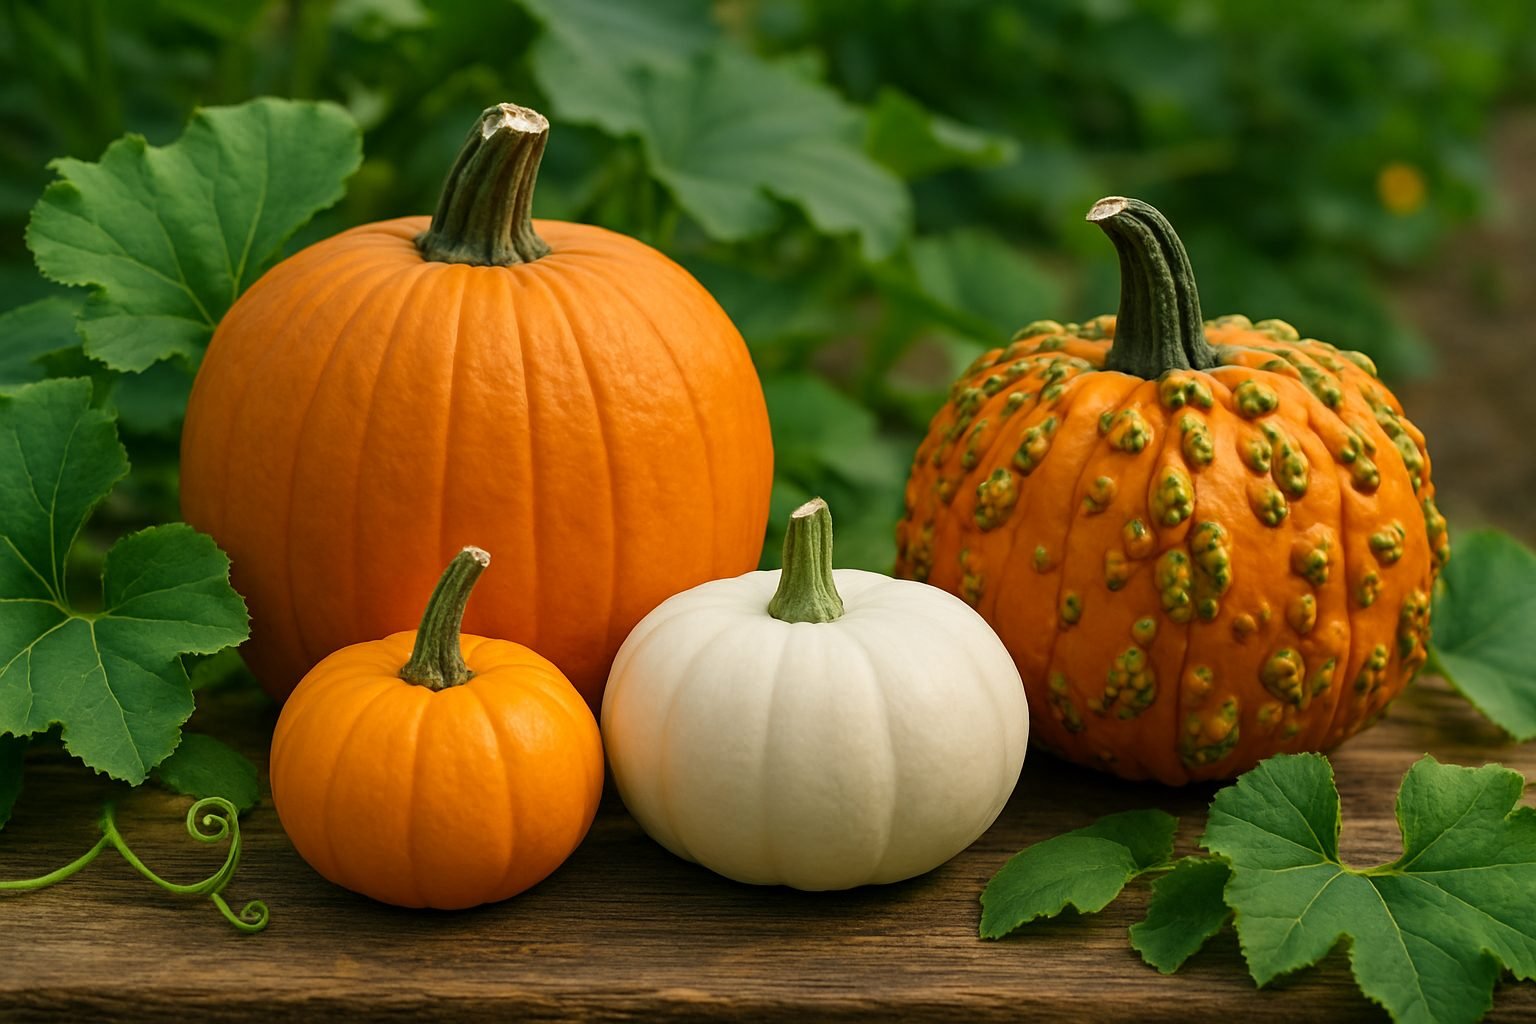
Selecting the best pumpkin variety starts with defining your goals and understanding what’s possible based on your climate and garden space. Pumpkins come in all shapes, sizes, and colors:
- Classic orange Jack-O’-Lanterns like ‘Connecticut Field’ are large and perfect for carving.
- Small sugar pie types—such as ‘Small Sugar’ or ‘Baby Pam’—are sweet, smooth, and ideal for baking.
- If you want something truly eye-catching for autumn displays, look for specialty varieties like the ghostly white ‘Lumina’ or warty, deeply ribbed ‘Knucklehead.’
- For gardens with limited space, bush types like ‘Bushkin’ or the miniature ‘Jack Be Little’ pumpkins are compact and produce fruit on short vines, making them great for raised beds or containers.
When considering your climate, remember that most pumpkins need a long, warm growing season—at least 75 to 100 frost-free days—so northern gardeners may want to stick to quicker-maturing varieties like ‘Early Sweet Sugar Pie.’
Beginners often have great success with ‘Howden’ for carving or ‘Sugar Pie’ for cooking, thanks to their reliability and ease of growth. More experienced growers can experiment with giants like ‘Atlantic Giant,’ which can weigh hundreds of pounds, or rare heirlooms such as the French ‘Rouge Vif d’Etampes.’
Always check your seed packet for information on disease resistance and days to maturity so you can match the pumpkin to your growing season and plans—whether that’s fresh pies, colorful porch decor, or an impressive showstopper for the county fair.
Preparing the Perfect Planting Site
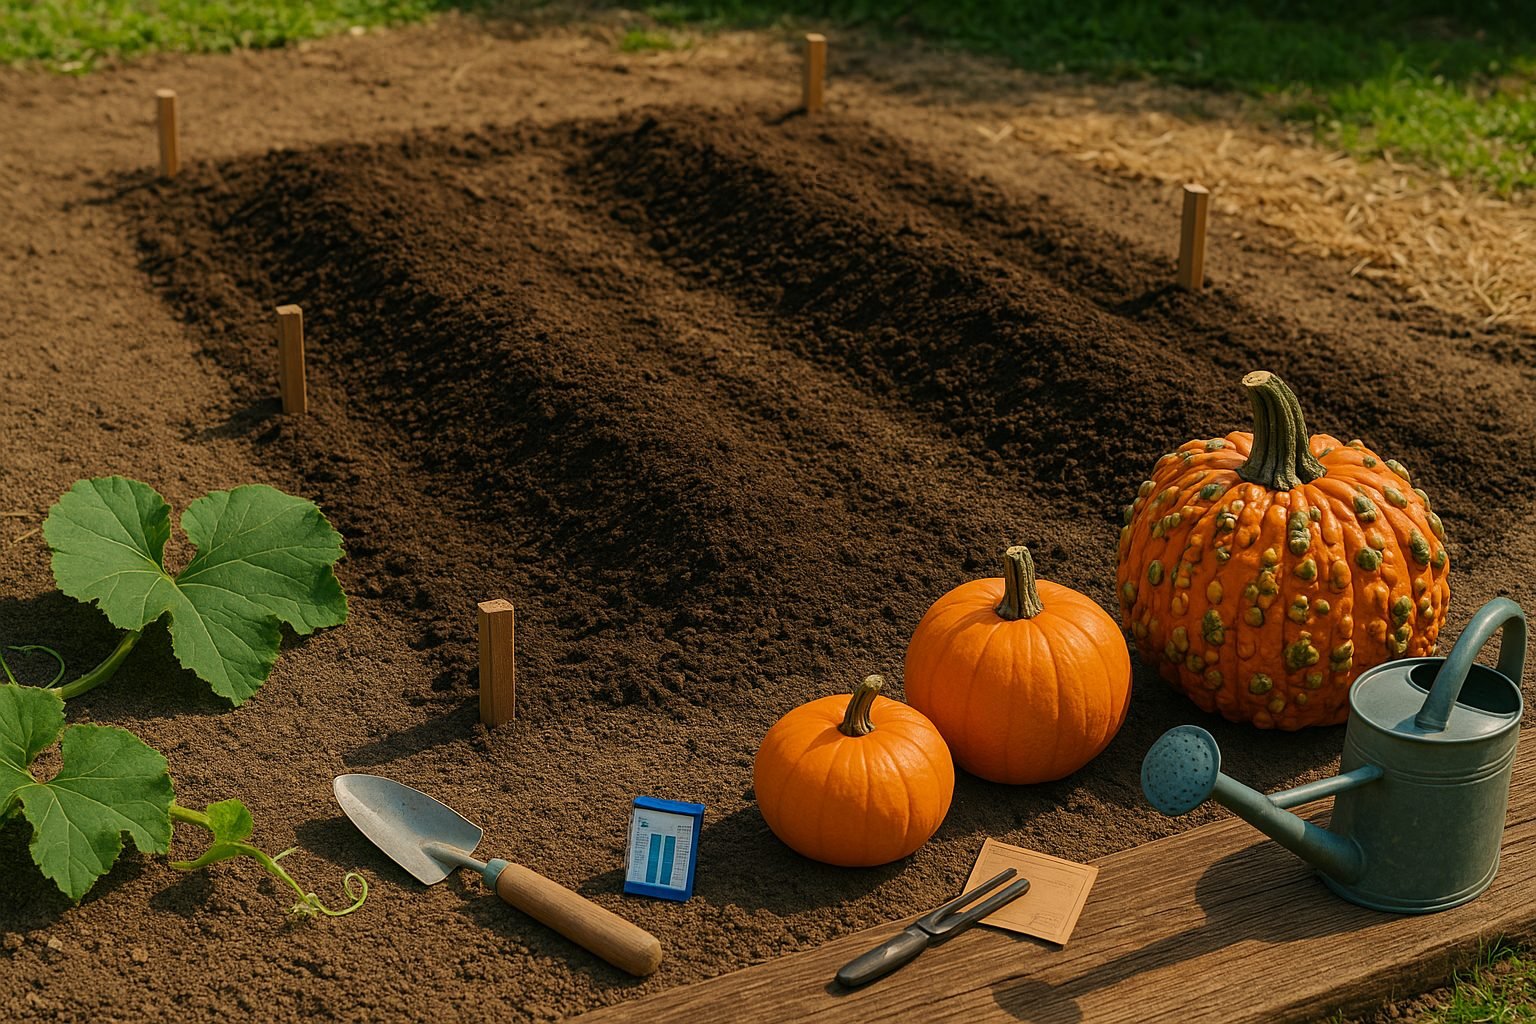
To set your garden up for a lush, productive season, start by choosing a planting site that meets your vine’s basic needs. Most vining crops—like cucumbers, melons, and squash—crave full sunlight, so pick a spot that receives at least 6 to 8 hours of direct light daily.
Give each plant enough room to sprawl or climb; check your seed packet, but a general rule is to provide 3 to 6 feet between rows to prevent crowding and encourage healthy airflow. Vines need sturdy support, especially varieties that grow vertically. Use trellises, cages, or even simple stakes, setting them up before planting to avoid disturbing roots later.
Next, focus on soil preparation. Well-drained soil is crucial; waterlogged roots lead to rot and disease. To test your drainage, dig a small hole, fill it with water, and see if it drains within a few hours—if not, consider raised beds or amend with compost and sand.
Feed your soil by mixing in 2 to 3 inches of rich compost before planting, and aim for a balanced pH of 6.0 to 6.8. Home test kits are inexpensive and will help you make quick adjustments with lime (to raise pH) or sulfur (to lower it), if needed.
Don’t forget about crop rotation: planting vining crops in the same spot year after year invites pests and soil diseases like powdery mildew or wilt. Rotate your cucurbits—pumpkins, cucumbers, squash, melons—so they don’t occupy the same bed for at least 2 to 3 years.
Avoid spots where relatives were recently grown, and choose a fresh patch or even a new raised bed if possible. This simple habit can dramatically boost your harvest and help keep your plants thriving season after season.
Planting and Growing Pumpkins Across Different Climates
Growing pumpkins can be successful in most climates if you adjust your approach to local conditions.
In cool or temperate regions, start seeds indoors 2–4 weeks before the last expected frost, then transplant seedlings once nighttime temperatures stay above 10°C (50°F), usually in late spring. Use row covers early on to protect young plants from unexpected cold snaps and late frosts.
In arid regions, direct sow seeds after the final frost, mulching heavily with straw or compost to keep the soil moist and cool. Plant in small hills to encourage root growth and improve drainage, and opt for early-maturing varieties to beat extreme heat.
For tropical areas, time your planting at the start of the dry season to avoid heavy rain, which can cause rot. Give pumpkins plenty of space for airflow—this helps prevent fungal diseases in humid conditions.
Watering needs vary by climate:
- In arid regions, water deeply and less frequently to promote deep roots—two to three thorough soakings a week are better than daily light watering.
- In temperate climates, steady moisture is key, especially as fruits set; using drip irrigation or a soaker hose makes this easier.
- Tropical gardeners should water early in the day to limit humidity overnight, and watch closely for signs of excess moisture.
Pumpkins are prone to powdery mildew and vine borers, especially in wet or unpredictable seasons. To manage pests and diseases:
- Rotate your planting site each year.
- Space vines well apart for good airflow.
- Inspect leaves regularly for pests—hand-pick bugs or use neem oil as needed.
- Floating row covers can block pests early on but remove them when flowers appear to allow pollination.
Cover developing fruits with mulch or boards to prevent rot from wet soil, and use stakes or trellises for small varieties to lift fruits off the ground.
No matter your climate, watch the forecast for unexpected cold or storms. Temporary plastic tunnels or fabric covers can shield plants during rough weather. Tailor your watering, spacing, and pest protection to your region, and you’ll be harvesting healthy pumpkins no matter where you’re growing.
Essential Pumpkin Care for a Healthy Harvest
Consistent care throughout the growing season is key to a healthy pumpkin harvest. Keep your pumpkin patch evenly moist—about 1 to 2 inches of water per week is ideal. It’s best to water deeply at the base of the plants early in the morning to reduce disease risks.
Mulch around the vines with straw or leaf compost to help retain moisture, suppress weeds, and regulate soil temperature. Regularly fertilize using a balanced, organic fertilizer: start with a nitrogen-rich mix early on, then switch to one higher in phosphorus and potassium when the vines begin flowering to support fruit development.
Stay vigilant about weeds, which can compete for nutrients and water. Hand-pulling or shallow hoeing works best to avoid damaging shallow roots. If you notice a lack of bees or poor fruit set, try hand-pollinating: in the morning, gently transfer pollen from male flowers to female flowers using a small paintbrush or by rubbing the flowers together.
Watch for common pests like squash bugs, cucumber beetles, and aphids, as well as diseases like powdery mildew. Manage these organically with row covers, neem oil, or insecticidal soaps, and always remove any infected leaves to slow disease spread.
As pumpkins mature, look for signs they’re ready to harvest: their skin should be hard, and the color deep and consistent. Harvest pumpkins on a dry day by cutting the stem with sharp pruners, leaving several inches attached to help prolong storage life. Cure your pumpkins in a warm, dry spot for 7–10 days before moving them to a cool, dark place to help them last through the fall and beyond.
Storing and Using Your Pumpkins
Extending the life of your pumpkins starts with proper curing—a simple but vital step, especially if you’ve harvested them yourself. To cure, place pumpkins in a warm, dry area (about 80–85°F) with good airflow for 10 days; this toughens their skins and helps seal in moisture.
Store cured, uncarved pumpkins in a cool, dry place (ideally 50–55°F), such as a basement or pantry, and set them on cardboard or straw to prevent direct contact with hard surfaces. For both carved and uncarved pumpkins, rot prevention is key: always rinse pumpkins with a diluted bleach solution (1 tablespoon bleach per gallon of water) to remove bacteria that cause decay, and make sure they’re thoroughly dry before displaying or storing.
Keep humidity low and avoid stacking pumpkins; good air circulation helps prevent mold. If you’re carving, avoid cutting too soon—wait until a day or two before you need your jack-o’-lantern, and rub the cut edges with petroleum jelly to slow dehydration and mold.
Once the season shifts, pumpkins can be more than just decor: roast the seeds with your favorite spices for a crunchy snack, or blend cooked pumpkin flesh into soups, muffins, and pies. For an autumn centerpiece, pile assorted squashes and mini pumpkins in a wooden crate, or paint uncarved pumpkins with fun designs for longer-lasting displays.
Don’t forget about next year—scoop out seeds, rinse them clean, let them dry thoroughly, and store them in a labeled envelope in a cool, dry spot until planting time. With these simple steps, you’ll get the most from your pumpkins—this season and the next.
Conclusion & Next Steps
Growing pumpkins from seed to harvest is a satisfying journey, filled with the rewards of watching your plants thrive and enjoying the fruits of your labor come autumn. Remember, every crop is a learning experience—don’t be afraid to experiment with different varieties or techniques, and stay patient as you care for your patch.
Joining online gardening forums or local community groups can connect you with other pumpkin enthusiasts, offering valuable advice and inspiration along the way. For more tips and techniques, explore blogs and gardening books dedicated to pumpkin growing to keep improving your skills year after year.